Making a cozy jacket for your furry friend is not only practical but also a fun and rewarding DIY project. In this guide, I’ll walk you through the steps to create a simple and stylish dog jacket, complete with a downloadable pattern. Let’s get started!
Introduction: Simple Dog Jacket (with Pattern)
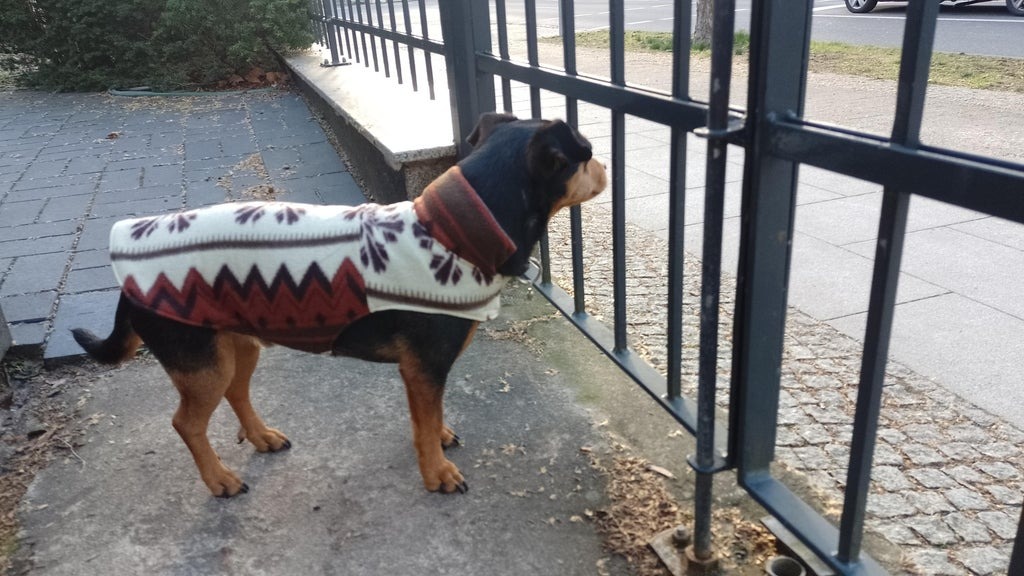
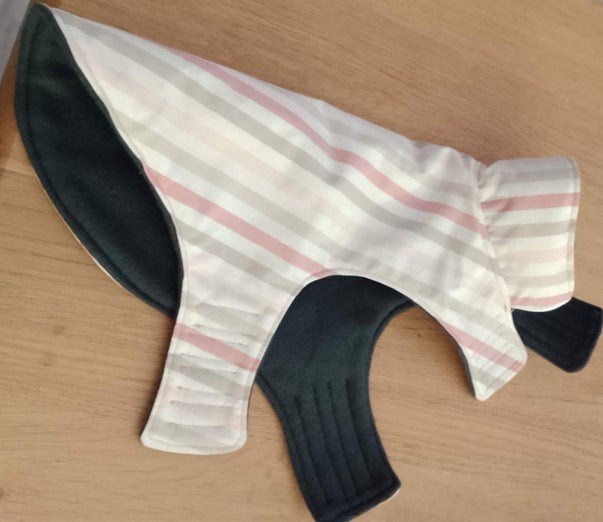
As temperatures drop, our furry companions need a little extra warmth to stay comfortable during their outdoor adventures. This simple dog jacket is not only functional but also easy to make, even for sewing beginners. With its Velcro closure, it’s a breeze to put on and take off, ensuring your pup stays cozy all winter long.
Supplies You’ll Need:
- Sewing machine
- Sturdy fabric for the outer layer
- Soft fabric for the lining (fleece works great)
- Yarn, needles, scissors, etc.
- Small amount of Velcro
- Printer to print the pattern
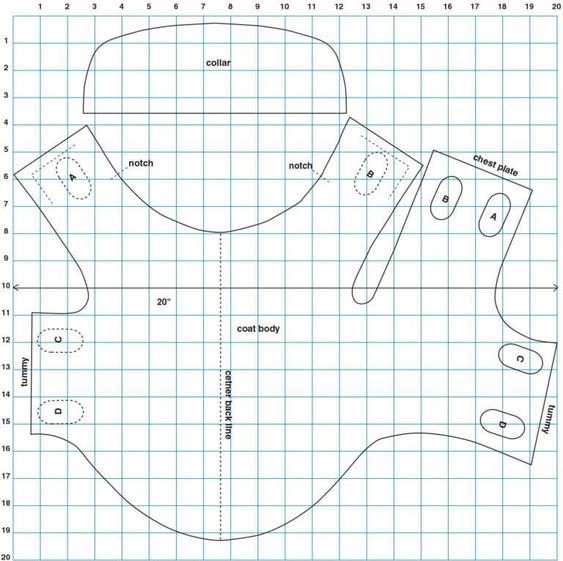
Step 1: Prepare the Pattern & Cut the Fabric
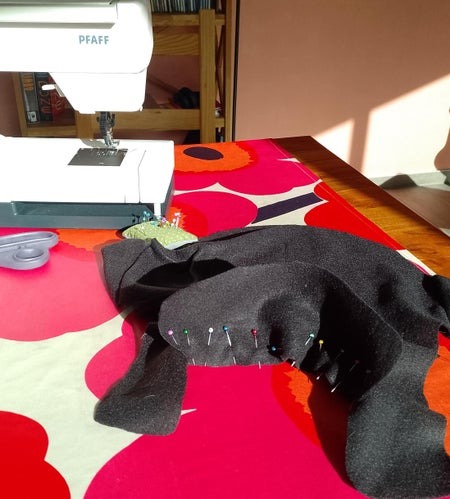
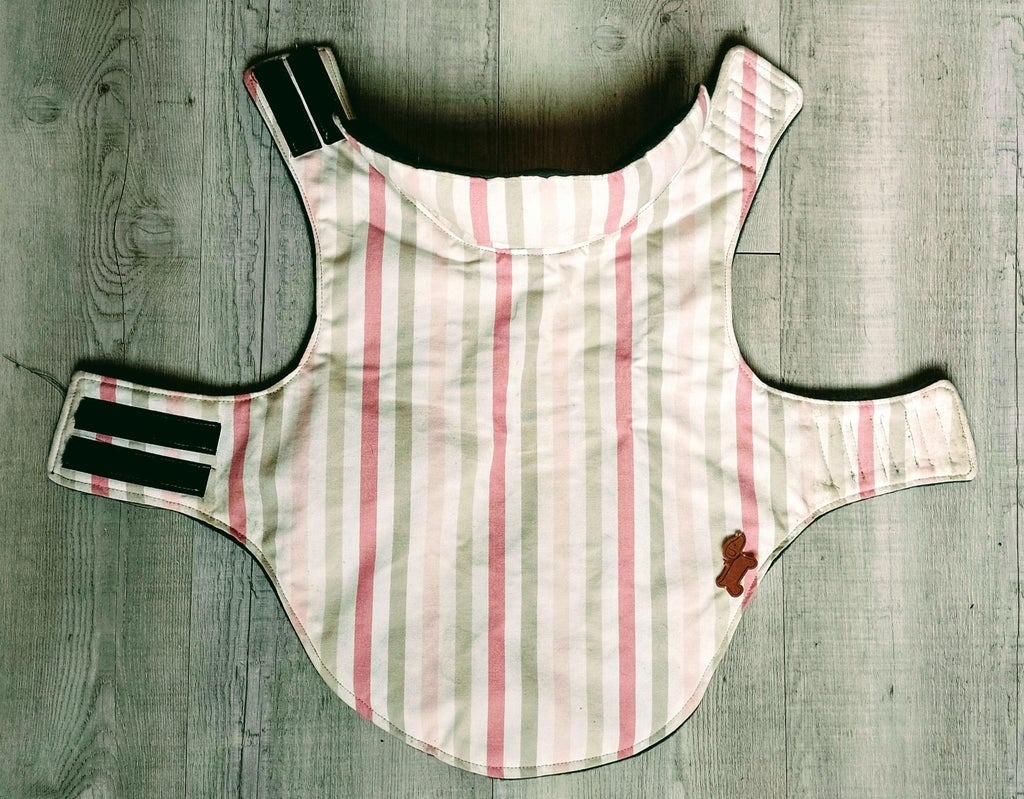
Start by printing the pattern provided in the attachment (3 pages) and assembling the pieces correctly. The jacket consists of two parts: the main body and the collar. Cut the main body part from the outer layer fabric, making sure to fold the fabric as indicated on the pattern. Repeat this process for the lining fabric.
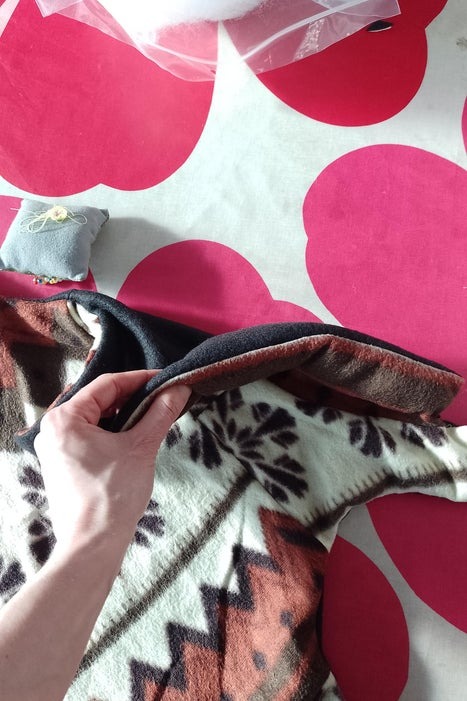
Step 2: Attach the Collar
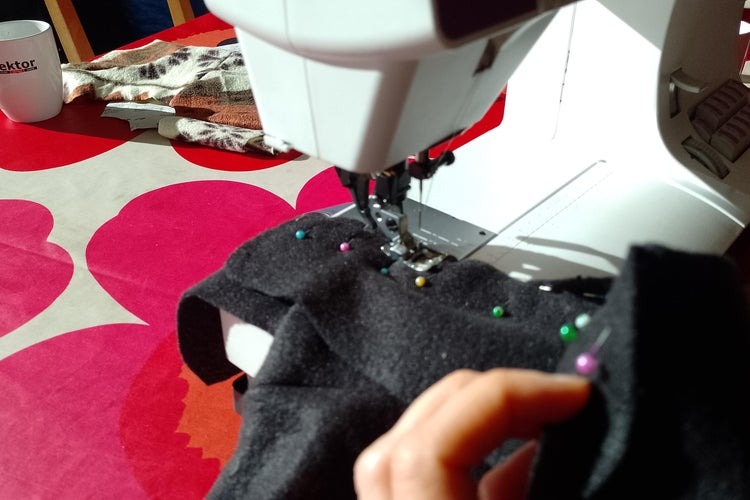
Pin the rounded side of the collar to the main body part, with right sides facing each other, and sew. Ensure the center of the collar aligns with the center of the main body part. Repeat this process for the lining fabric.
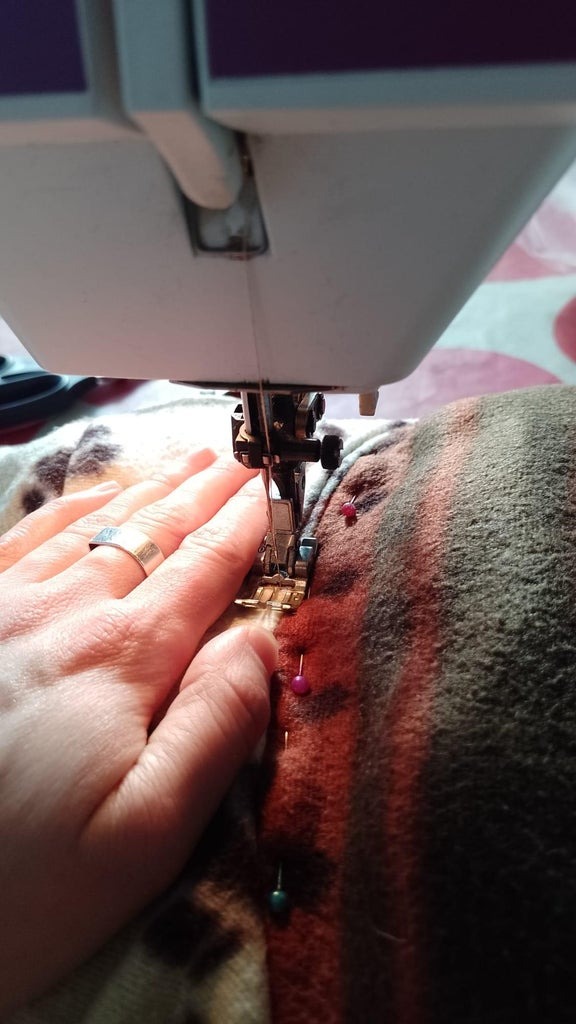
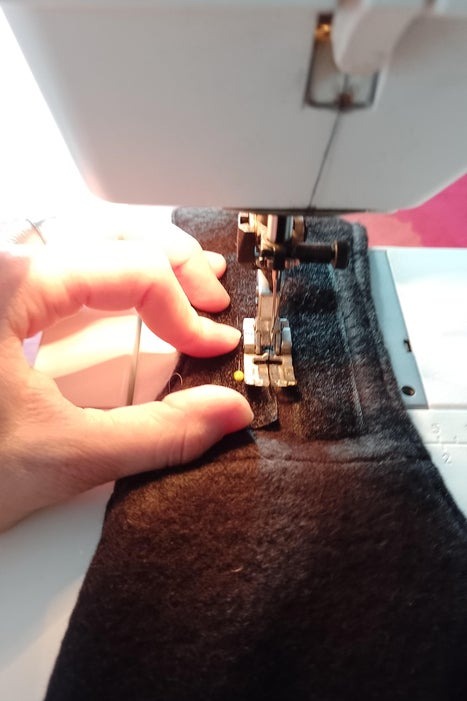
Step 3: Attach Inner and Outer Layer
Layer the outer and lining fabrics on top of each other, with right sides facing inwards. Pin them together around the edges and sew, leaving an opening for turning. This opening will be used later to flip the jacket inside out.
Step 4: Turn Inside Out
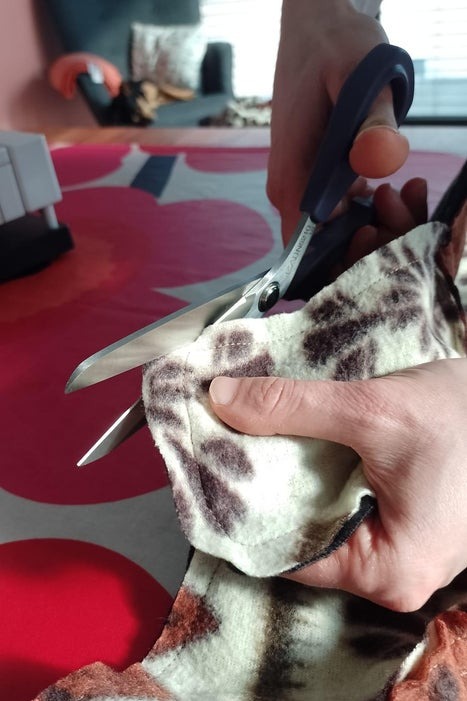
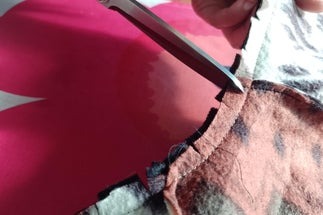
Make small snips in the hem where the curves are, and cut off any excess fabric. Then, carefully turn the jacket inside out through the opening, ensuring the rounded parts look neat.
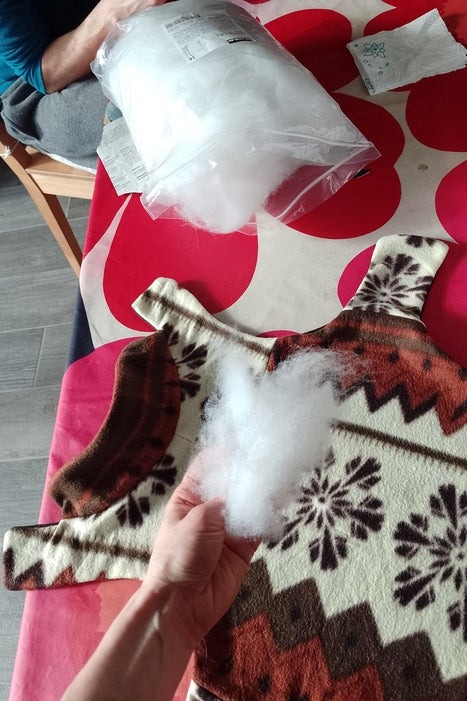
Step 5: Optional: Give More Volume to the Collar
If desired, add a bit of cotton fleece inside the collar for extra softness and structure. Sew an extra seam between the collar and the main body part to keep the cotton in place.
Step 6: Close the Turning Hole
Close the opening used for turning either by hand or by sewing an extra seam around the edges of the jacket.
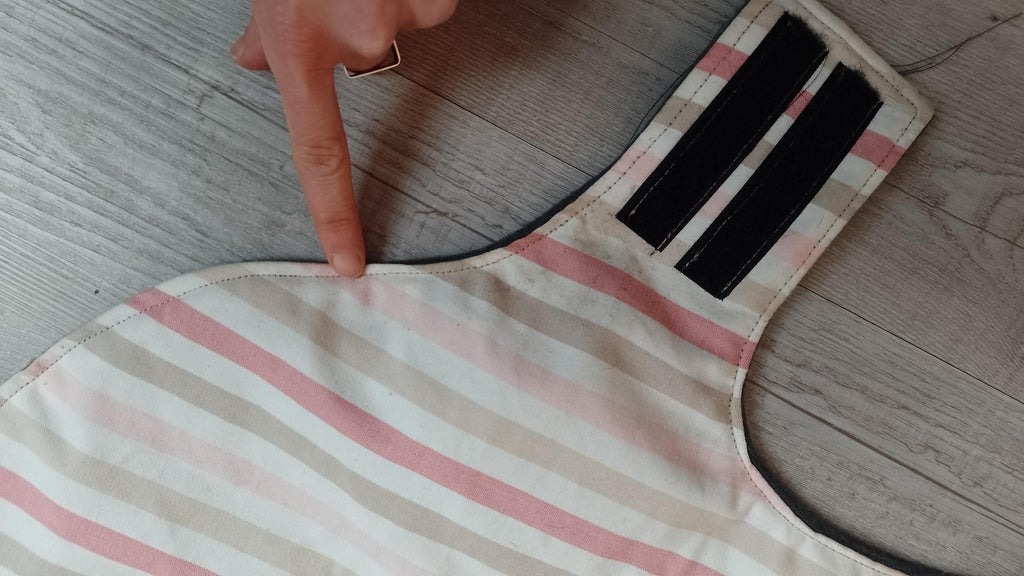
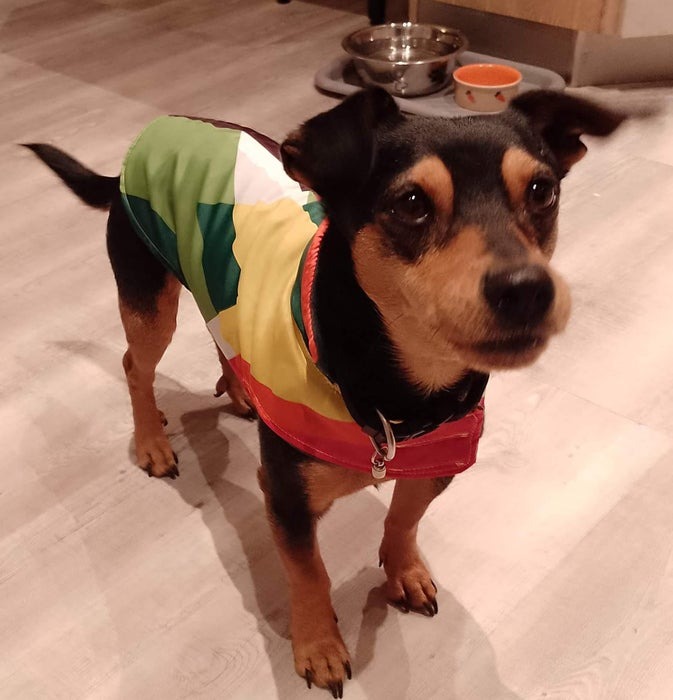
Step 7: Attach the Velcro
Attach Velcro strips to the parts of the jacket that go around the neck and chest. One part should be sewn onto the lining, and the other onto the outer layer. Adjust the length of the Velcro to fit your dog comfortably.
Step 8: That’s It!
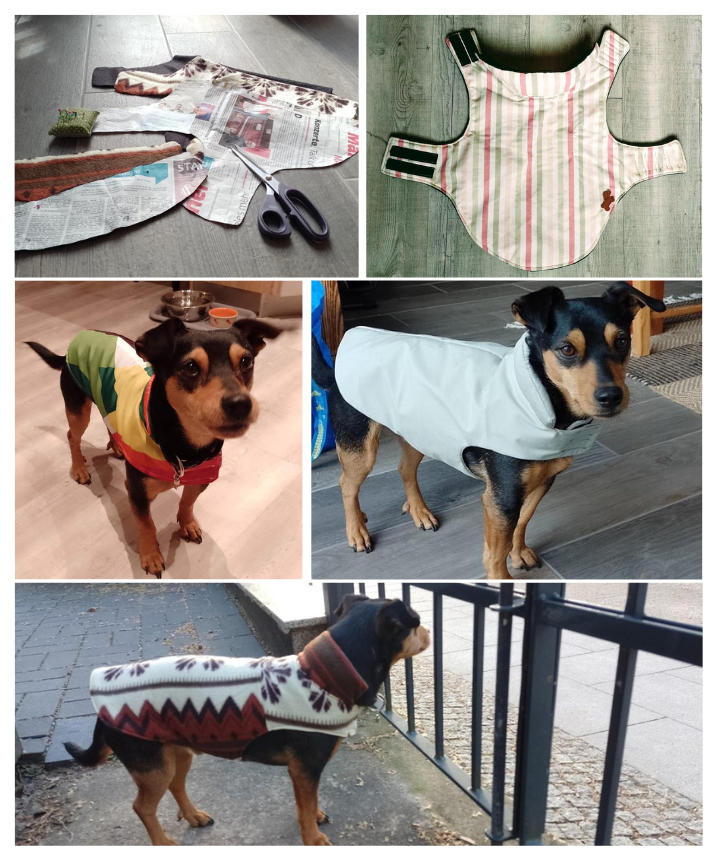
Your furry friend is now ready to strut their stuff in their new, handmade jacket. Enjoy those cozy walks together all winter long!
Whether you’re a seasoned seamstress or new to sewing, this simple dog jacket project is sure to be a hit. So gather your supplies, download the pattern, and let’s get crafting!