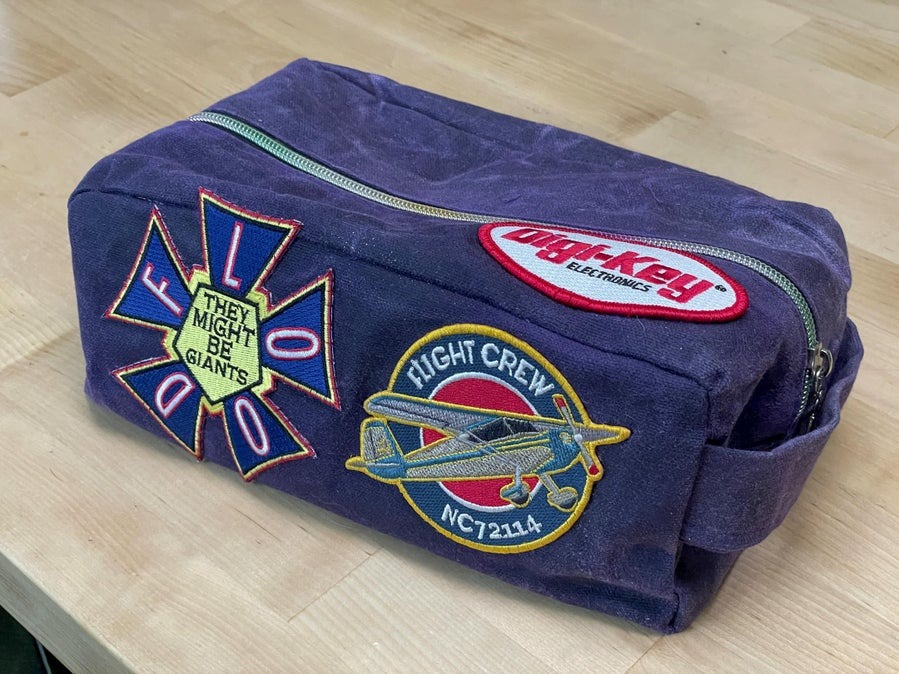
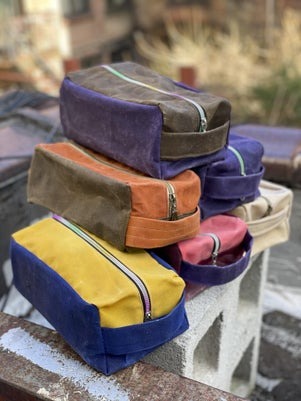
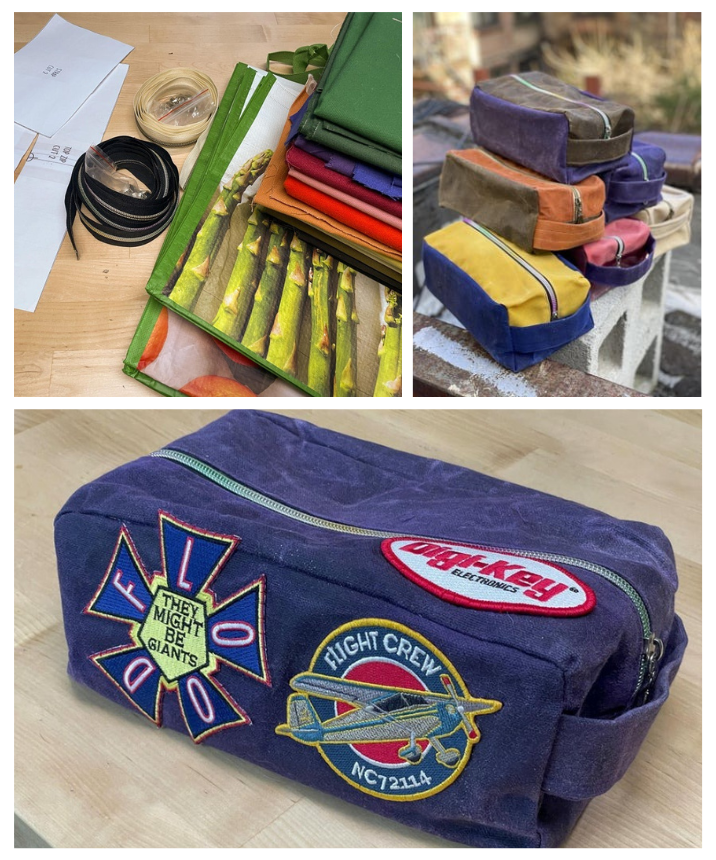
Introduction: In this step-by-step guide, I’ll show you how to sew a simple and satisfying dopp kit bag. Whether you’re a seasoned seamstress or new to sewing, this project is perfect for anyone looking to create their own stylish and practical bag.
Step 1: Gather Materials
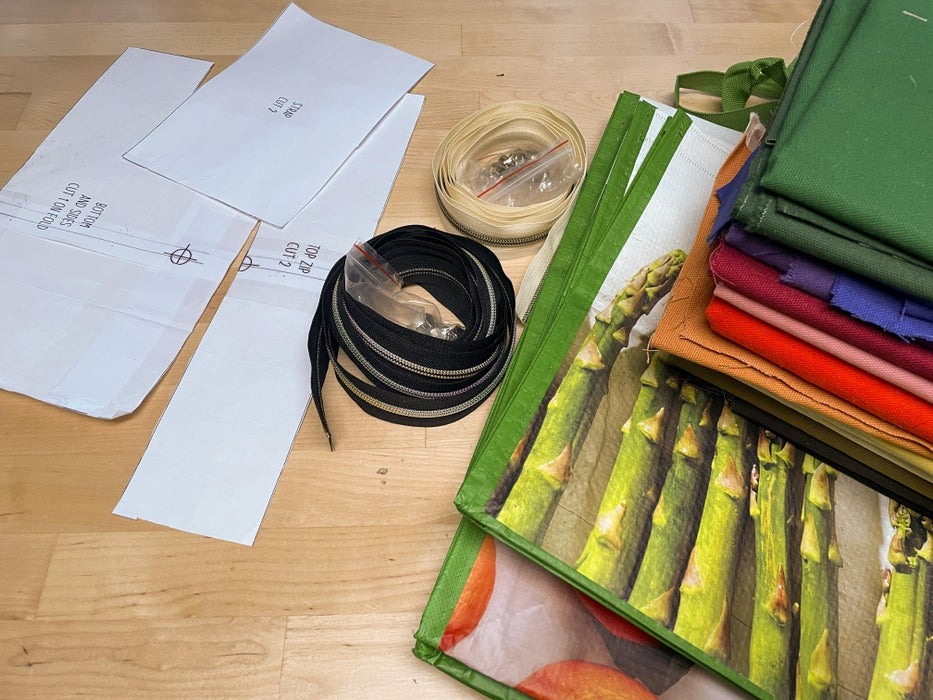
- Download the free pattern provided by Becky.
- Gather medium-weight cotton canvas fabric, a zipper, straps, and other necessary materials.
- Prepare your workspace and equipment.
Step 2: Cut Out Fabric Pieces
- Wash and iron your fabric.
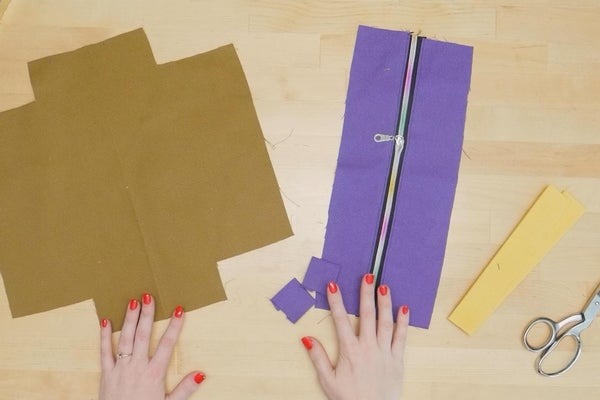
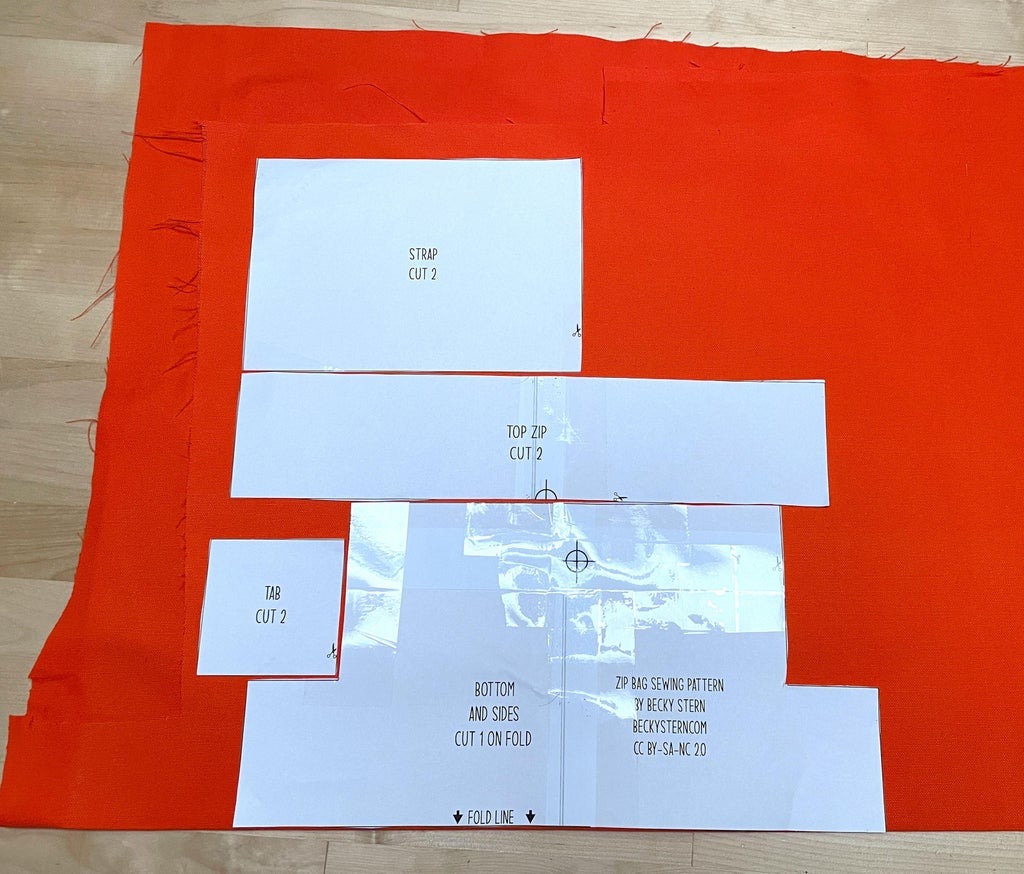
- Use the provided pattern to cut out the necessary fabric pieces, including the main body, straps, and zipper tabs.
Step 3: Prepare Straps and Tabs
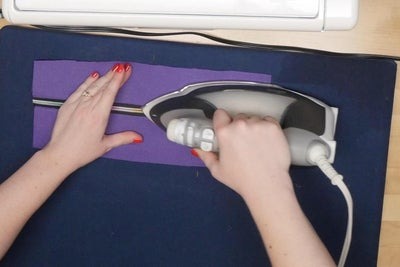
- Iron the straps and tabs to fold them neatly.
- Consider using nylon webbing for added durability, especially if using recycled grocery bags.
Step 4: Install the Zipper
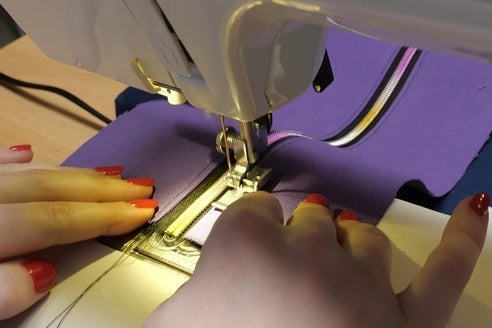
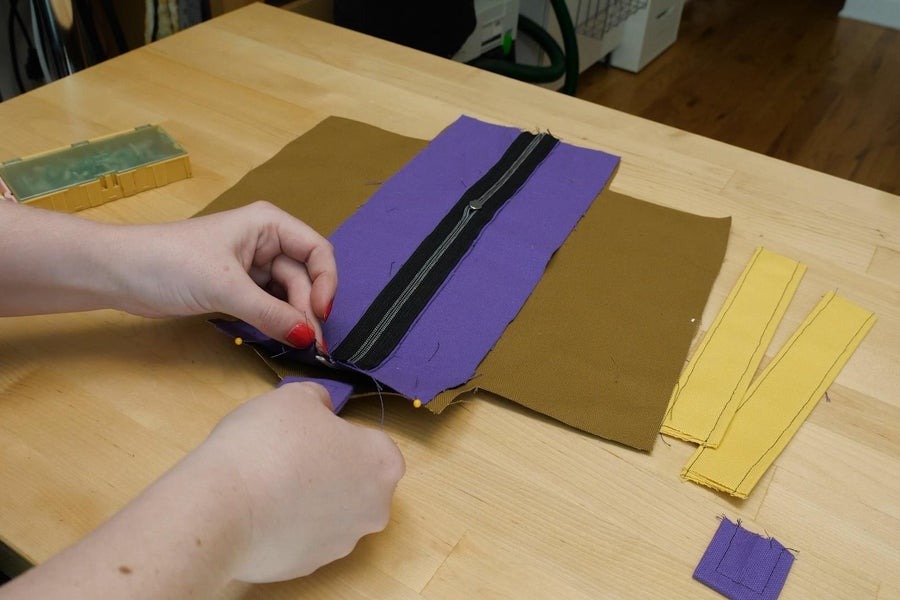
- Attach the zipper to the main body of the bag using a zipper foot.
- Topstitch for strength and a finished look.
- Add zipper pulls if necessary.
Step 5: Stitch Pieces Together
- Pin and stitch the fabric pieces together, starting with the seams across the ends of the zipper.
- Secure straps and tabs in place before sewing up the long side seams.
Step 6: Finish Seams and Topstitch
- Iron seams away from the zipper and topstitch for extra strength.
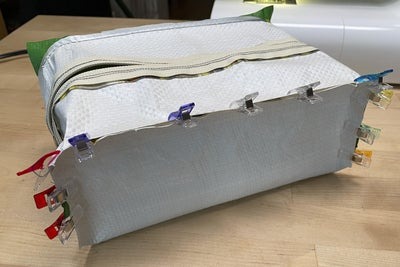
- Use clips or pins to ensure accurate stitching along the side seams.
- Sew straight stitches along the seams, backstitching at the corners.
Step 7: Optional Waxing
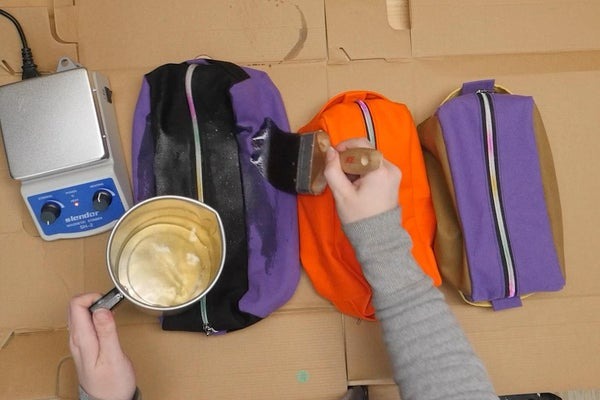
- For added durability and water resistance, consider waxing the bag.
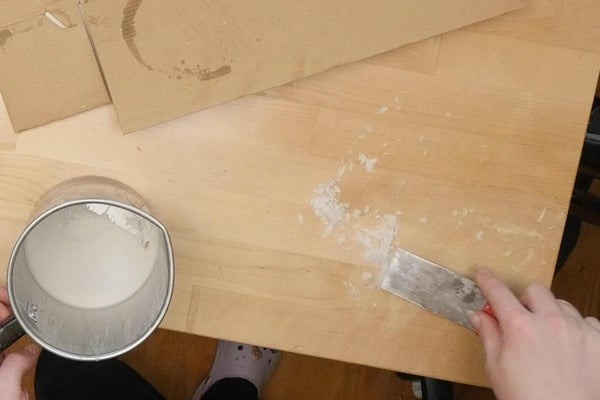
- Melt wax and apply it evenly to the bag using a brush.
- Use a heat gun or oven to set the wax into the fabric.
Step 8: Add Personal Touches
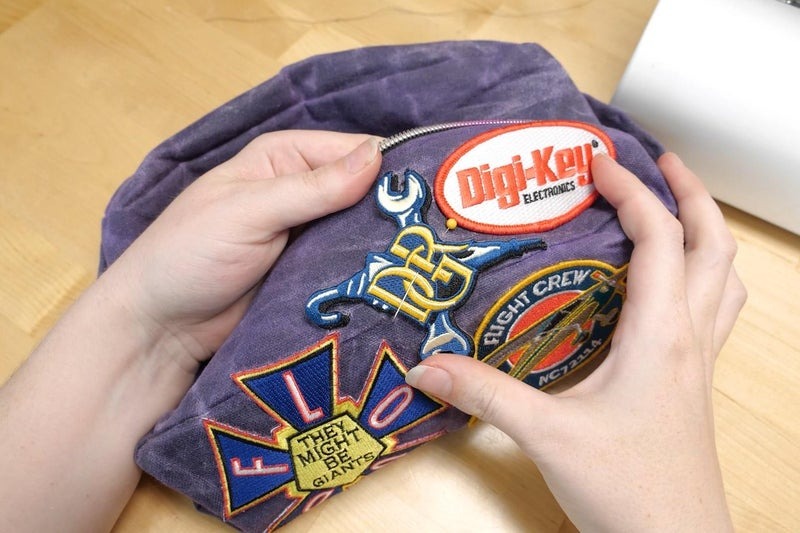
- Customize your bag by adding patches or accessories.
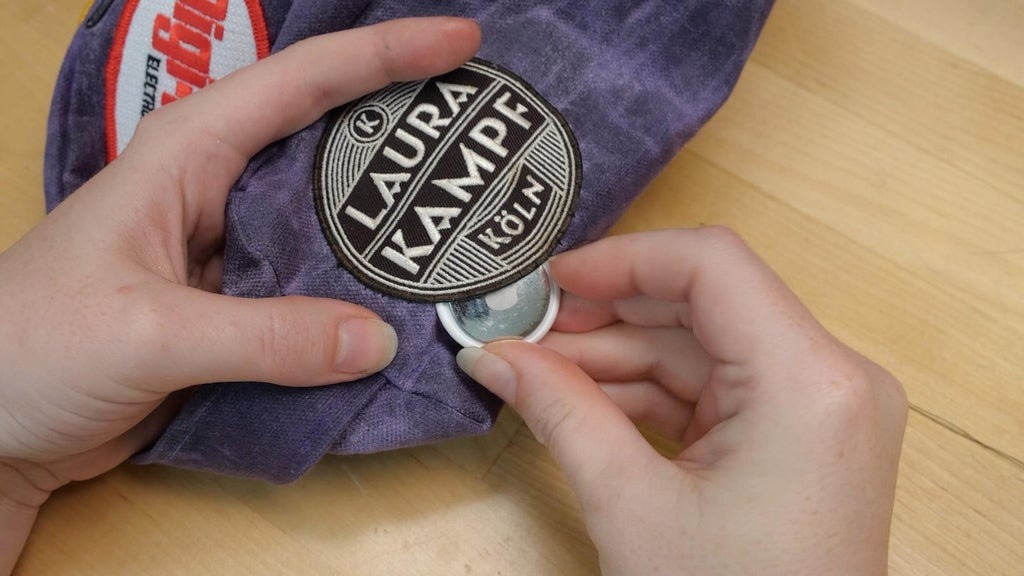
- Hide an airtag behind a patch for easy tracking.
Conclusion: Congratulations, you’ve completed your very own handmade dopp kit bag! Perfect for traveling or gifting to someone special. Experiment with different fabrics and embellishments to make it truly unique to you. Enjoy your new creation!
