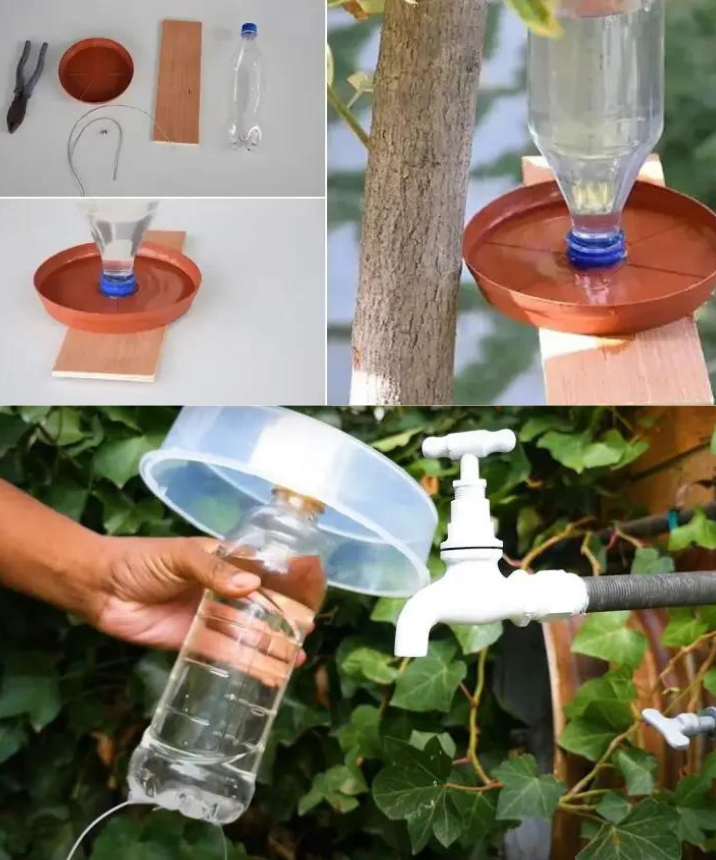
Making an automatic waterer for your vegetables with a plastic bottle is a practical and economical solution to ensure regular hydration of your plants, especially during hot periods. Here’s how to proceed step by step:
Materials Needed:
- One large plastic bottle (2 liters or more).
- One small plastic container (such as a yogurt container or a bottle cap).
- A knife or scissors.
- Waterproof adhesive tape.
- Water.
Steps to Make it:
- Start by cutting the bottom of the plastic bottle with the knife or scissors. Make sure the cut is clean and precise.
- Remove the cap from the bottle and place the bottle upside down so that the neck is facing downwards.
- Take the small plastic container and make a hole in the center, the size of the bottle neck.
- Insert the neck of the bottle into the hole in the plastic container so that it fits securely.
- Securely fasten the neck of the bottle to the plastic container with waterproof adhesive tape. Make sure there are no leaks.
- Fill the bottle with water to about halfway full.
- Replace the cap on the bottle, making sure it is tightly secured.
- Flip the bottle and bury it in the ground next to your plants, so that the neck is buried in the soil and the plastic container is above the soil surface.
- Water will flow slowly from the bottle neck into the soil, ensuring consistent and regular hydration of your vegetables.
This automatic waterer system will allow your plants to absorb the water they need as they grow, saving you the need to water them frequently, especially in case of prolonged absence. Make sure to regularly check the water level in the bottle and refill it as needed.