Are you ready to create your own unique Japanese Boro Denim Tote Bag? This step-by-step tutorial will guide you through the process with detailed instructions and pictures. Let’s get started!
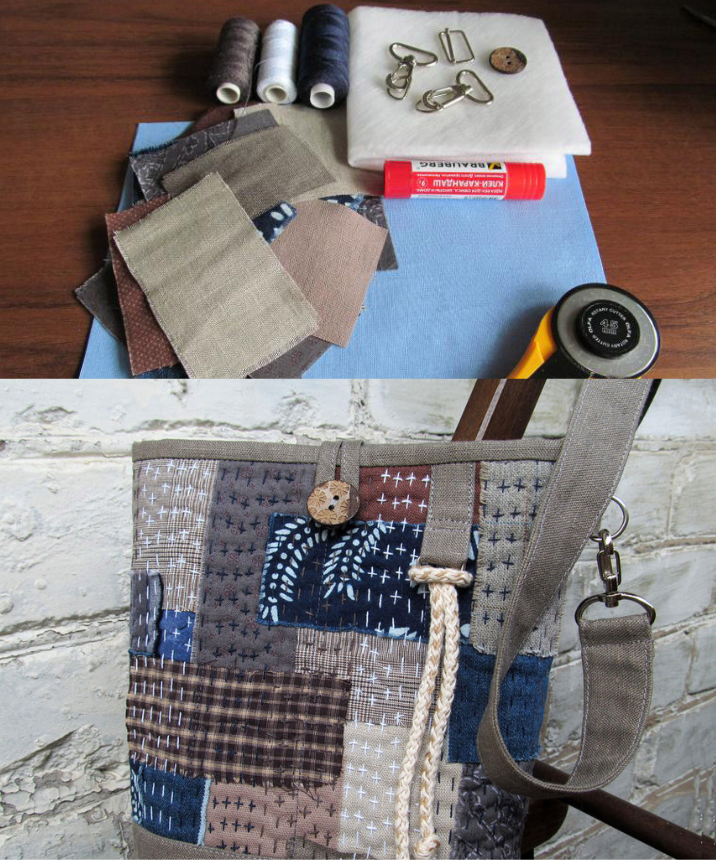
Materials Needed:
- Flax and cotton fabrics
- Interfacing or polyester batting
- Glue stick
- Denim thread
- Metal fittings
Step 1: Prepare Your Fabrics For this project, it’s best to choose cotton or linen fabrics as they fray nicely around the edges. Cut your fabrics into patches of various shapes – rectangles, squares, or any shape you prefer. The size of the finished bag will be approximately 21 x 23 cm.
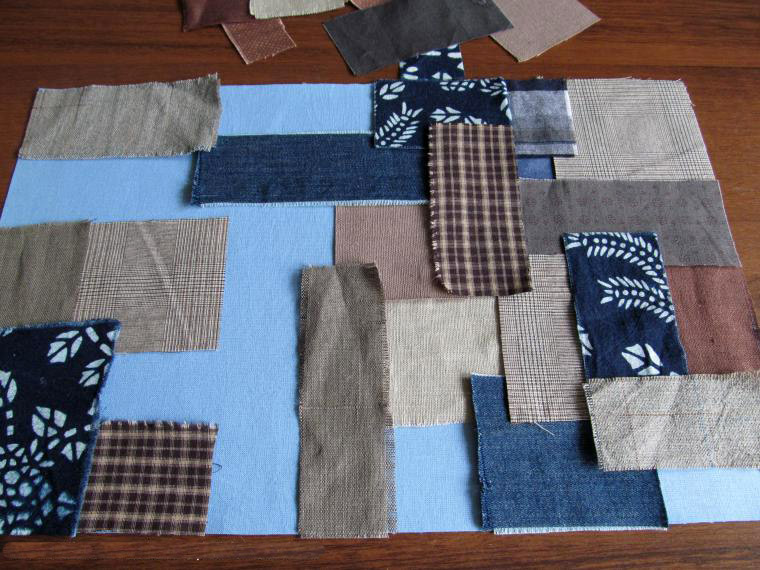
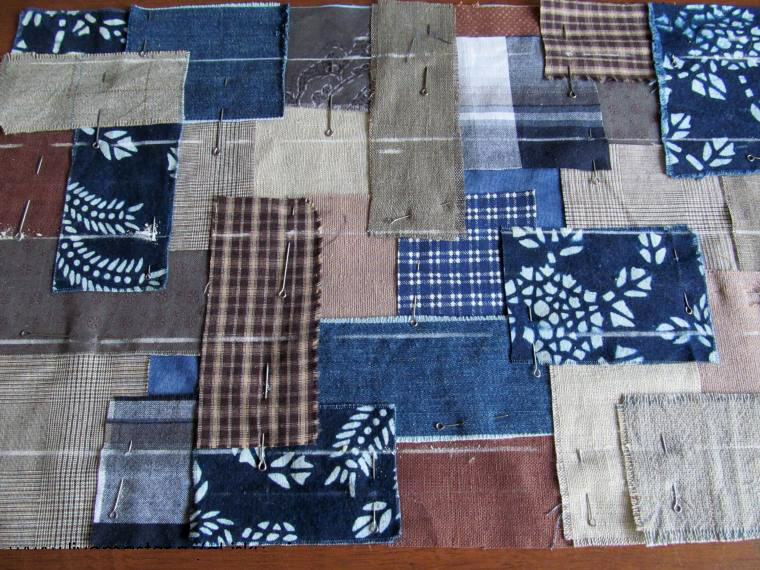
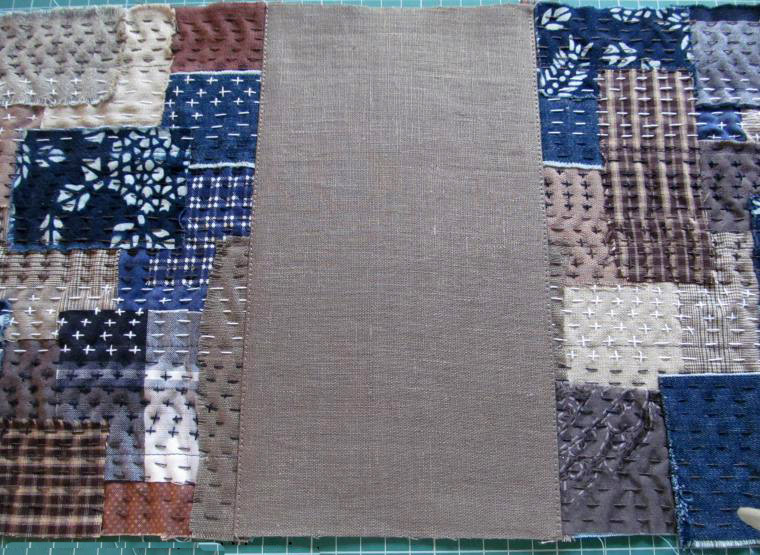
Step 2: Arrange Your Patches Take a piece of cotton fabric for the base, preferably coarse calico, measuring 25 x 39 cm. Begin arranging your fabric patches on the base in a random but overlapping manner, leaving about 1.5-2.0 cm of overlap between each patch.
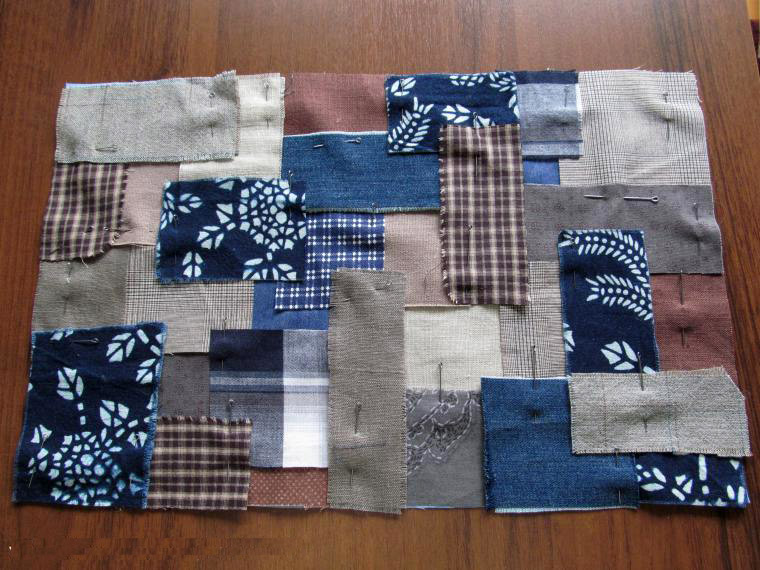
Step 3: Create Your Design Experiment with the placement of your patches until you’re satisfied with the overall design. Twist, turn, and shift the patches until the pattern pleases your eye.
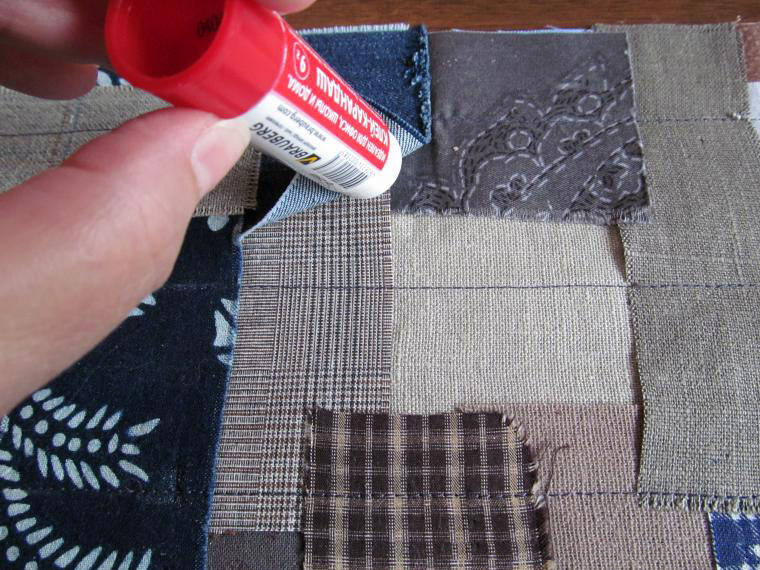
Step 4: Secure the Patches To make it easier to stitch, sew a vertical machine line approximately 5–7 cm long to secure the patches in place. Then, use a regular adhesive pencil to glue down all the corners of the patches. Don’t worry, the pencil won’t leave marks, but it’s always a good idea to test it on a separate piece first.
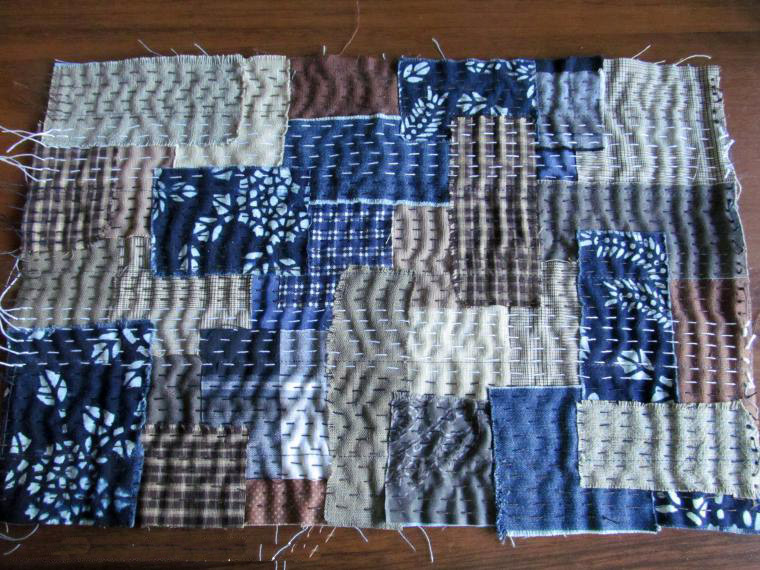
Step 5: Stitch Your Design Using denim thread, start stitching forward with a needle, using a stitch length of 0.5 – 0.7 cm. Feel free to embroider crosses or other embellishments as desired.
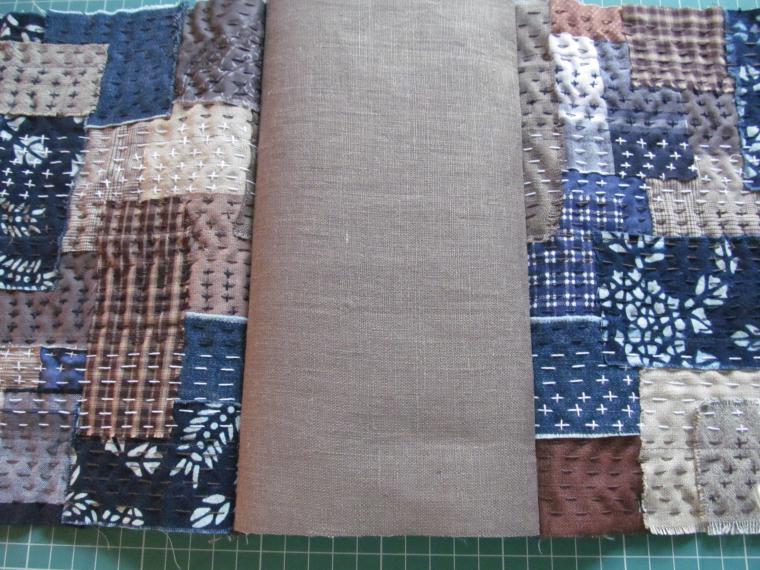
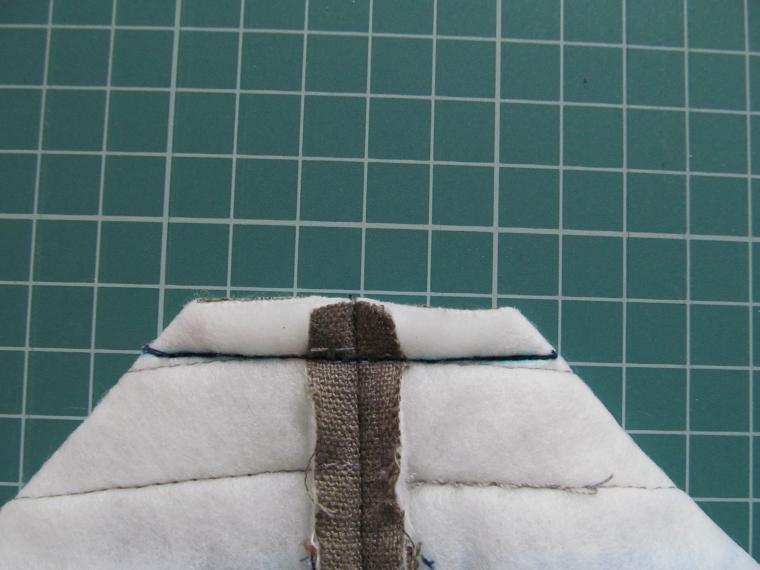
Step 6: Prepare the Bag Base Mark the workpiece into two equal parts and sew a small (1mm) anchoring seam on both sides of the marking line and along the perimeter to prevent the decorative seam from unraveling. Cut the workpiece along the marking line and insert the glued bottom of the bag (15 x 25 cm) between the two parts.
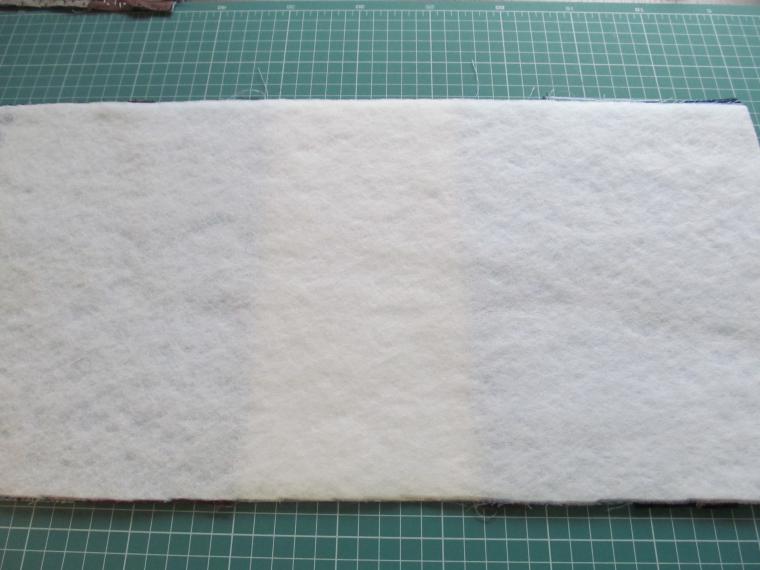
Step 7: Sew the Bottom Strengthen the workpiece with volume interfacing or thin polyester batting. Sew the bottom of the bag on the sewing machine, leaving a seam allowance of 1.5 – 2.0 cm. Trim the edges without cutting off the fastening stitch.
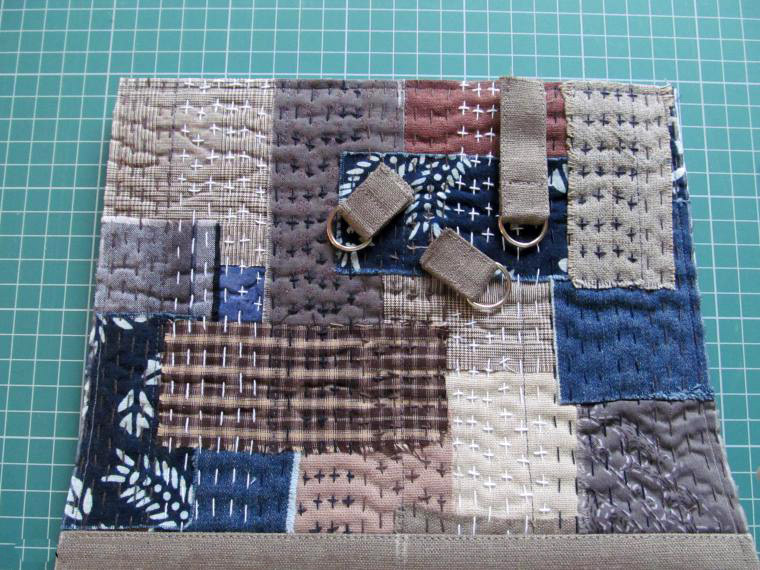
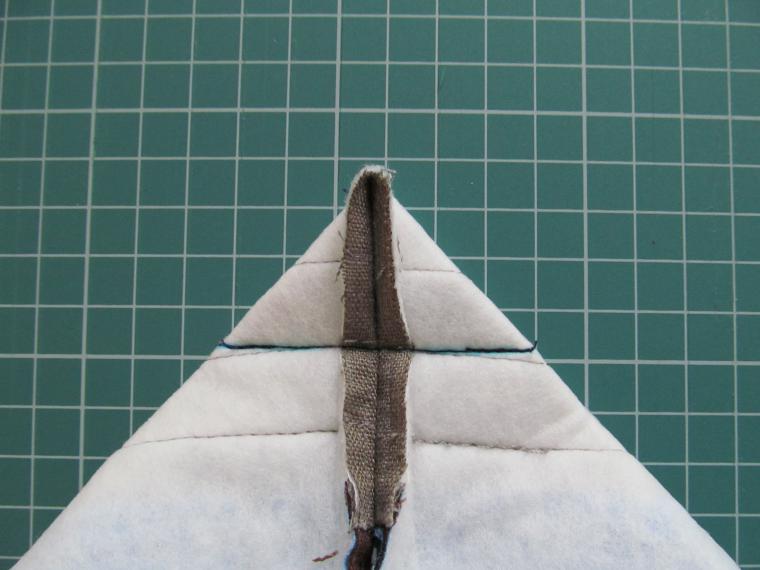
Step 8: Complete the Bag Sew the side seams of the bag, inserting loops in the upper part. Trim excess fabric, smooth the seams, and turn the bag right side out.
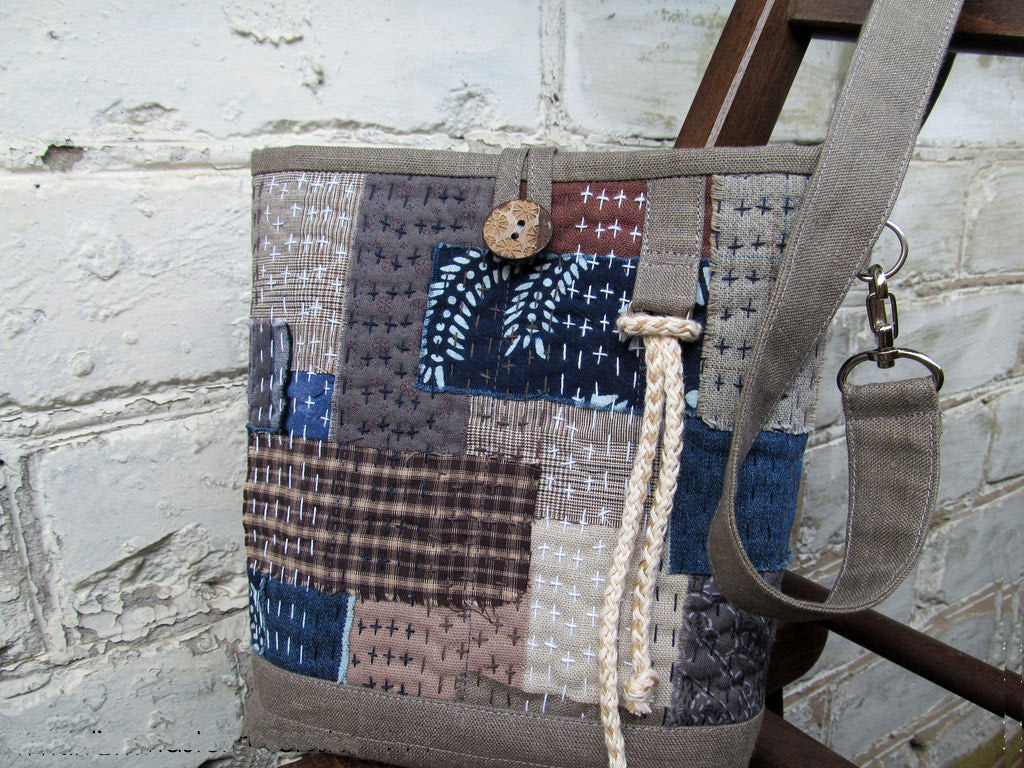
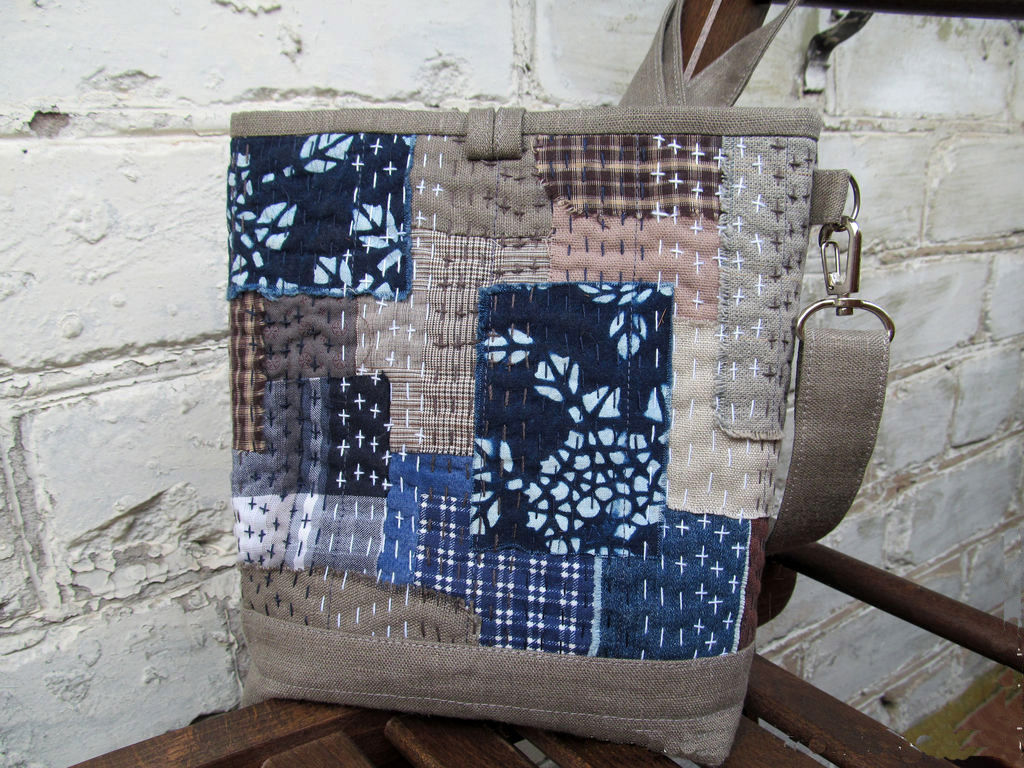
Step 9: Add Lining and Closure For the lining, use one of the fabrics and don’t forget to include an inner pocket. Sew the buttonhole and button, insert the lined bag into the tote, and finish the upper edge. Finally, create a fabric strip for the handle, attach metal fittings, and sew on a carabiner.
Congratulations! You’ve completed your Japanese Boro Denim Tote Bag. Enjoy using your unique creation or give it as a thoughtful handmade gift to someone special. Happy sewing!