Do you include your pets in your holiday celebrations? We do! We have ever since our only “kid” was a furry terrier mutt. Now us humans are outnumbered by animals by a six-to-one ratio (literally), and we still make sure all of our animal friends have gifts on Christmas morning!
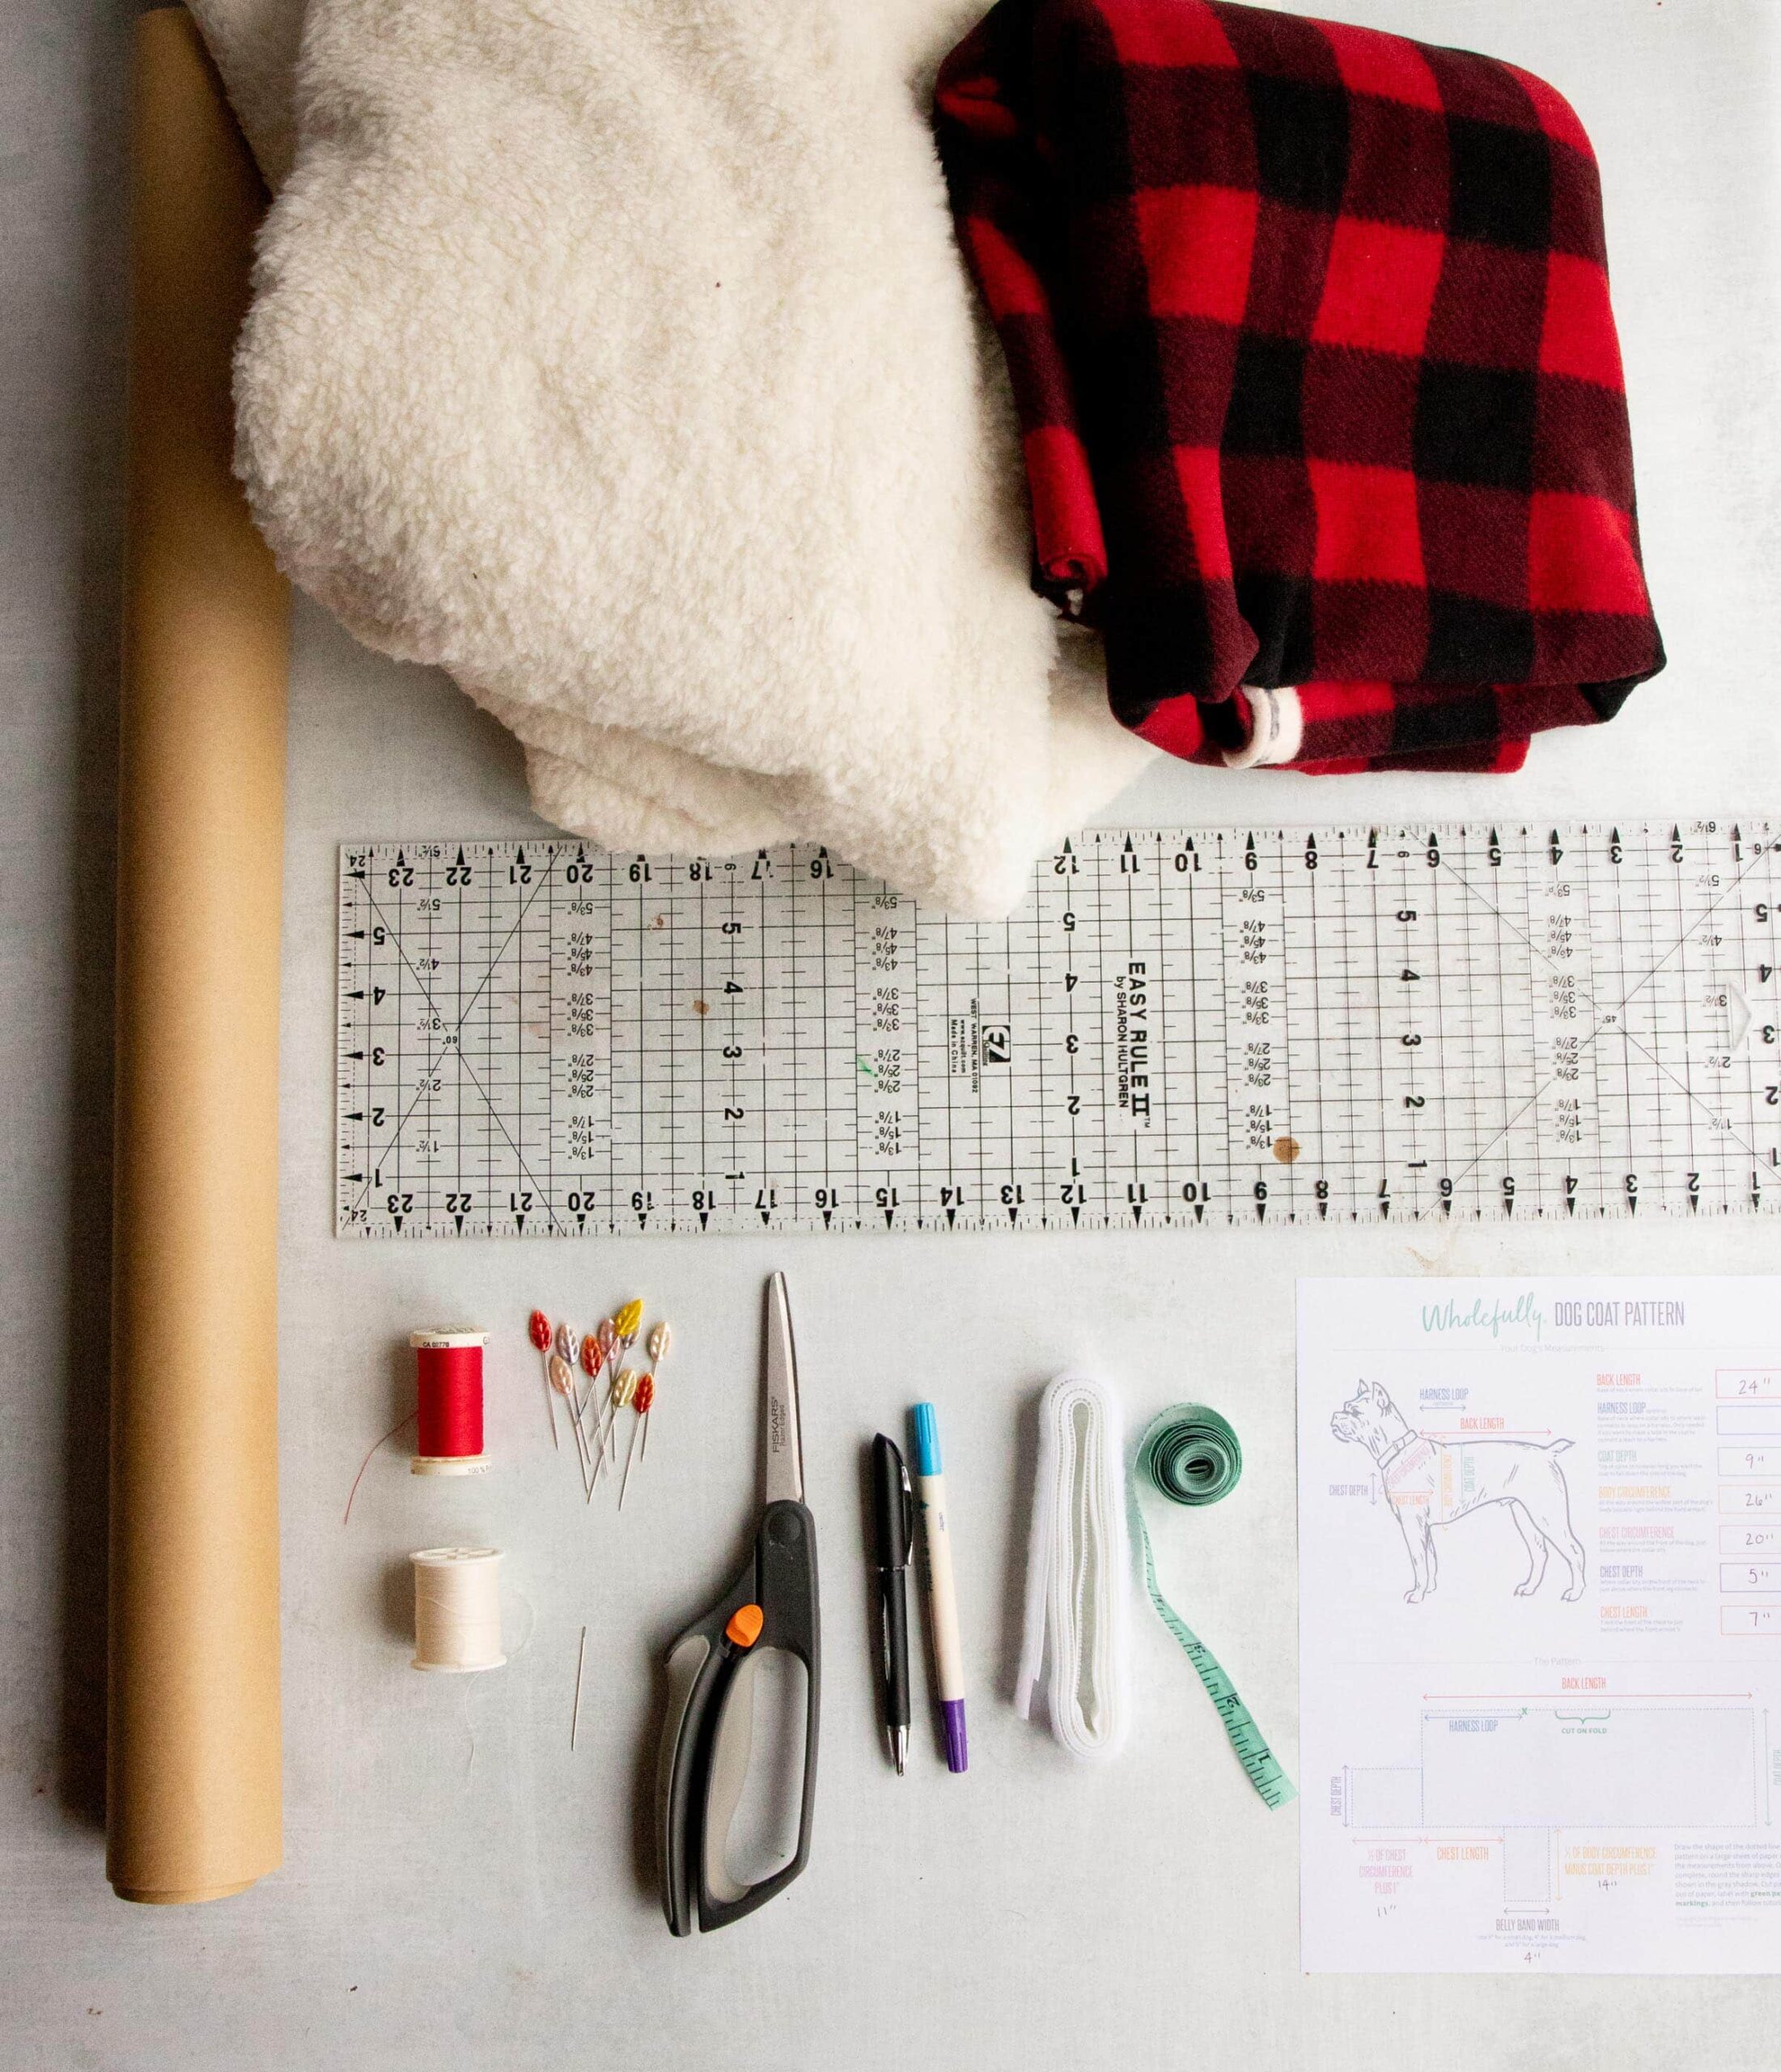
Materials
- Pattern printable
- Pattern paper (you can buy specific paper, but any large, blank paper will do—old wrapping paper, newsprint, kraft paper, etc.)
- Measuring tape
- Pencil or pen
- Ruler
- Scissors
- 1 yard fleece*, for the outside
- 1 yard sherpa/faux fur*, for the lining
- Coordinating thread
- Sewing machine (you can sew this by hand, too)
- Sewing needle
- 12” of 1-inch wide sew-on hook-and-loop fastener
- Iron and ironing board
- Straight pins
- Disappearing ink pen
* This amount of fabric will work for most dogs. If you have a tiny dog, you’ll have quite a bit left over, and if you have a very large dog, you’ll need to get more. My philosophy is that it’s always better to err on the side of having too much fabric than not enough.
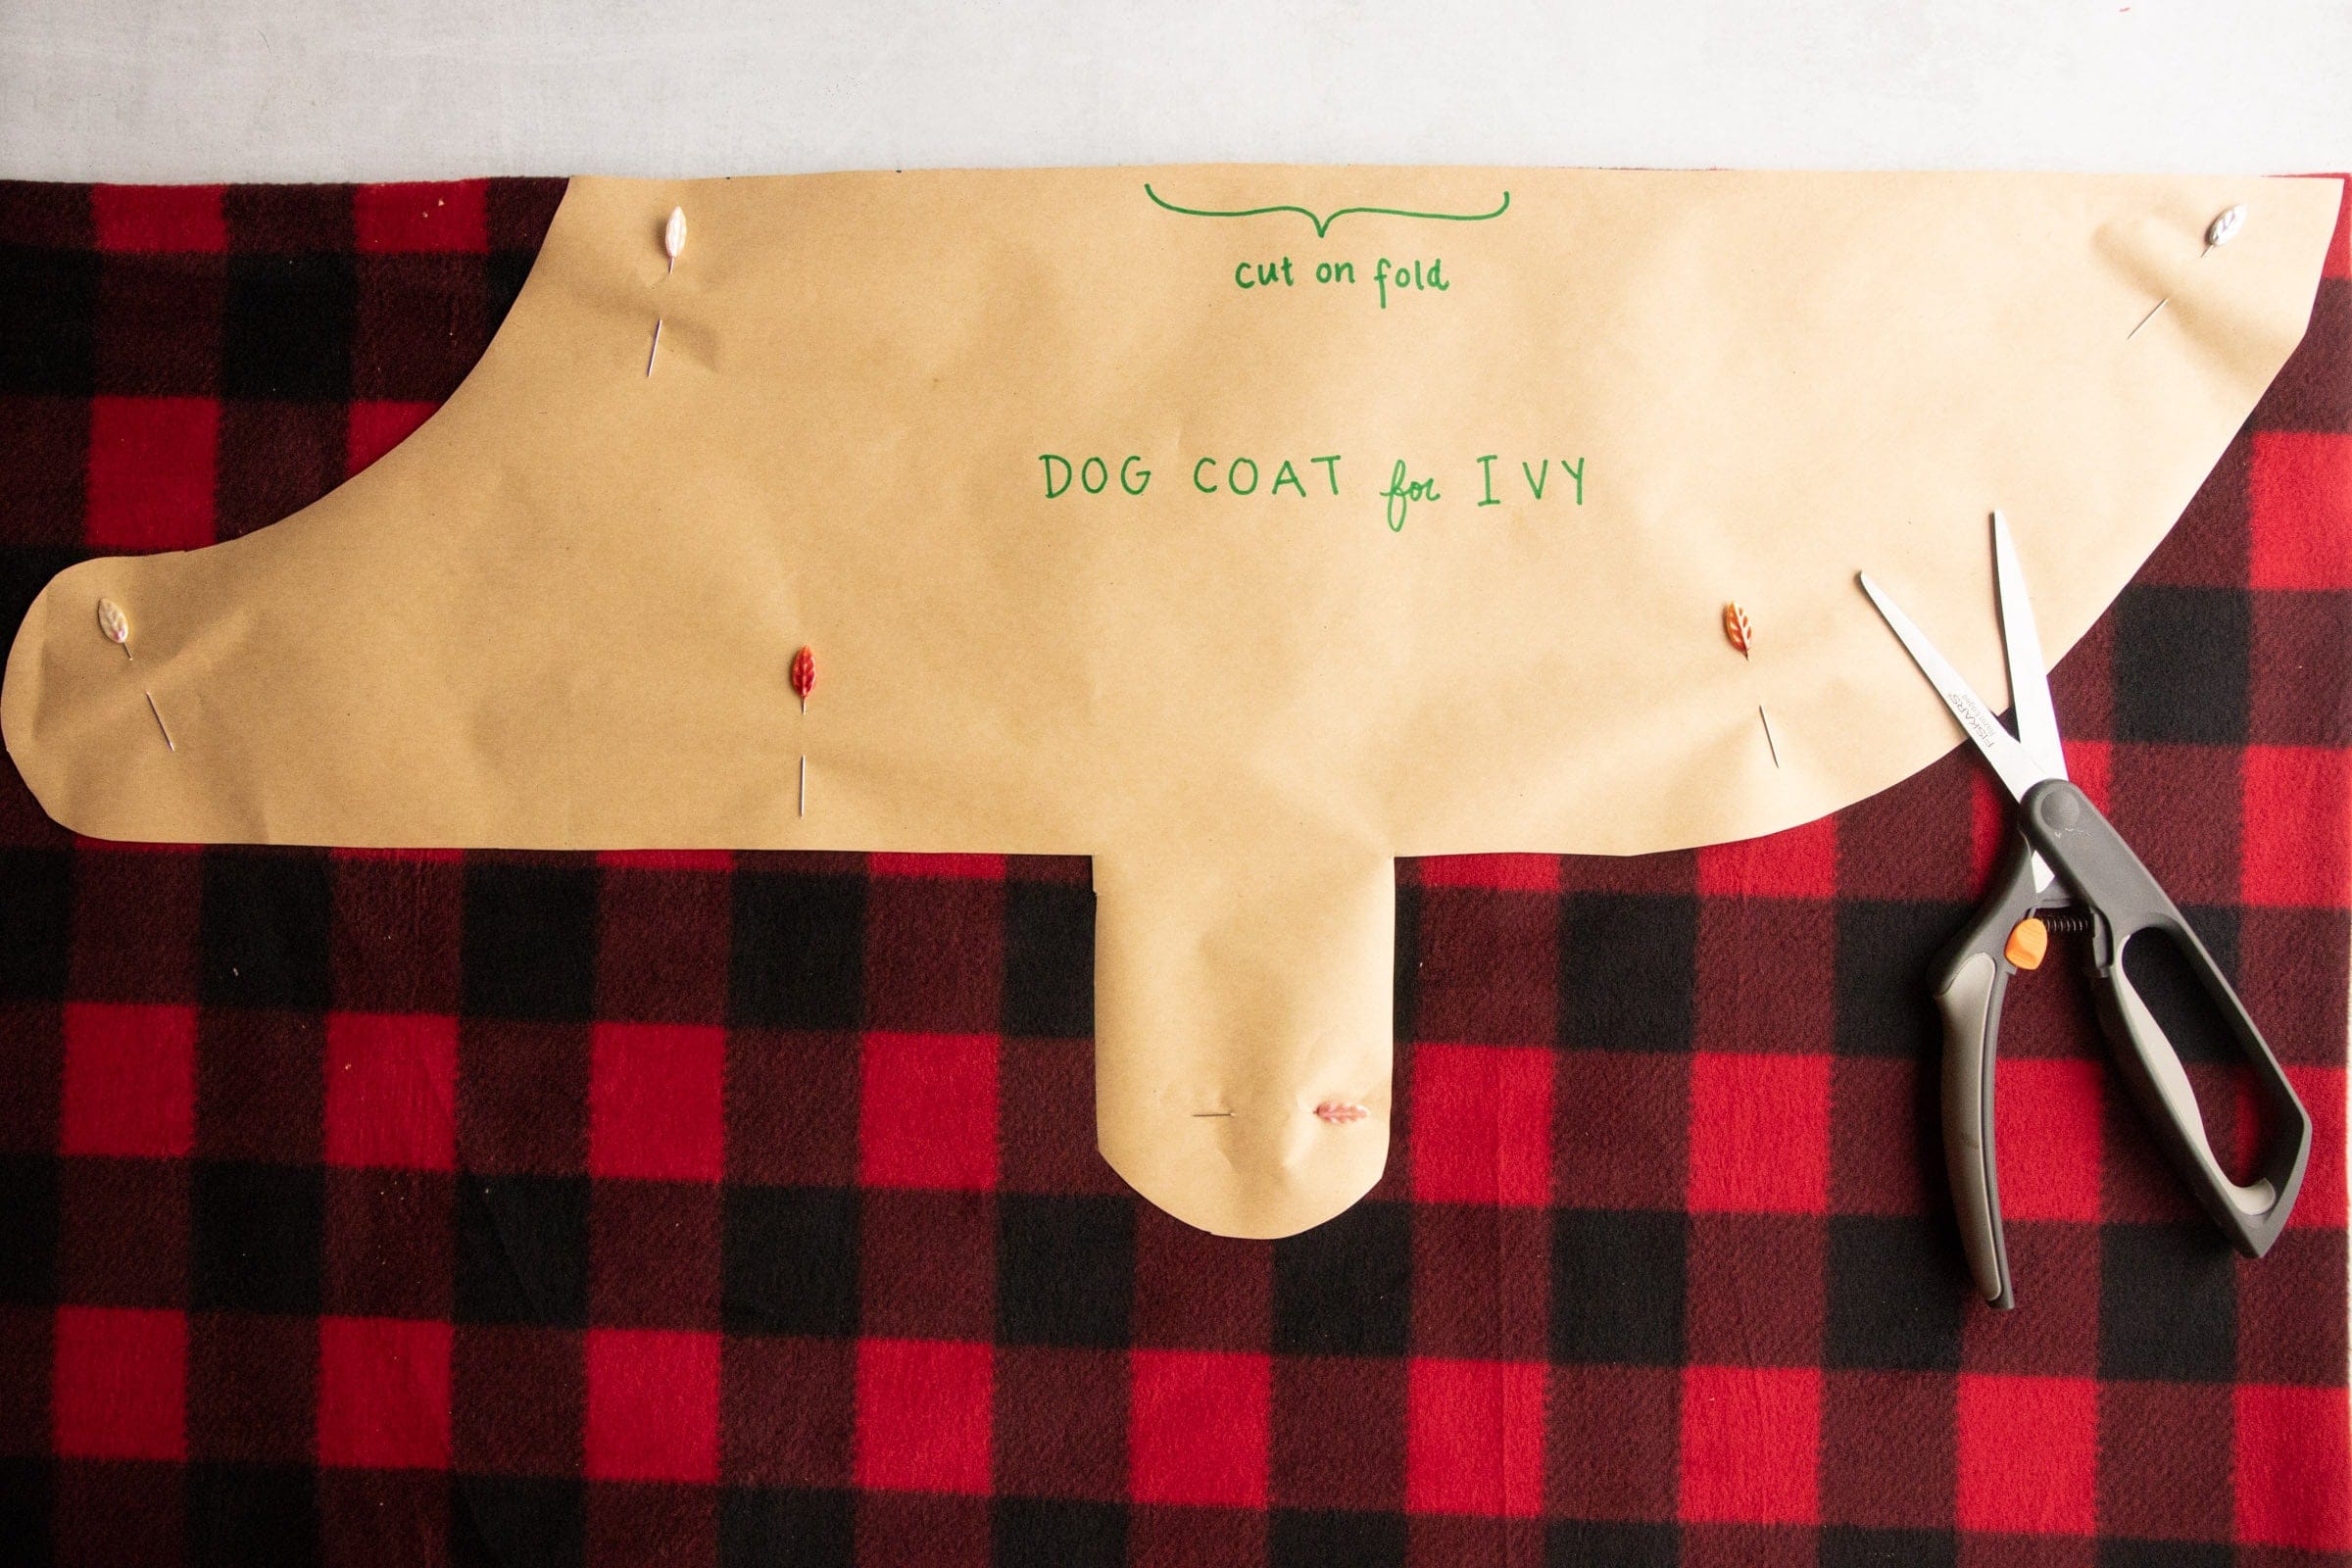
Step 1: Make the Pattern for Your Custom Dog Coat
Dogs are all shapes and sizes, so we’re going to custom-make a pattern—it sounds complicated, but I promise it’s a breeze! It’s the best way to make sure the coat fits your dog beautifully. And I made a printable for you to make the process even simpler.
First, you need some measurements. Get out your measuring tape, and measure the spots on your dog to fill in the printable. I recommend being generous with your measuring—don’t make the measuring tape too tight. I sewed with a 3/8″ seam allowance here and didn’t add it to my pattern because I knew I measured loosely. Dogs fluctuate in weight just like humans do, so it’s nice to have a little bit of space to be able to adjust. Write all those measurements down in the spaces provided.
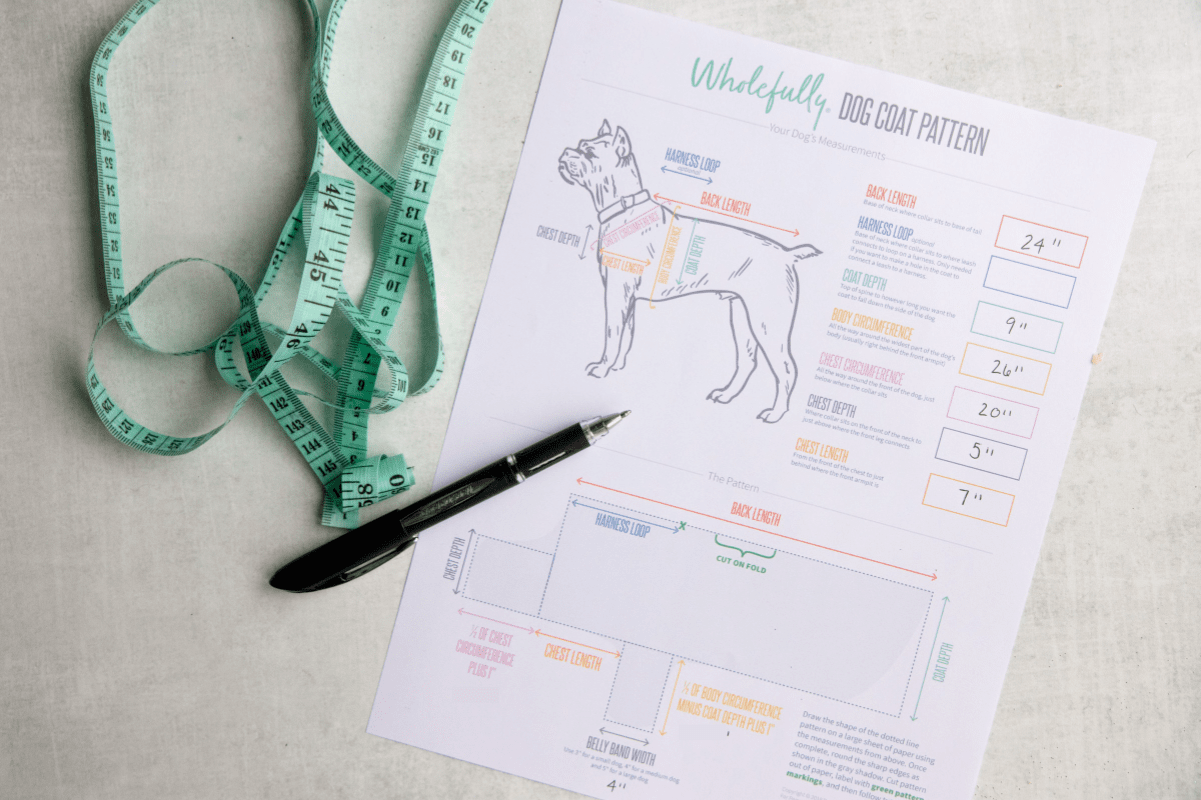
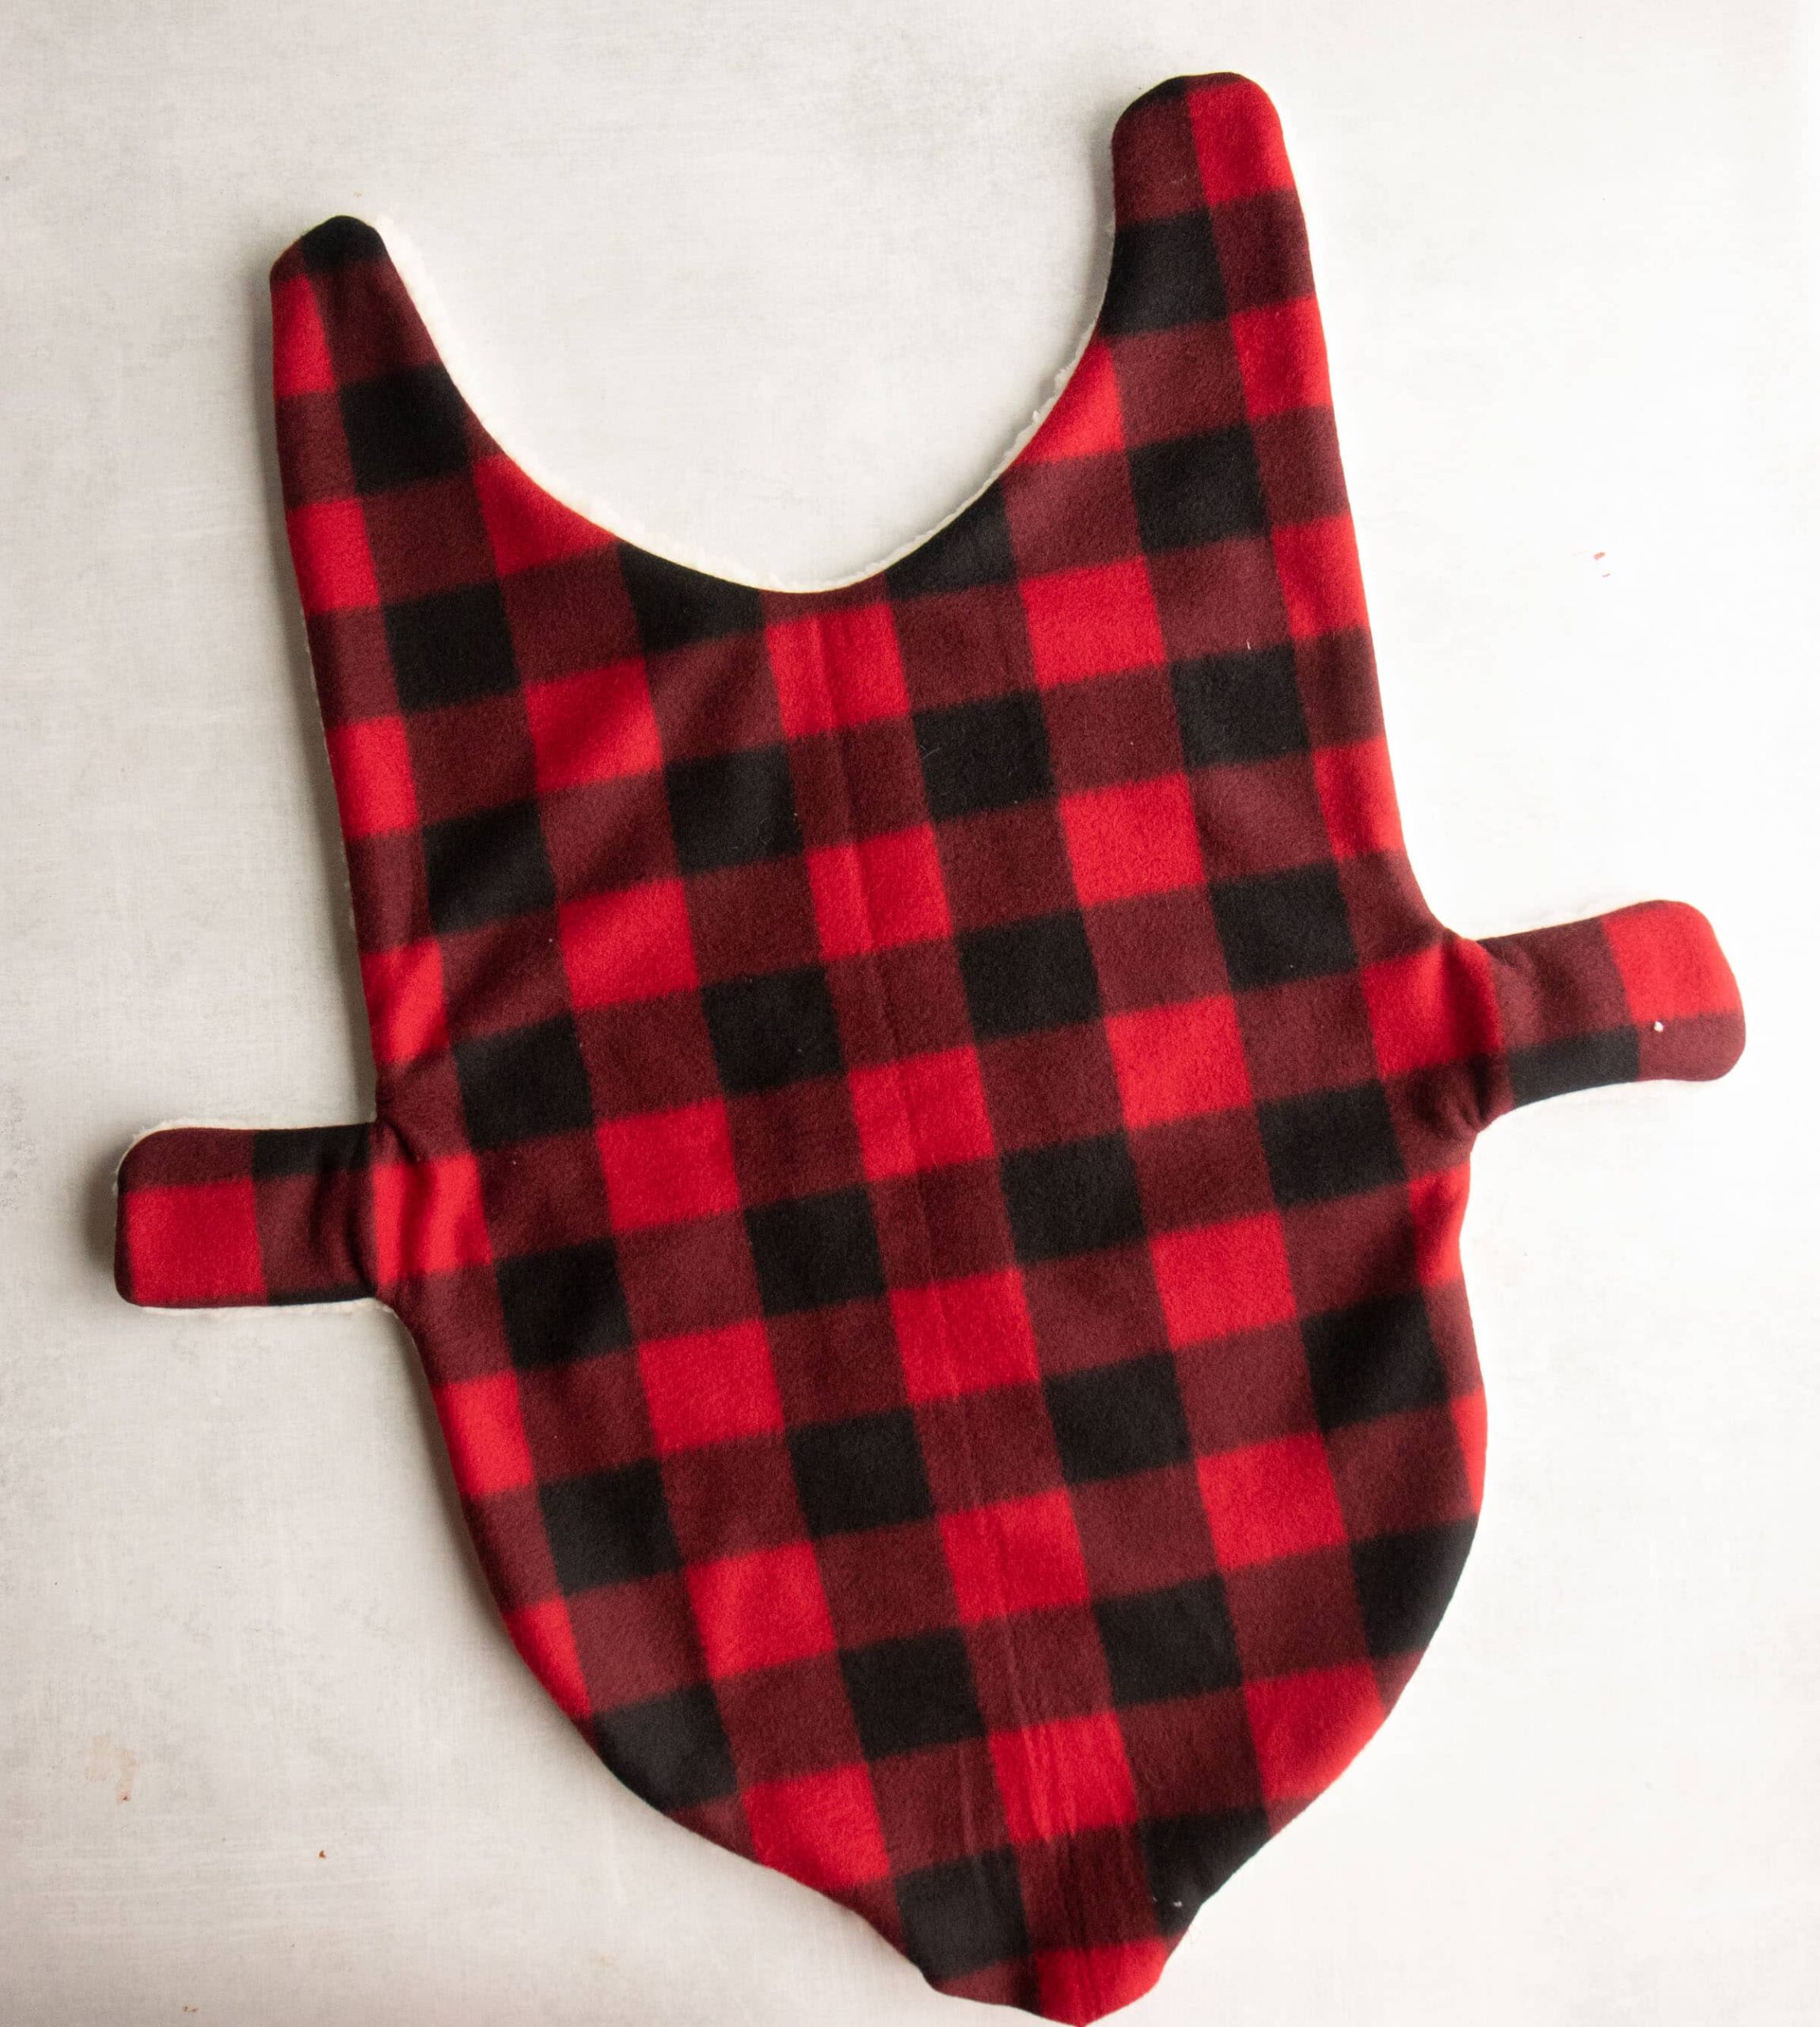
Next, using the measurements you just took, recreate the shape at the bottom of the printable to scale on a large sheet of pattern paper, wrapping paper, newsprint, or any other large sheet of paper. This shape will look very boxy.

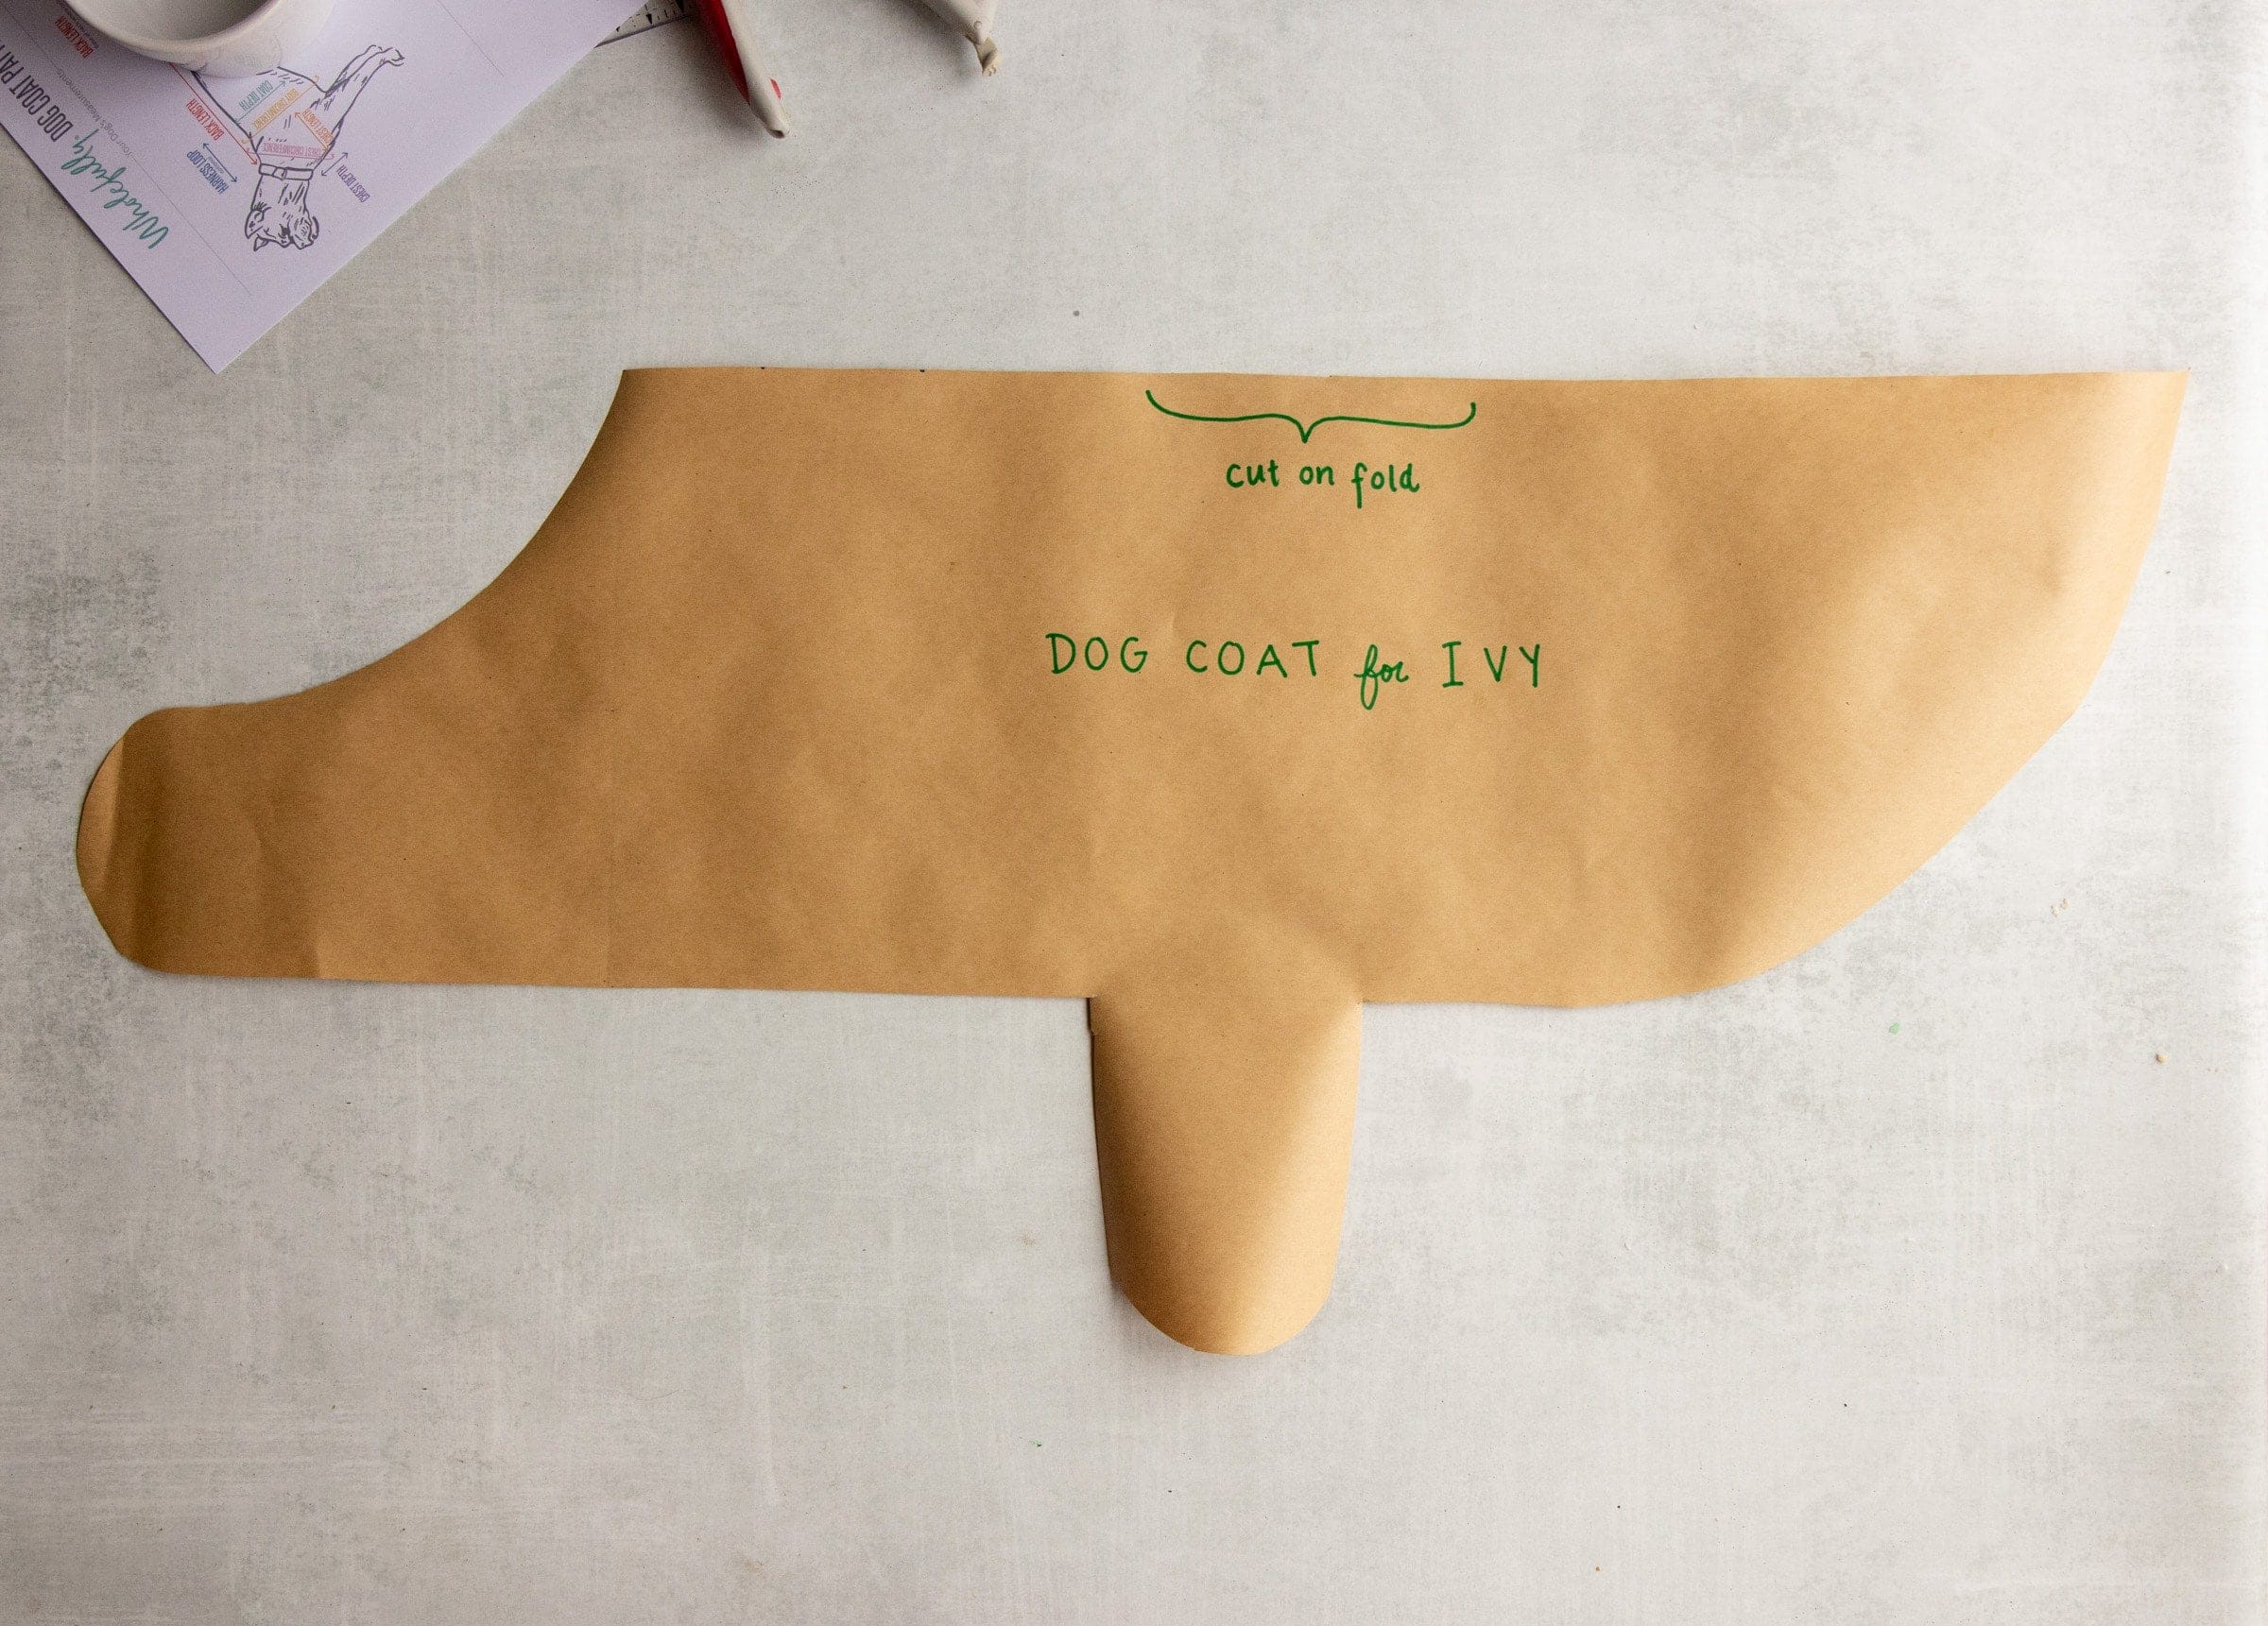
Then, take any of the sharp corners or edges and round them to make a smooth curve.

Cut the pattern out, then label with the green pattern markings from the printable, as well as what it is and who it was sized for.
Step 2: Cut Out Your Fabric
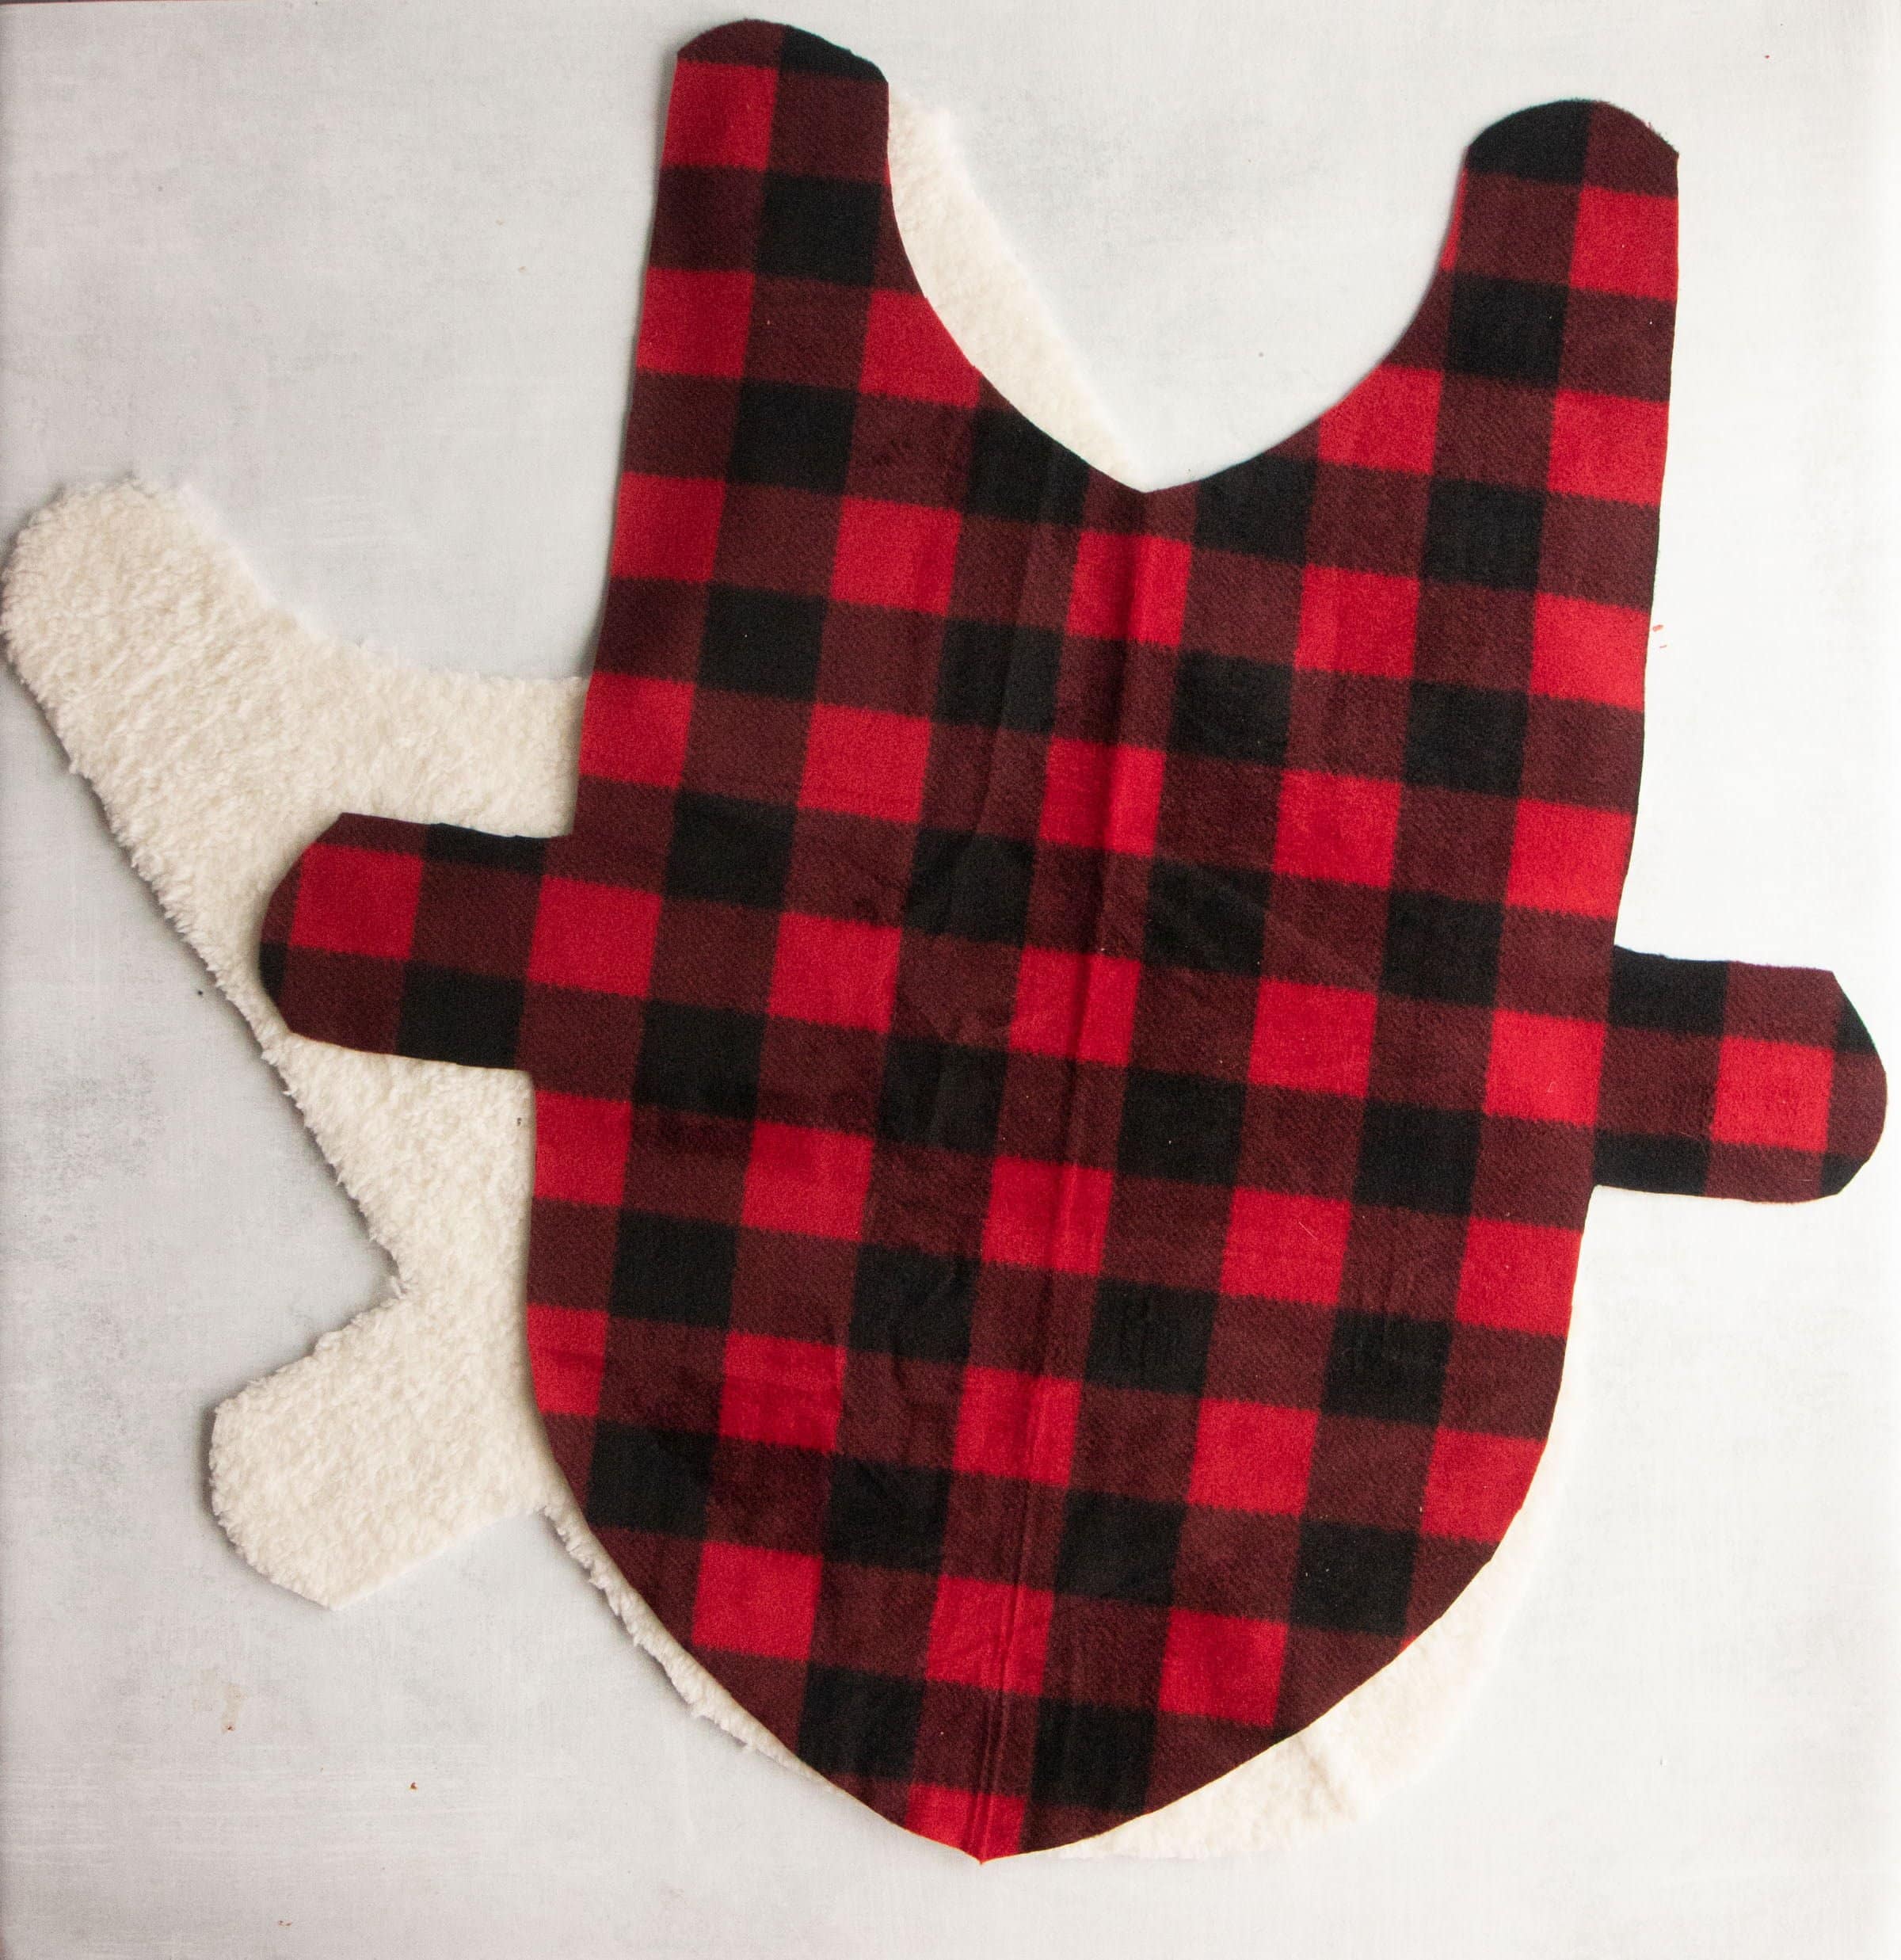
I like to use one piece of faux fur/sherpa for the lining and one piece of fleece for the outside, but you can mix this up all you want and use whatever materials work for you. Wool would be great–it stays warm even when it’s wet. You could also use an oilcloth for the outside with a fleece lining for warmth and rain-resistance. It’s up to you! I would recommend getting a washable material. Dogs get dirty!
Using the pattern piece, place the top of the pattern on the fold of the outside fabric, pin down, and then cut. Repeat with the lining fabric.
Step 3: Assembly
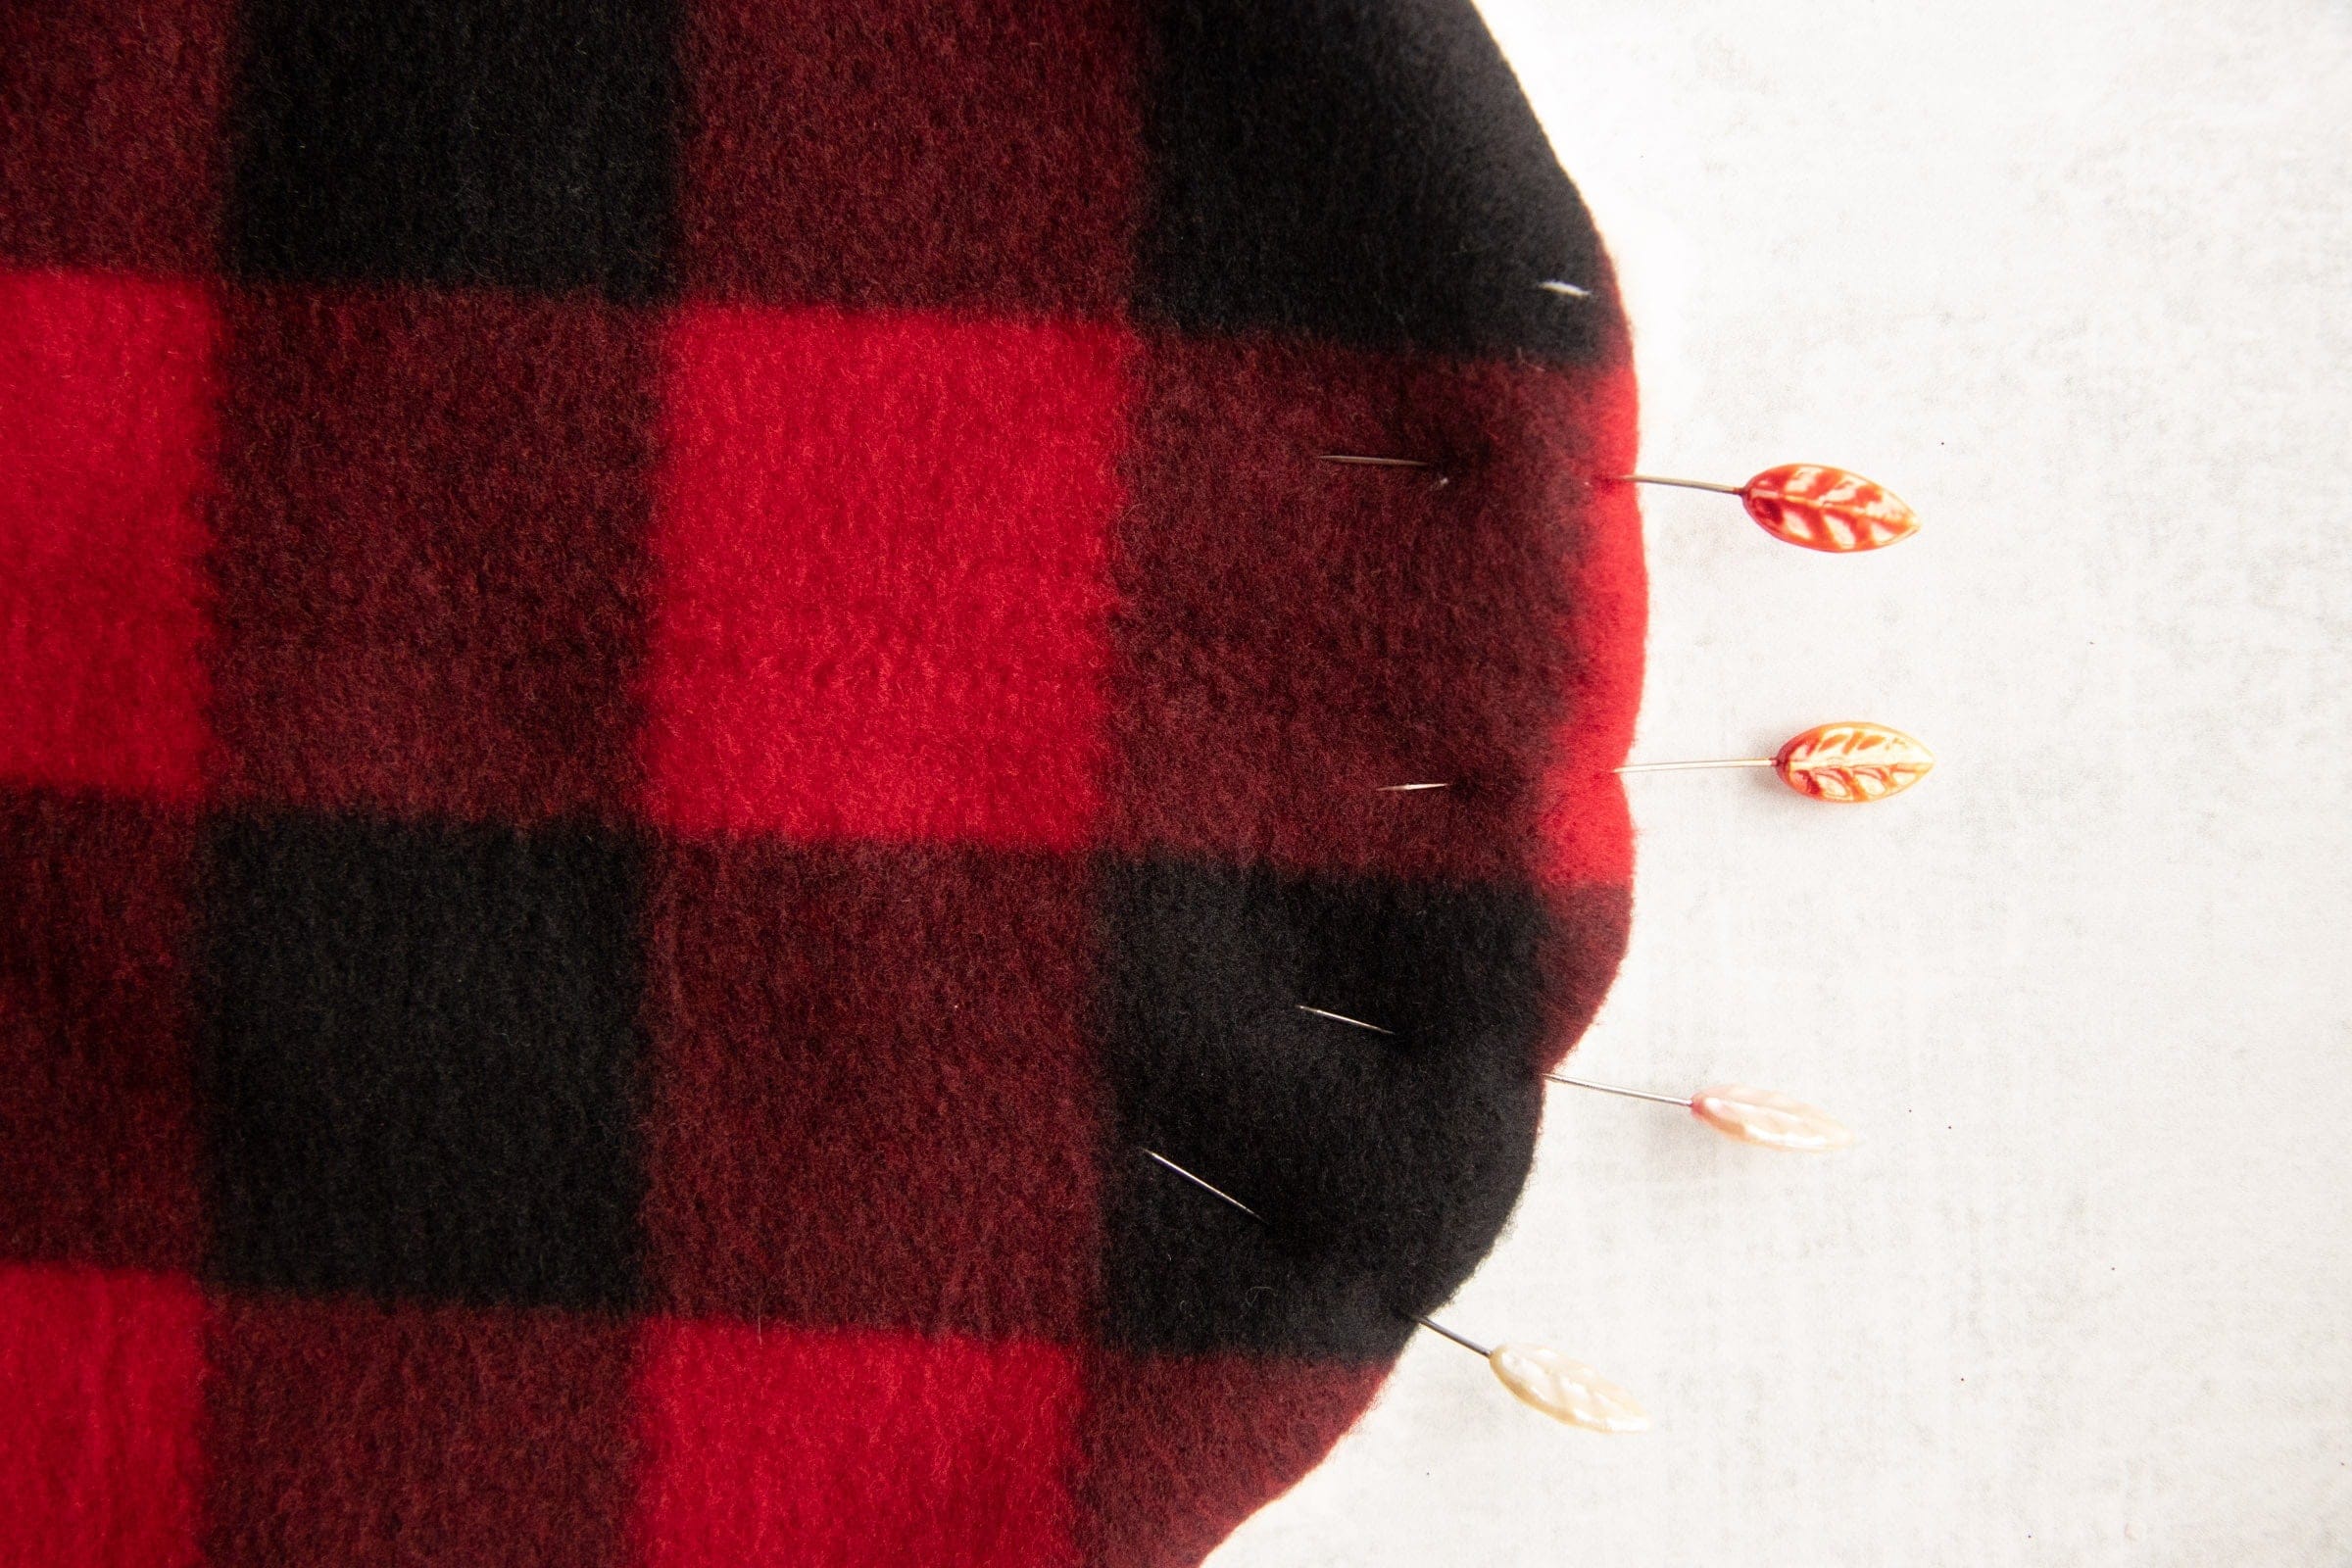
Place the two pieces of fabric, right sides together, on a flat table, and pin all the way around.
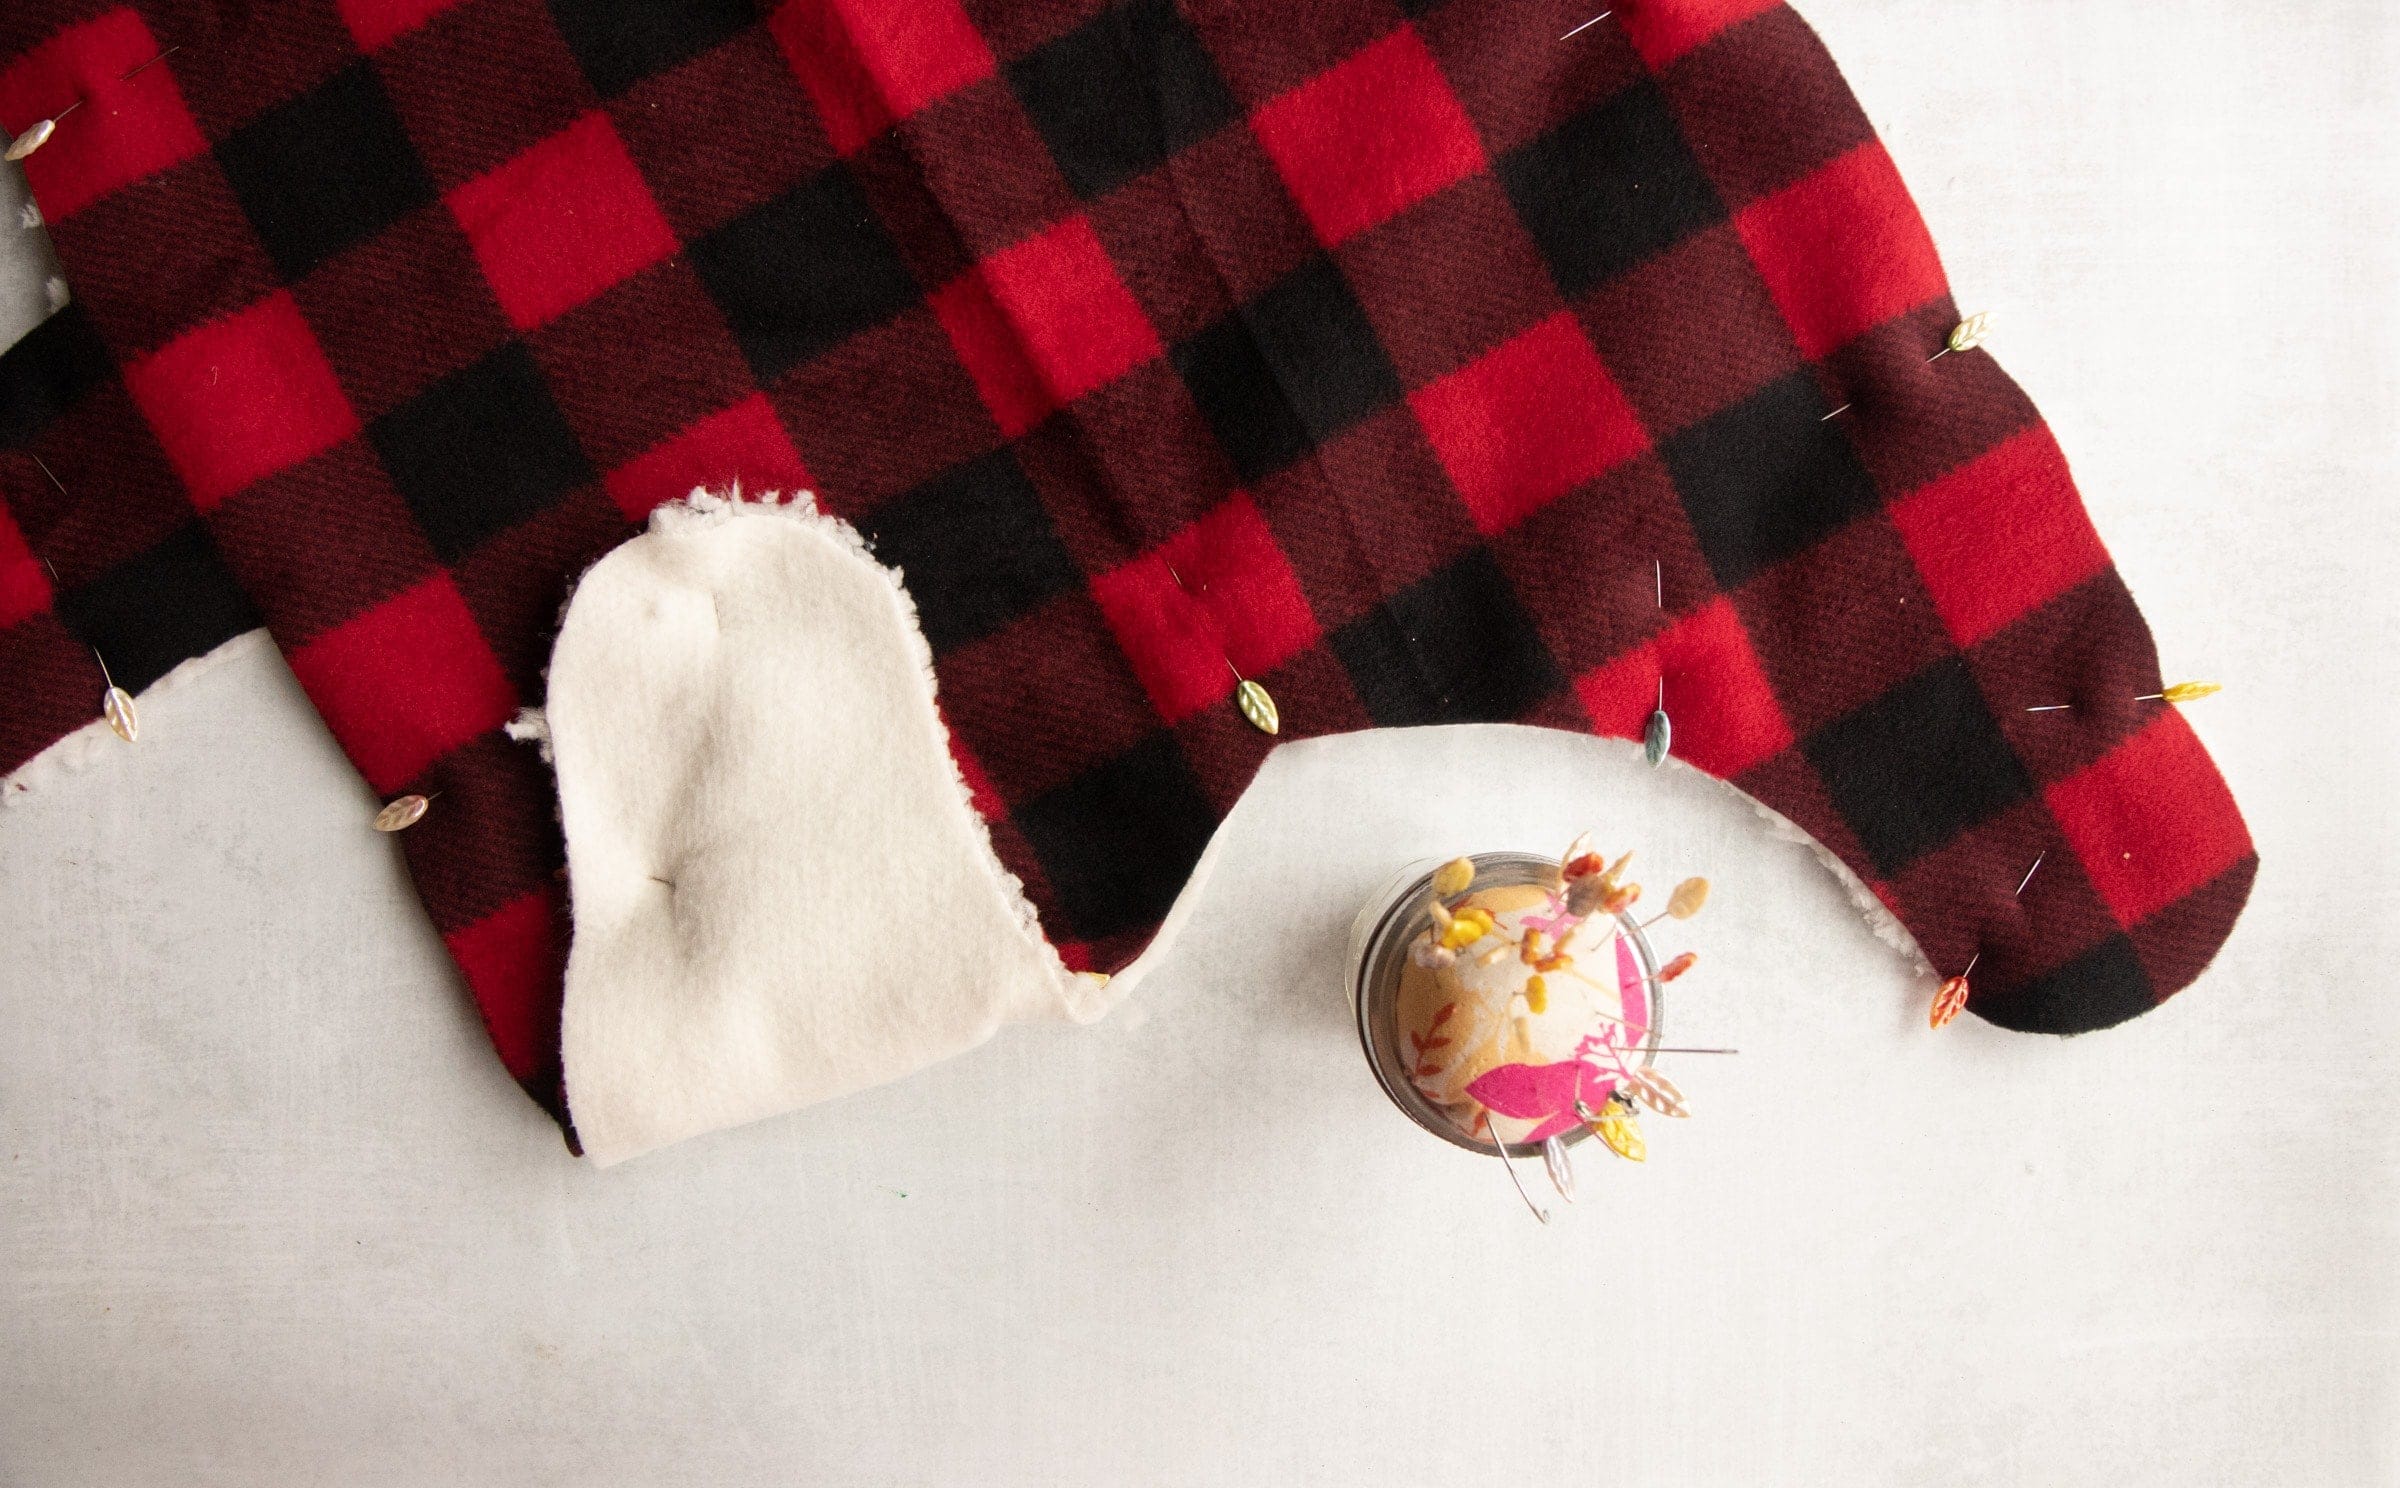
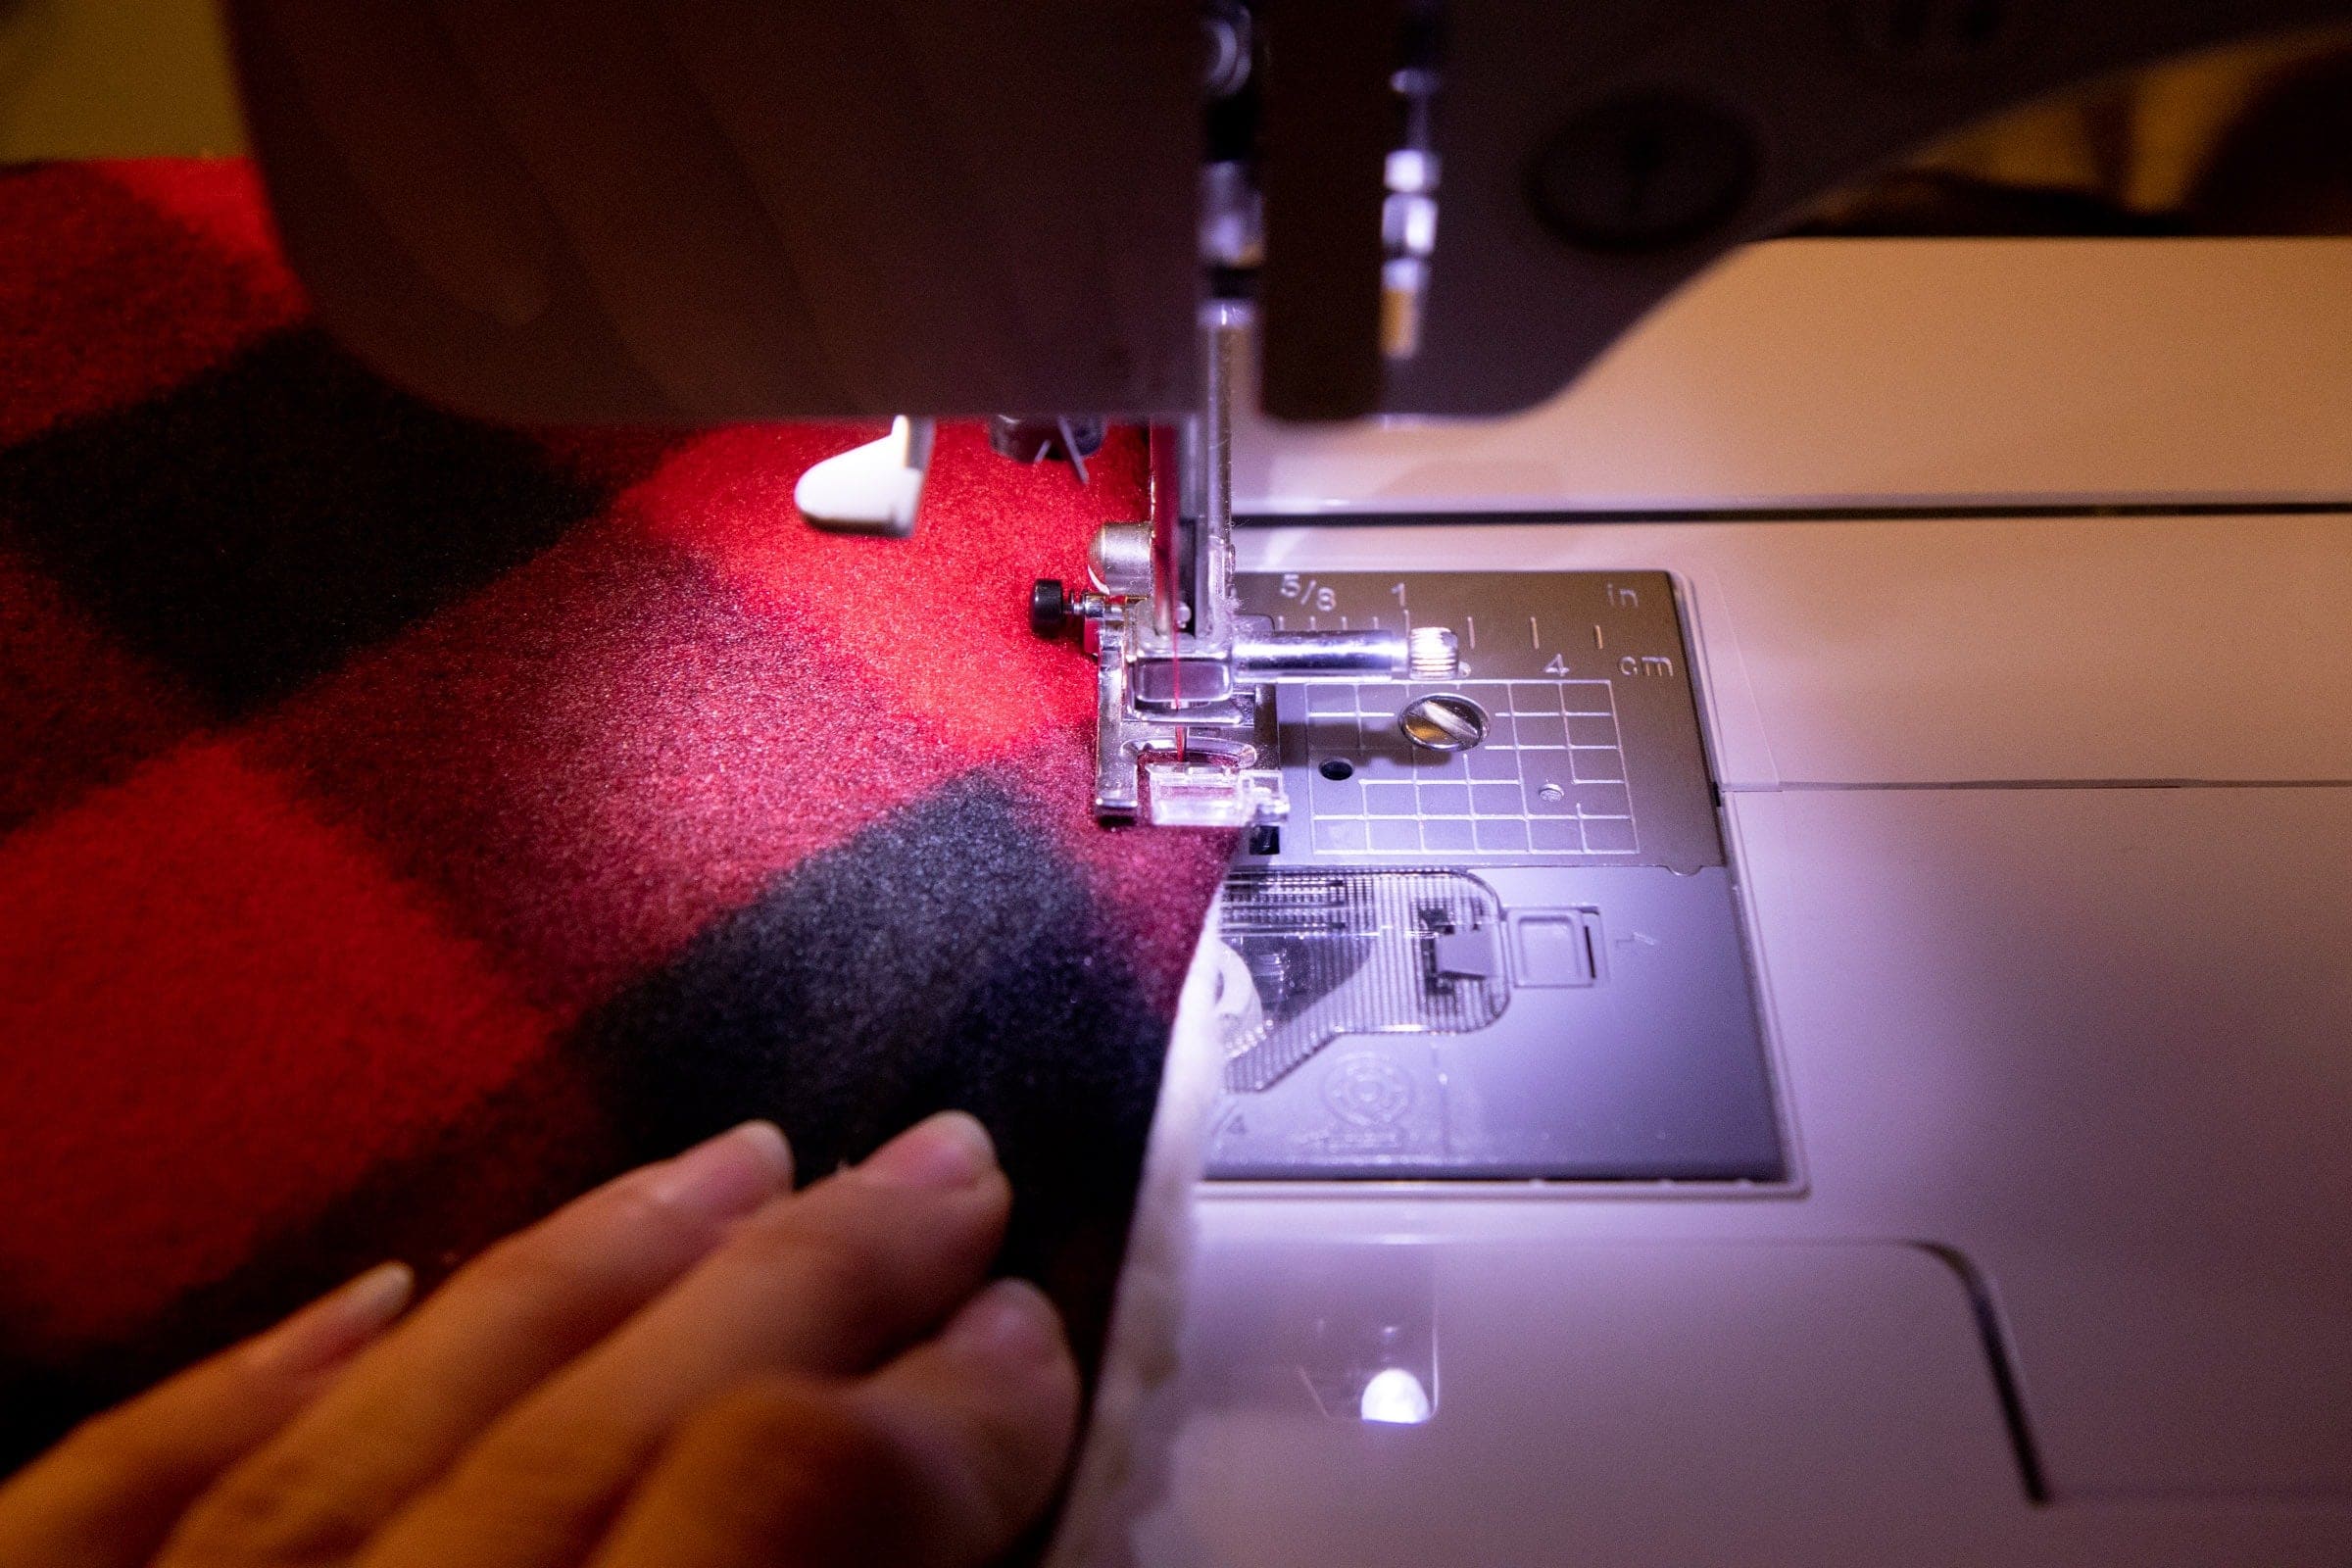
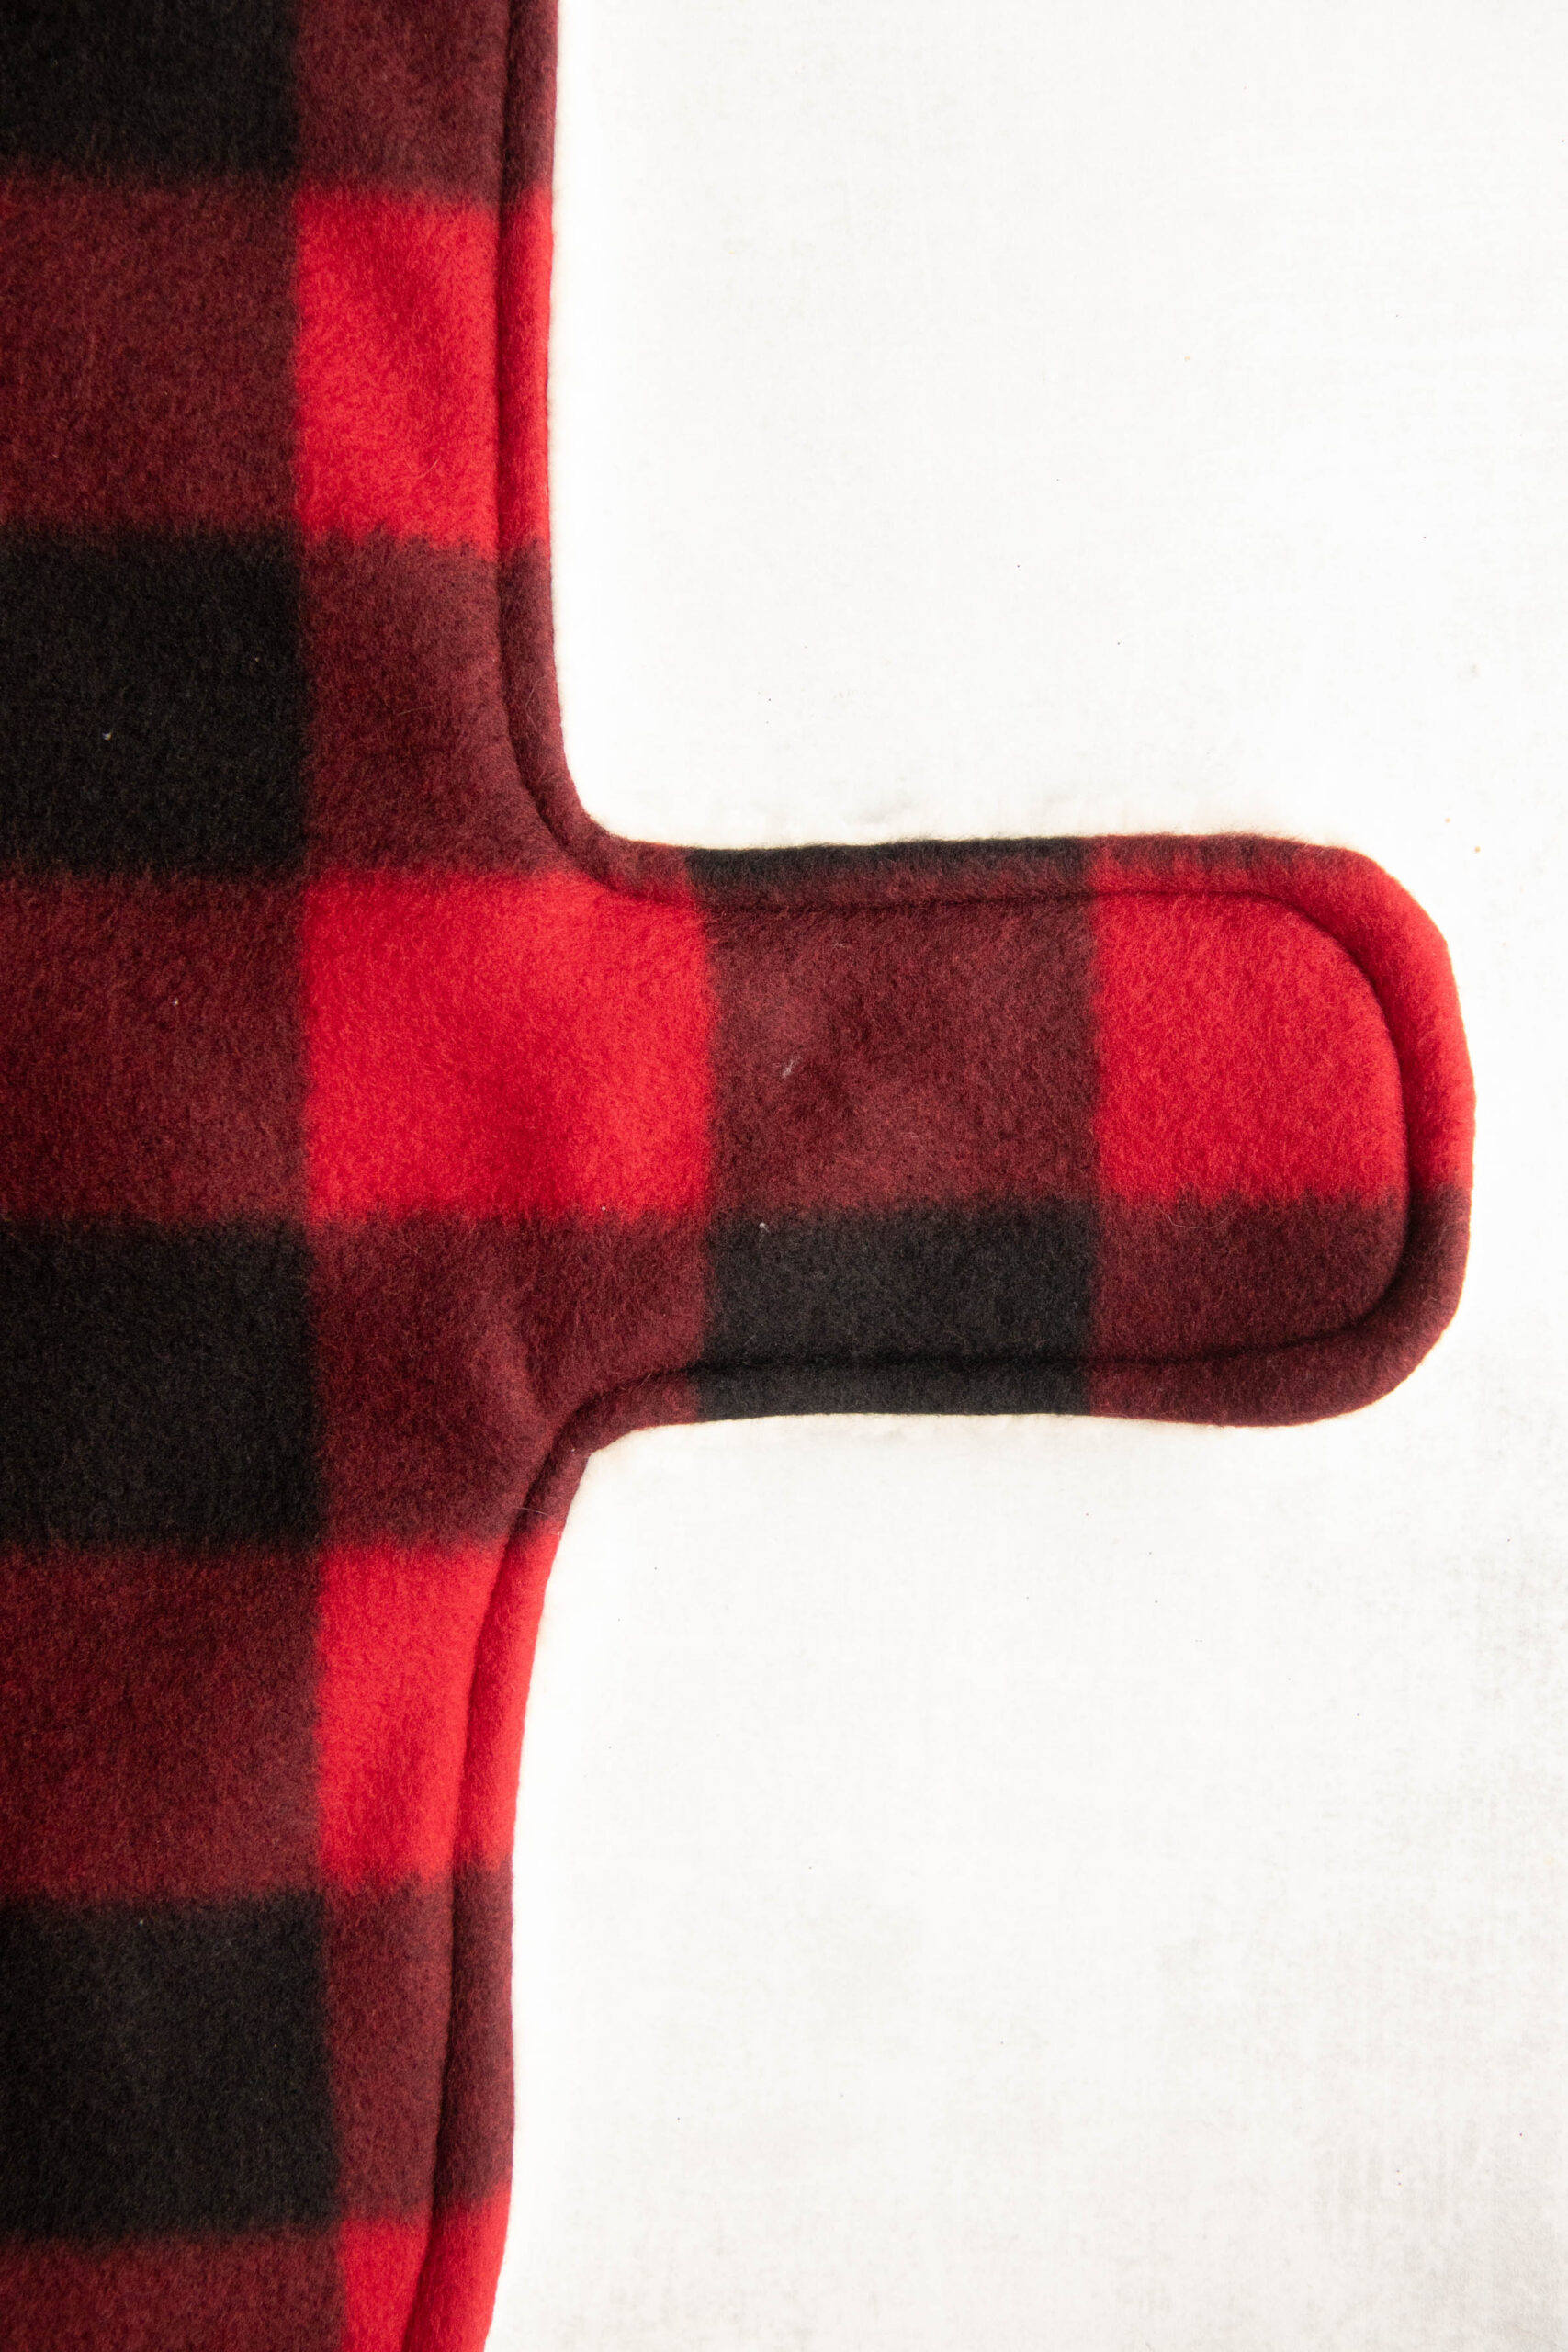
Using a sewing machine, or carefully sewing by hand, sew all the way around the coat, except leave about 3” open on one end.
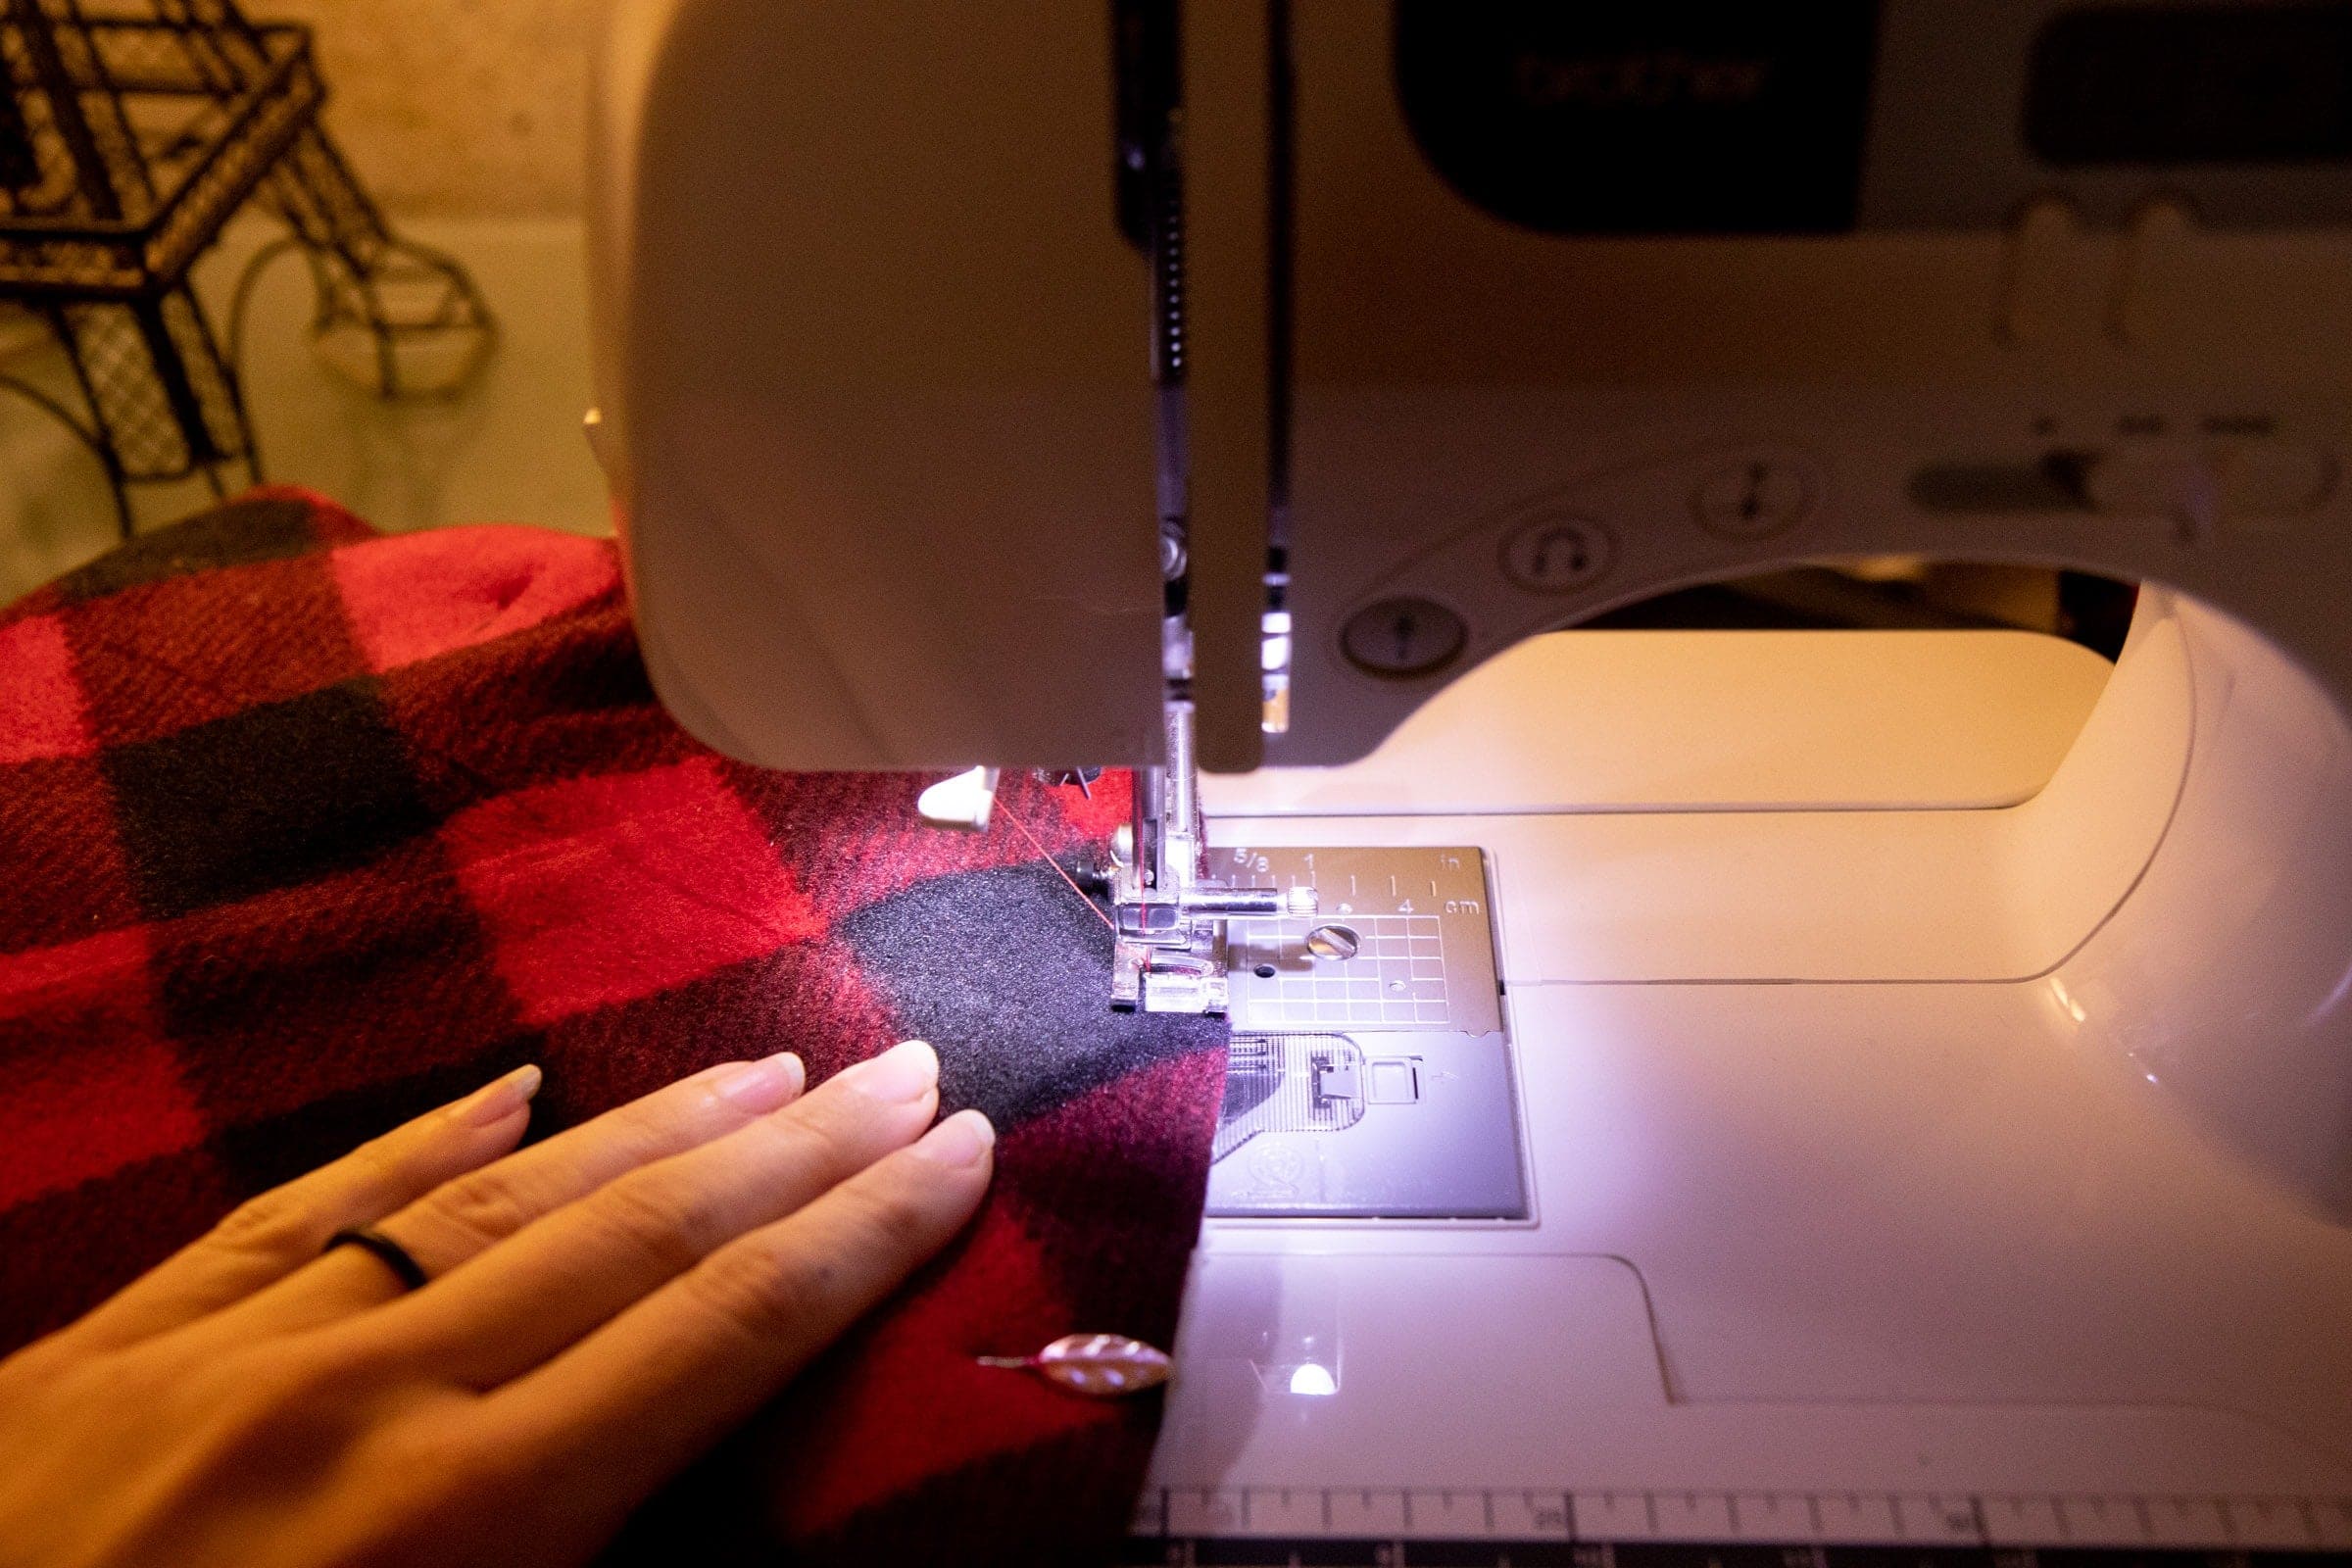
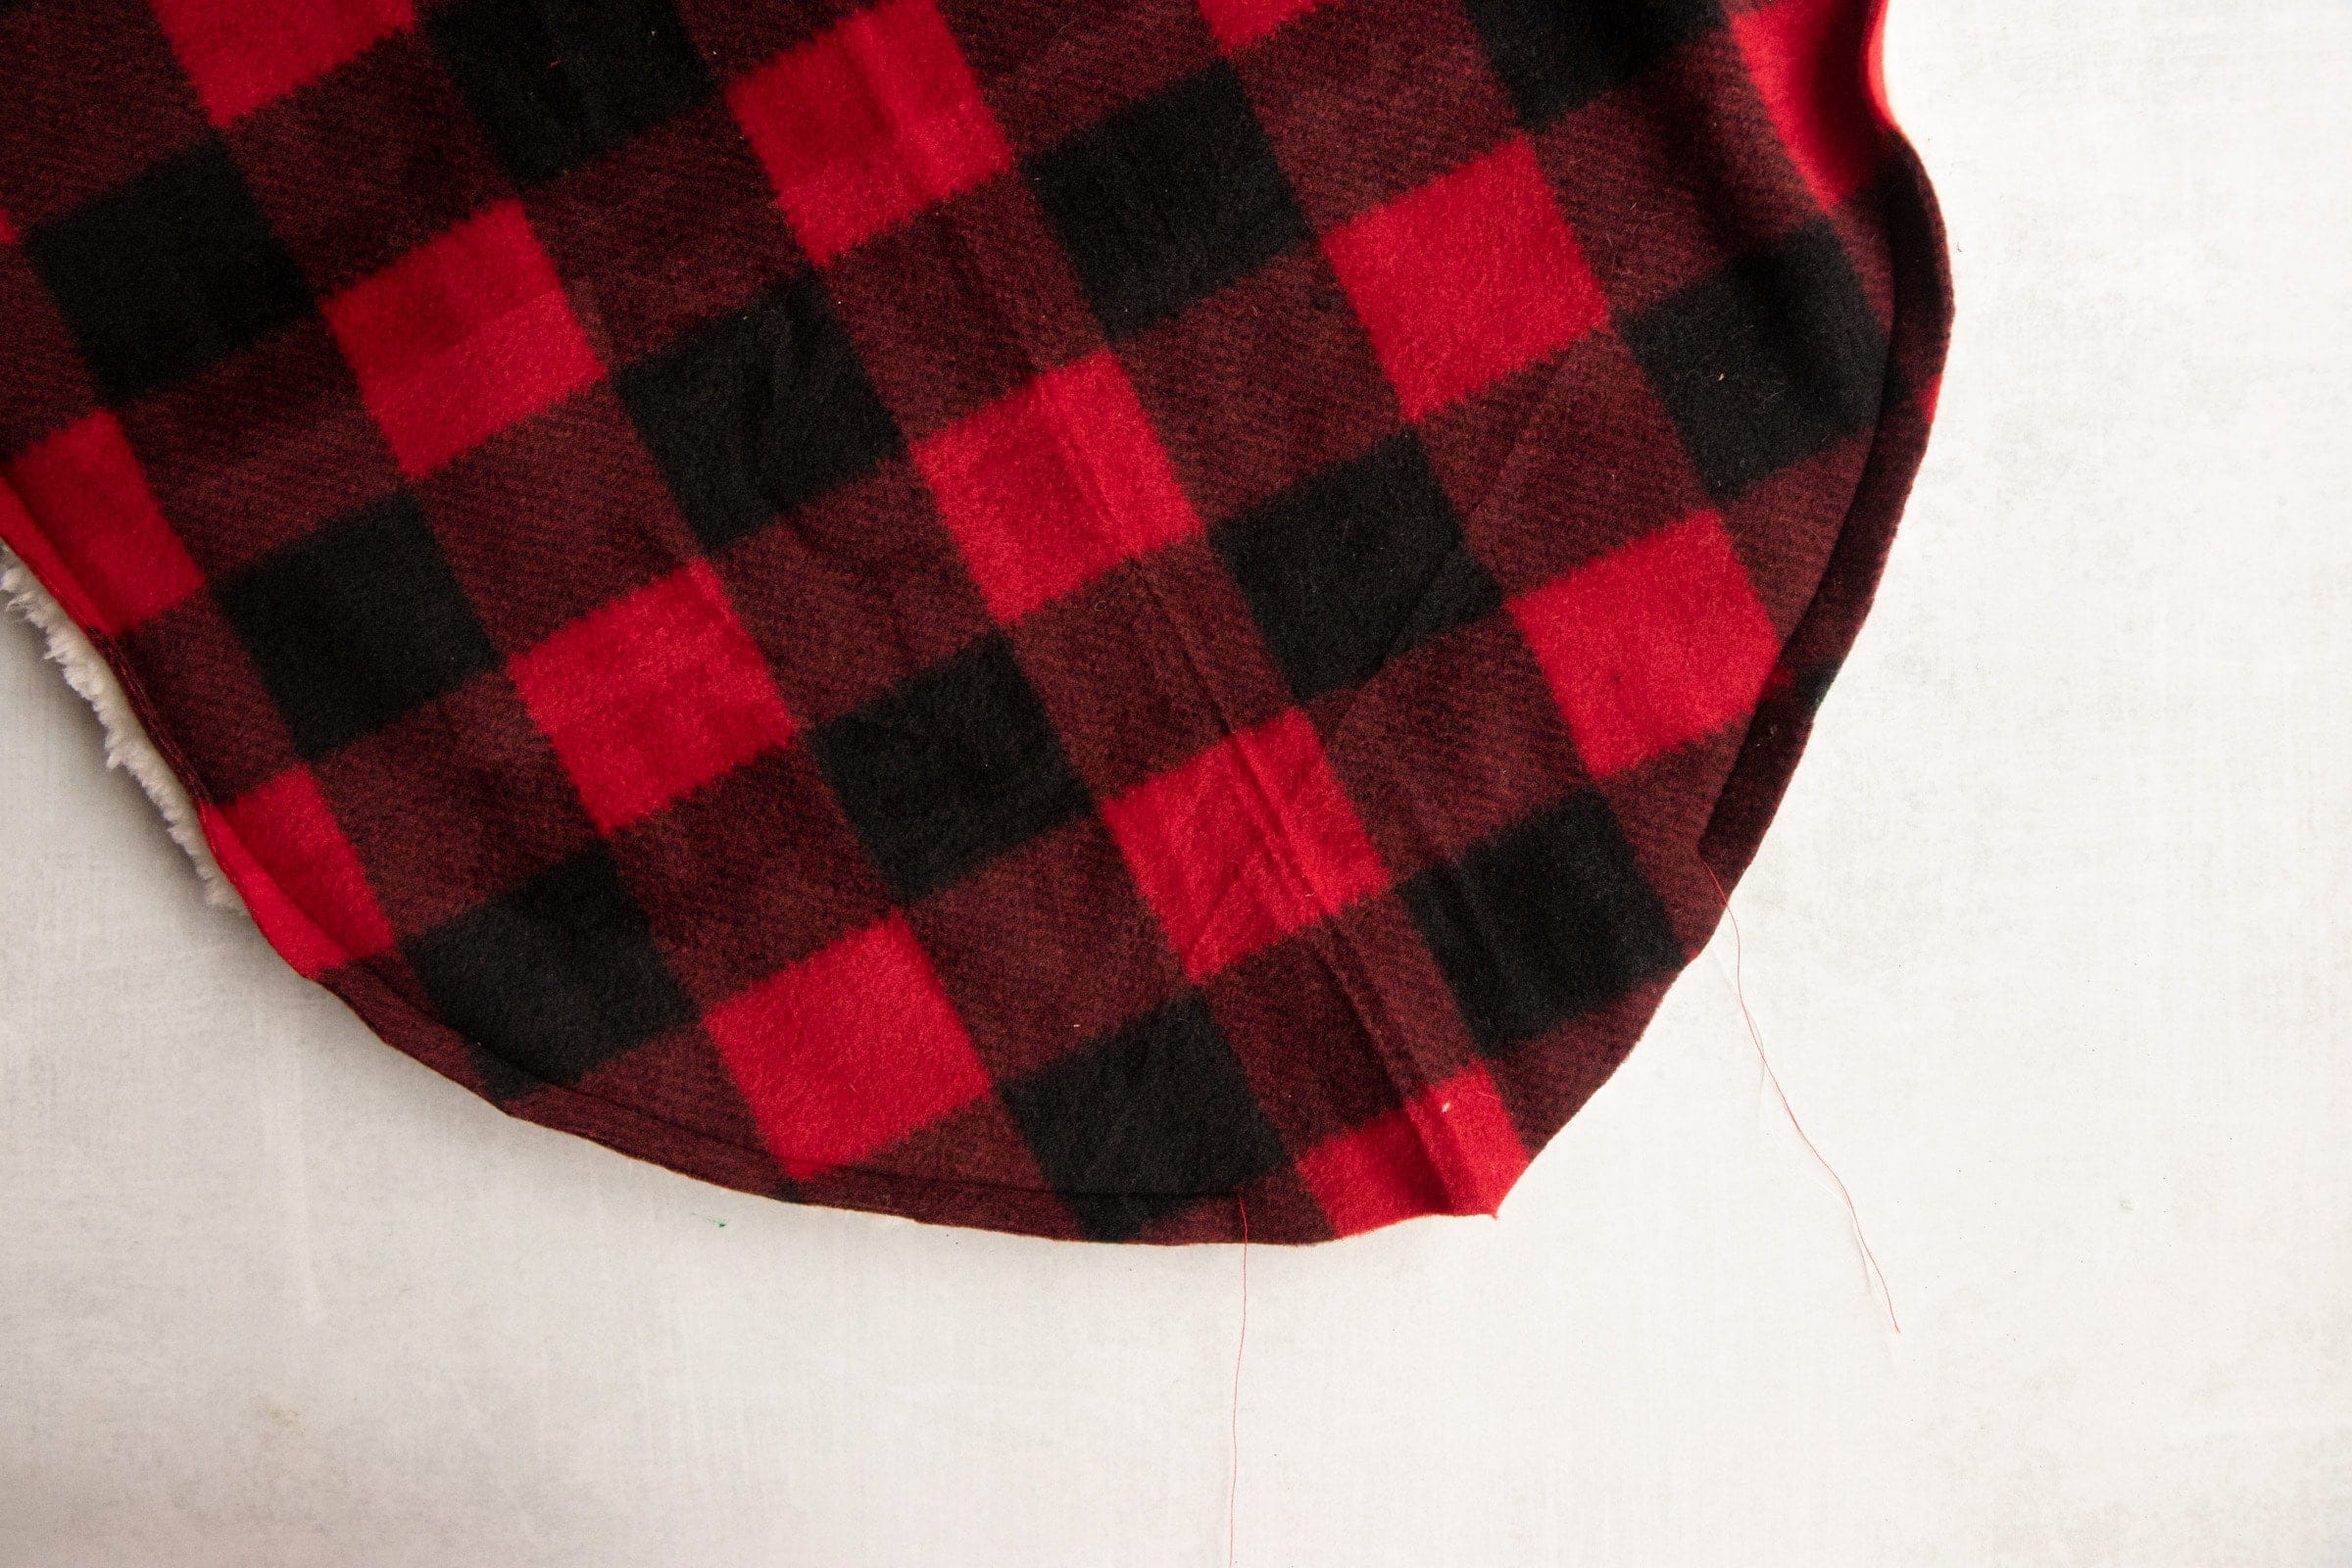
Turn the coat inside out, making sure all the flaps and corners are flattened well. You might want to use an iron at this point, although honestly, I never have much luck with an iron on fleece.
Fold under the unfinished edge from the hole you left open and pin. Then topstitch to close the opening, and continue to stitch all the way around the coat about 1/4” from the edge of the fabric to finish. If you are stitching by hand, you can skip the topstitch for the entire piece (it’ll take you ages), and instead use a ladder stitch to finish the open end only.
Step 4: Add Hook-and-Loop Fastener
Place the first batch of hook-and-loop fastener on the chest strap by pinning the rough side of a 2” piece to the outside fabric in the middle of one of the sides of the chest strap. If you’re sewing this for a medium or large size dog—of if you just have a particularly rambunctious dog like I do—I recommend using two strips of hook-and-loop fastener on each strap. Pin the soft side of the fastener to the middle of the lining side of the other chest strap. Repeat with the belly band straps.
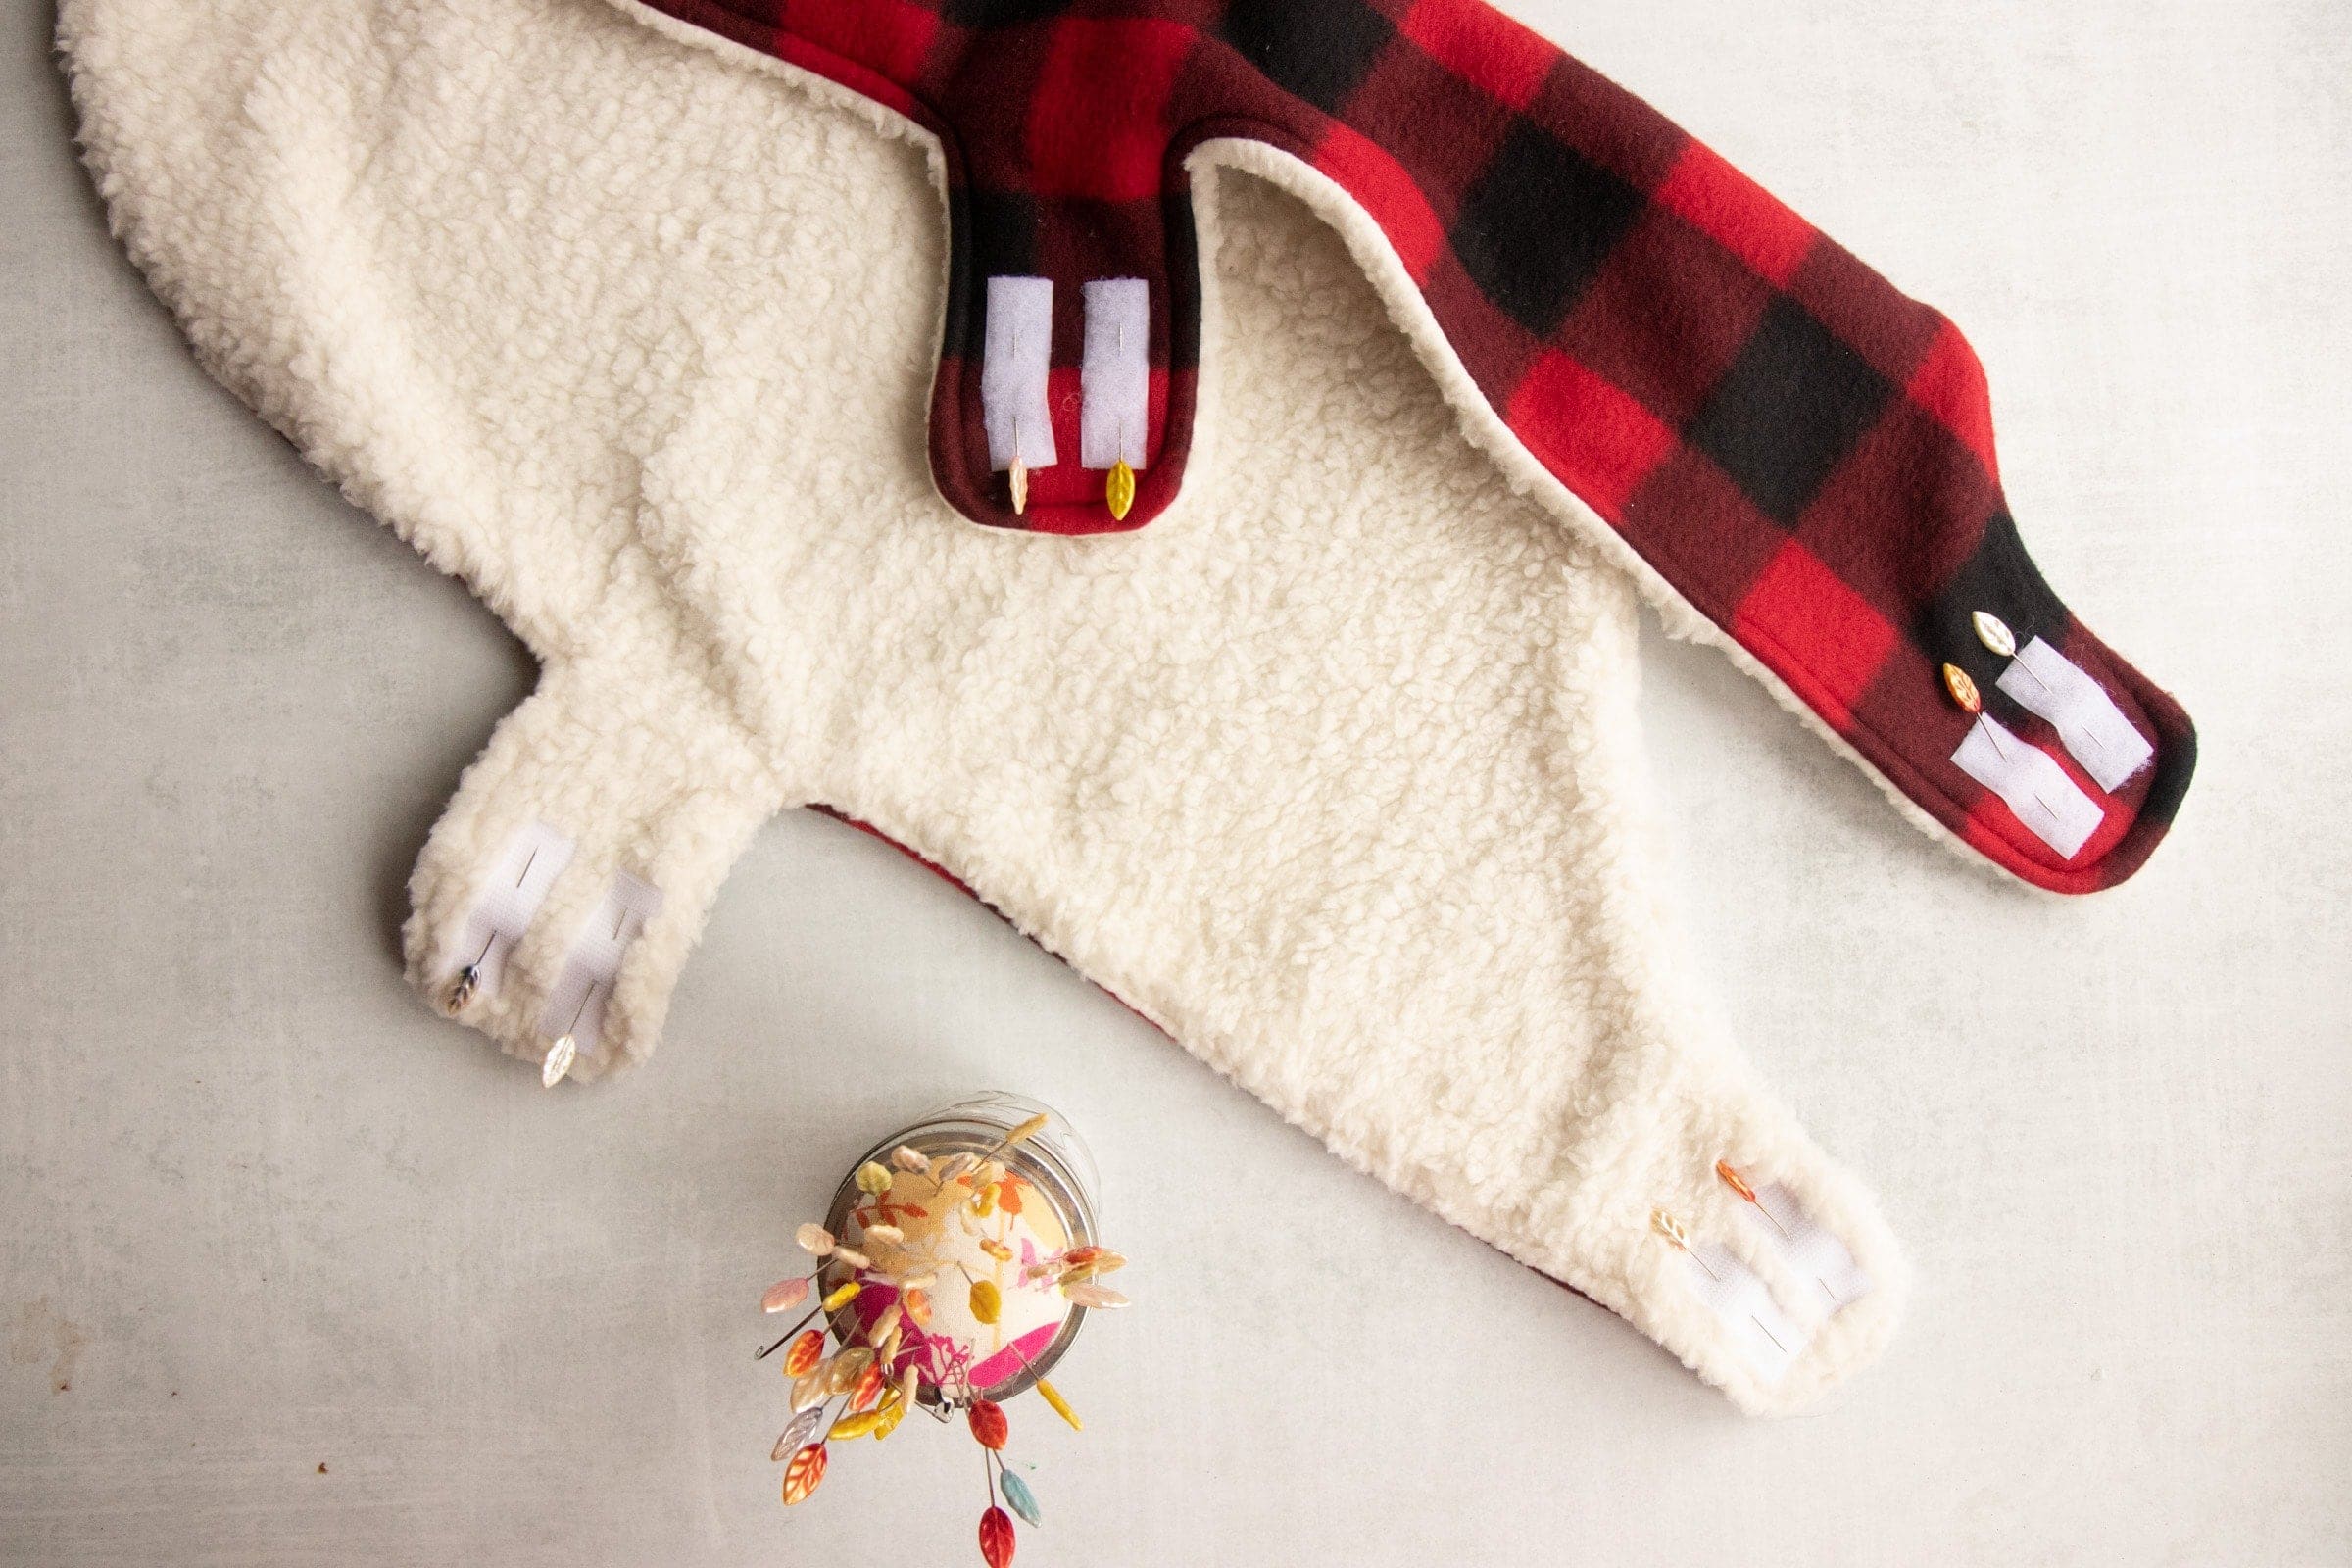
Sew hook-and-loop fastener pieces down using coordinating thread.
If you don’t need to add a hole for a harness loop, you’re all done! Put it on your puppy and go for a walk. If you do need a harness hole, move onto step five.
Optional Step 5: Make Hole for Harness Loop
Transfer the harness loop marking to your dog coat using the measurement you took, and then using the buttonhole setting on your sewing machine, create a buttonhole large enough to fit your leash through.
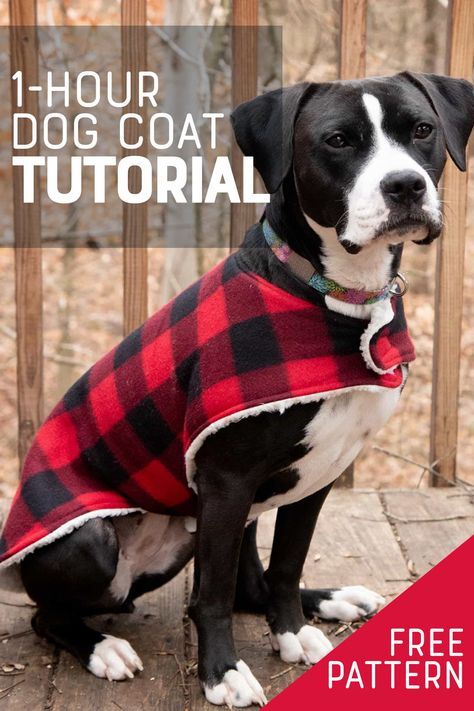
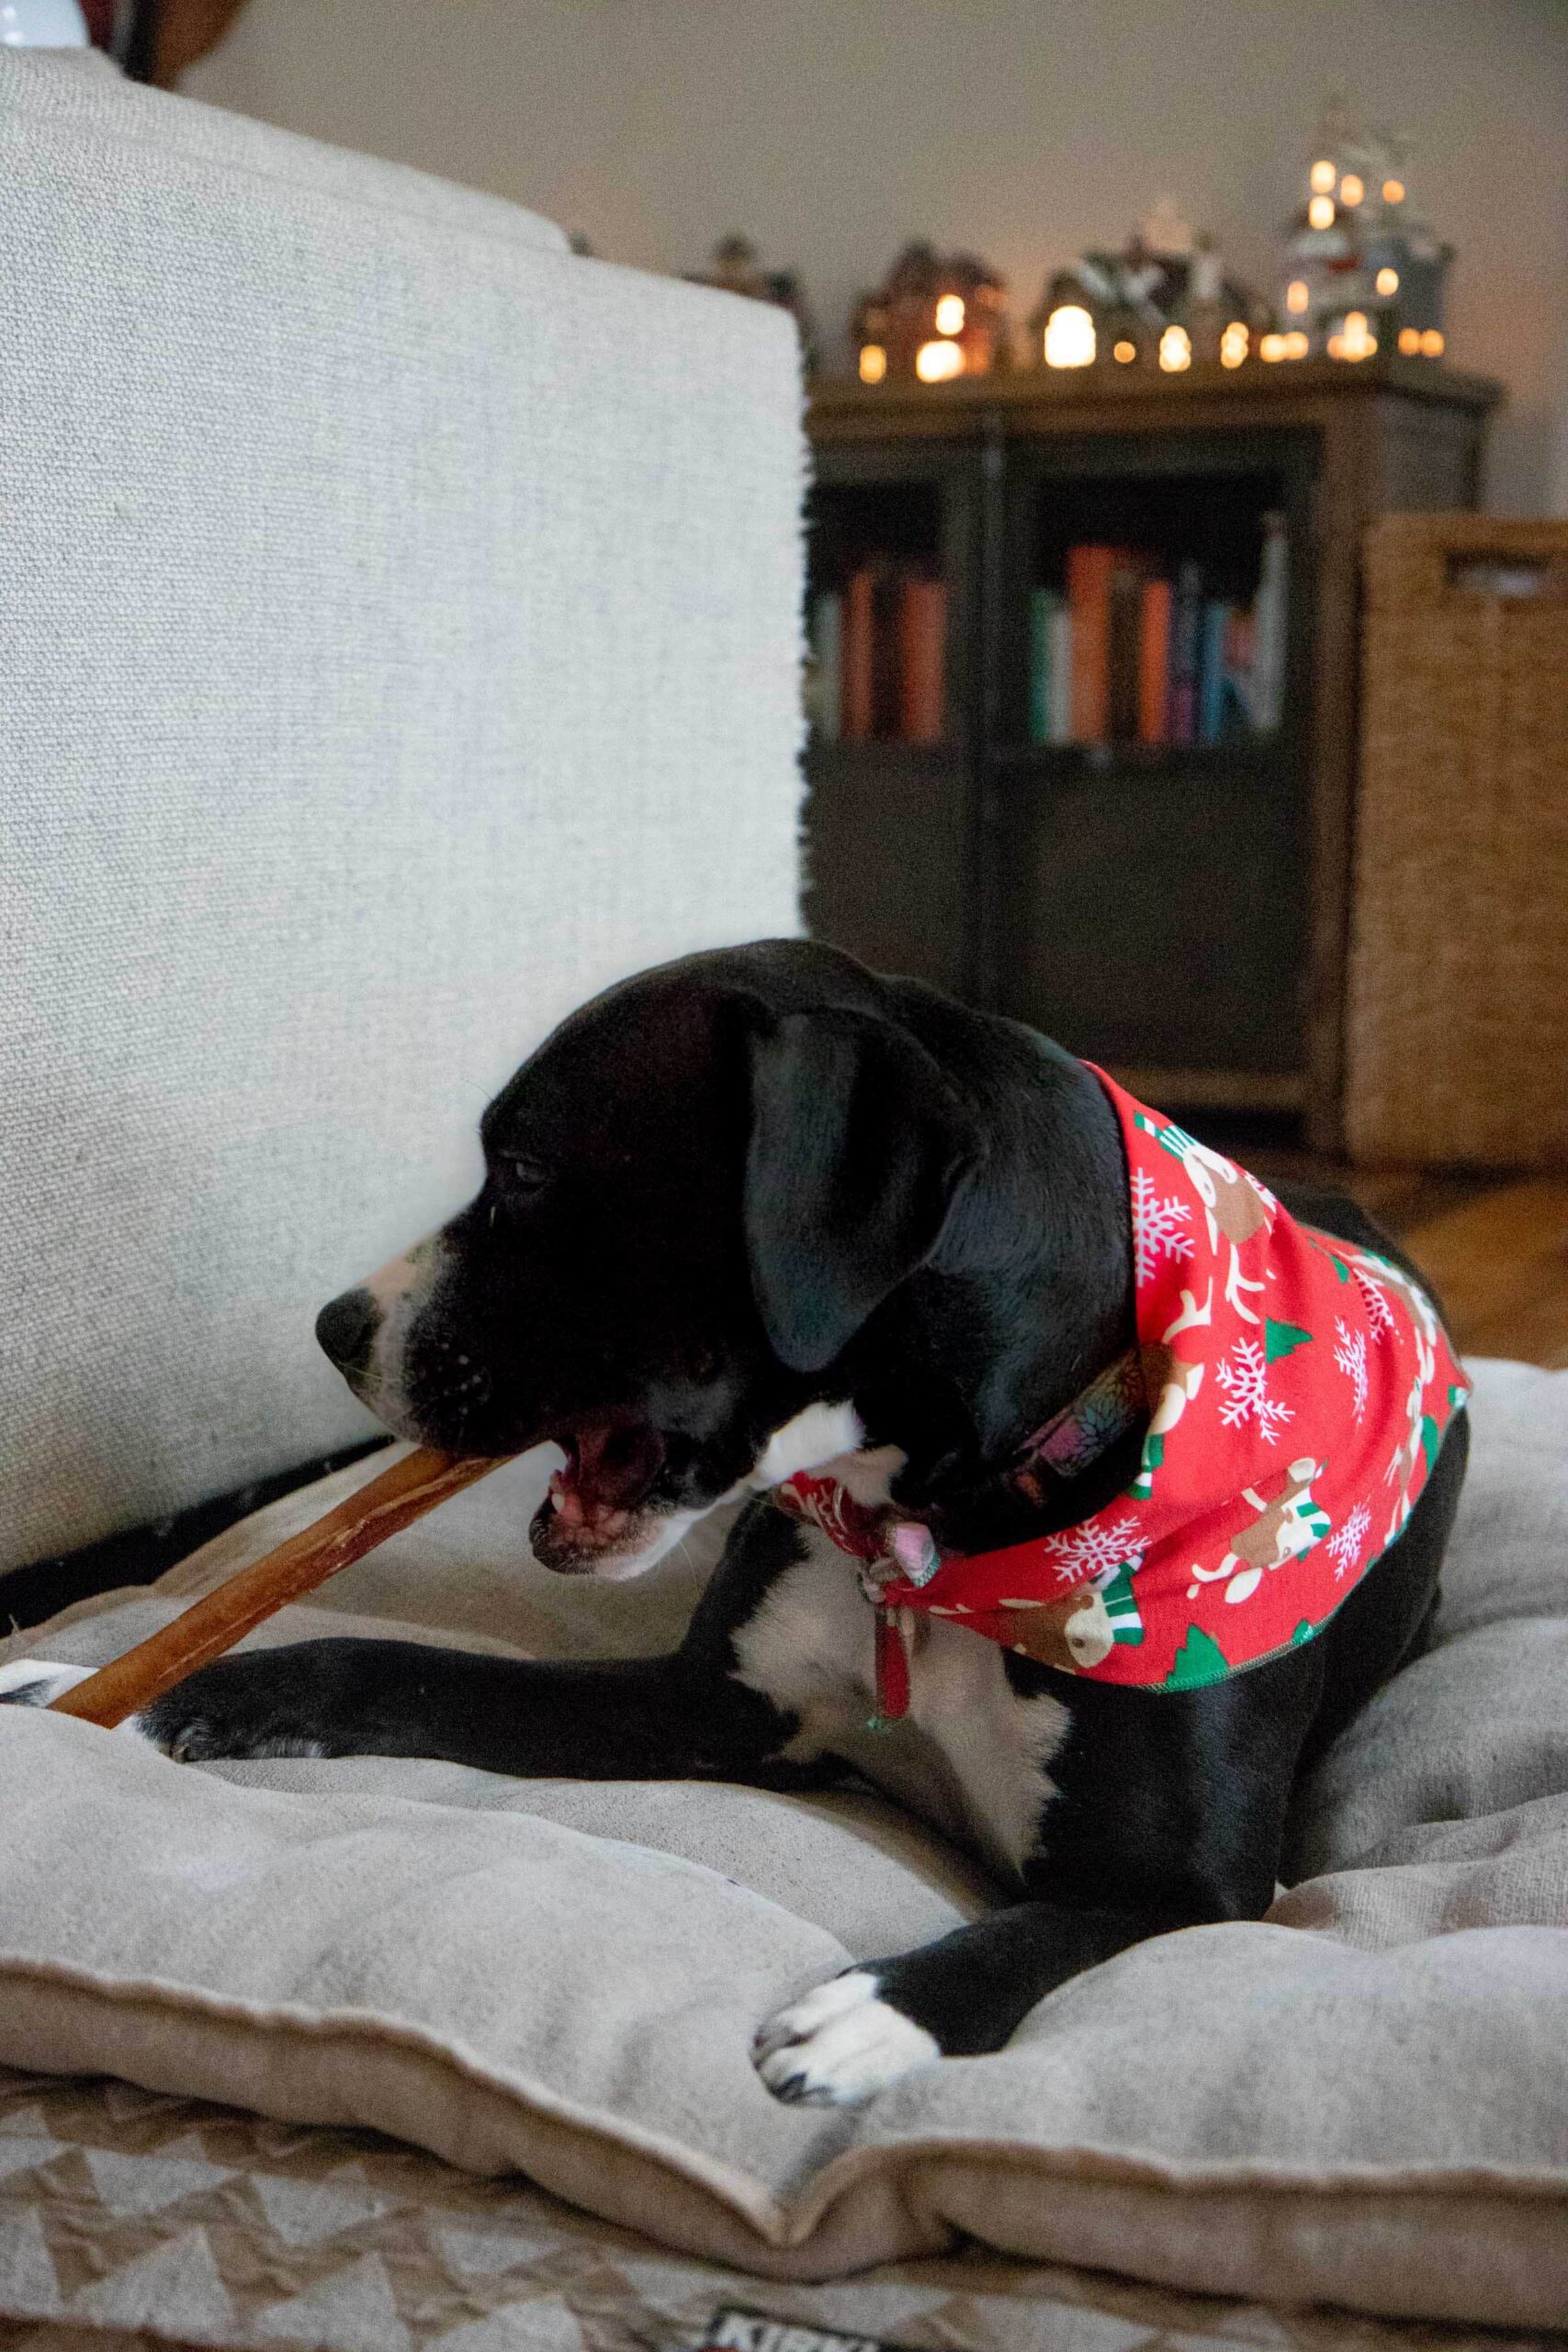
And that’s it! Look how cozy and cute she looks in her brand new custom dog coat.

I snatched it up right after these photos and packed it away in her stocking until Christmas morning, along with (most) of the other goodies I found at my Meijer store. I did sneak her a bully stick from her stash for being such a good sport while I measured and photographed her!
It’s going to be a happy Christmas for this puppy. Happy holidays!