4 Tips for Propagating Your Orchid
Care with the Stem
If your orchid produces canes over three years old, grab a small pruner. This time, your mission is to start by cutting it. To achieve this somewhat tricky maneuver on the first try, you must measure the stem. With a ruler, you will immediately get the answer to your future question: it should measure between a minimum of 3 and a maximum of 5 centimeters.
Instead of wasting them, don’t throw away all those stem pieces. After gathering some moss, cover it with a little water and put something with a plastic covering. If you only have a shopping bag, I promise it will work too! On the other hand, if you’re feeling creative, you can make a bell jar. If your orchid is near a window or another source of ventilation, this should further protect it from pests or inclement weather!
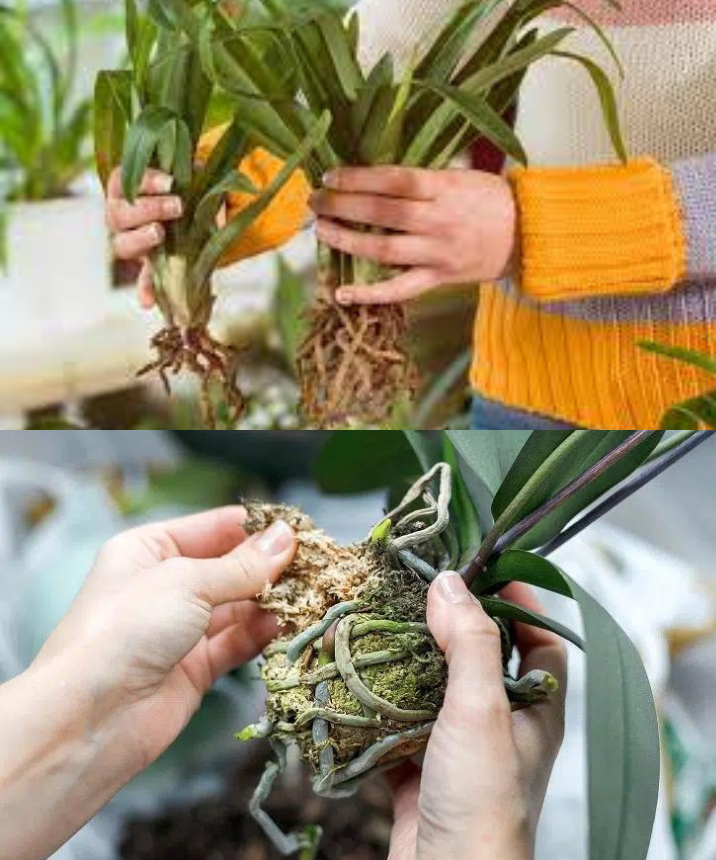
Divide the Mother Plant
Upon closer inspection of your orchid, you’ve noticed a mass of roots. The more the flower grows, the larger it becomes. Therefore, carefully separating the mother plant from the beginning of the daughter plant should meet the challenge smoothly.
Success in Cutting the Plant
If you’re feeling brave, cut your orchid in half, passing through the stem or taking the stem as a reference. It’s not a loss or foolishness. On the contrary, though it may seem complicated to understand, you’ll increase its lifespan. Unlike other flowers, the orchid resembles a phoenix, as it can rise from its ashes.
The Keiki is an Advantage
This little orchid baby is adorable. As soon as it pokes through the plant’s pot, it’s time to grab your gardening tools and proceed with propagation. As the saying goes, “slowly but surely wins the race.” With the keiki, it’s the same… but cuter!