Introduction: Tailoring a t-shirt can transform it from something generic to a perfectly fitting garment. Whether you’re a Georgia Tech student or a beginner sewer looking to upgrade your wardrobe, this step-by-step guide will walk you through the process of tailoring your t-shirt.
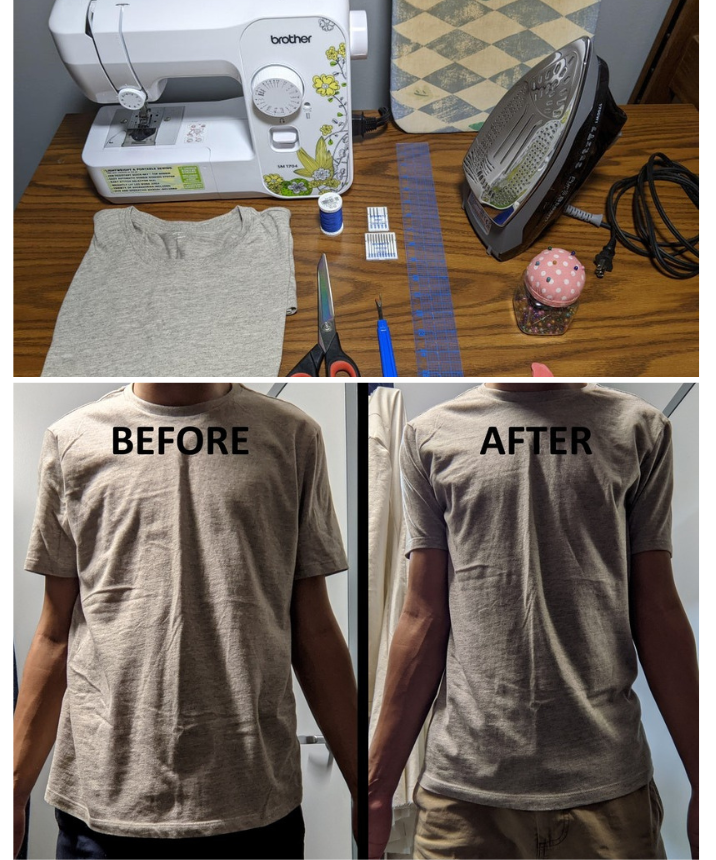
Supplies: Before we dive in, gather the following supplies:
- T-shirt
- Sewing machine
- Ironing machine and board
- Ruler
- Sewing pins and/or tailor’s chalk
- Sewing thread and needle
- Seam ripper
- Fabric scissors
Step 1: Understanding Sewing Terms Get familiar with some common sewing terms like finishing a raw edge, right/wrong sides, seam allowance, sewing notions, and different types of stitches.
Step 2: Access to Sewing Machines If you’re a Georgia Tech student without access to a sewing machine, fret not! The Hive and the Invention Studio offer free-to-use sewing machines.
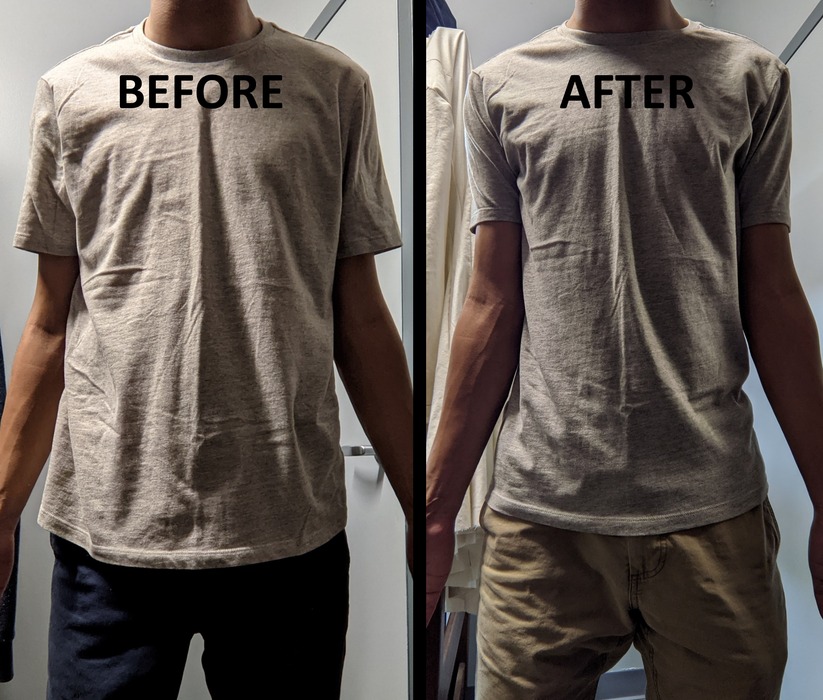
Step 3: Assessing the Fit Learn how a t-shirt should fit properly around the torso, sleeves, and armpit area to ensure a comfortable and flattering fit.
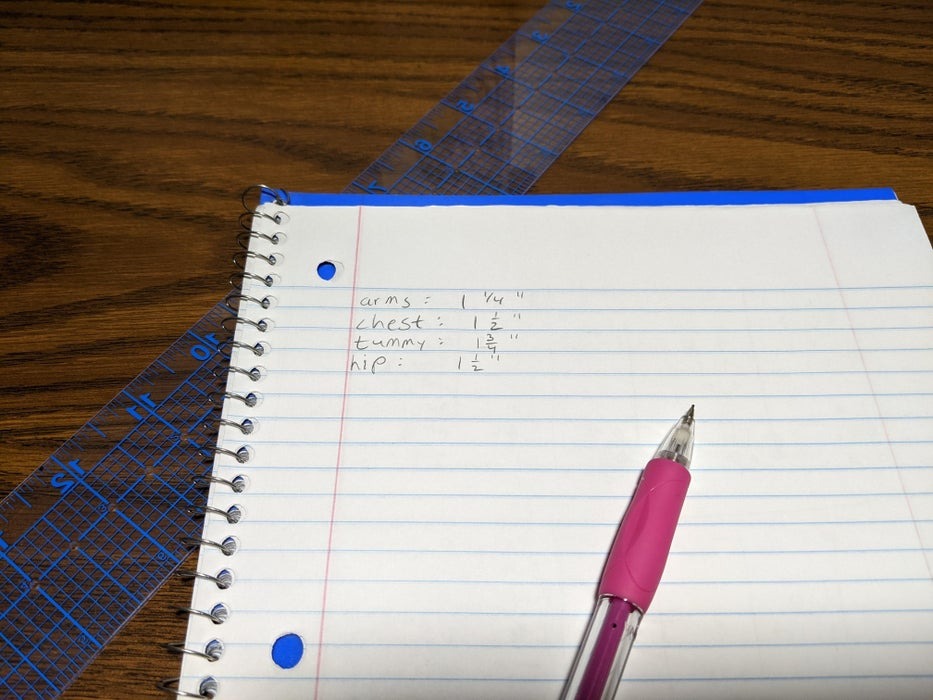
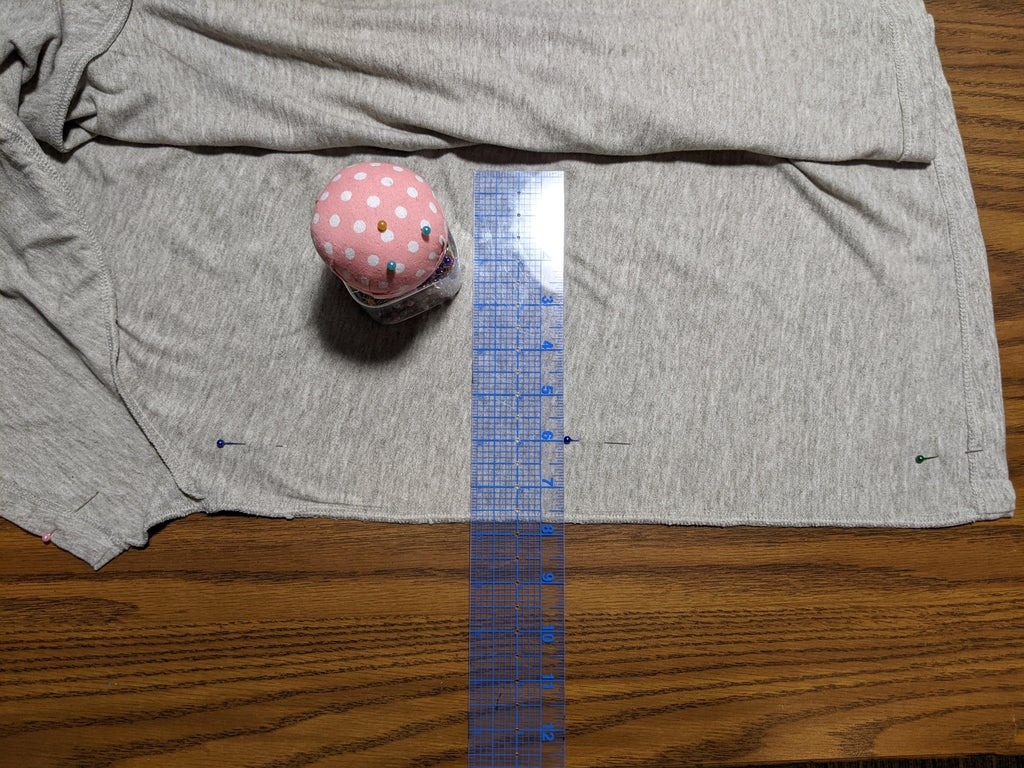
Step 4: Taking Measurements Measure the excess fabric at various points on your t-shirt to determine how much it needs to be taken in.
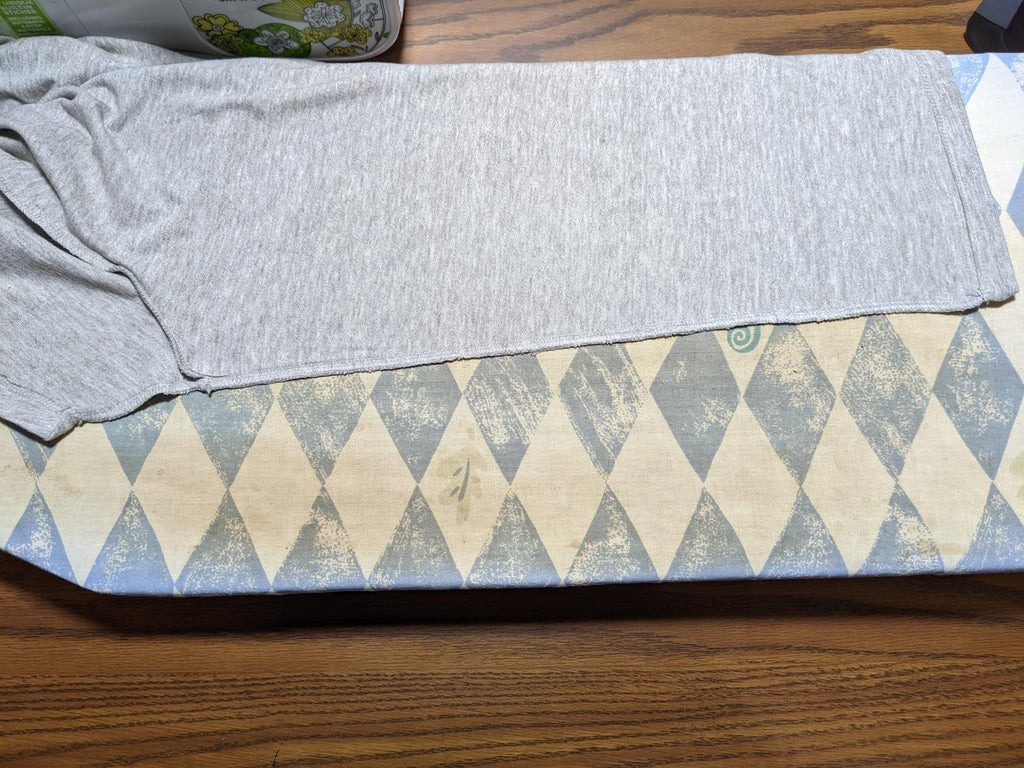
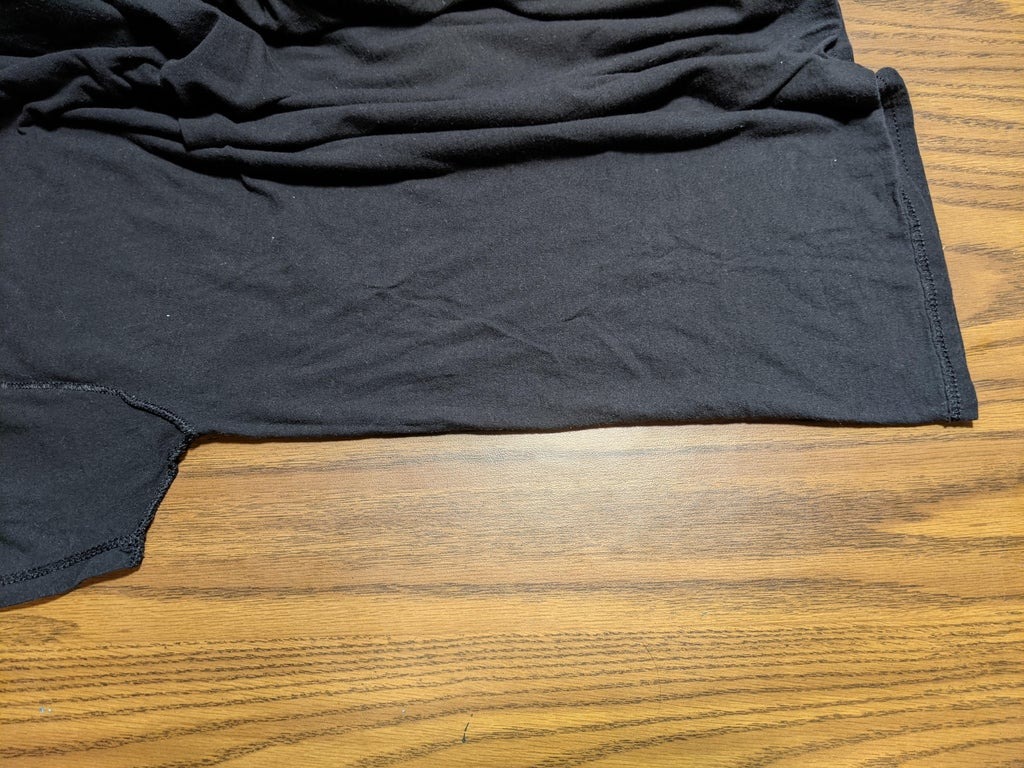
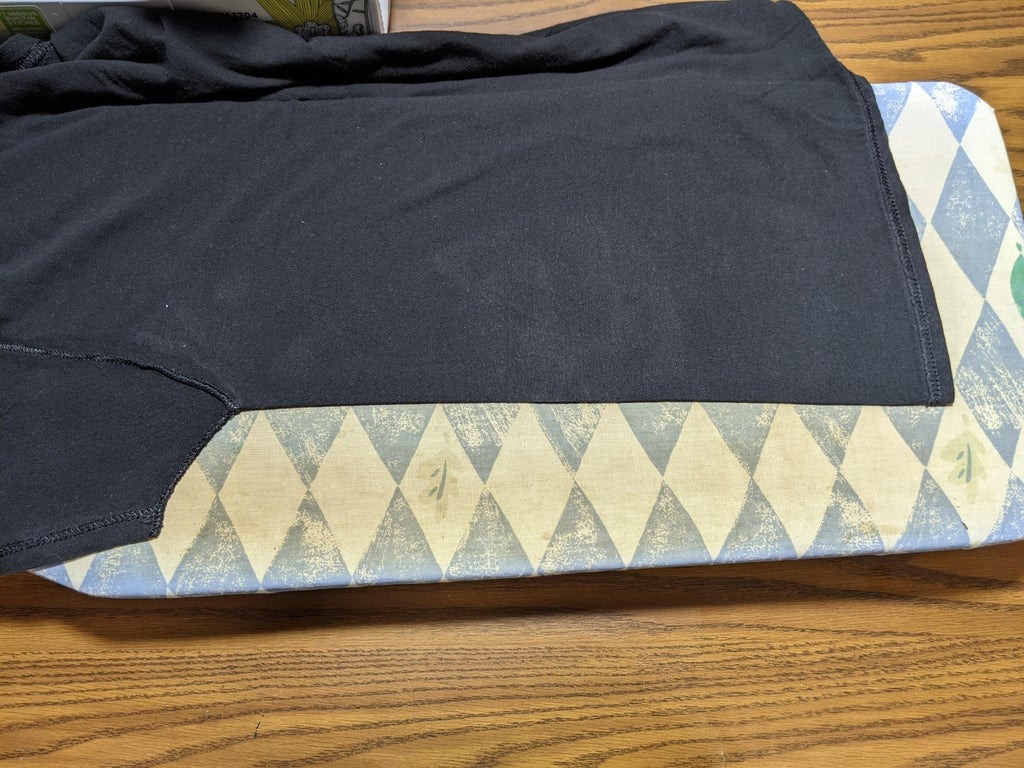
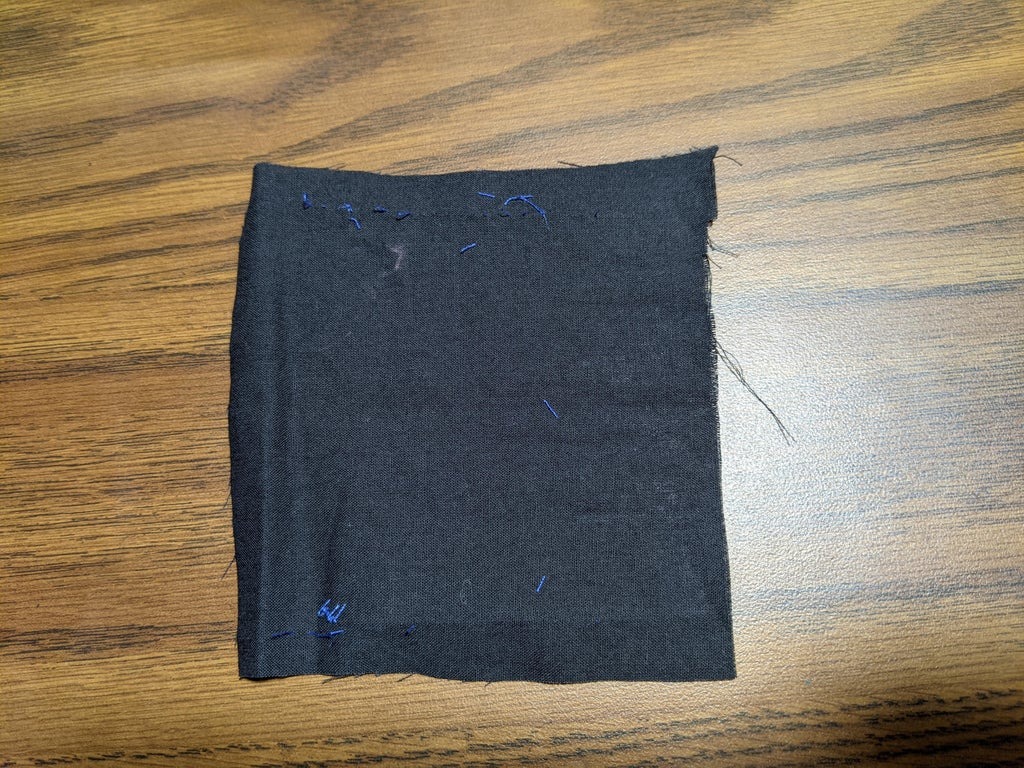
Step 5: Ironing the T-Shirt Prepare your t-shirt for sewing by ironing it flat along the side seams or where they would be.
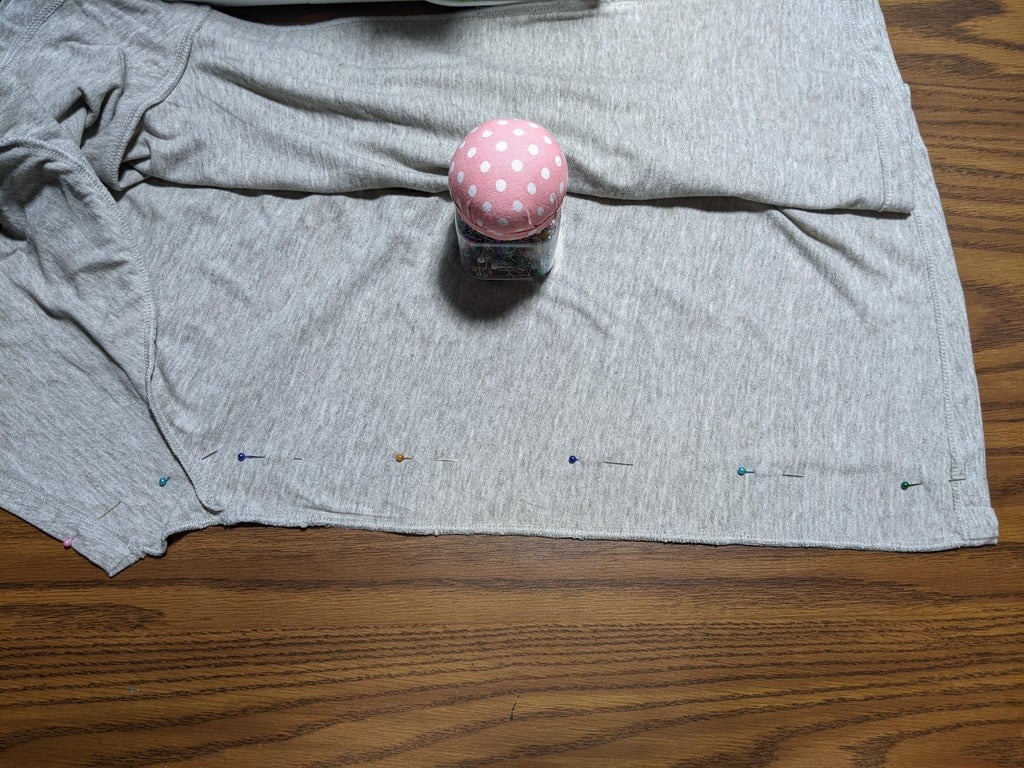
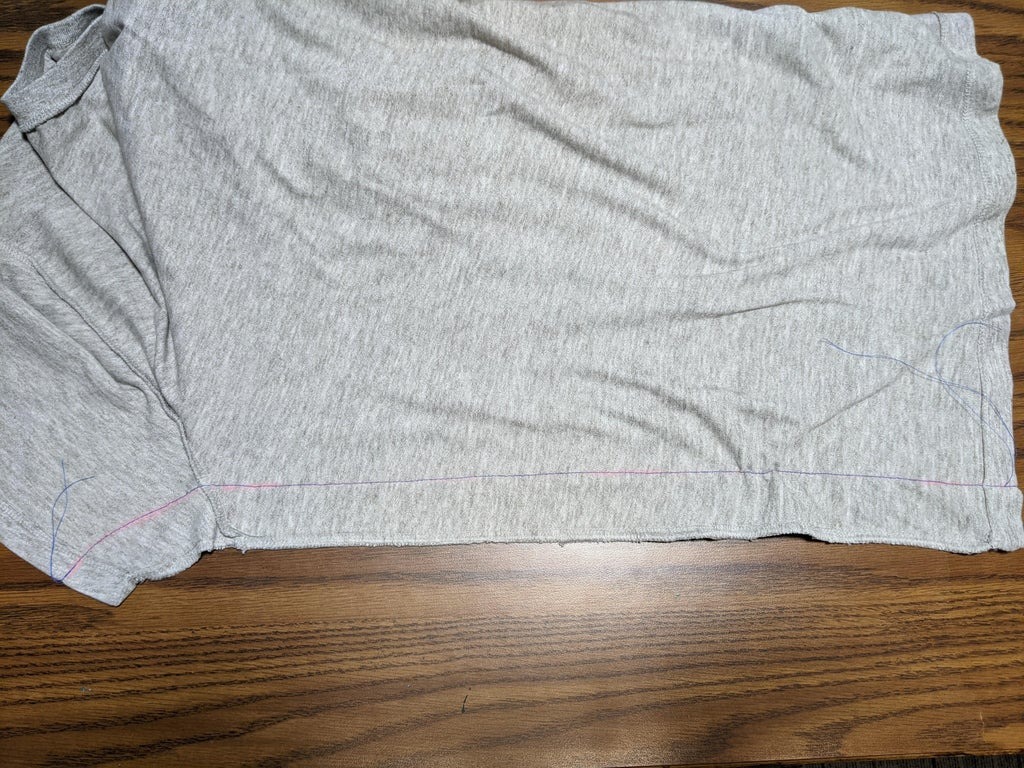
Step 6: Preparing the T-Shirt Mark guiding lines on your t-shirt using tailor’s chalk or sewing pins to indicate where the new seams will be.
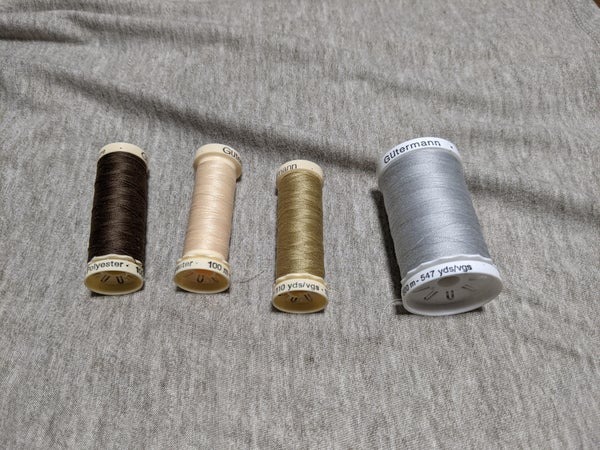
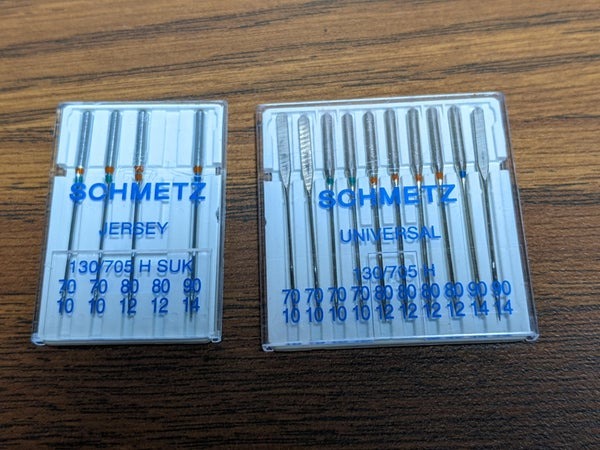
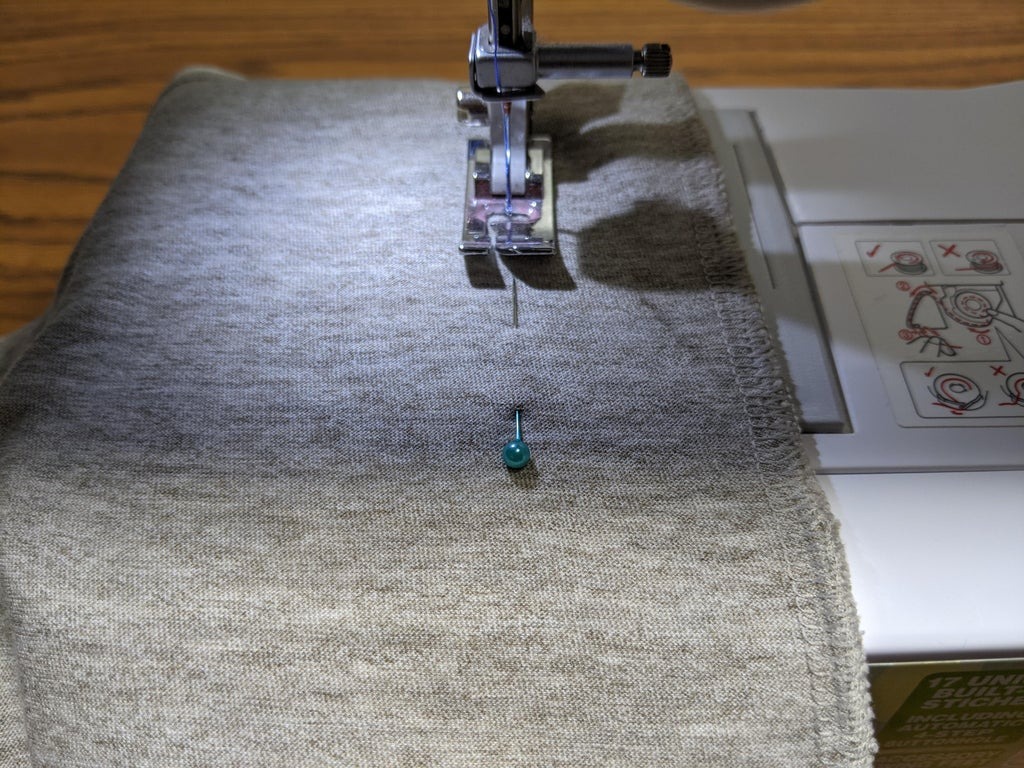
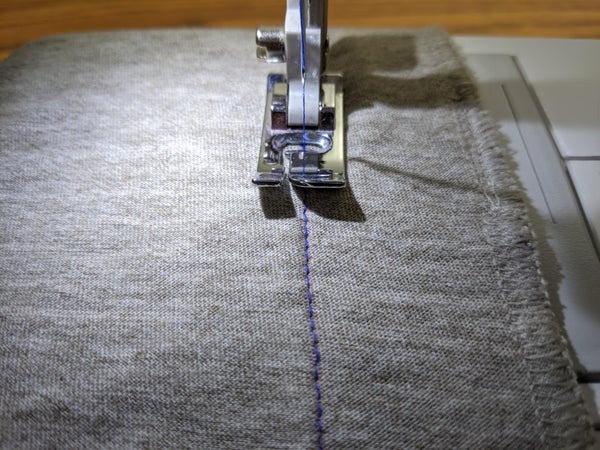
Step 7: Preparing the Sewing Machine Thread your sewing machine with matching polyester thread and choose the appropriate needle for knit fabrics like t-shirts.
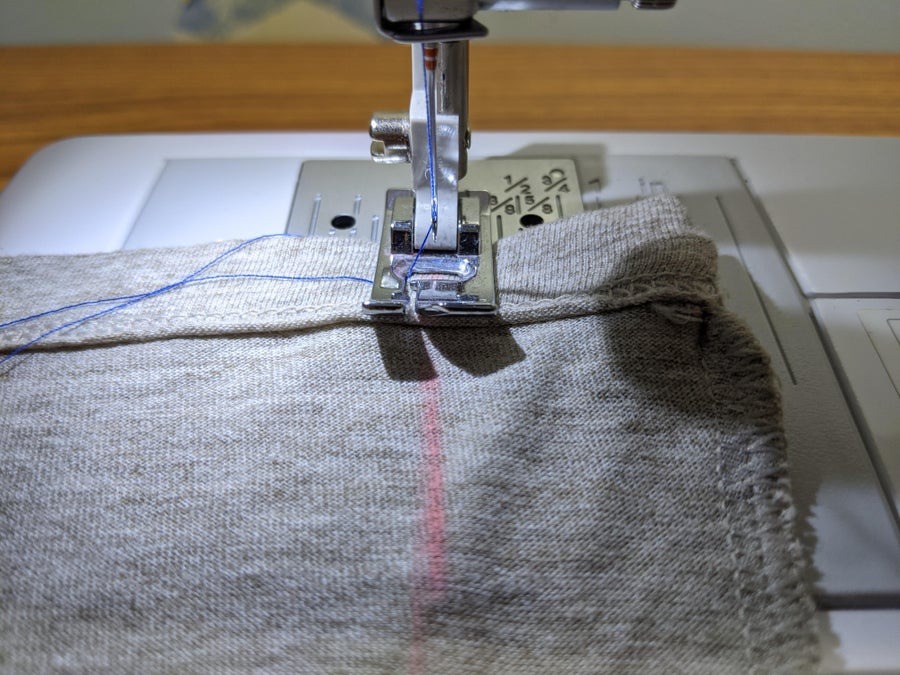
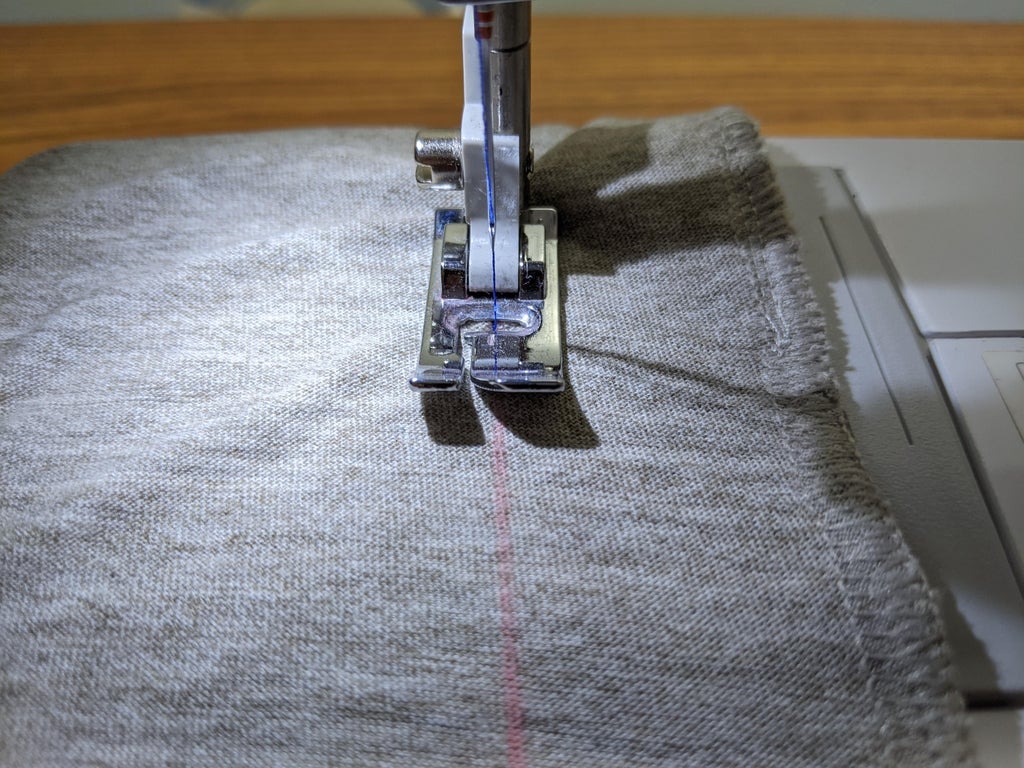
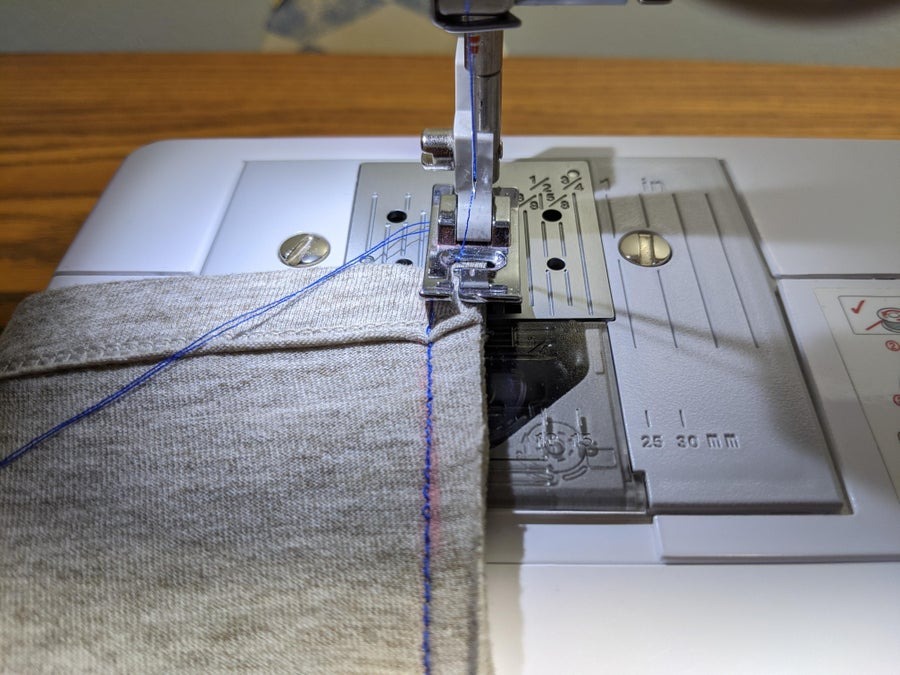
Step 8: Sewing the Draft Straight Stitch Create a draft seam using a straight stitch to test the fit before making the final seam.
Step 9: Testing the Fit Try on the t-shirt to check the fit. If adjustments are needed, use a seam ripper to remove unwanted stitches.
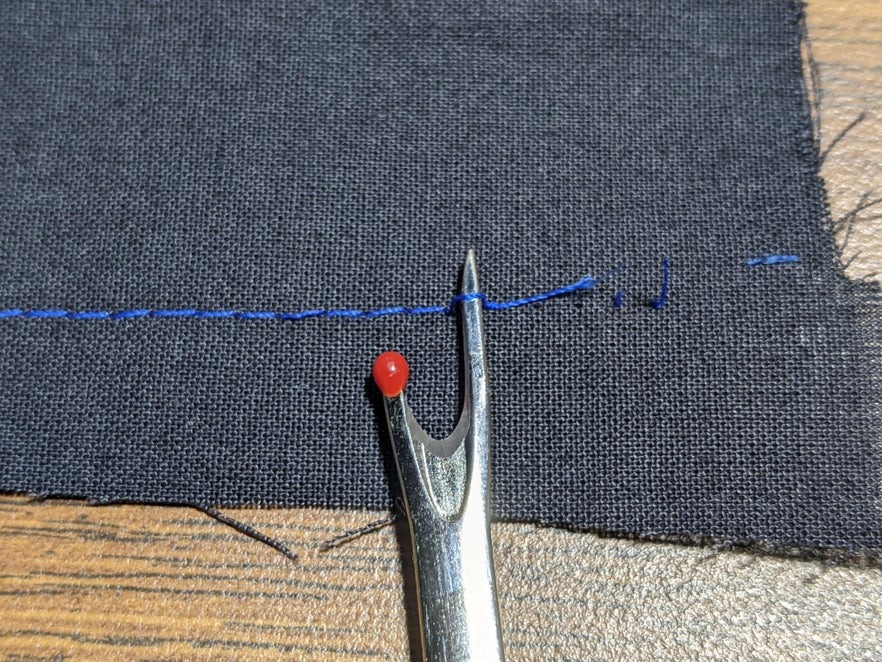
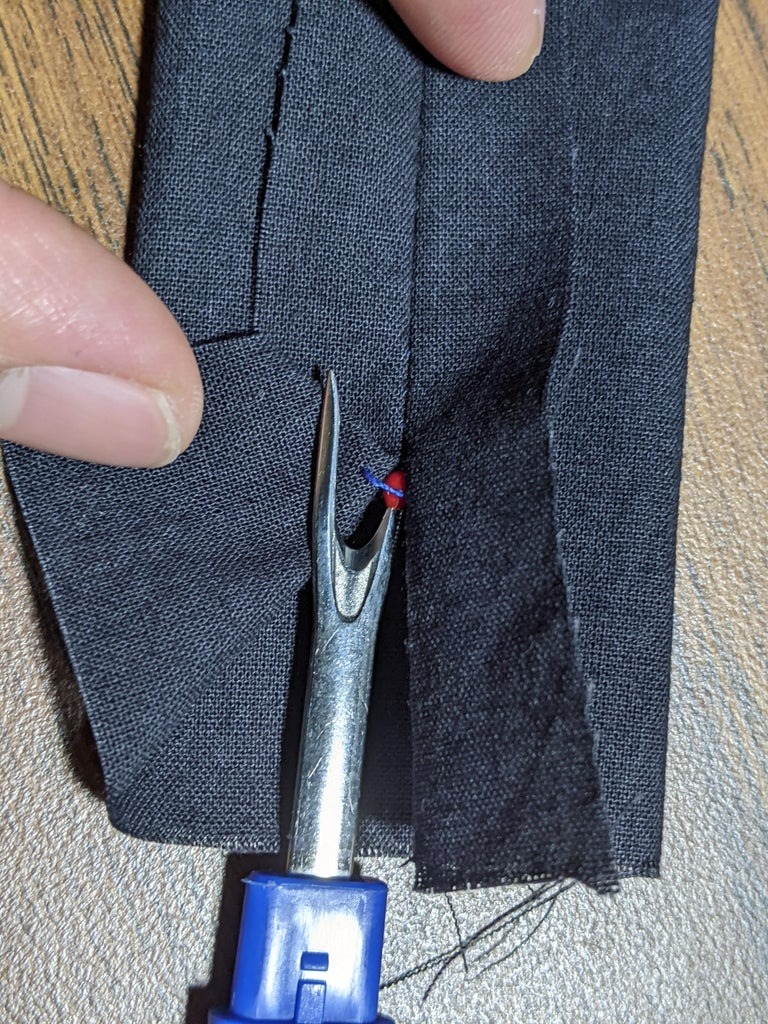
Step 10: Adjusting with a Seam Ripper If necessary, use a seam ripper to remove stitches and readjust the fit before sewing the final seam.
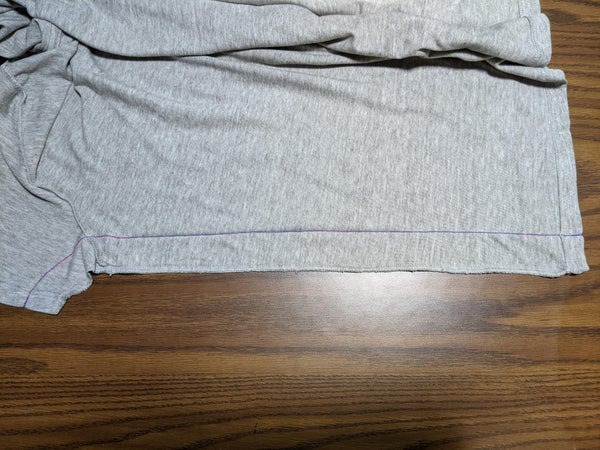
Step 11: Sewing the Final Straight Stitch Once satisfied with the fit, reinforce the draft seam with a final straight stitch for durability.
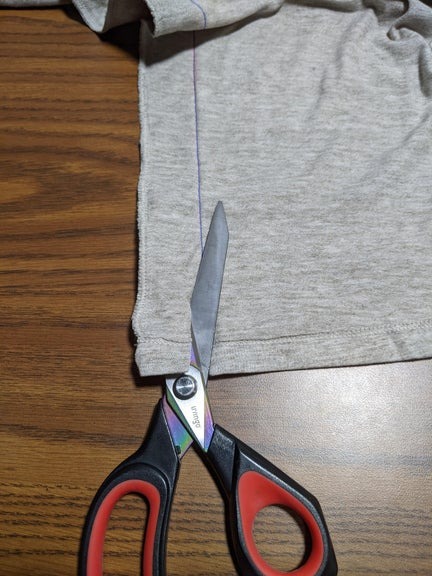
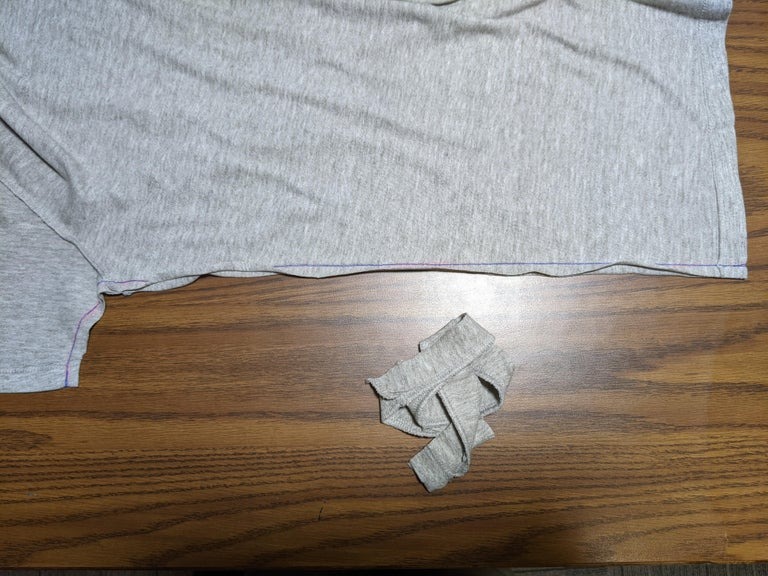
Step 12: Trimming Off Seam Allowance Trim the excess fabric from the seams to reduce bulk and create a clean finish.
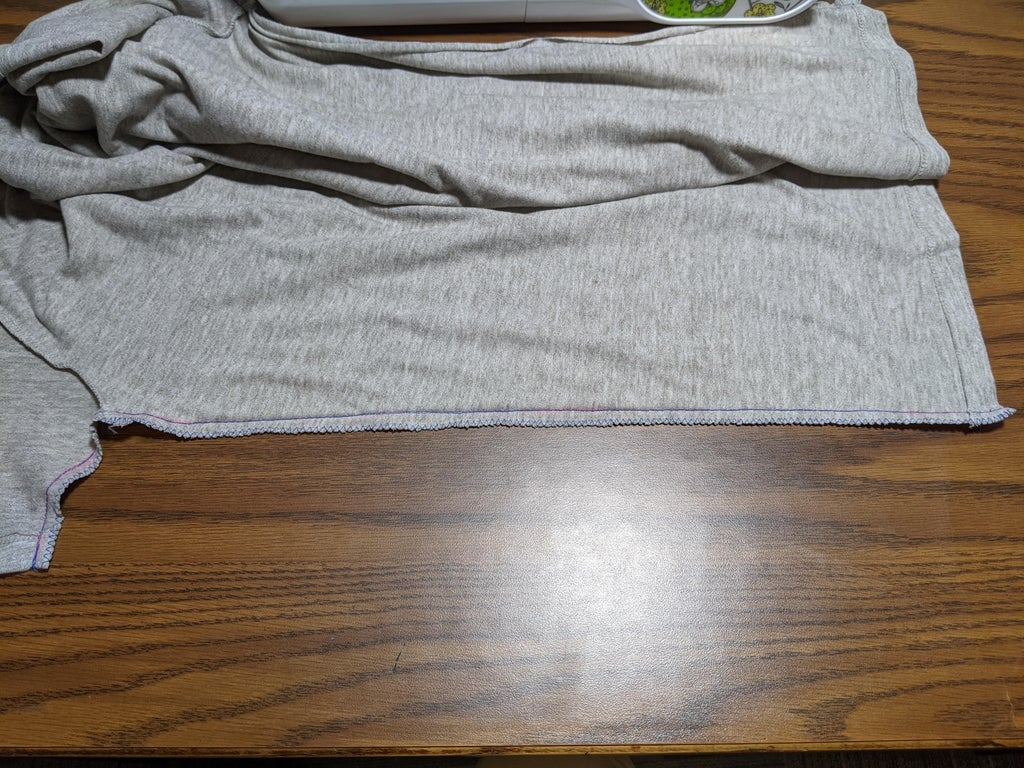
Step 13: Finishing the Edge Complete your tailored t-shirt by finishing the raw edges with a zig-zag stitch to prevent fraying.
Congratulations! You’ve successfully tailored your t-shirt to achieve the perfect fit. Wear it with pride and confidence knowing you’ve mastered the art of basic garment alteration.