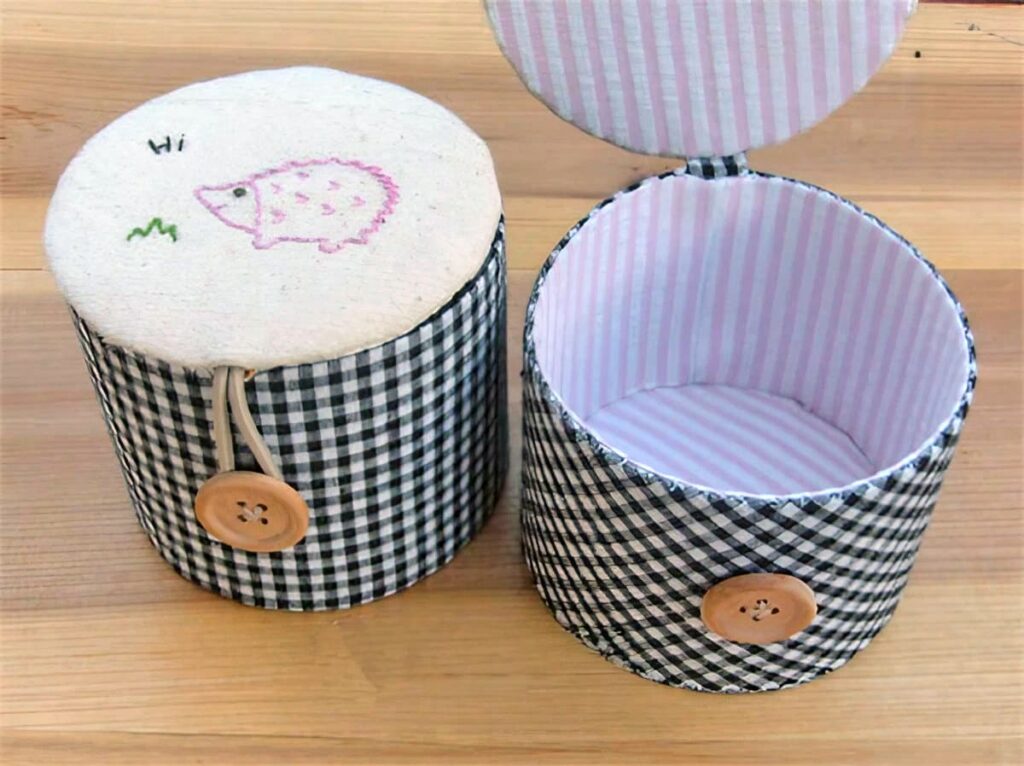
Creating a round fabric box with a lid adds a touch of charm to your home decor while also providing practical storage space. This DIY project doesn’t require a paper pattern; all you need is to calculate the circumference to design your own fabric box! Follow these simple steps to craft your own fabric box with lid:
Materials Needed:
- Outer fabric
- Lining fabric
- Rigid fusible lining
- Double-sided fusible webbing
- Sewing supplies (scissors, needle, thread, iron)
- Cotton batting or filler (optional)
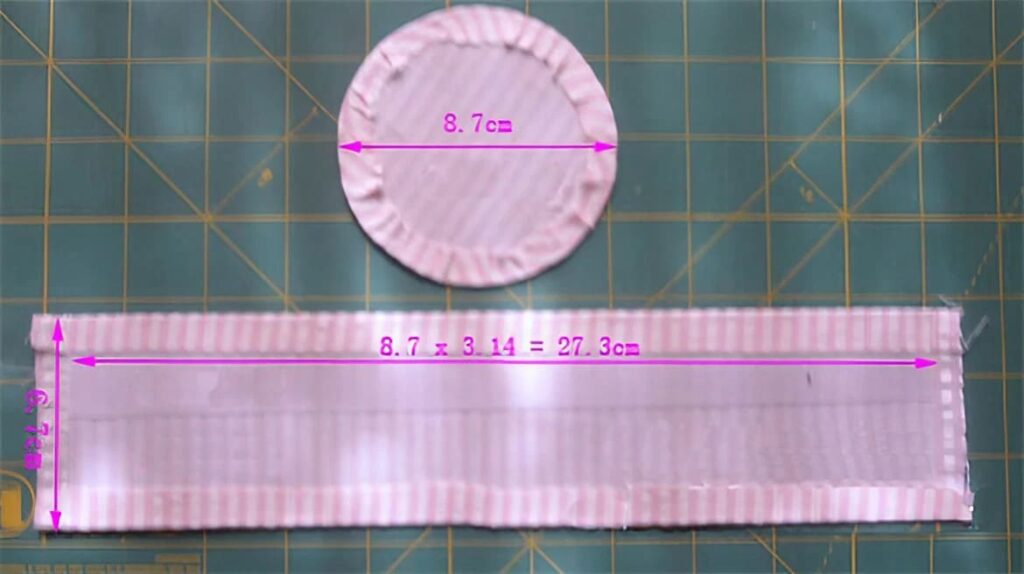
Step 1: Measure and Cut the Fusible Lining
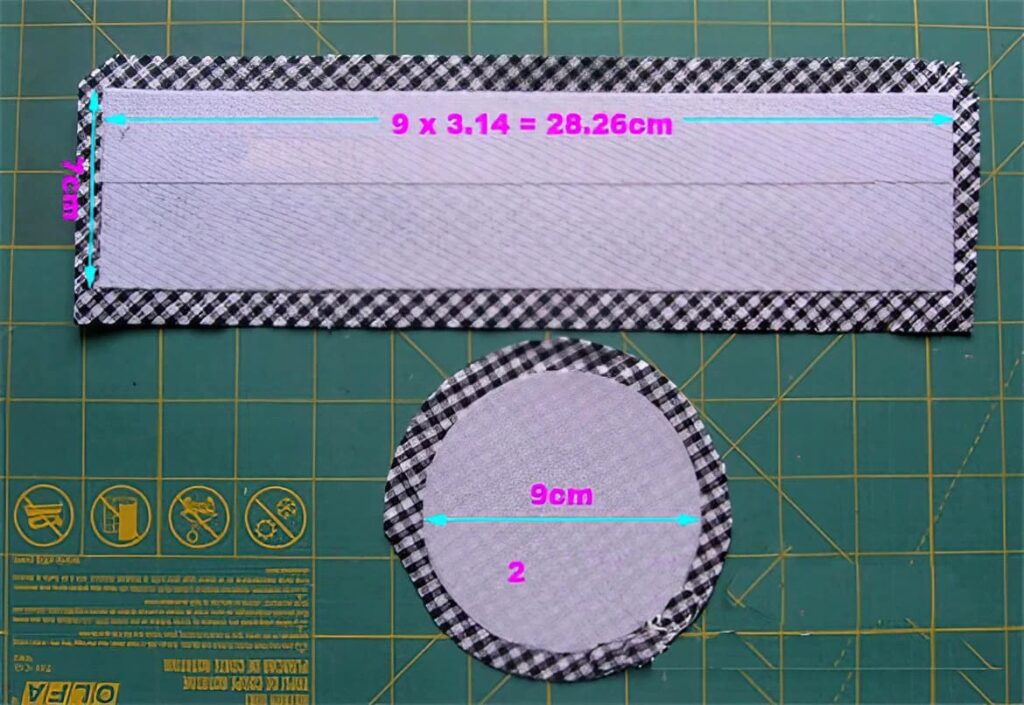
- Determine the diameter and height of the box. Cut the bottom of the box and the body fusible lining according to these measurements.
- Use two layers of fusible lining for the bottom, each with a diameter of 9cm. Cut two lengths of 28.3cm for the body of the box, with a customized width (7cm in this example).
Step 2: Iron the Fusible Lining onto the Fabric
- Iron the fusible lining onto the reverse side of the outer fabric and lining fabric, ensuring alignment.
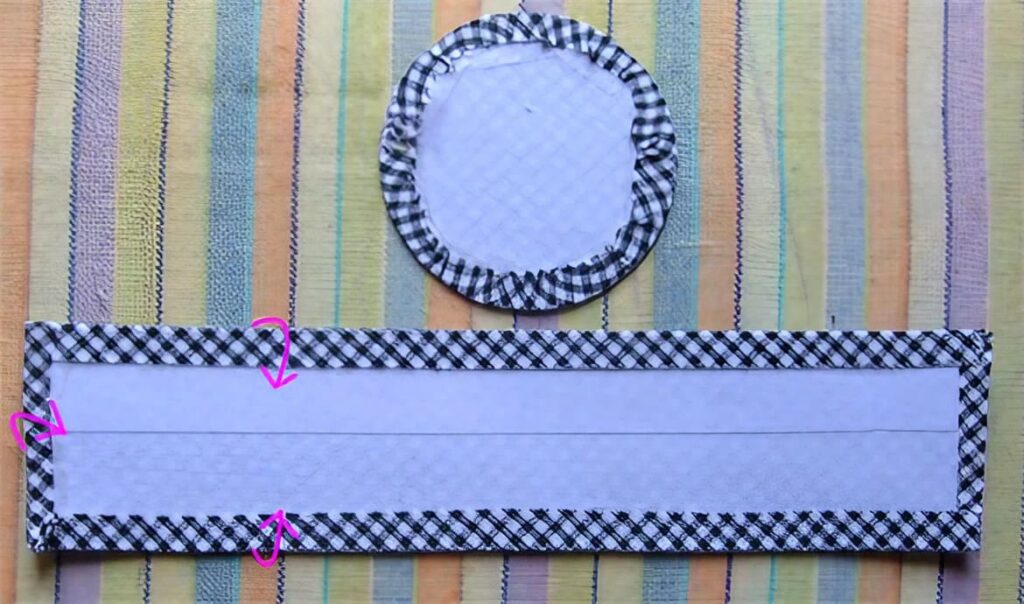
- Lay the fabric flat and trim neatly around the fusible lining.
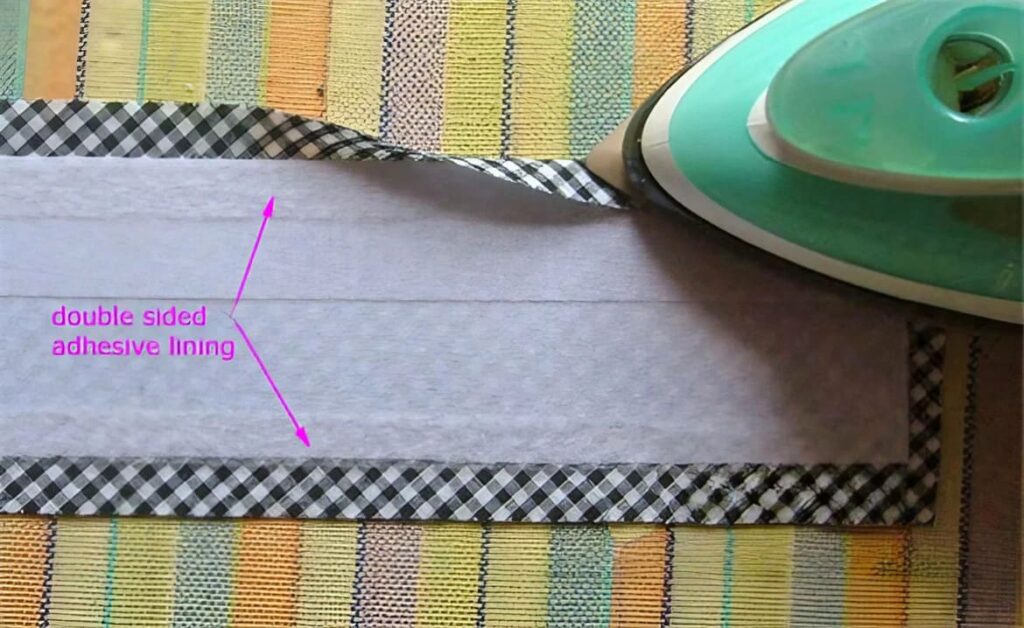
Step 3: Seal the Edges
- Apply a narrow strip of double-sided fusible webbing to the edges of the fusible lining.
- Fold the fabric inward along the edge of the fusible webbing and iron to seal the seam.
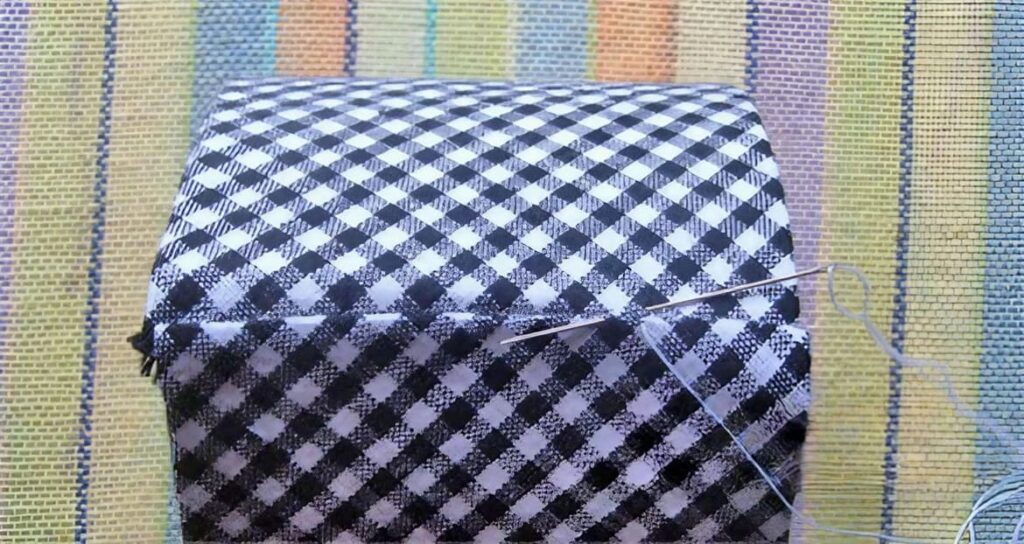
Step 4: Sew the Box
- Fold three edges of the fabric to create the box sides, leaving one side open.
- Butt the two ends of the box together, overlapping the folded-in sides, and hand-sew them together using a hidden-needle stitch.
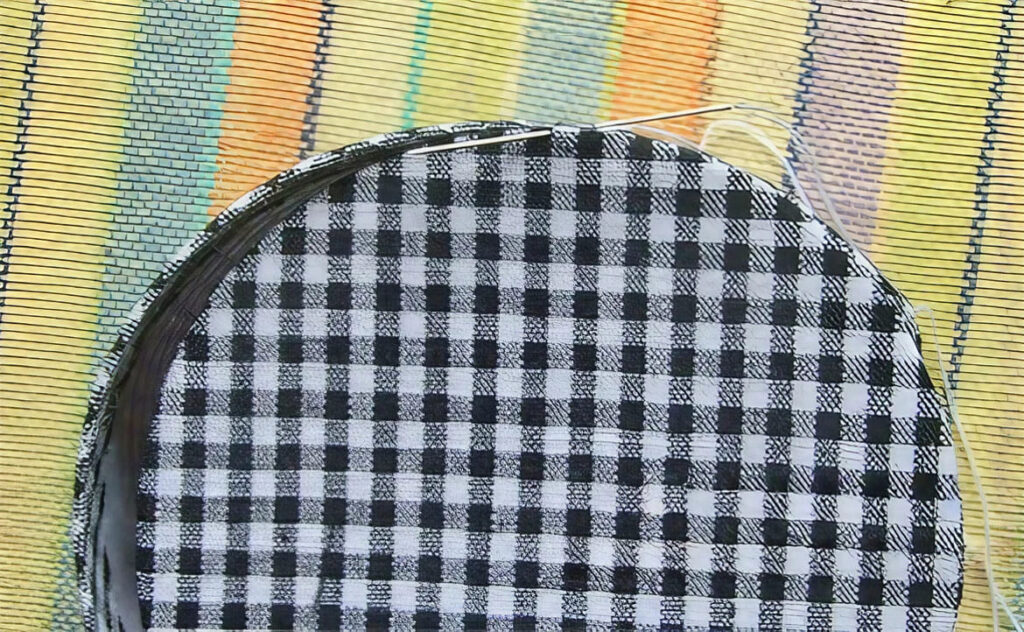
- Sew the bottom of the box to the body using a hidden-needle stitch, ensuring to sew on the side of the double-layered fusible lining.
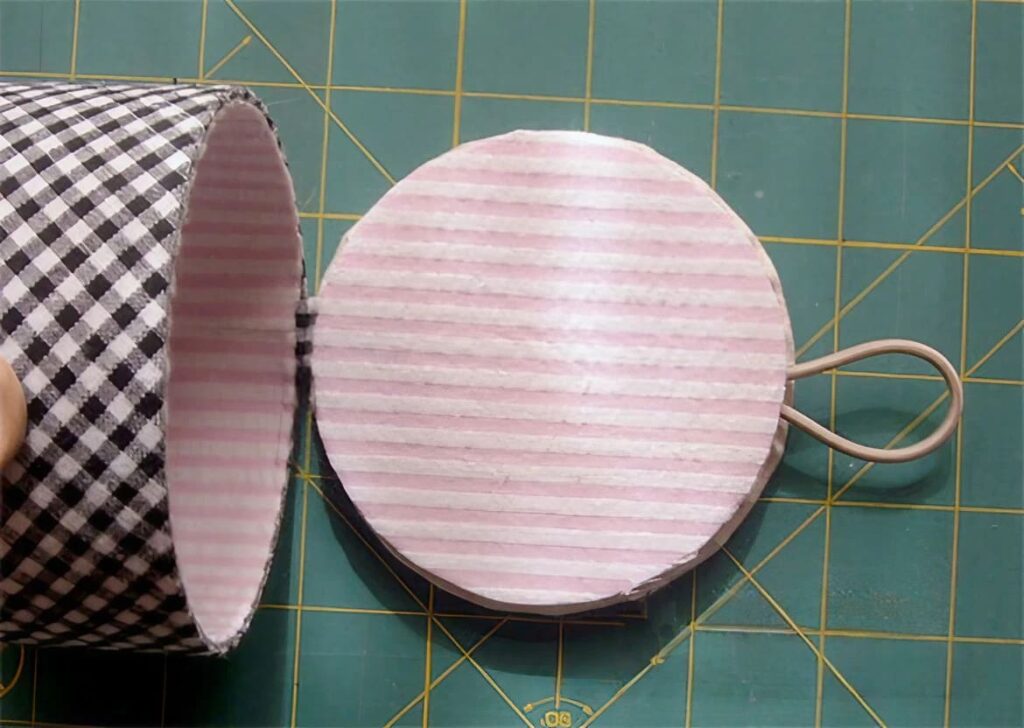
Step 5: Create the Inner Core
- Follow similar steps to create the inner core, making it slightly smaller than the outer shell.
- Iron the fusible lining onto the lining fabric, trim, and use double-sided fusible webbing to glue the seams together.
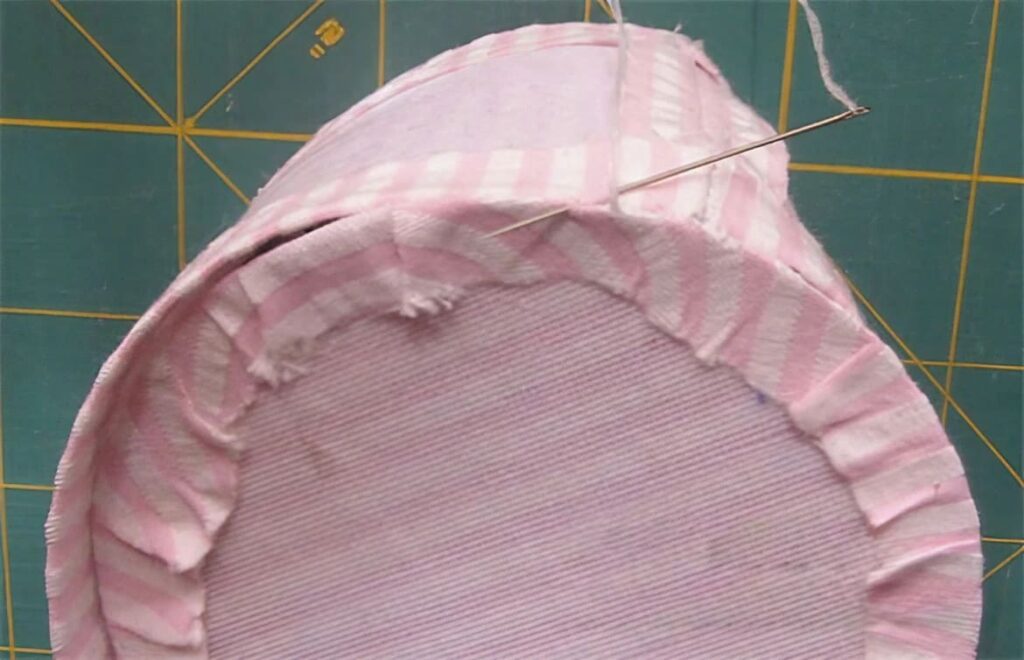
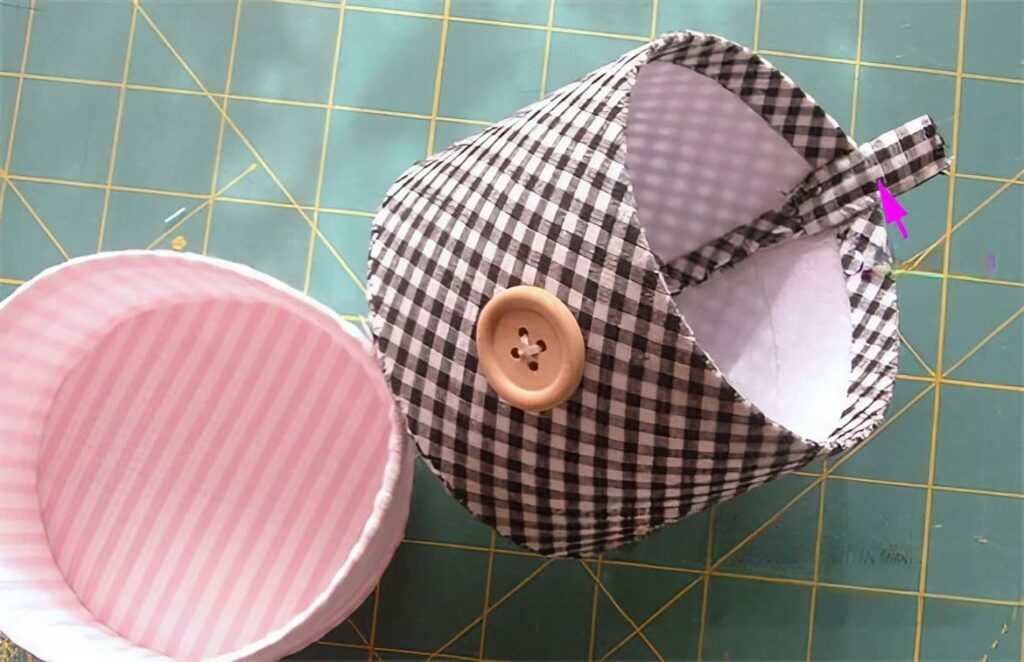
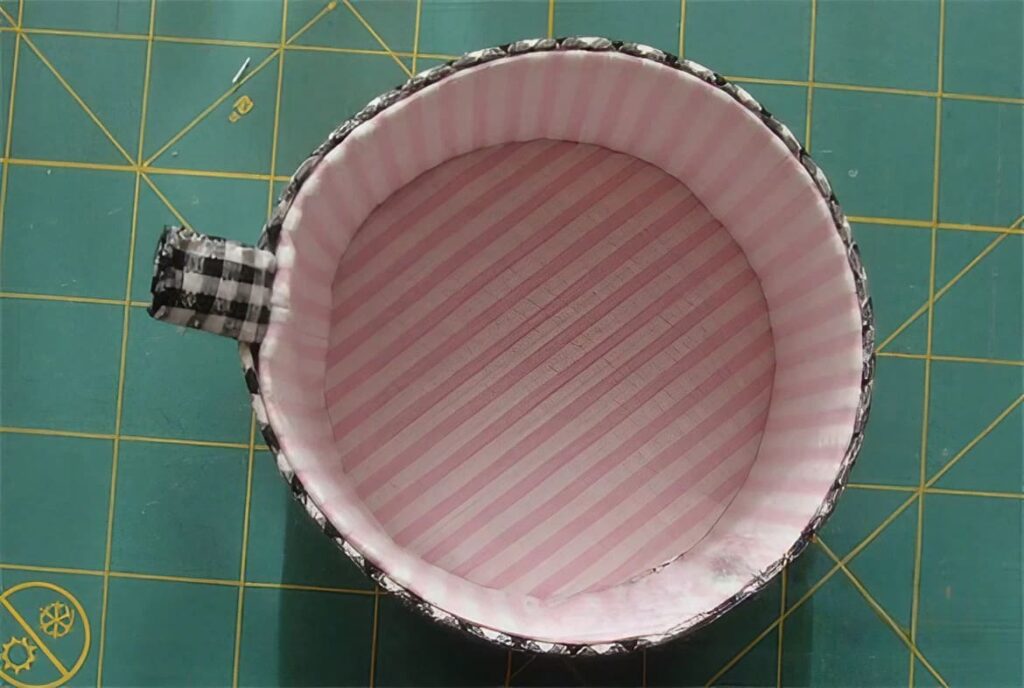
Step 6: Nest the Inner and Outer Layers
- Insert the inner core into the outer shell and secure the edges with a hidden stitch.
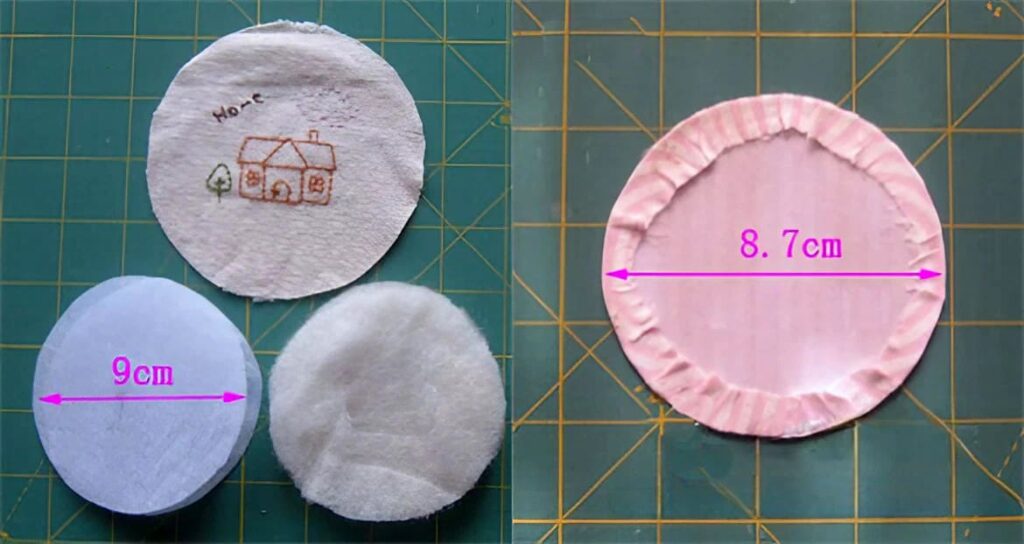
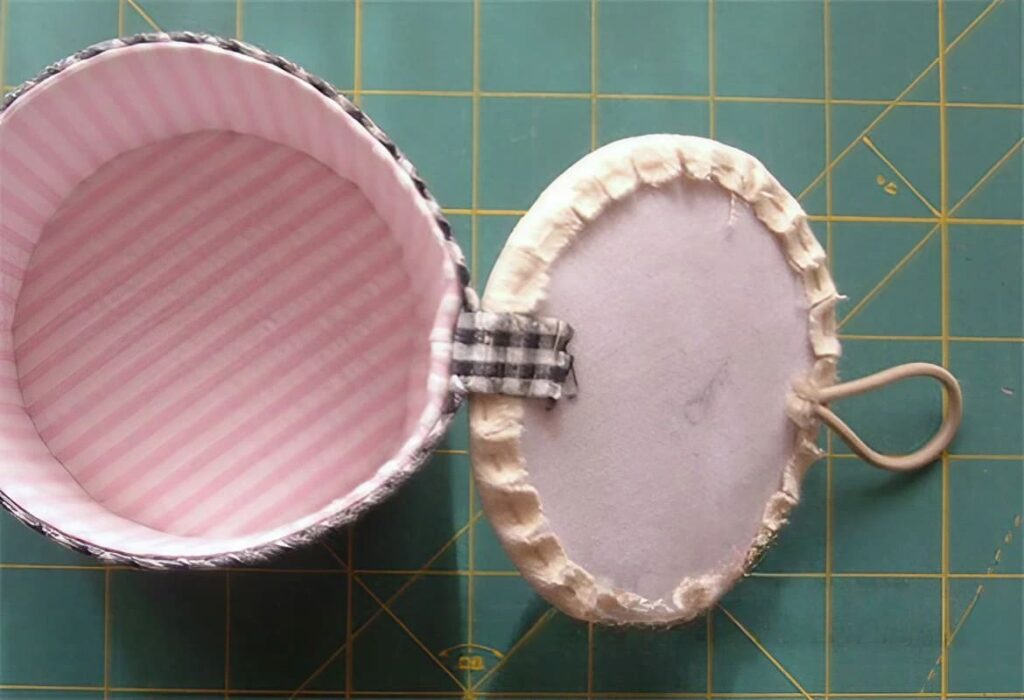
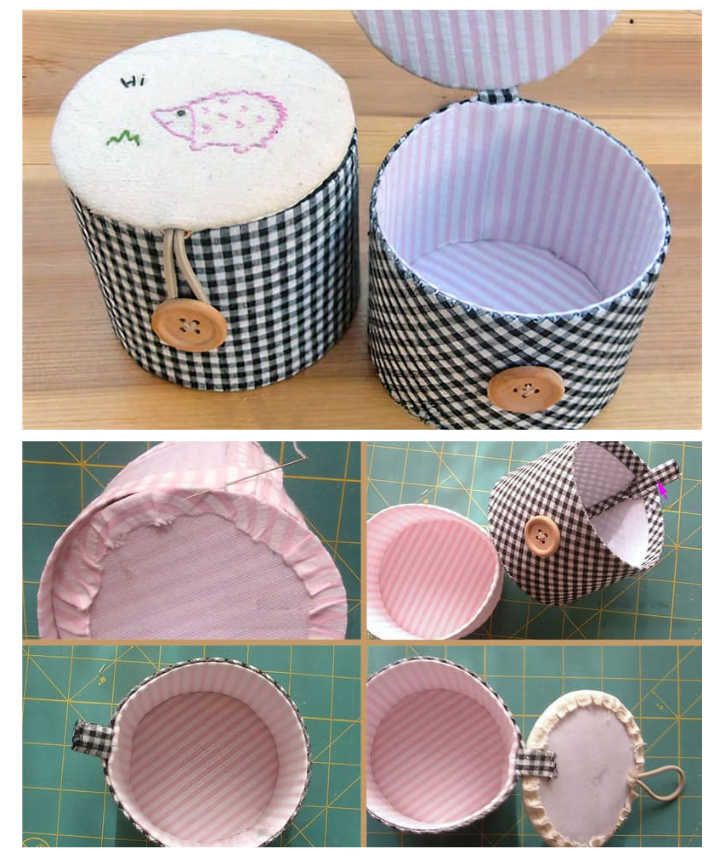
Step 7: Make the Lid
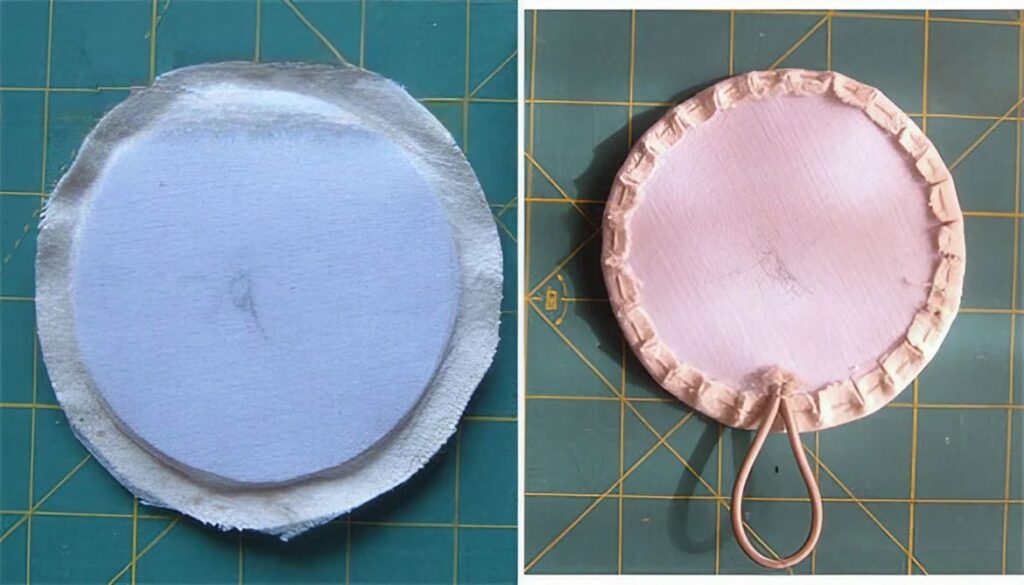
- Cut a lid with a diameter slightly smaller than the box. Add auxiliary cotton for plumpness and iron fusible lining around the perimeter.
- Create a sandwich with the top cover, auxiliary cotton, and fusible lining. Sew around the edges to secure, and attach a rubber band as a fastener.
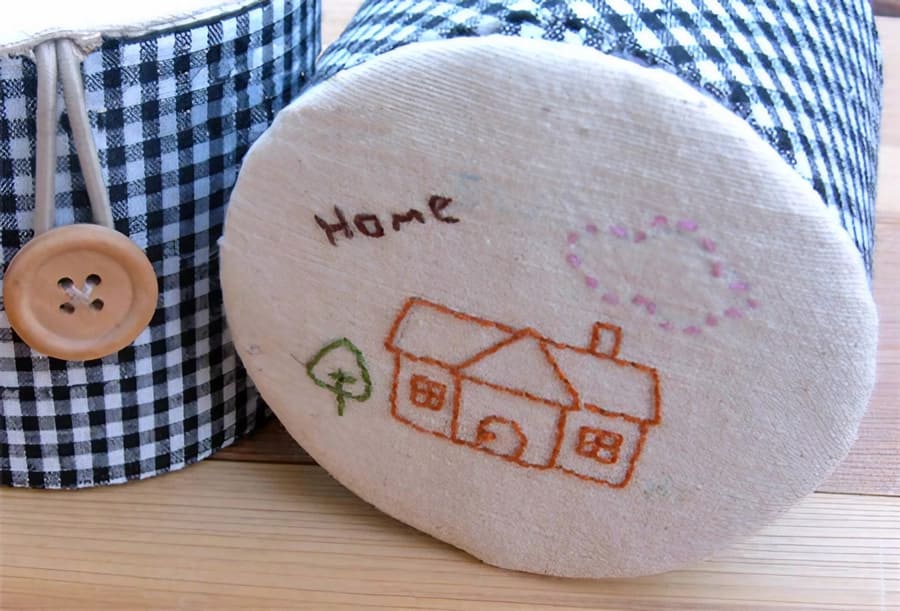
Step 8: Final Touches
- Sew the rubber band across the box and attach the other half to the lid.
- Cover the bottom of the lid and secure the edges with a hidden stitch.
With these steps, you can create a beautiful and functional round fabric box with a lid to store your items in style!