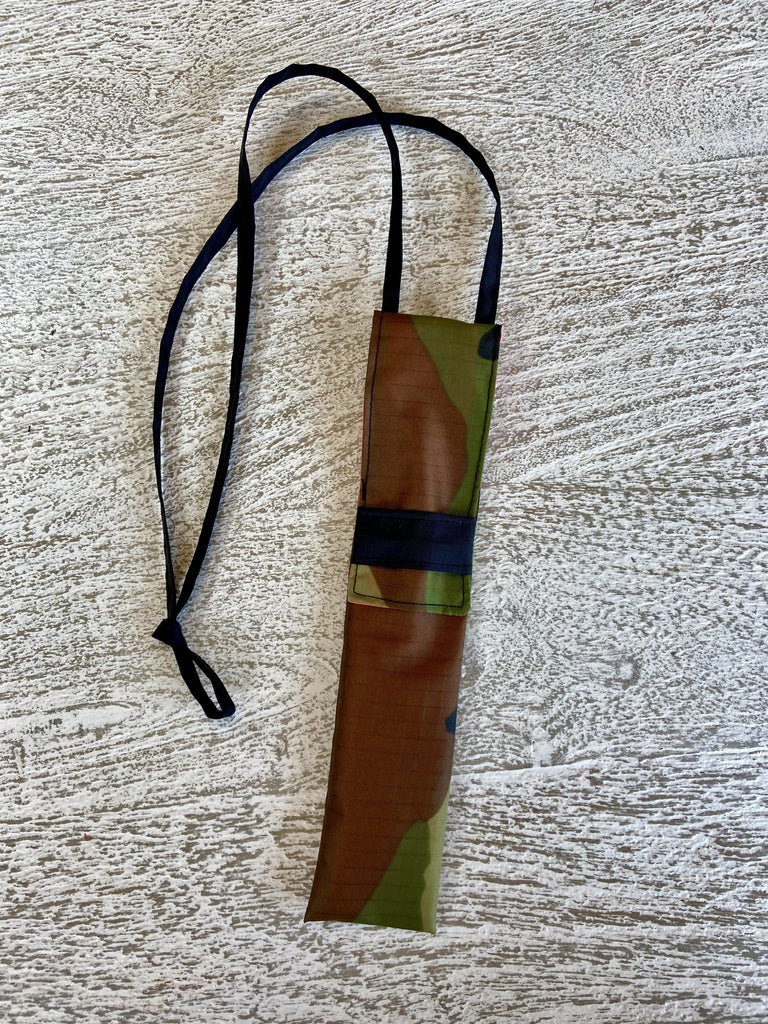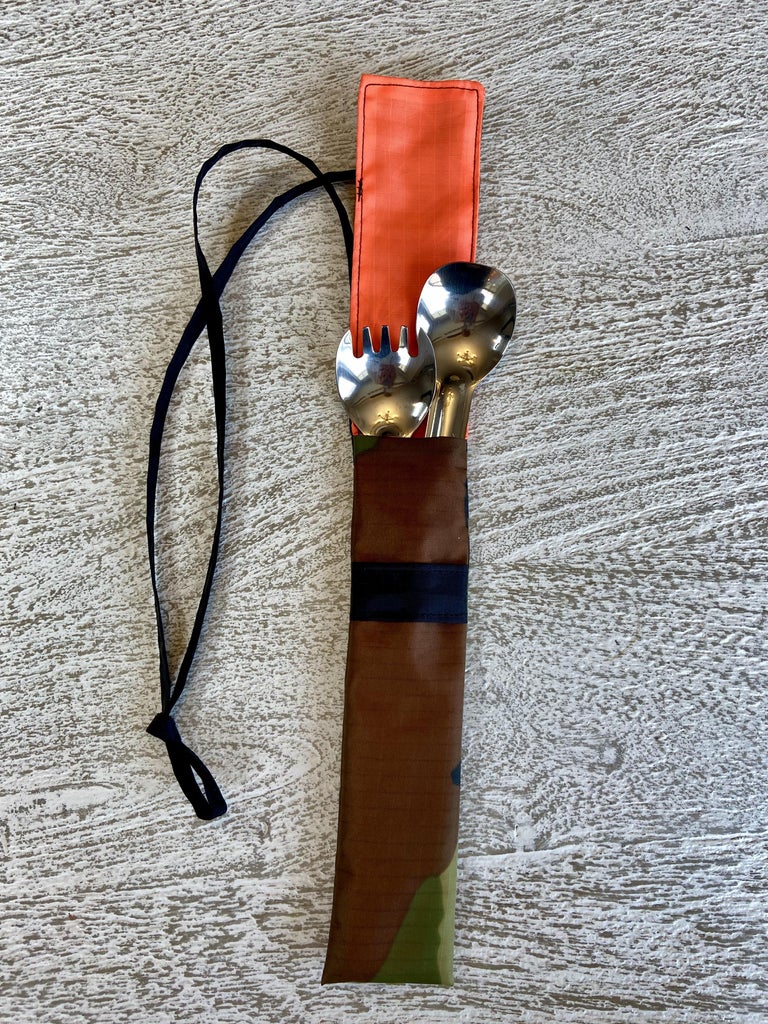
If you’re an outdoor enthusiast like me, you know the importance of having reliable utensils when you’re out exploring nature. But keeping them organized and easily accessible can sometimes be a challenge. That’s why I’ve created this simple DIY project to make a ripstop nylon utensil holder. Let’s get started!
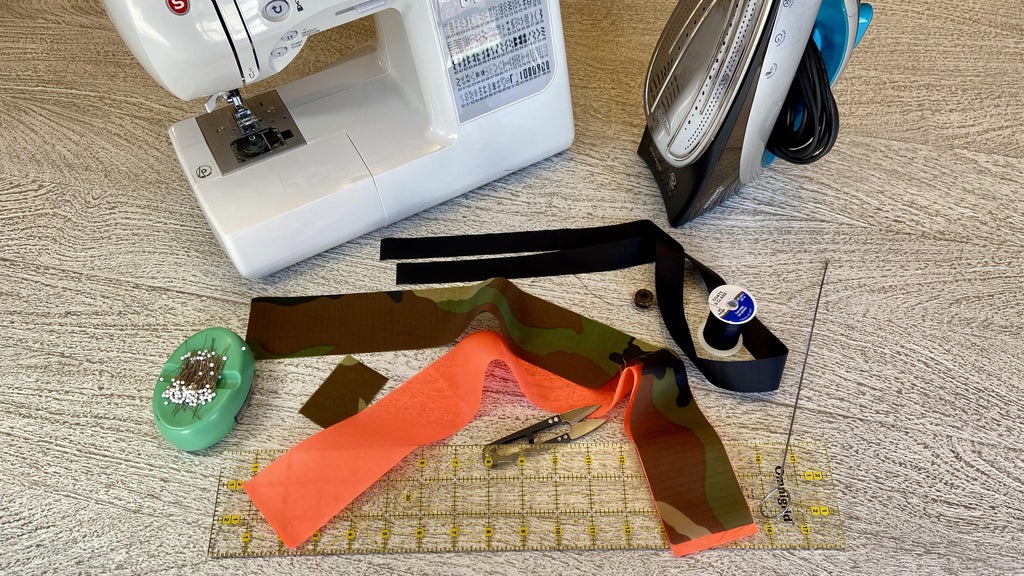
Supplies You’ll Need:
- Ripstop nylon
- Thread (polyester)
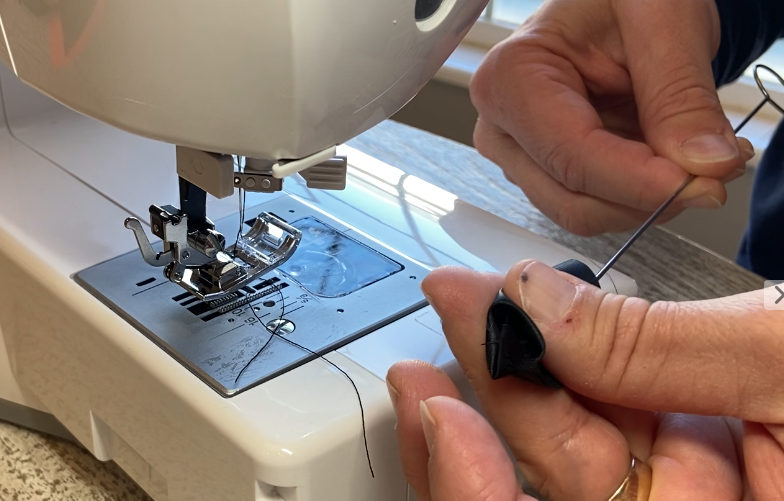
- Sewing machine (with a sharp sewing machine needle suitable for ripstop nylon)
- Scissors
- Turning hook
- Iron
- Pins
- Ruler
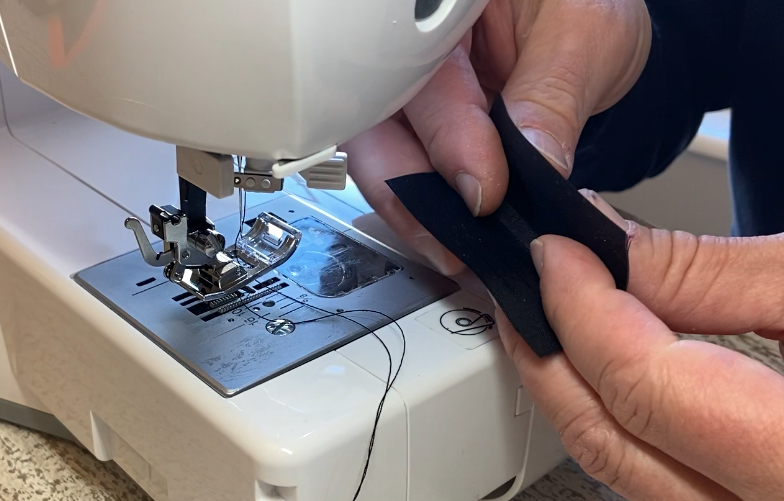
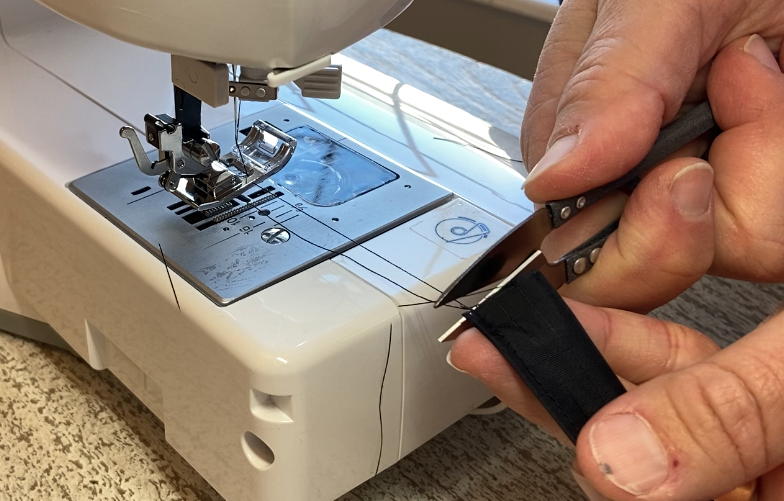
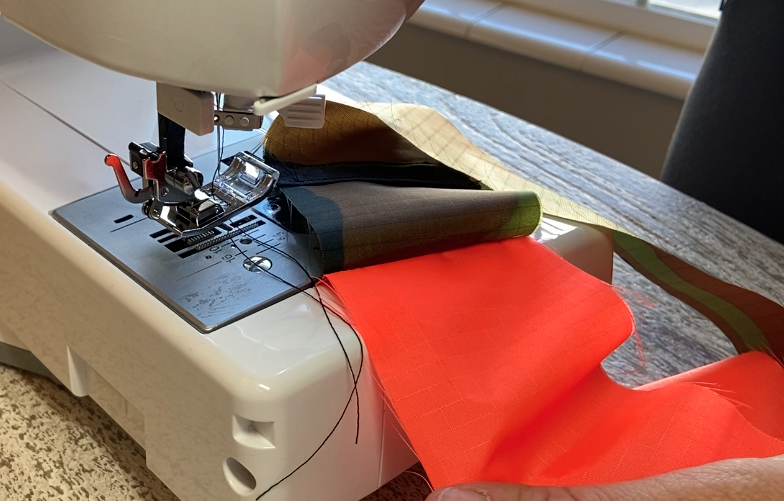
Step 1: Crafting the Closure
Begin by creating the closure for your utensil holder. Follow these steps:
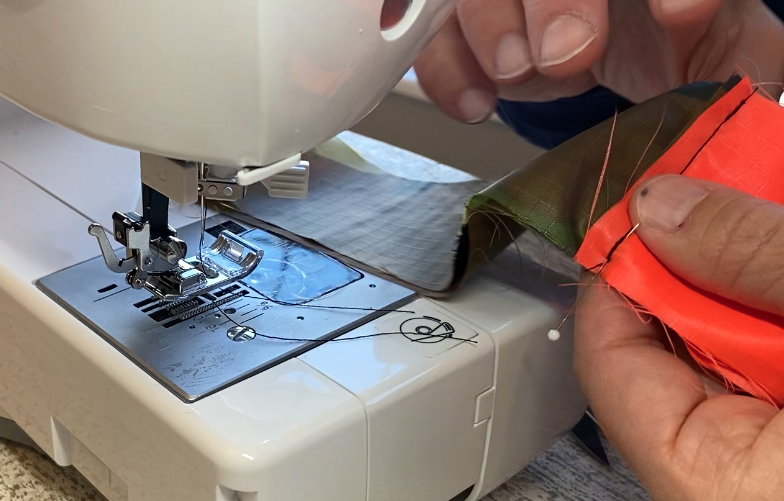
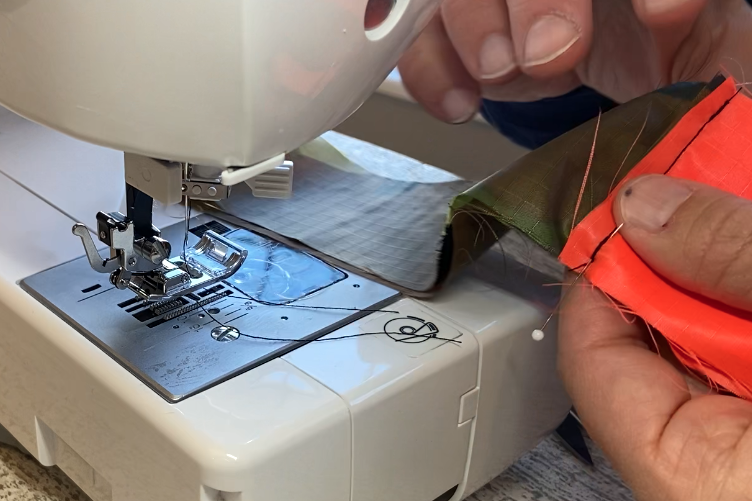
- Fold the small piece of ripstop nylon (measuring 2 1/2″ x 2″) lengthwise with right sides together.
- Stitch along the raw edges with a 1/8″ seam allowance.
- Use a turning hook to flip the piece right-side out.
- Roll the piece in your hands to center the seam.
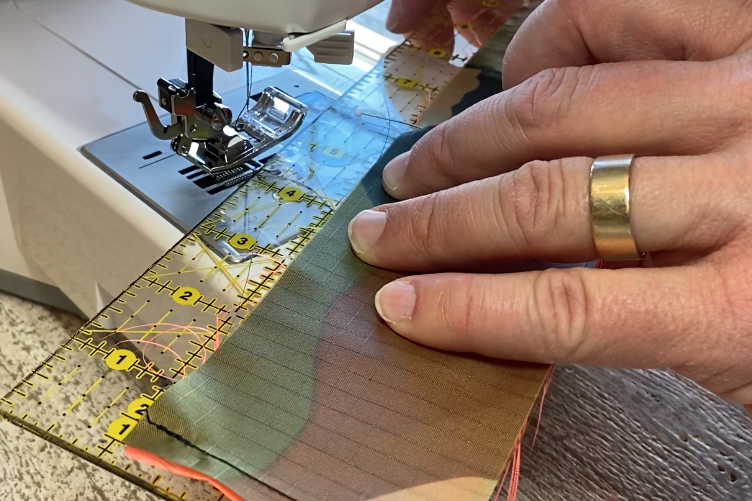
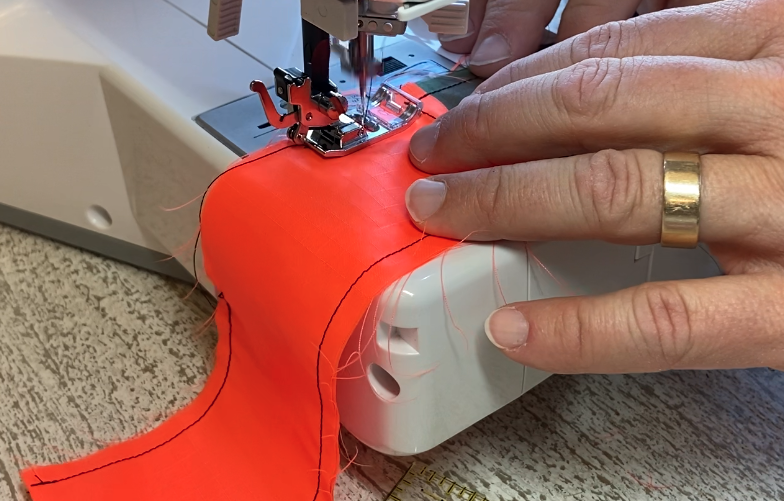
- Topstitch along each long side, approximately 1/16″ – 1/8″ from the edge.
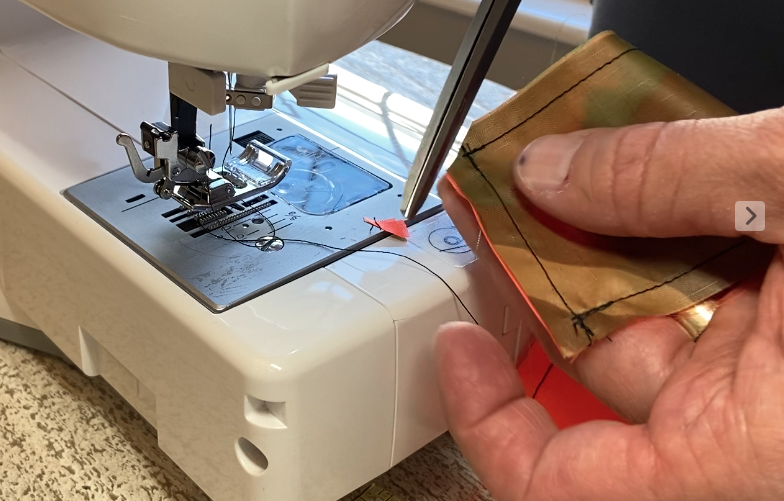
- Pin the closure onto the right side of the outer fabric, about 1 1/4″ from the top, and stitch it into place with a 1/4″ seam allowance.
Step 2: Creating the Flap
Next, determine the proportions for the flap of your utensil holder. Here’s what you’ll do:
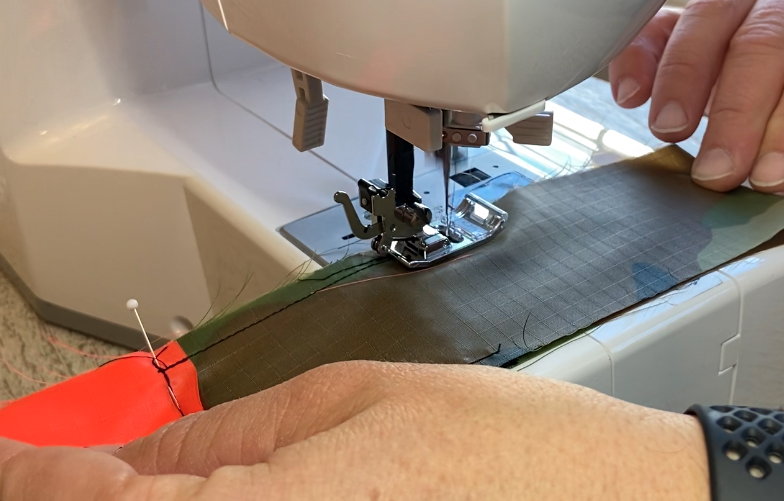
- Mark two pins on each edge of the fabric, approximately 5 3/4″ from the end opposite the closure.
- Stitch along each side from the pin to the end using a 1/4″ seam allowance.
- Remove the pins to create a loop in the remaining fabric.
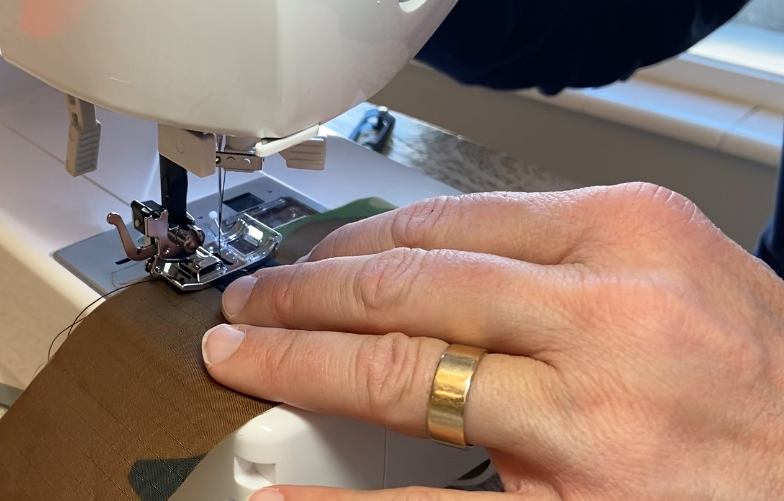
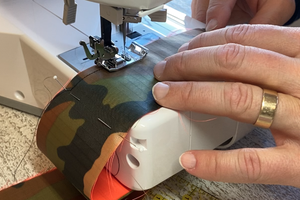
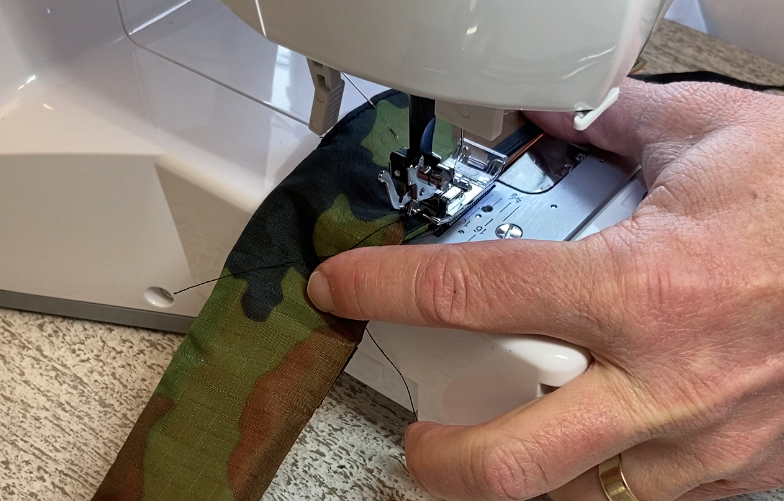
Step 3: Constructing the Pouch
Now, let’s turn that loop into a pouch:
- Align the loop’s seam with the flap’s stitching from Step 2, with the outer and liner fabrics facing each other.
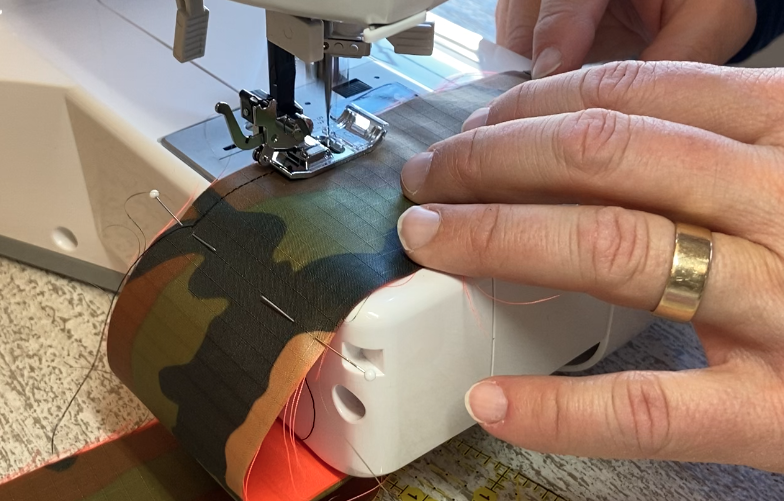
- Pin the loop’s seam to the flap’s base seam.
- Stitch along both edges of the outer fabric, leaving one side open for turning.
- Repeat the process for the liner fabric, leaving a 2″ gap along one side for turning.
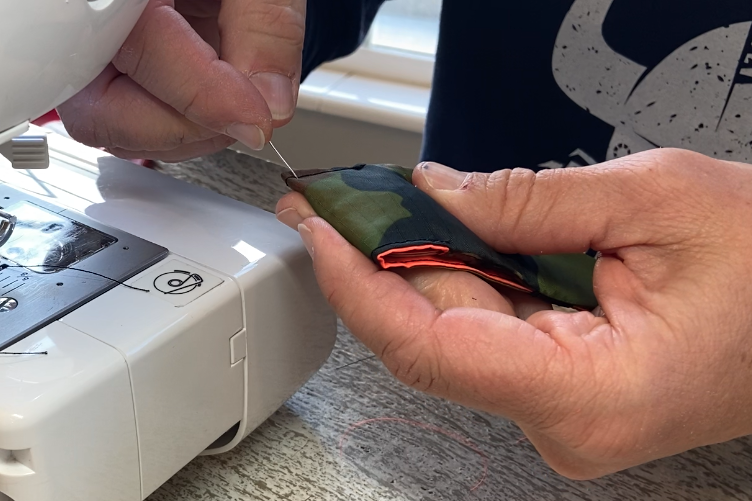
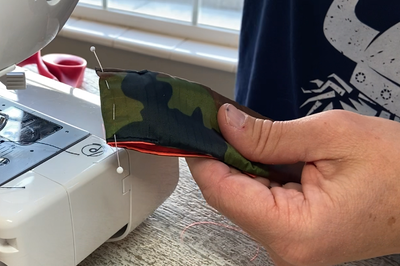
- Clip the corners, turn all pieces right-side out, and topstitch the gap closed.
- Insert the liner into the pouch and topstitch the flap.
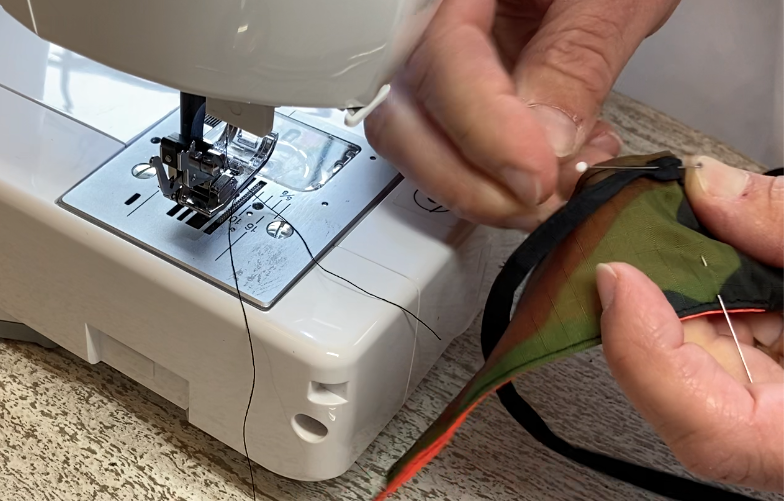
Step 4: Adding the Lanyard
Finally, let’s add a lanyard for easy carrying:
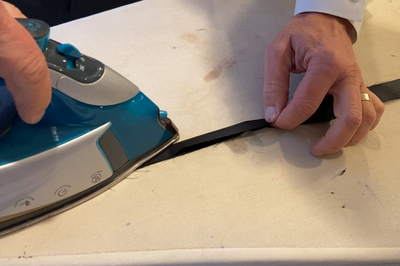
- Press the lanyard fabric in half lengthwise, then fold each side toward the center.
- Topstitch along the loose edge to secure.
- Fold and press each end approximately 1/2″ from the end.
- Pin the folded ends to the top back of the utensil holder.
- Attach each end of the lanyard with a zig-zag stitch.
- Trim the lanyard to your desired length and tie a knot near the top for adjustability.
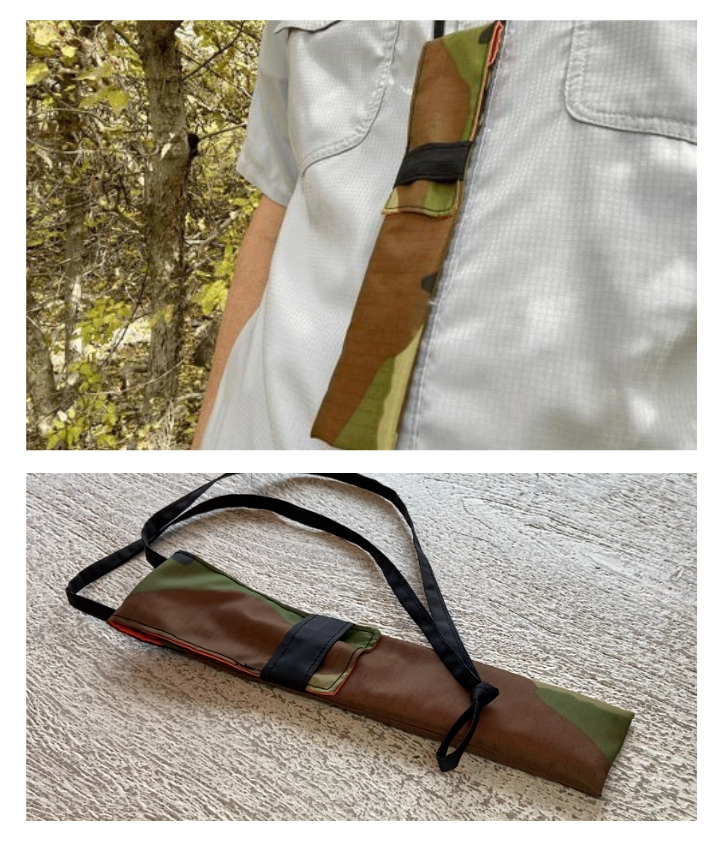
And there you have it! Your ripstop nylon utensil holder is ready to accompany you on all your outdoor adventures. Enjoy staying organized and prepared wherever your travels take you!