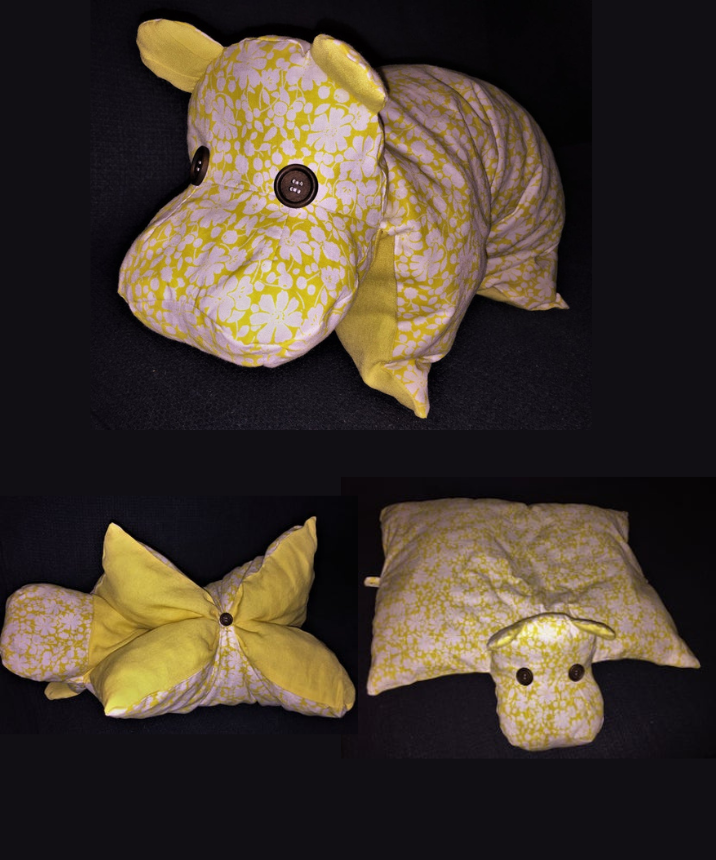
Introduction: In this tutorial, I’ll show you how to make a fabric hippo pillow. This project is perfect for beginners in sewing and makes a cute gift for kids or animal lovers.
Materials Needed:
- 2 pieces of fabric, at least 75 cm x 60 cm each
- Preferably cotton: easy to sew and available in many colors and patterns
- Matching thread
- Fiberfill or recycled fabric for stuffing the pillow
- 2 large buttons for the eyes
- 1 small button to close the pillow
- Sewing machine + sewing kit
- Iron + ironing board
- Sewing pattern on paper or cardboard (to print or copy from an image)
Step 1: Preparing the Pieces
- Cut 2 rectangles measuring 48 cm x 38 cm for the body of the hippo pillow, one from each fabric.
- Print or copy the pattern on paper or cardboard. Make sure to leave a 1 cm seam allowance around each piece.
- Trace the patterns onto the fabric with the wrong side facing up, following the instructions on the pattern.
- Cut out all the pieces according to the traced lines.
Step 2: Sewing the Darts
- Create the darts as indicated on the pattern to add volume to the fabric.
Step 3: Assembling the Head
- Attach the ears by sewing the pieces together and then affix them to the head of the hippo.
Step 4: Assembling the Snout
- Sew the snout pieces together and then attach them to the head.
Step 5: Preparing the Body
- Attach the tail and the ribbon that will close the pillow to the back of the body.
Step 6: Assembling the Body and Head
- Connect the head to the body with a seam, leaving an opening for turning.
Step 7: Stuffing and Finishing
- Fill the pillow with fiberfill or the chosen stuffing and close the opening by hand.
- Attach the eyes and the button to close the pillow using a needle and thread.
Conclusion: And there you have it, your fabric hippo pillow is complete! This project is fun and easy to make, perfect for sewing beginners. It will make a cute and unique gift for young and old alike. Have fun!


