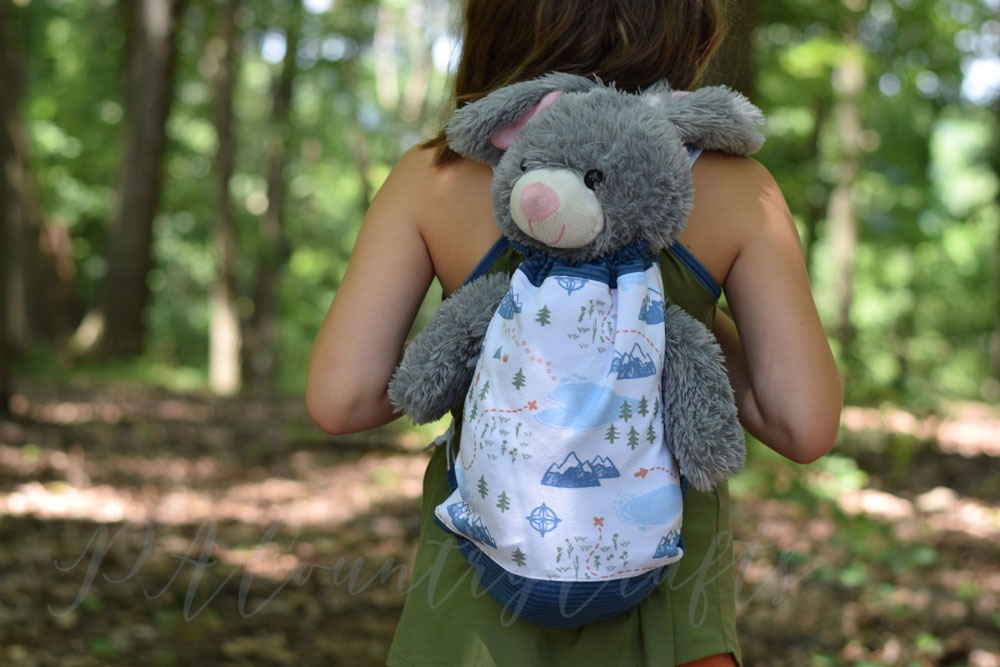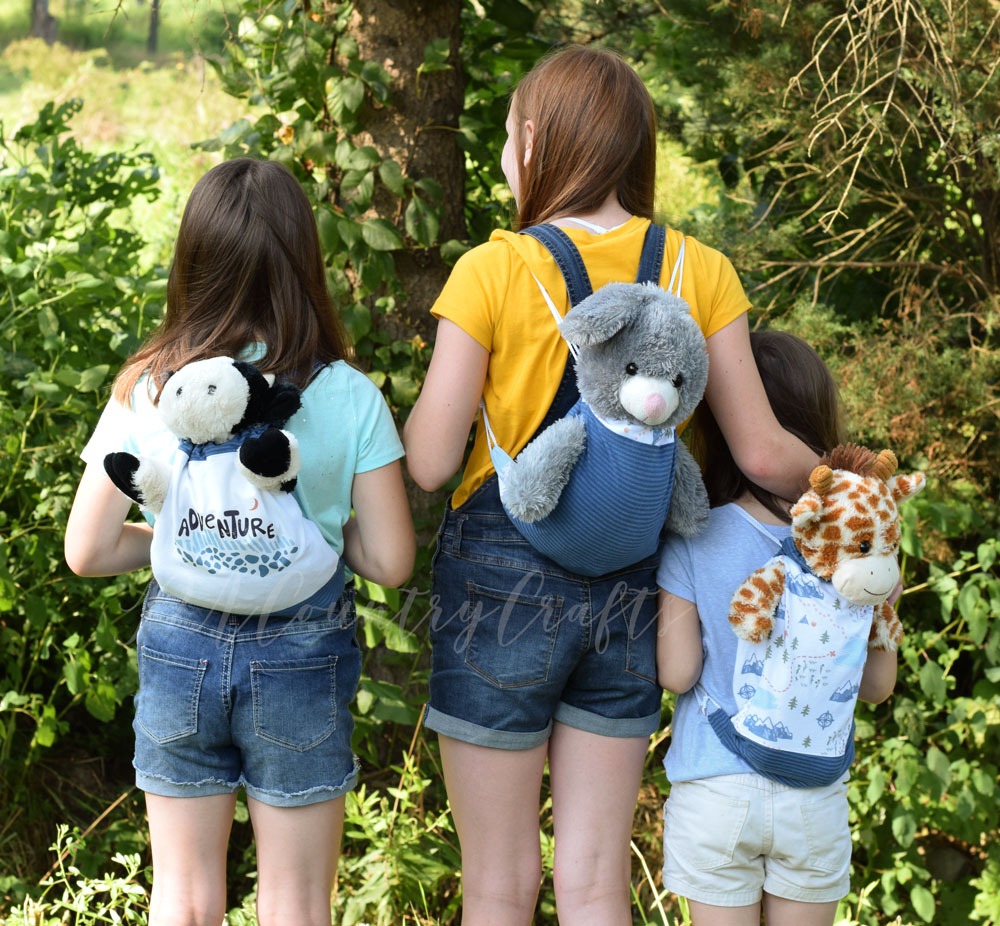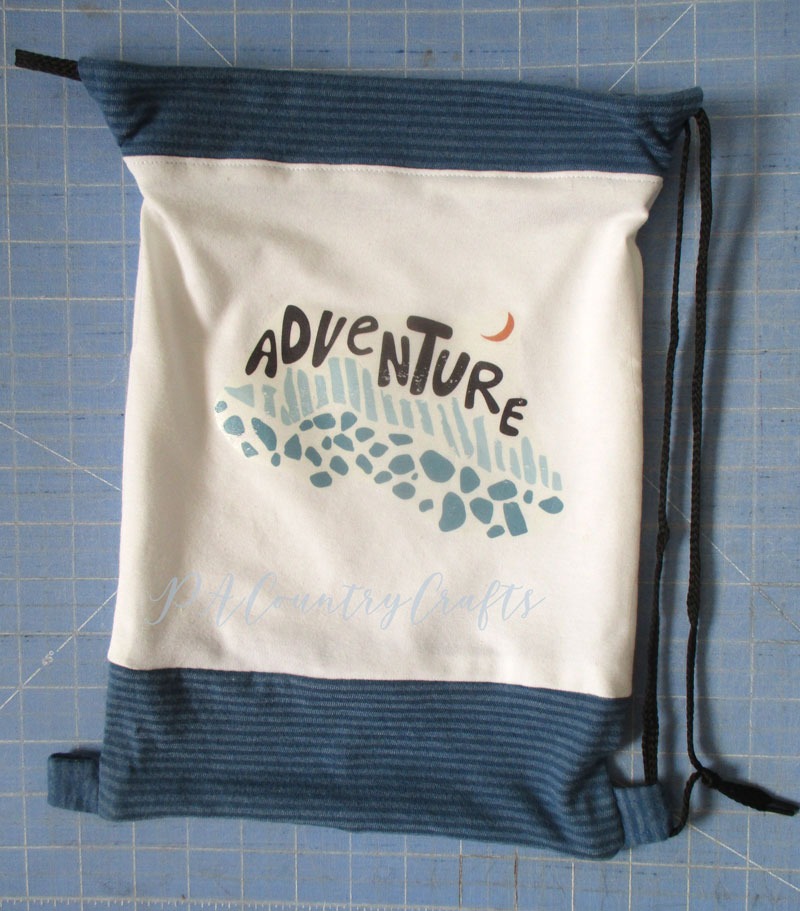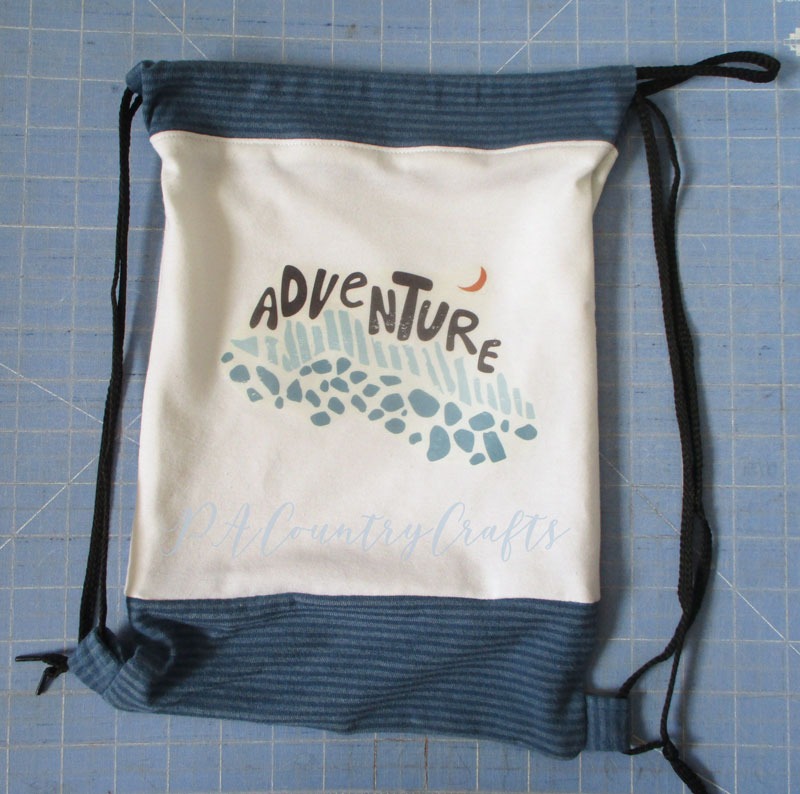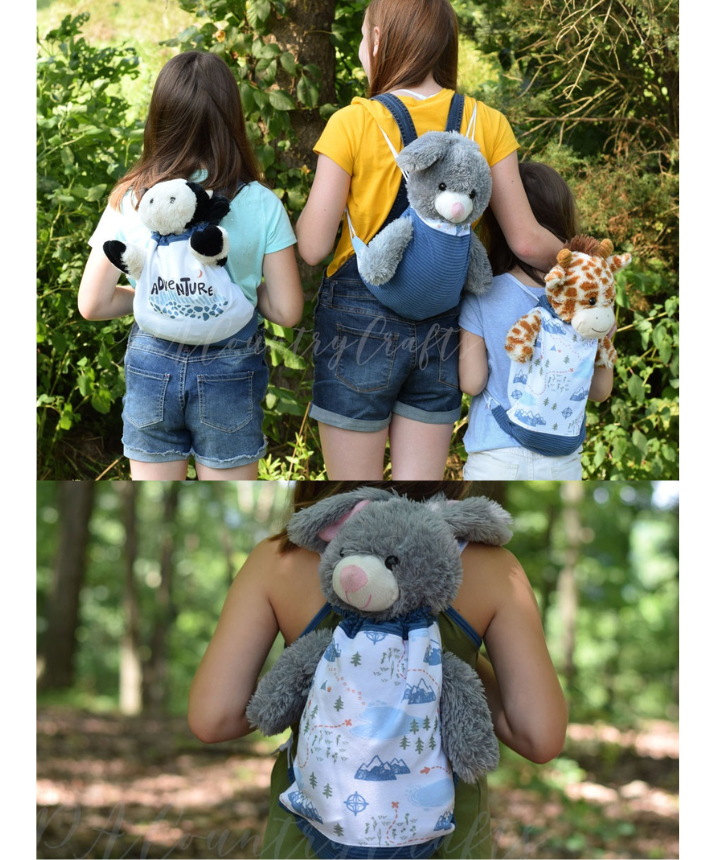
Are you ready for a fun and practical sewing project? Today, I’ll show you how to create a drawstring bag that not only holds pajamas but also has arm holes for your child’s favorite stuffed animal or doll! It’s a perfect accessory for sleepovers, camping trips, or any adventure your little one embarks on.
Introduction: Recently, I made a mix and match pajama set for my daughter and had some leftover fabric. With a bit of creativity, I turned it into a drawstring bag to carry her pajamas and a stuffed animal. The soft and comfortable fabric makes it ideal for her, and the added feature of arm holes ensures her stuffed companion can join her on any adventure!
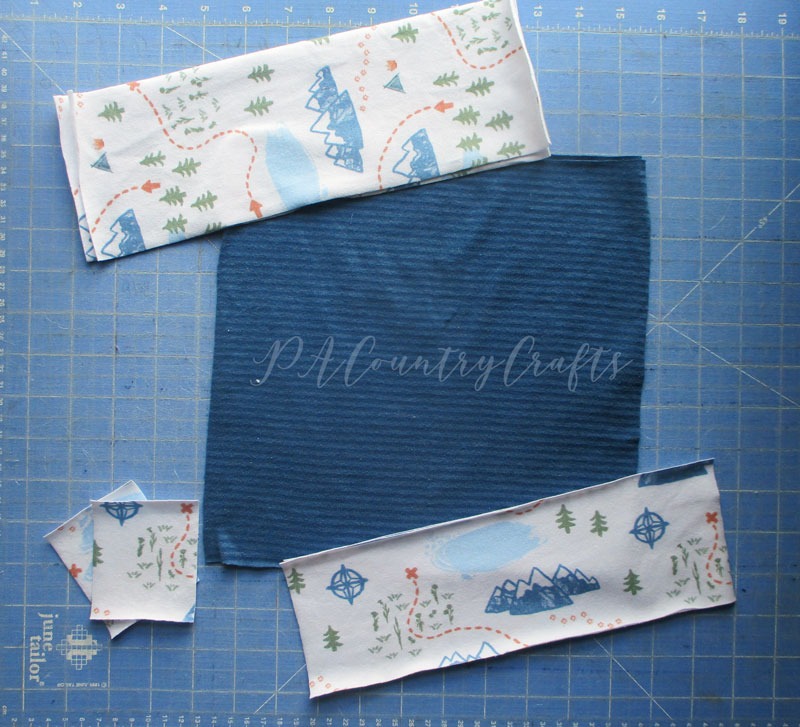
Materials Needed:
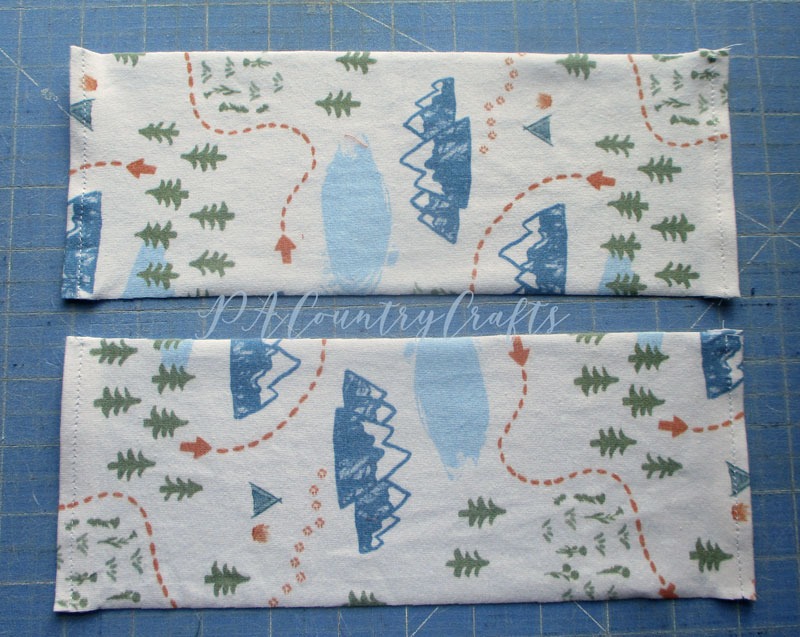
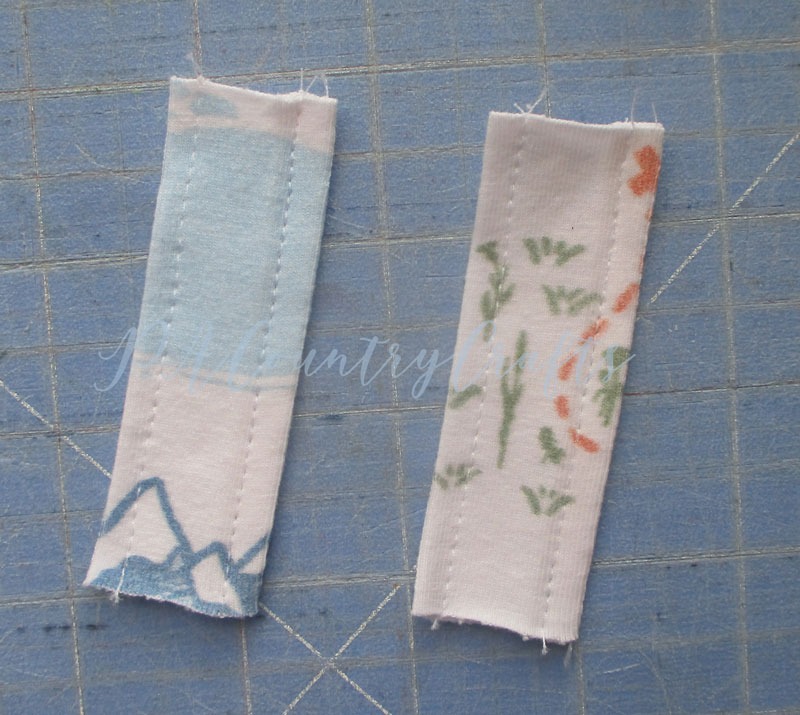
- (2) Top pieces: 4” x 11 1/2”
- (2) Main fabric pieces: 10” x 10 1/2”
- (2) Bottom pieces: 4” x 10 1/2”
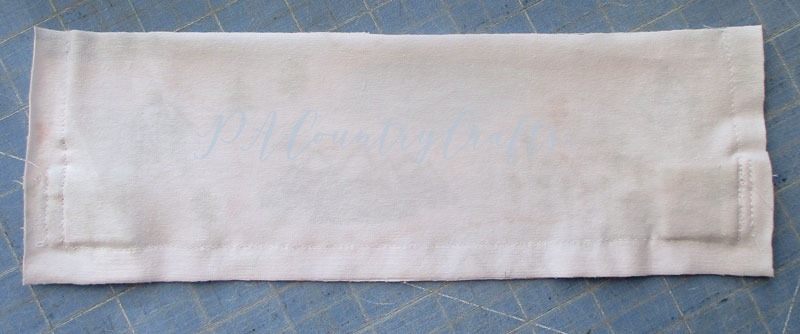
- (2) Loop pieces: 3” x 2 1/2”
- (2) 54” shoelaces or drawstring cording
Step-by-Step Guide:
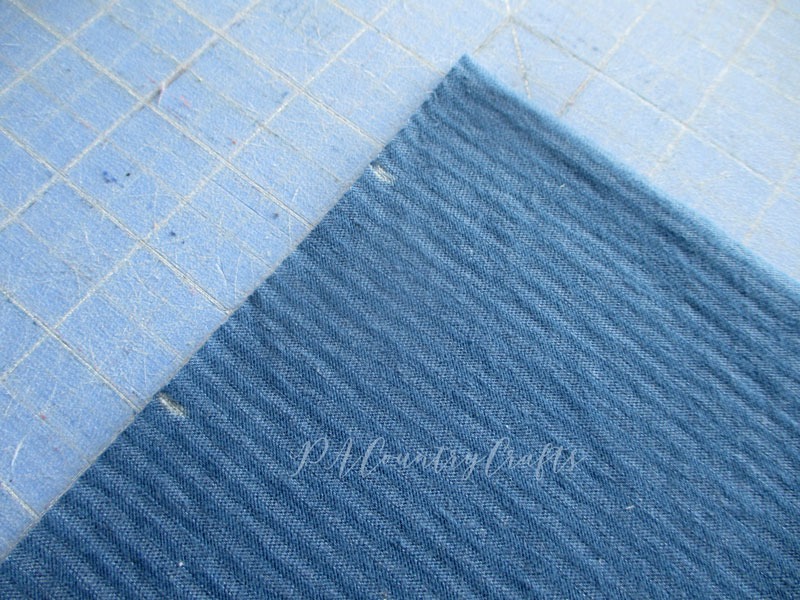
- Prepare the Fabric: Cut the fabric pieces according to the dimensions listed above. Ensure to use a 1/2” seam allowance unless specified otherwise.
- Mark Arm Hole Placement: On one of the main fabric pieces, mark 1 1/2” and 4” from the top on each side to indicate where the arm holes will be located.
- Hem the Top Bands: Hem each side of the top band pieces by folding under 1/2” and stitching 1/4” from the folded edge.
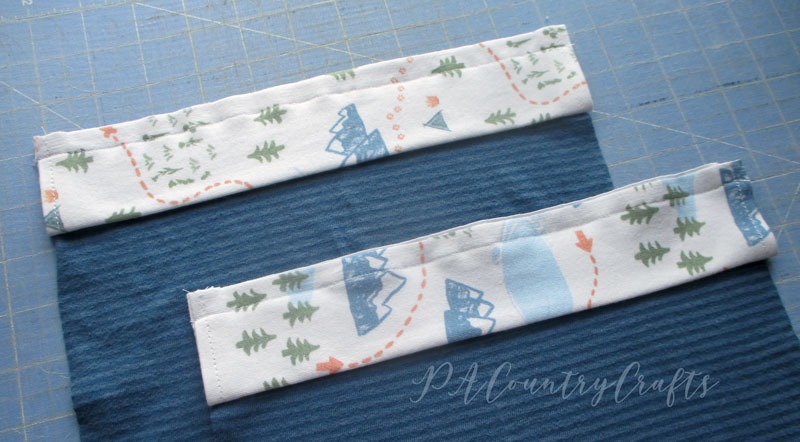
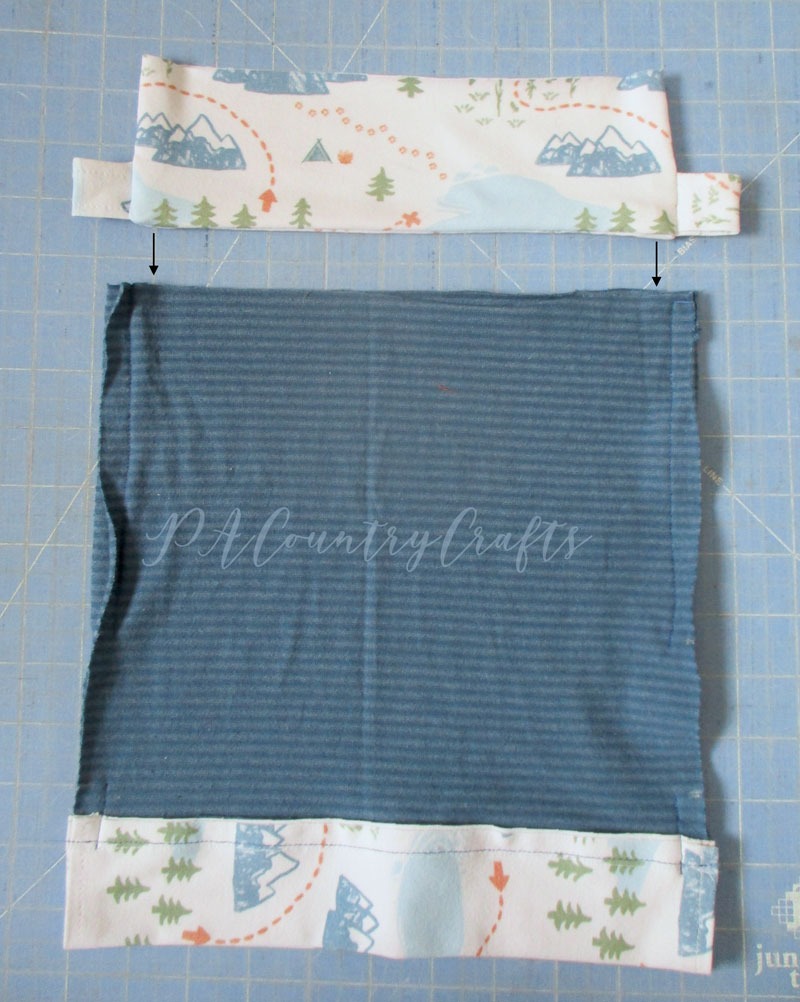
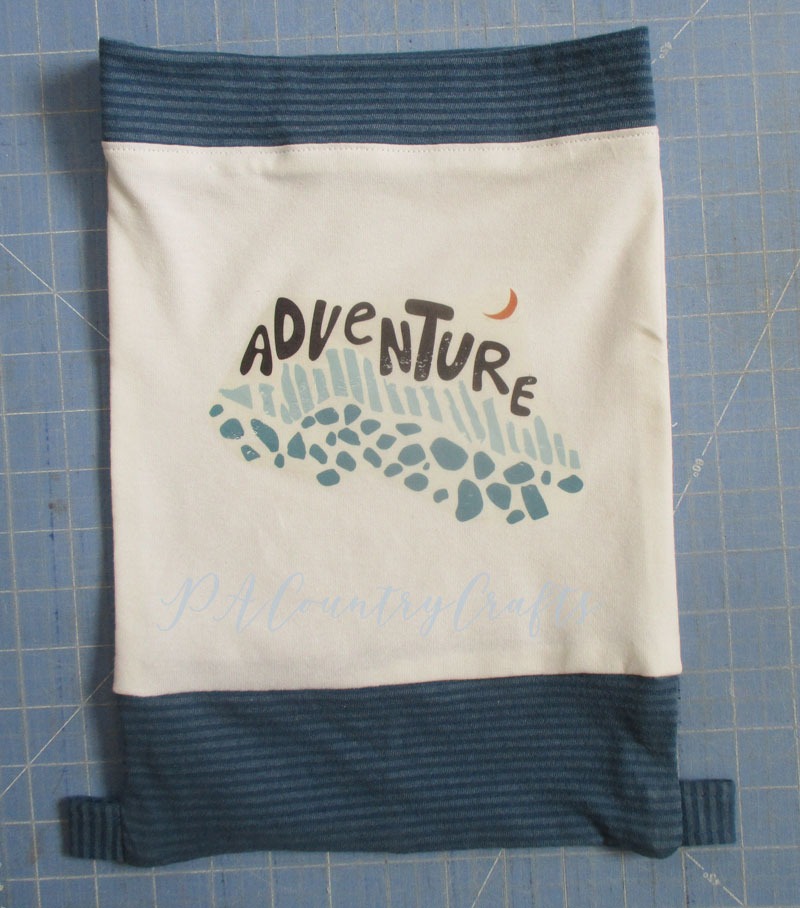
- Attach the Top Bands: Fold the bands in half lengthwise with wrong sides together and sew them to the upper edge of the main fabric pieces, ensuring to align the raw edges.
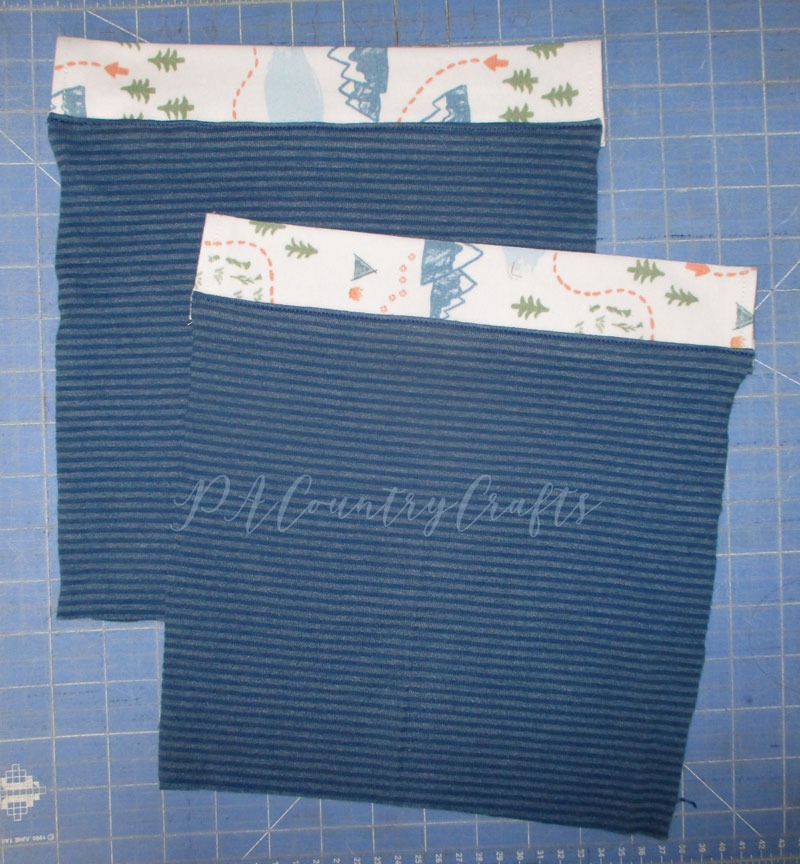
- Sew the Side Seams: Place the two bag pieces right sides together and sew the sides, leaving openings between the marked points for the arm holes.
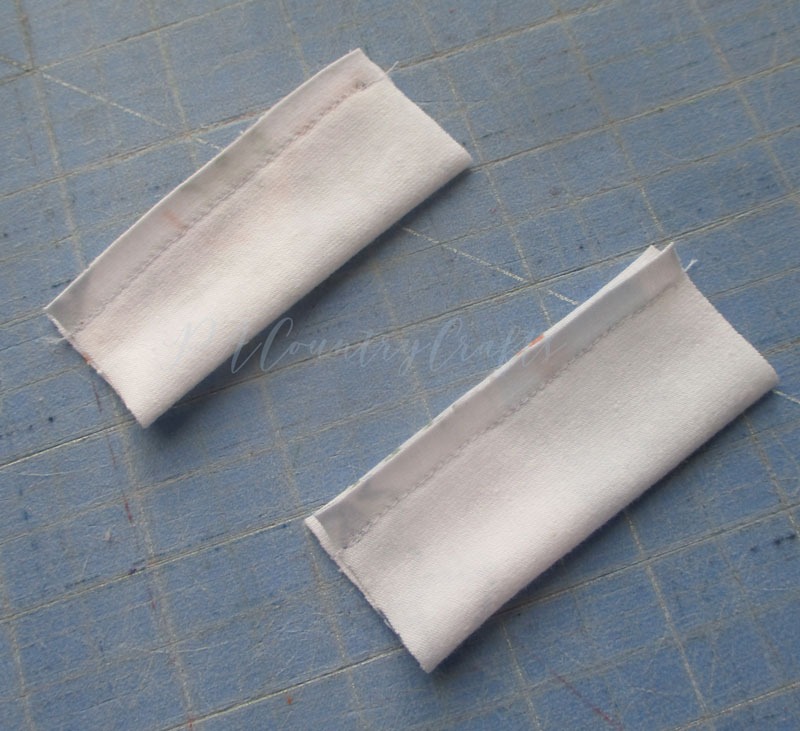
- Prepare the Bottom Pieces: Fold the loop pieces in half lengthwise, sew with a 1/4” seam allowance, and press. Pin the loops to the bottom pieces, then stitch in place.
- Assemble the Bag: Sew around the sides and bottom of the bag, being careful not to catch the loops. Insert the bottom of the bag into the main part and stitch all the way around.
- Add Drawstrings: Thread the shoelace/drawstring through the front and back bands and the bottom loops, then tie knots to secure.
- Finishing Touches: Pull on both sides to tighten the top, and your drawstring bag with arm holes is ready!
Conclusion: Now that you’ve learned how to make a drawstring bag with arm holes for stuffed animals, it’s time to get creative! Whether it’s for a sleepover, camping trip, or just everyday use, this bag is both practical and fun. So, gather your materials, follow the steps, and enjoy making this adorable accessory for your child’s adventures!