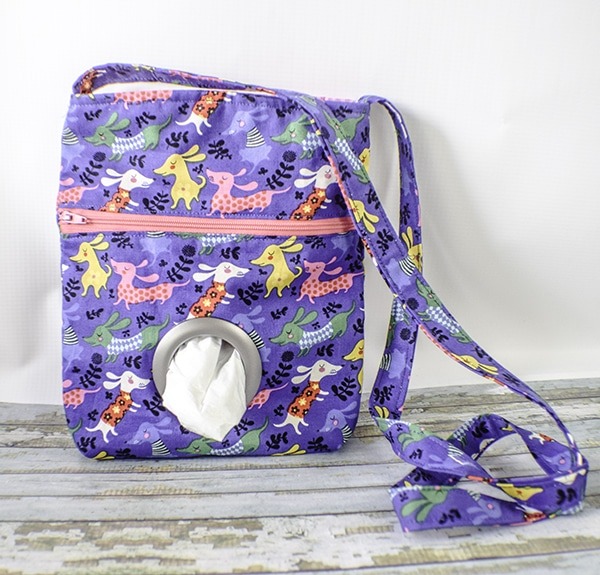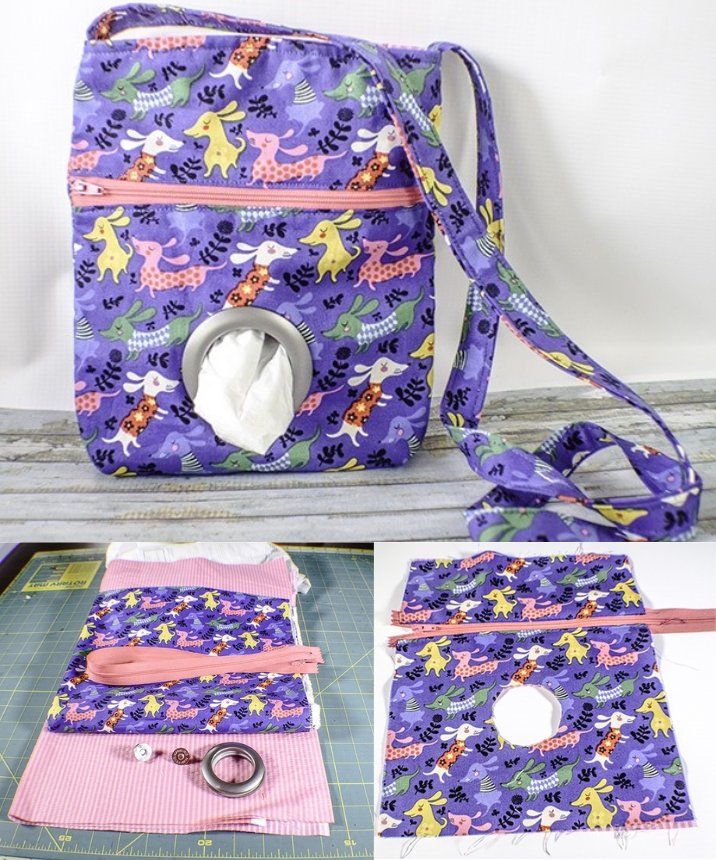
Are you looking for a way to keep your dog’s accessories organized while you walk? This tutorial will show you how to make a handy dog walking bag that you can take with you on your daily strolls! Follow these simple steps to create your own customized bag.
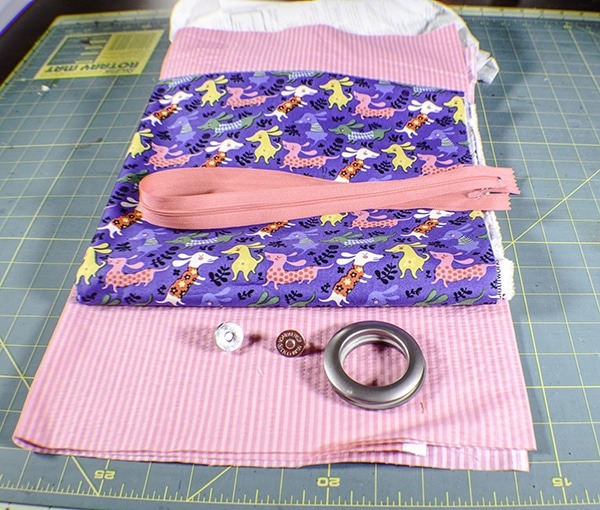
Materials Needed:
- 1/2 yard of outer fabric and lining fabric
- 9” zipper or longer
- Scrap of Peltex
- Standard sewing supplies
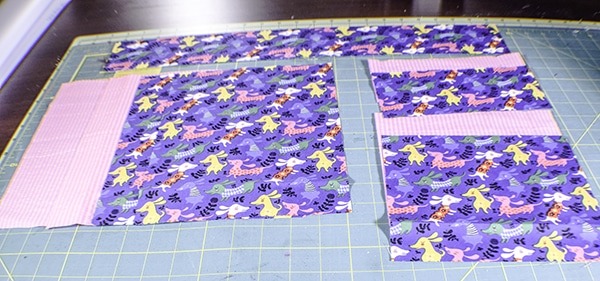
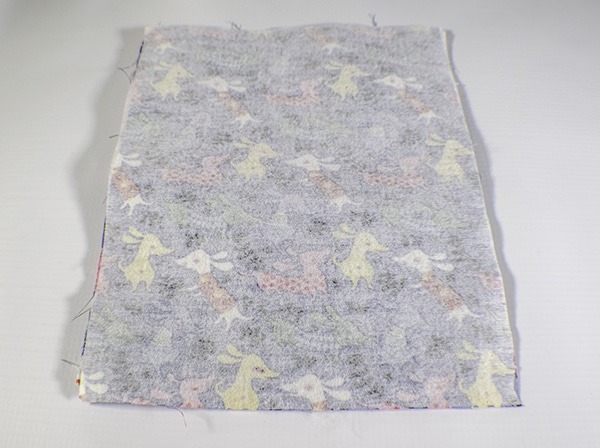
Step 1: Cut Your Fabrics Cut three pieces of outer fabric and three pieces of lining fabric, each measuring 10″ x 8″. Also, cut one piece of interfacing measuring 10″ x 8″. Additionally, cut a piece of exterior fabric measuring 3″ x Width of Fabric (WOF). Fuse the interfacing to all three pieces of outer fabric. Measure 3 1/2″ down from the top of one of the outer fabric pieces and lining pieces, then cut across to make two pieces.
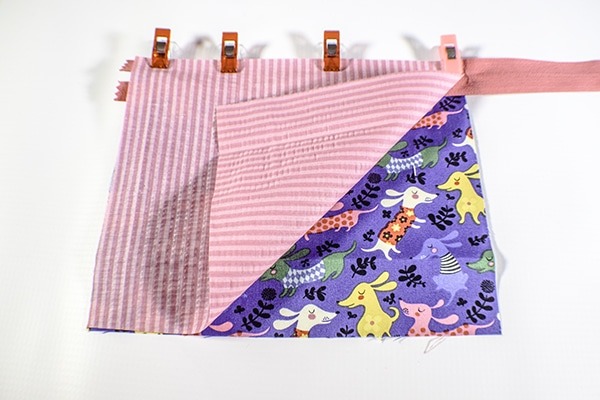
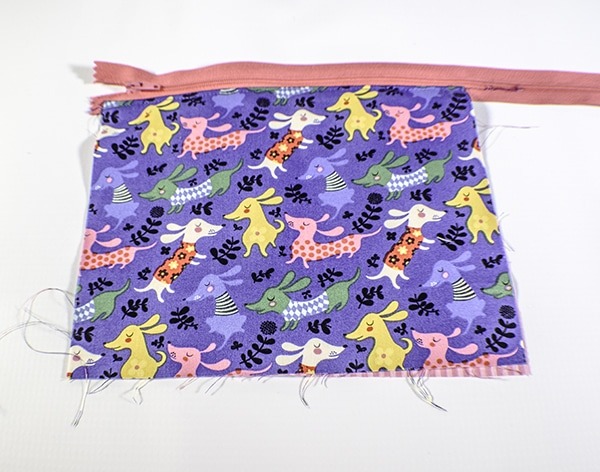
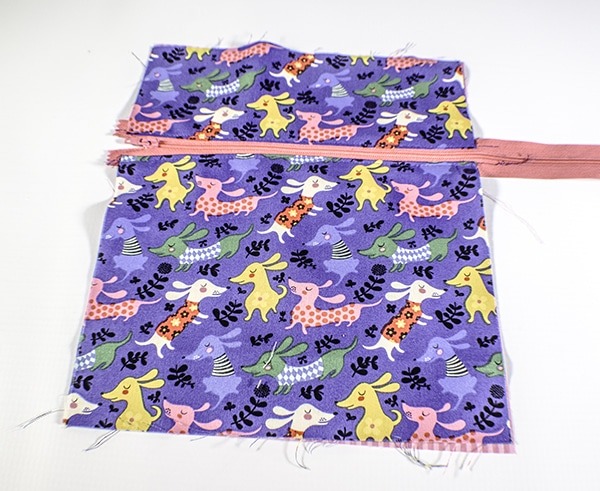
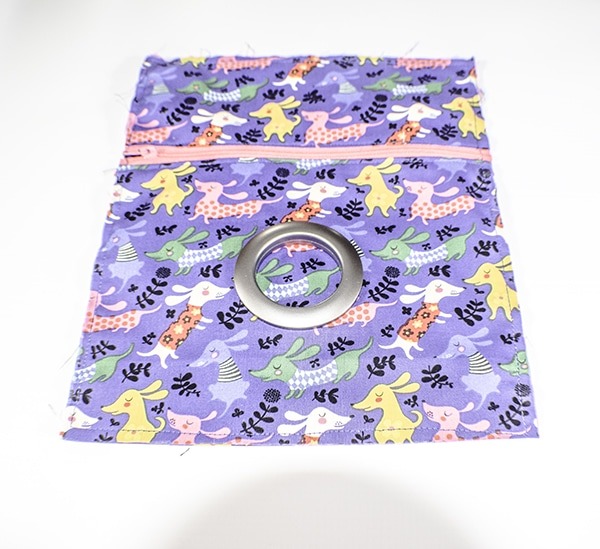
Step 2: Add the Zipper Place the longer of the two pieces right side up on your table. Lay the zipper on the edge of the fabric, right side down. Lay the corresponding lining piece right side down on the zipper to make a zipper sandwich. Sew the zipper to the fabric using a zipper foot. Fold back the fabric to reveal the zipper and press. Topstitch along the zipper for a more professional look. Repeat with the other side of the zipper using the smaller pieces of fabric. If you are using directional fabric, ensure your fabrics are facing the right direction.
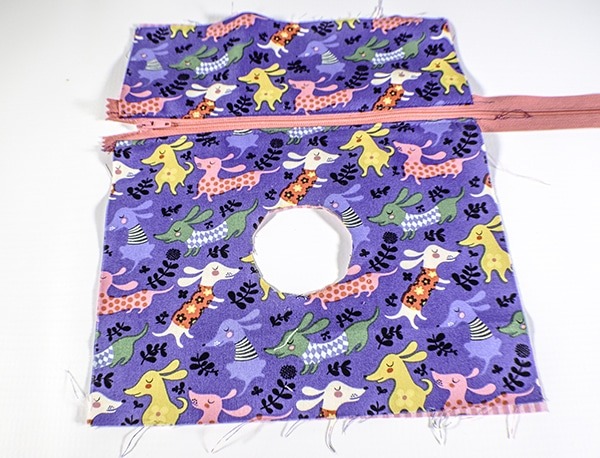
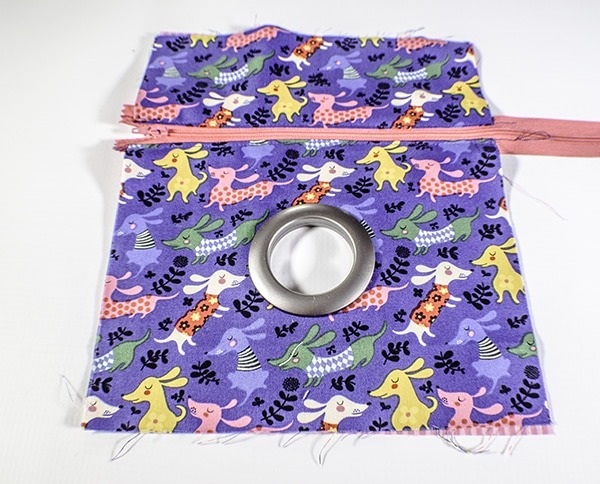
Step 3: Add the Grommet In the center of the bottom portion of the bag, add the curtain grommet following the manufacturer’s instructions. Use the provided template to draw a circle in the center of the outer bag through both layers. Cut out the circle to create a hole in the bag. The grommet will snap into the hole, protecting the raw edges.
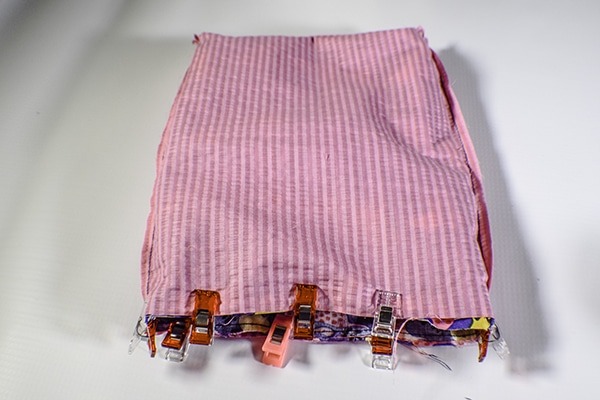
Step 4: Create the Outer Bag Take another piece of exterior fabric and place it so that the right side is facing the wrong side of the piece where you placed the zipper. Alternatively, you can use a lining piece if you prefer, as this will serve as the lining for your zippered pocket. Next, place the other exterior piece right sides together with the zippered piece. You should have three layers of fabric. Trim all the pieces to the same length. Sew all three pieces together around the two long sides and the bottom short side using a 1/4″ seam allowance.
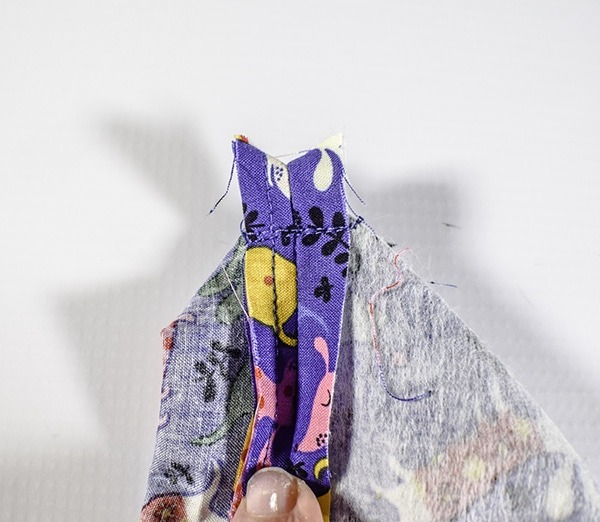
Step 5: Box the Corners Take the bottom seam and match it with the side seam to create a small triangle at the bottom. Measure down about 1/2″ and stitch to create the box. Turn the pouch so that two right sides are facing out, including the zippered side. This is the outer bag with the zippered pouch and opening for the pickup bags.
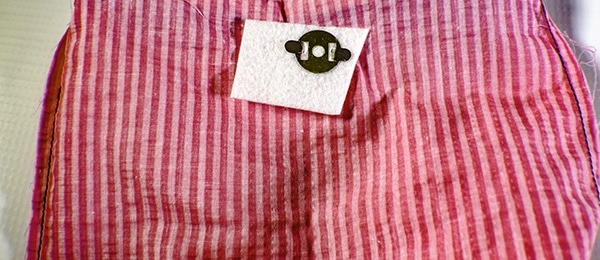
Step 6: Add the Magnetic Snaps Take two lining pieces and fuse a piece of Peltex or other heavyweight interfacing onto the wrong side of the lining where you want your snap to be. Insert the magnetic snap by simply taking the backing pieces where the two slits are and mark them. Cut the slits using a seam ripper, then insert the snap and the backing piece and fold over the prongs. I measured 1 1/4″ down from the top and center for my snap. Then sew the long sides and the bottom, leaving an opening for turning.
Step 7: Sew the Strap Next, make the strap. Take the 3″ x WOF strip and fold it in half longways and press. Open it up, then fold each side to the center and press, then fold again to make a nice strong strap. Topstitch along both long edges for a finished edge. Attach the ends of the strap to the exterior pouch right sides together at the side seams and pin. Insert the right side of the outer bag into the right side of the lining bag, pushing the strap between the two layers. Stitch around the top edge of the bag.
Step 8: Finish the Bag Push the exterior bag and strap through the gap you left in the lining. You will then have one long bag that is half outer fabric and half lining fabric. Sew the opening closed using ladder stitch, then push the lining into the outer bag. You will now have the right sides of the outer bag facing you, with the strap on the outside and the right sides of the lining fabric and the magnetic snaps facing inside the bag. Press. Topstitch around the top of the outside of the bag for a finished look, and you have completed this dog walking bag tutorial.
Conclusion I hope you enjoyed this simple bag project. If you would like more sewing and crafting projects, sign up for our newsletter and receive your free eBook with 15 handbag patterns and tutorials!