Materials Needed:
- Your husband’s shirt
- Fabric scissors
- Sewing machine
- Thread
- Pins
- Iron
- Apron pattern (optional)
Step 1: Prepare the Shirt Start by washing and ironing your husband’s shirt to ensure it’s clean and wrinkle-free. Lay it flat on a table or cutting surface.
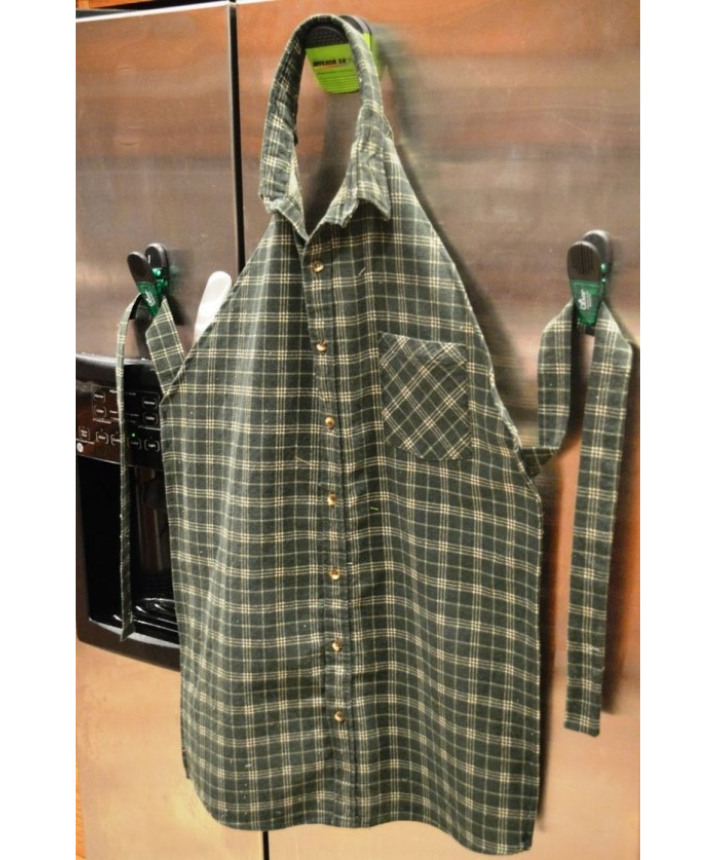
Step 2: Cut the Shirt Using fabric scissors, carefully cut along the seams of the shirt to separate the front from the back. Cut off the sleeves and collar as well. You should now have two pieces of fabric from the front and back of the shirt.
Step 3: Create the Apron Shape Decide on the size and shape of your apron. You can use an existing apron as a template or create your own pattern using butcher paper or newspaper. Place the pattern on top of the shirt fabric and trace around it with chalk or a fabric marker. Leave extra fabric around the edges for seam allowance.
Step 4: Cut Out the Apron Carefully cut along the traced lines to create the apron shape. You should now have the front piece of the apron cut from your husband’s shirt fabric.
Step 5: Attach Straps Cut two long strips from the remaining fabric of the shirt to use as straps for the apron. The length will depend on how long you want the straps to be. Hem the edges of the strips to prevent fraying.
Step 6: Sew the Straps Pin the ends of the straps to the top corners of the apron, aligning them evenly. Sew the straps securely to the apron using a sewing machine or by hand.
Step 7: Finish the Edges Fold and press the edges of the apron, including the sides and bottom, to create a clean finish. You can either hem the edges by folding them twice and sewing them down or use bias tape to encase the raw edges.
Step 8: Add Embellishments (Optional) Get creative and personalize your apron by adding embellishments like pockets, embroidery, or decorative trim. You can use extra fabric from the shirt or other materials you have on hand.
Step 9: Try on the Apron Once you’ve finished sewing and embellishing your apron, try it on to ensure it fits comfortably and adjust the straps if necessary.
Step 10: Enjoy Your DIY Apron Now that your DIY apron is complete, it’s ready to use in the kitchen, garden, or wherever you need it. Enjoy wearing your unique creation made from your husband’s shirt!
Feel free to customize the apron further to suit your preferences and style. Happy crafting!