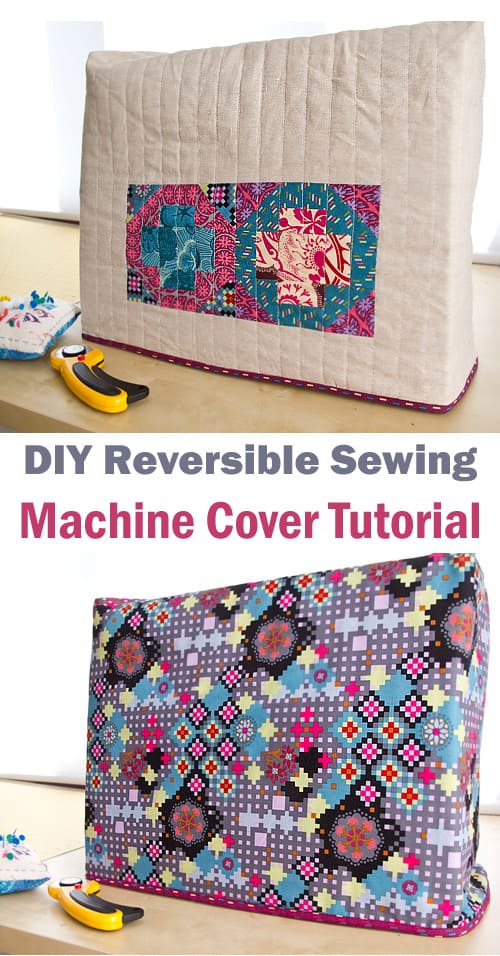
Read on to learn how to measure your machine to create a perfect fit and customize your cover with your favorite patchwork blocks. With a cover this eye-catching, perhaps your family won’t mind when you leave it on the table all the time!
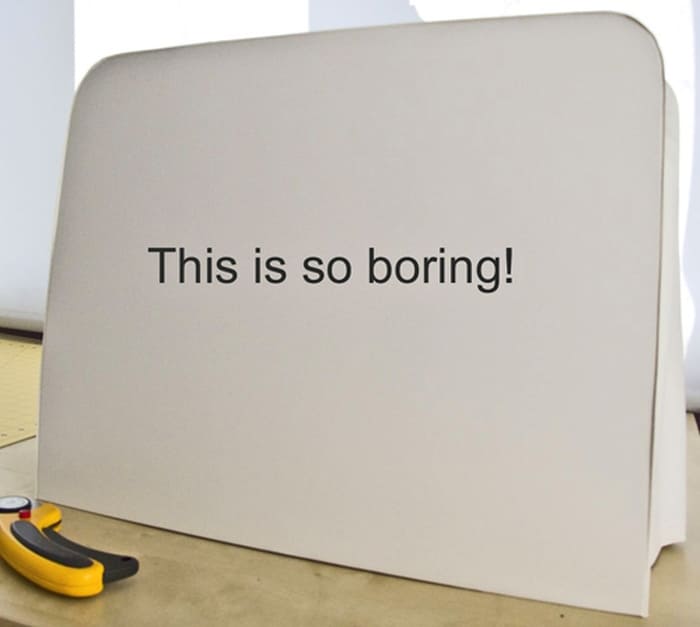
My sewing machine came with a very uninspiring vinyl cover, which is practical but utterly depressing. This tutorial can be used to make a cover that either fits directly over your sewing machine or over the vinyl cover, whichever you prefer.
Reversible Sewing Machine Cover Tutorial
You Will Need:
- About 3/4 yard of outer fabric (I used yarn-dyed Essex Linen in Flax)
- About 3/4 yard of lining fabric (I used Postage Due from Dowry)
- Batting or fusible fleece
- Two 6” (finished) patchwork blocks
- 6” x w.o.f. for binding.
To Make the Cover:
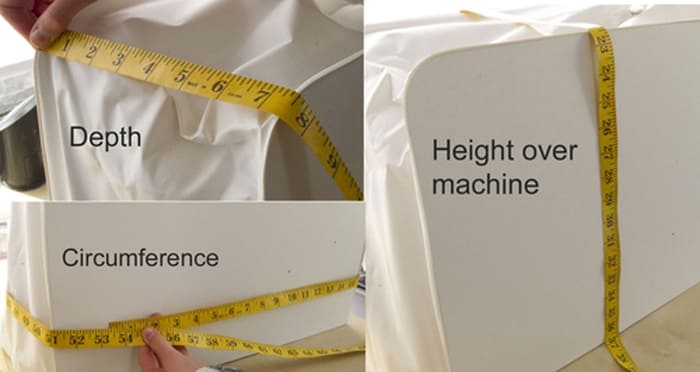
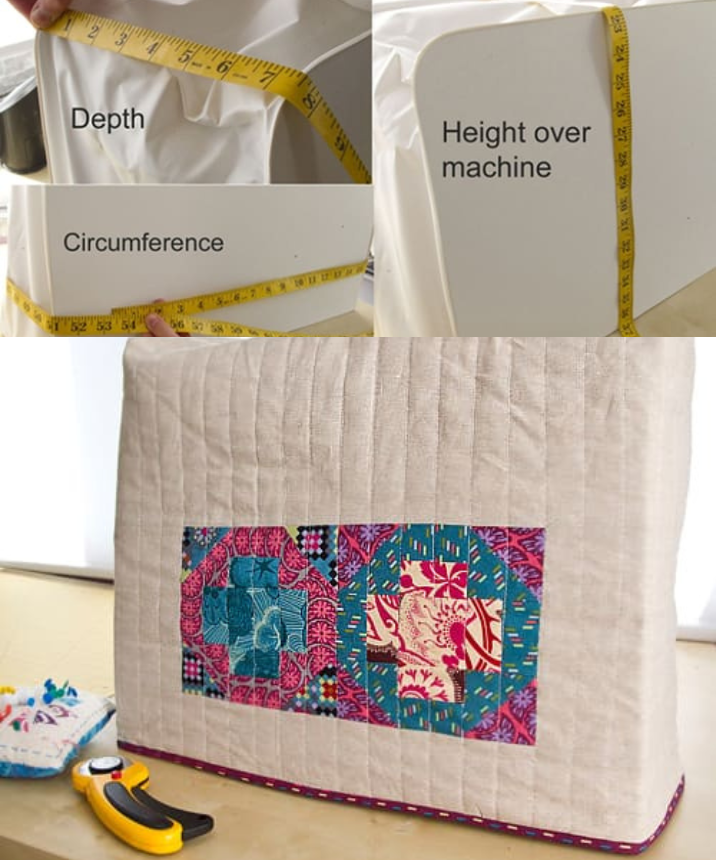
- Measure your machine. You need to take three measurements: the circumference of the machine base; the height of the machine (from the table, all the way over the top and down to the table on the other side); and the depth of the machine. I measured over my vinyl cover because I wanted to make a fabric cover to go over the top.
- Once you have your measurements, you can use them to calculate the size of your outer and lining panels. To find the width required, divide the circumference by 2 and then add 1” for seam allowance (0.5” on each side). For my cover, the panel needs to be (53/2) + 1 = 27.5” wide. The length of your panel is simply the height of the machine (so 37” in my case).
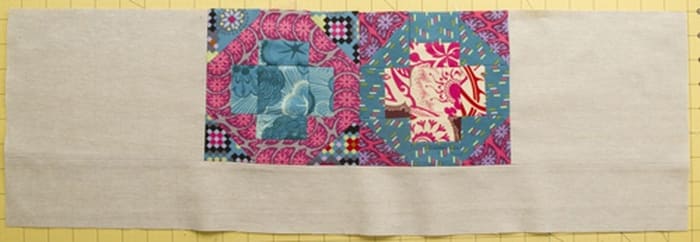
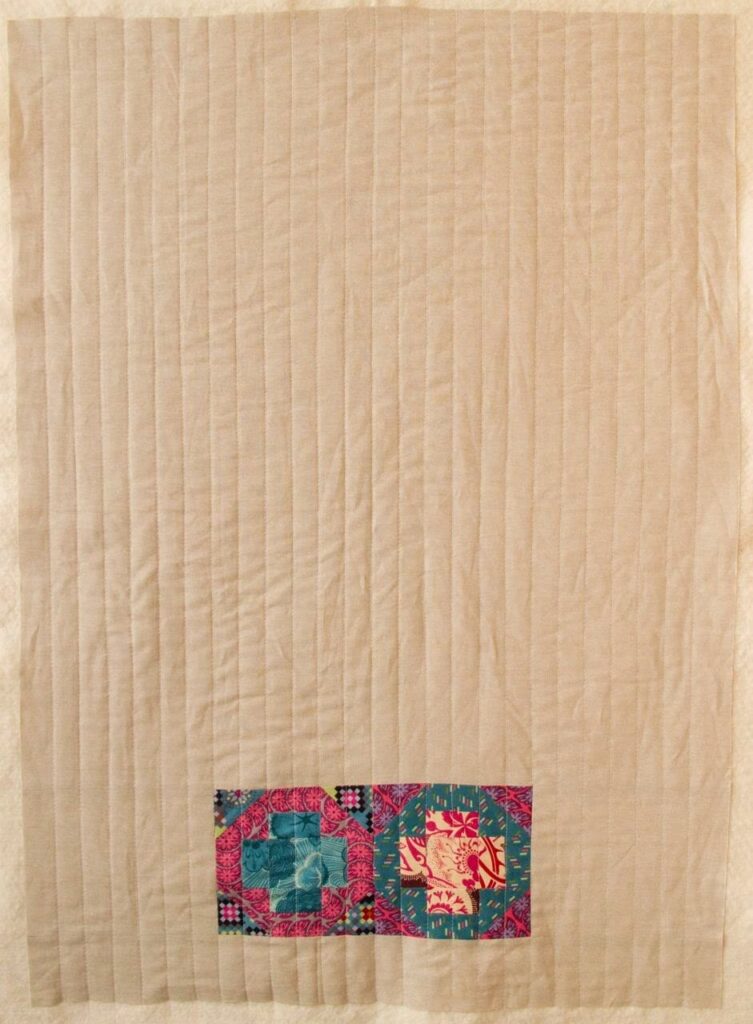
- Sew your two patchwork blocks together to make a 6 x 12” panel, then add borders of your outer fabric to the required width (27.5” in my case). Add a 4” wide strip to the bottom edge.
- Sew a piece of outer fabric to the top edge of the patchwork panel to make it up to the required size (27.5 x 37” for mine). Either baste to regular batting (if you want to quilt it) or use fusible fleece. I wanted mine to look puffy, so I used batting and quilted in straight lines 1” apart.
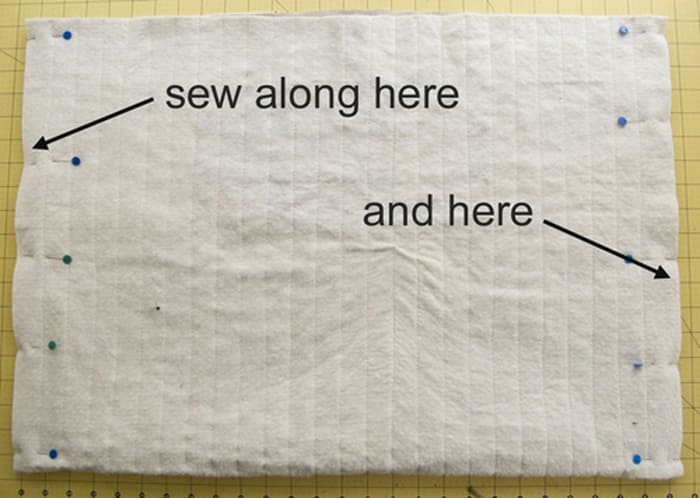
- Fold in half right sides together, lining up the short edges. Pin and stitch the side seams with a 0.5” seam allowance.
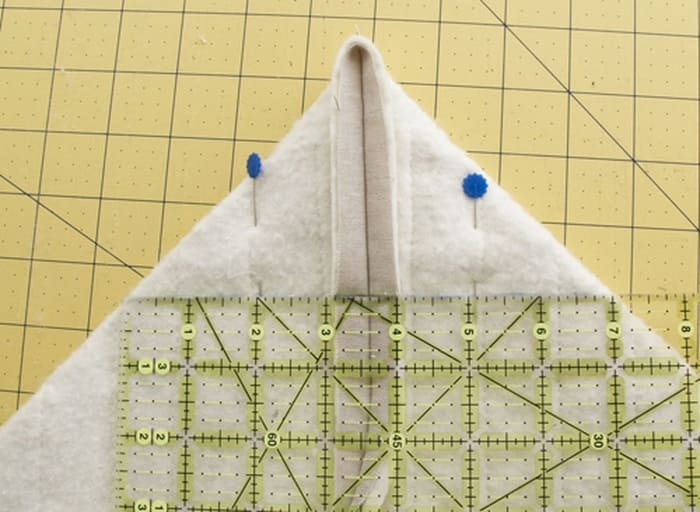
- Flatten and box the corners. This is where you need your depth measurement. Measure a line as long as the depth (mine was 7”) and sew along it, then trim away the excess fabric.
- Repeat steps 5 and 6 for the lining fabric, using the same measurements as you did for the outer piece.
- Place the lining inside the outer, wrong sides together. Make sure that the corners and seams match up and baste around the opening with a 1/8” seam allowance.
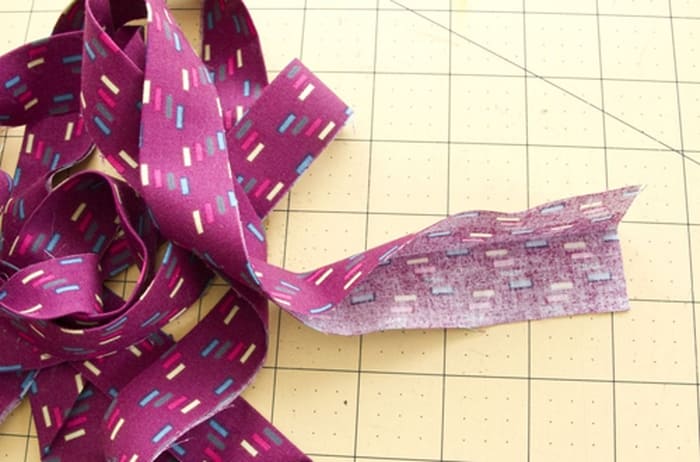
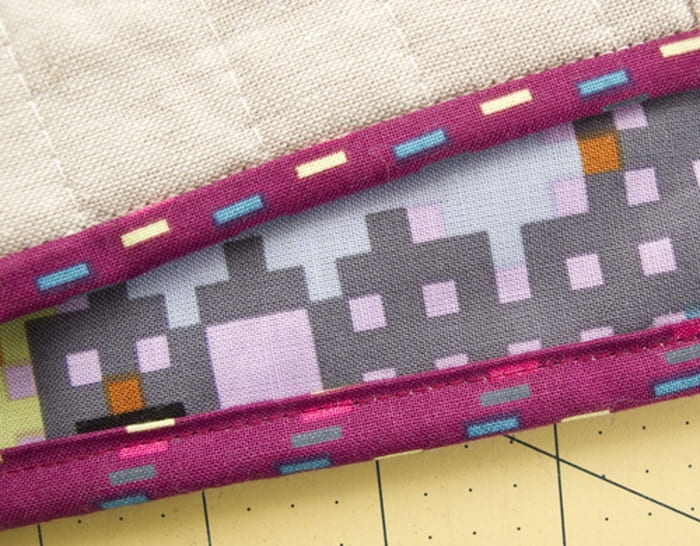
- Cut two 2.25” by w.o.f. strips for binding, join them together, then fold in half lengthways, wrong sides together.
- Attach the binding to the edge of the cover with a 1/4” seam allowance. Press then stitch in the ditch to catch the binding on the wrong side.
- Place over your machine and be inspired by the gorgeousness!
Oh, and did I mention it’s reversible?