Propagating an orchid from floral shoots is an interesting method for obtaining new plants. Here’s how to do it:
Selection of Shoots: Choose shoots from your mother orchid that have healthy aerial roots and buds in good condition. Ideally, select shoots that have already produced flowers or keikis (small orchids) at their end.
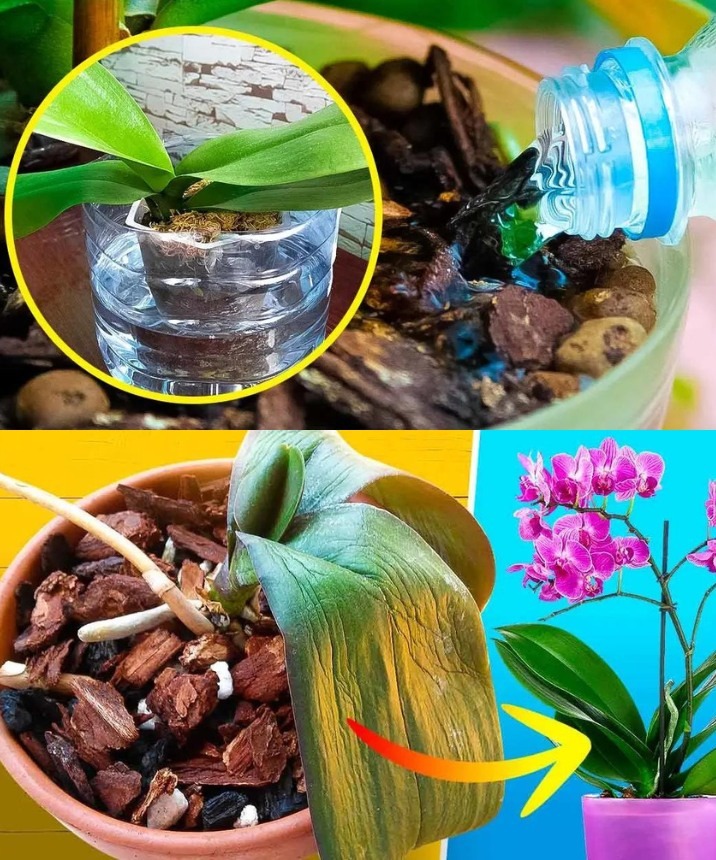
Preparation of Substrate: Prepare a light and well-aerated mixture for planting the shoots. A mixture of sphagnum moss and pine bark is often suitable for orchids. Make sure the substrate is clean and sterilized to avoid diseases.
Separation of Shoots: Carefully separate the selected shoots from the mother plant, being careful not to damage the roots or buds. You can use a clean, sharp knife to facilitate the process.
Planting of Shoots: Plant each shoot in the prepared substrate, ensuring that the aerial roots are well buried but leaving the buds above the substrate. You can use individual pots or a large pot for several shoots, spacing them sufficiently to allow for their growth.
Watering and Humidity: Water the newly planted shoots lightly to establish good contact between the roots and the substrate. Then, maintain high humidity around the plants by placing the pots in a tray with water and regularly spraying the leaves and roots.
Lighting and Temperature: Place the pots in a bright but indirect location, with a stable temperature between 68°F and 77°F. Avoid direct sunlight, as it could damage the young plants.
Regular Care: Monitor the new shoots carefully and ensure they remain hydrated and healthy. Avoid overwatering to prevent root rot. You can lightly fertilize the young plants with a diluted fertilizer once a month to promote their growth.
By following these steps carefully, you should be able to propagate your orchids from floral shoots and obtain healthy new plants. Be patient and attentive to the needs of your new seedlings to ensure their success.