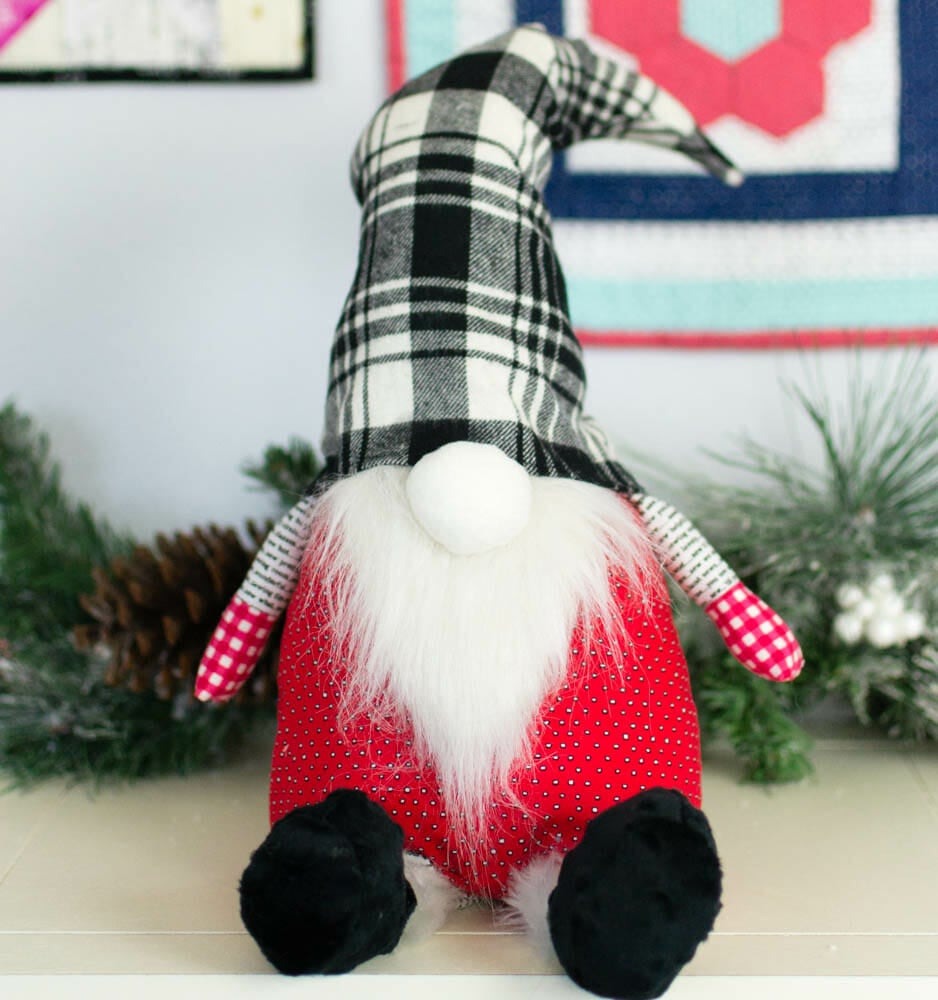
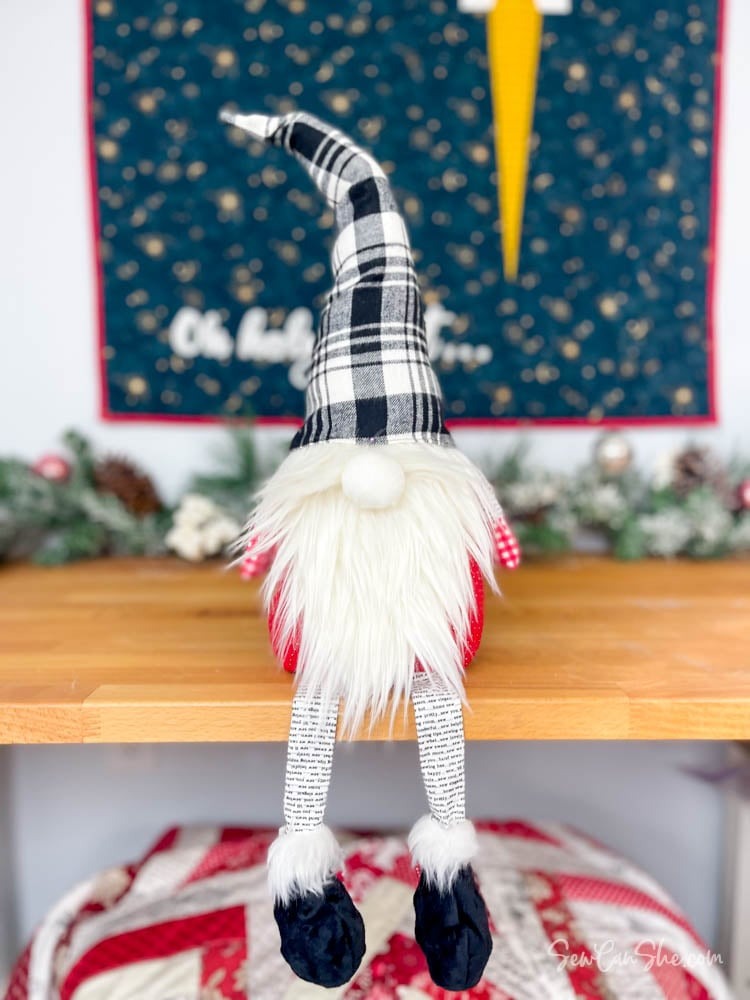
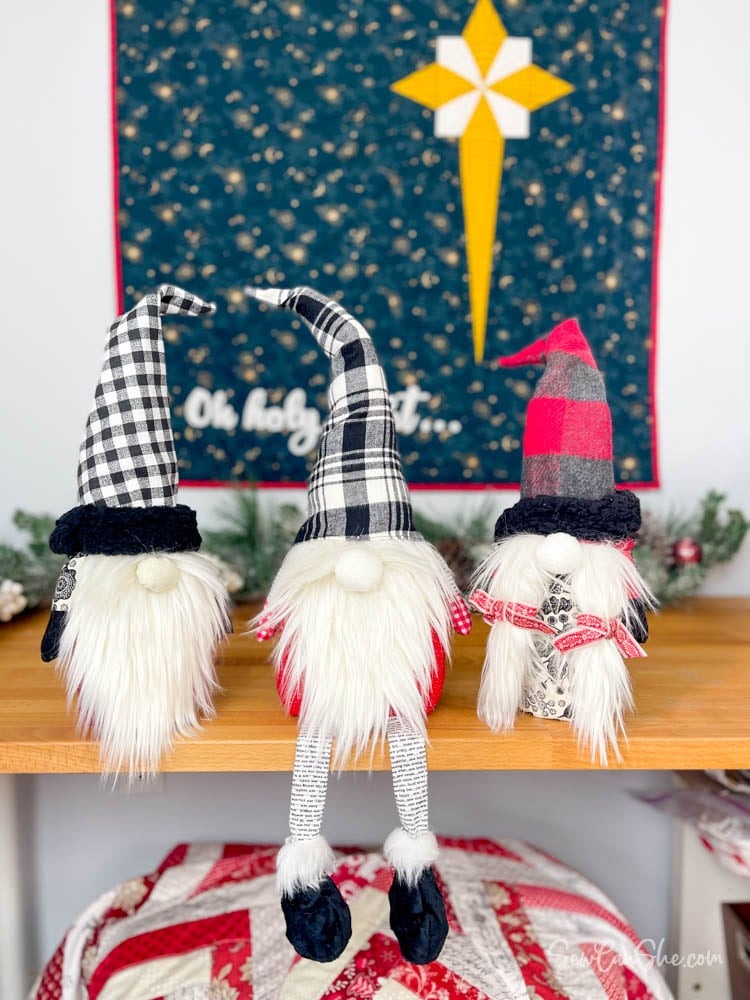
Are you looking for the cutest sewing pattern on the web for the holidays? Look no further! Sew adorable Christmas gnomes to brighten up every room in your house!
UPDATE: Have you noticed that beards are getting longer everywhere? So I gave my gnome a longer beard too! The new longer beard template has been added to the free downloadable patterns.
CHRISTMAS GNOME SEWING PATTERN – Step-by-Step Tutorial
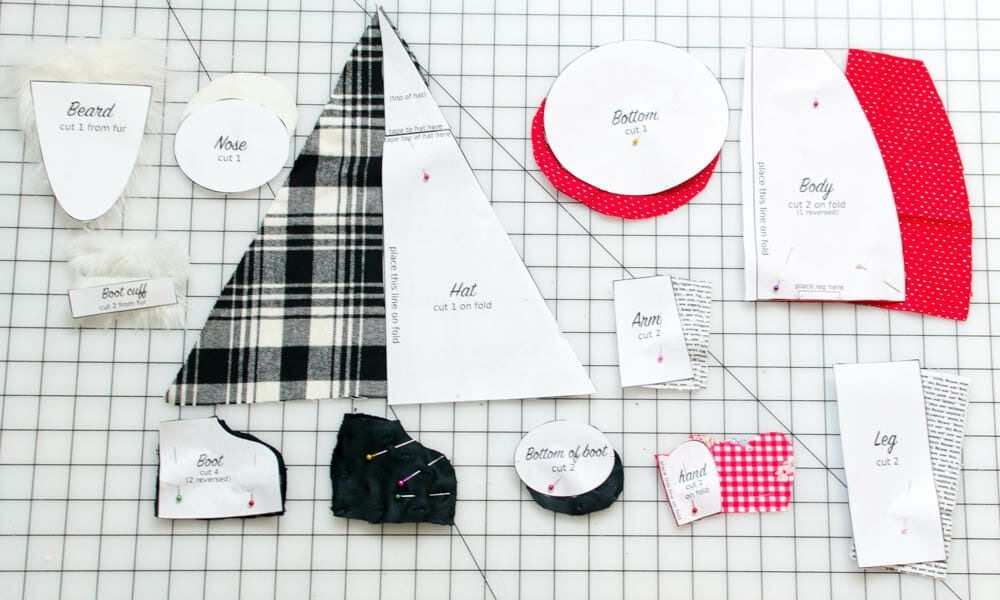
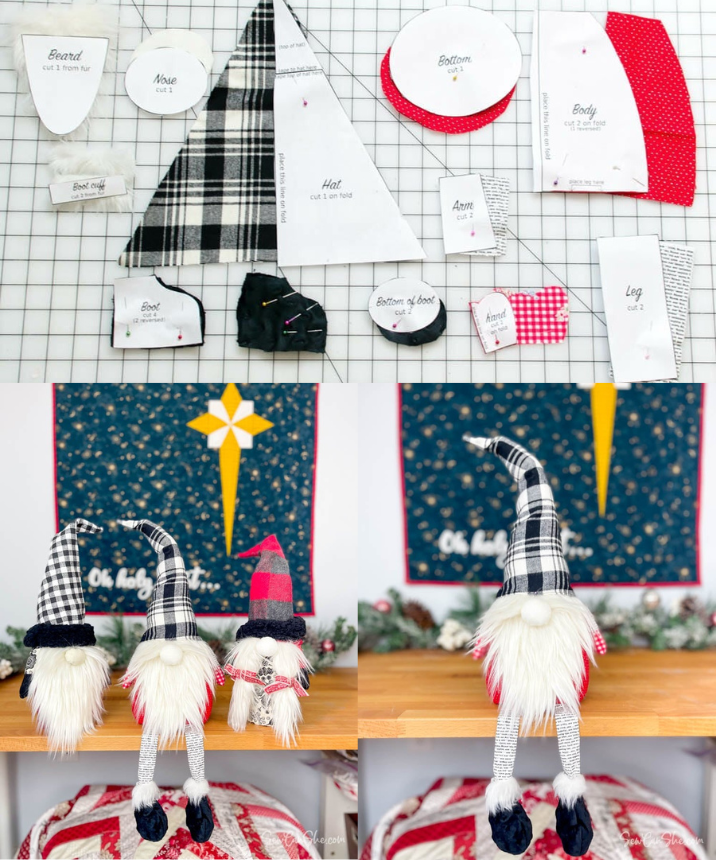
CUTTING: Cut fabric pieces from all of the pattern templates, as instructed on the templates.
YOU WILL ALSO NEED:
- Polyester fiberfill
- Hot glue gun and glue sticks
- A couple of 12-inch (or longer) pipe cleaners or a piece of bendable wire
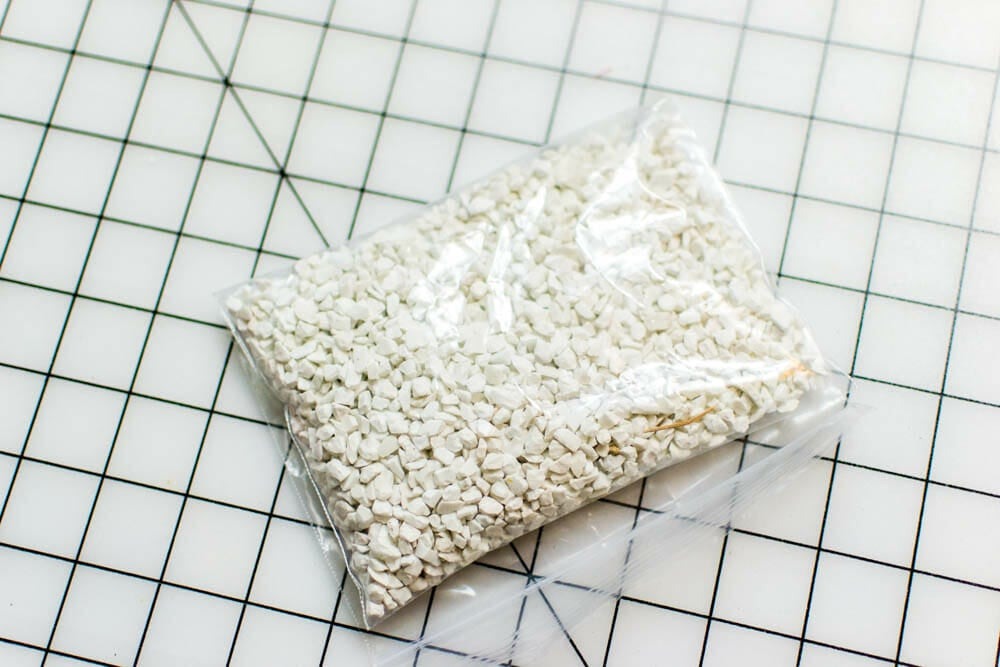
- About 1/2 pound of doll making pellets, fish tank gravel, or small rocks.
MAKING THE BOOTS AND LEGS:
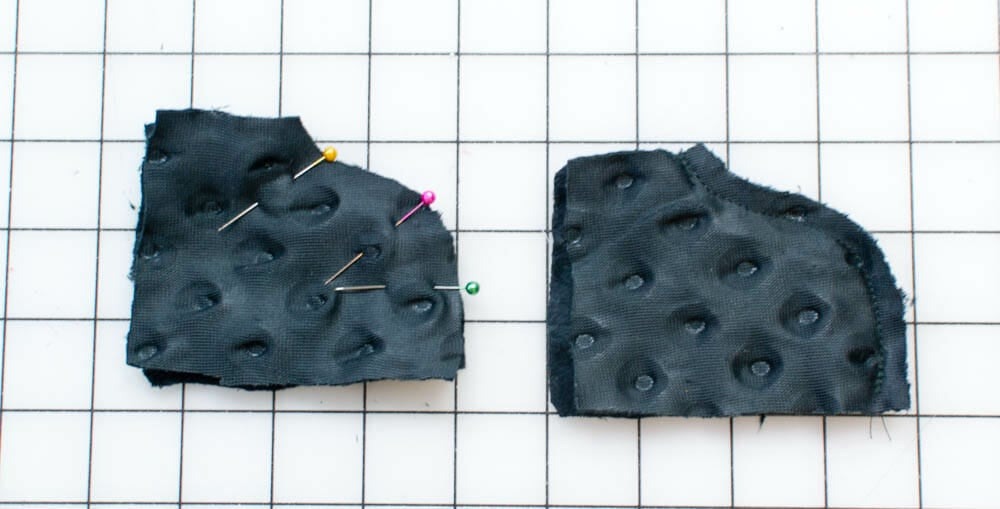
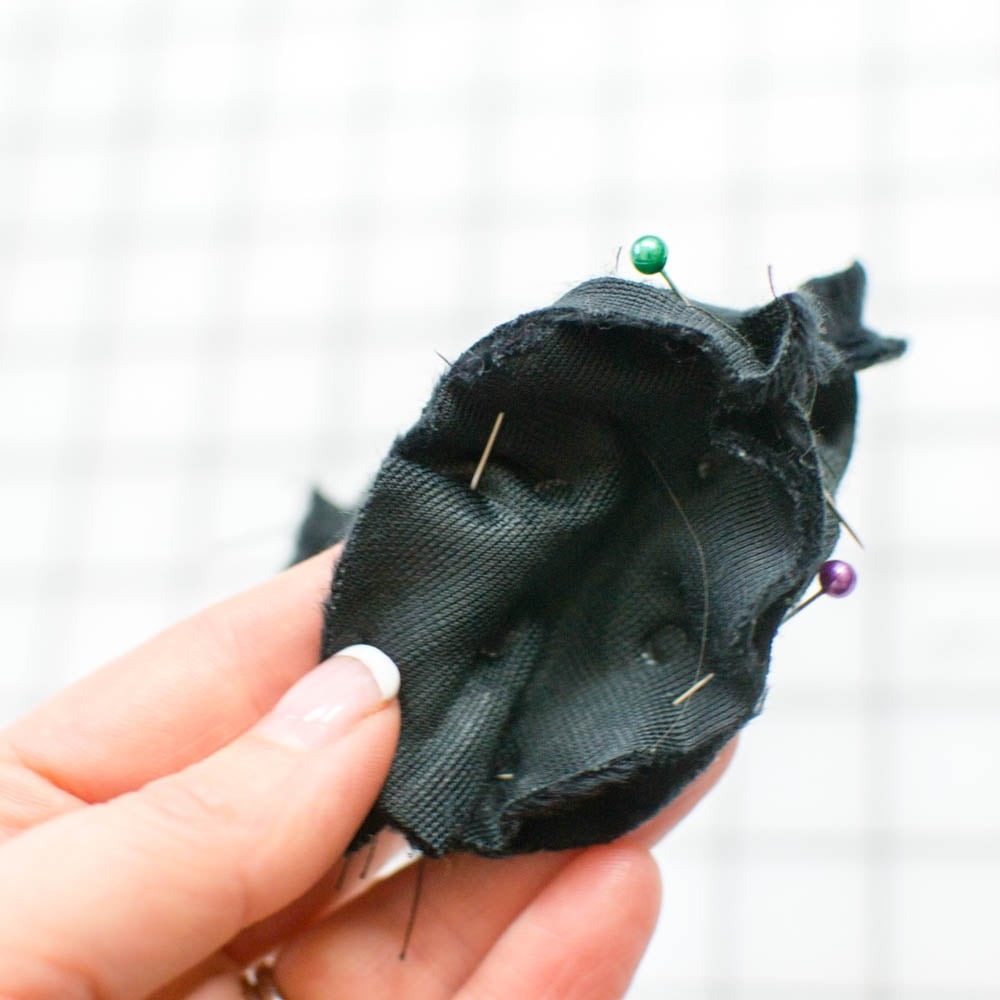
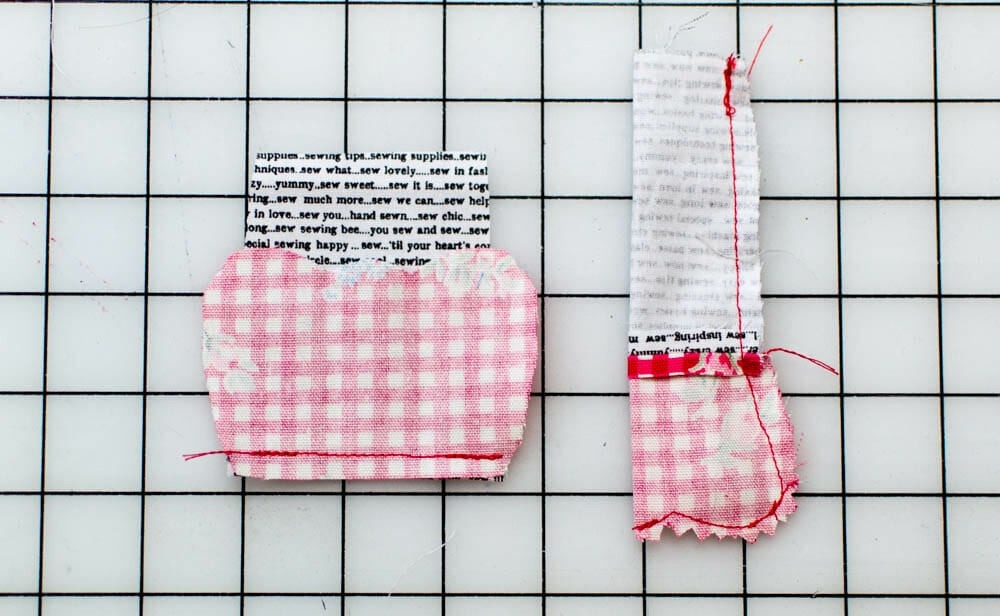
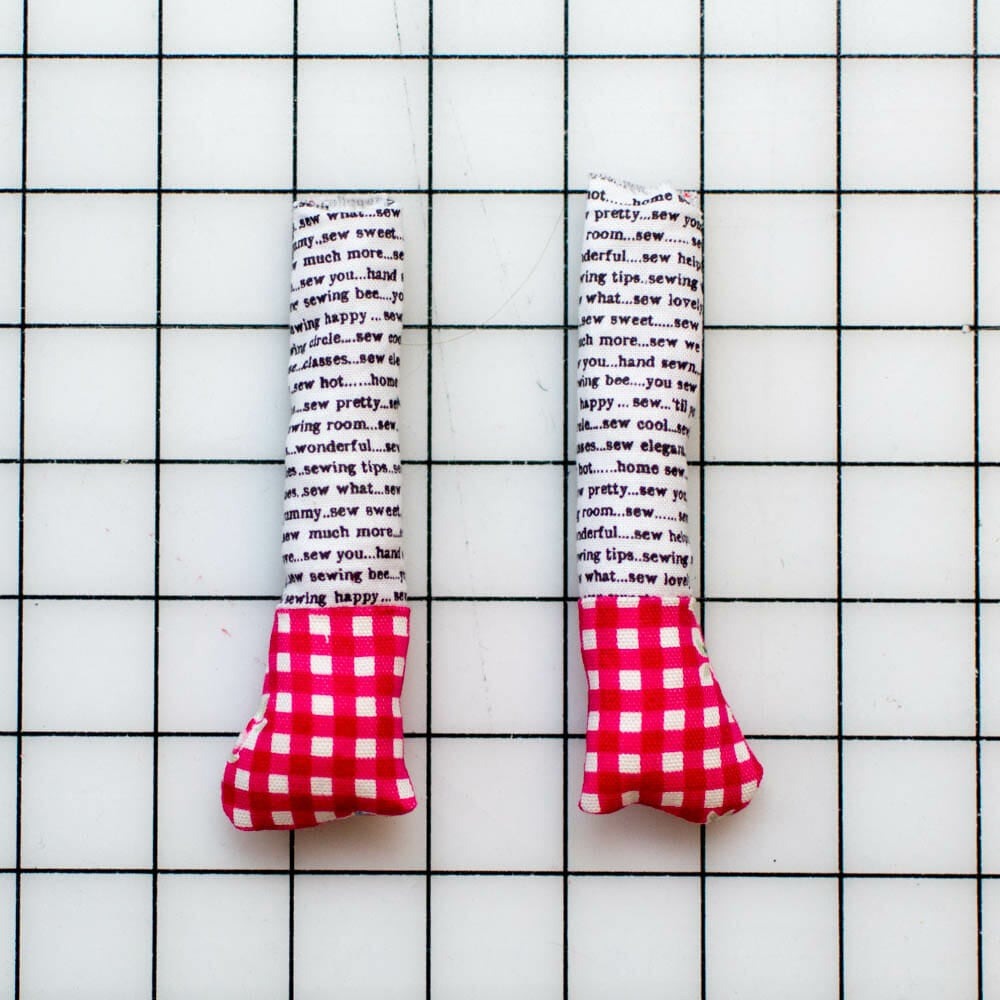
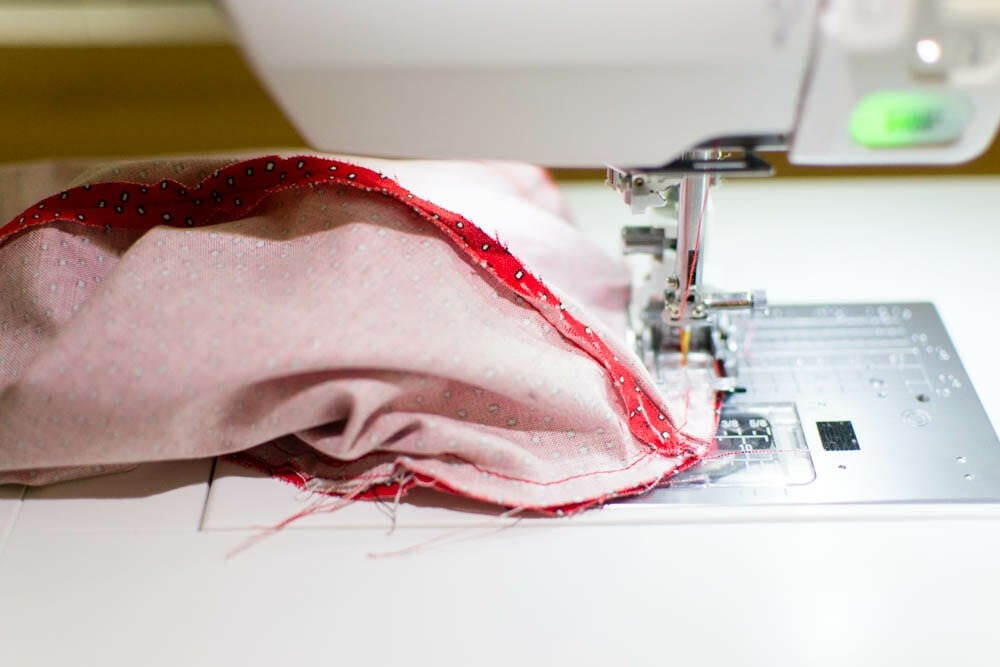
- Place two boot pieces right sides together and pin along the curved edge. Stitch the curved edge.
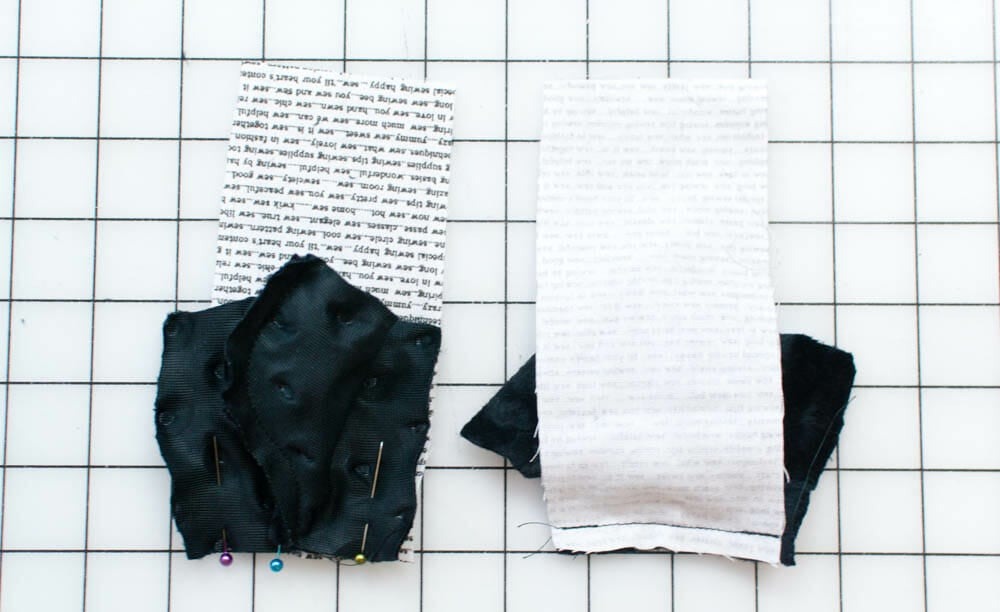
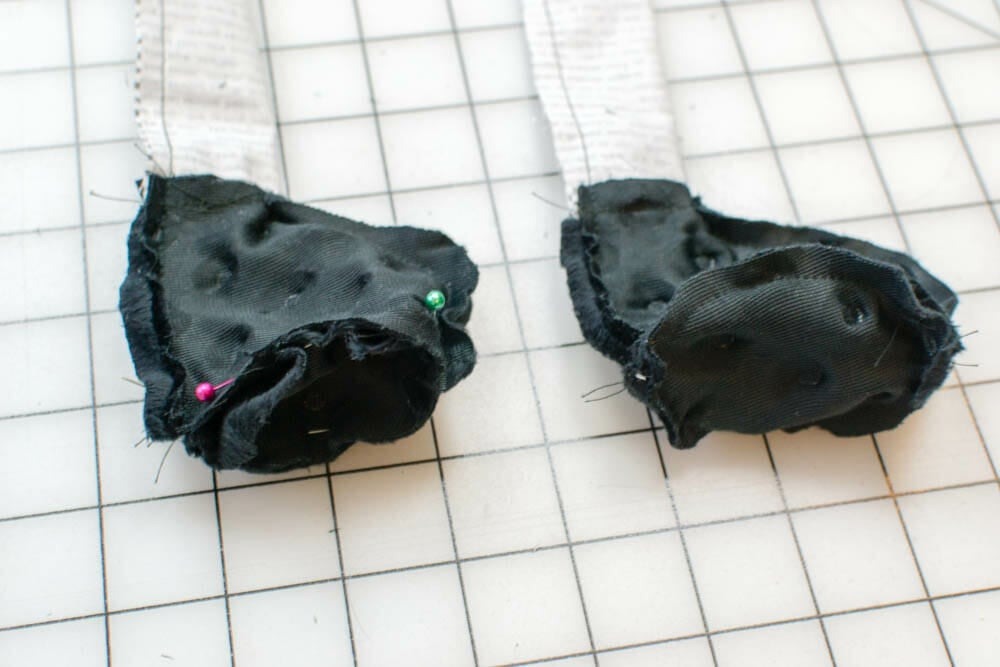
- Open each boot and pin the top straight edge to the bottom edge of a leg piece. Sew the top of the boots to the bottom of the legs.
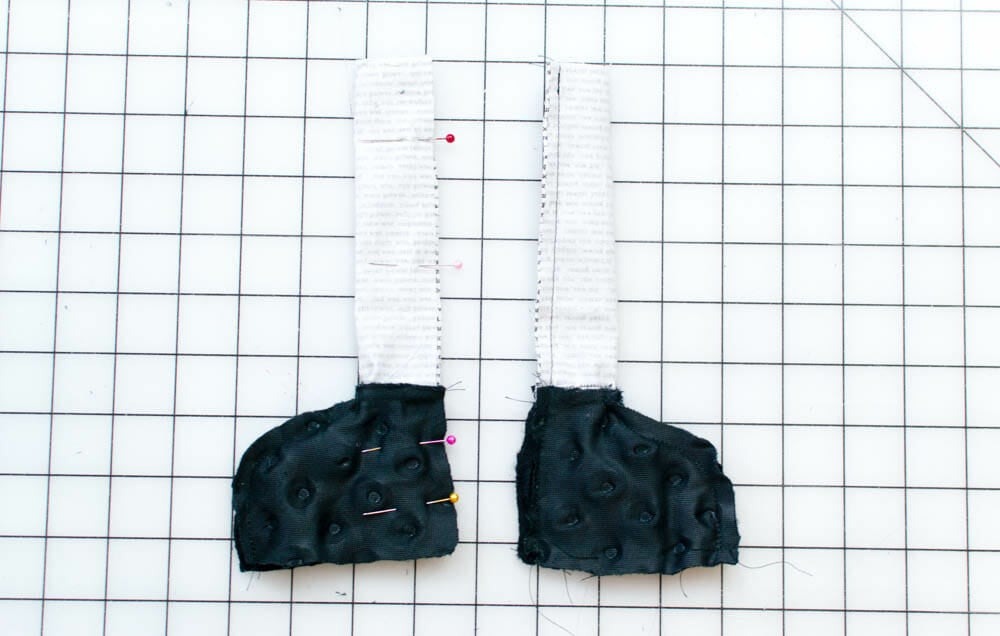
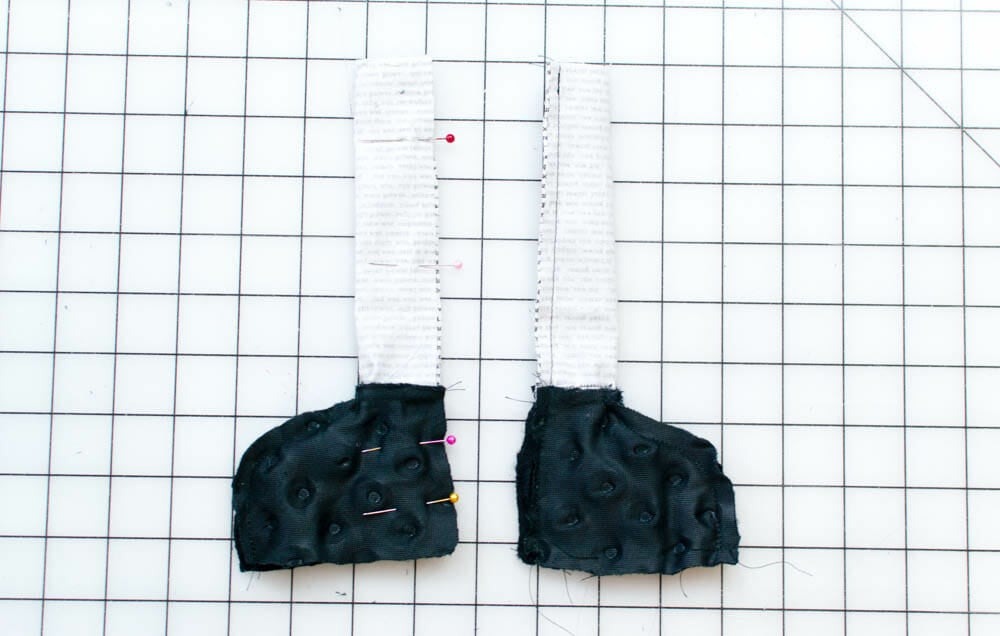
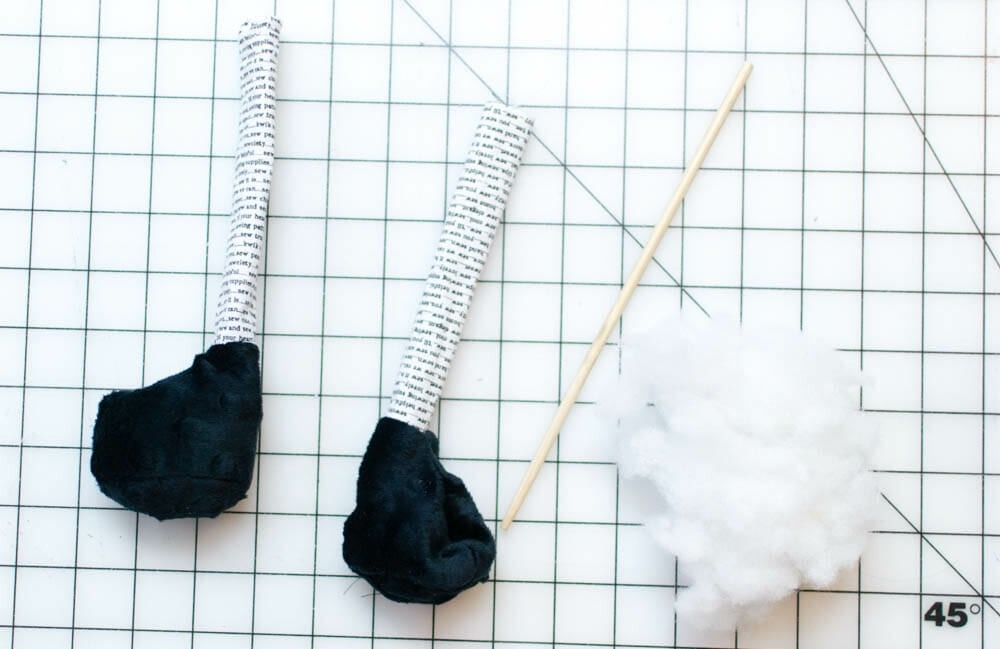
- Fold each leg and boot with right sides together and the long back edges matching. Stitch.
- Pin the boot bottom to each boot and stitch.
SEWING THE GNOME BODY:
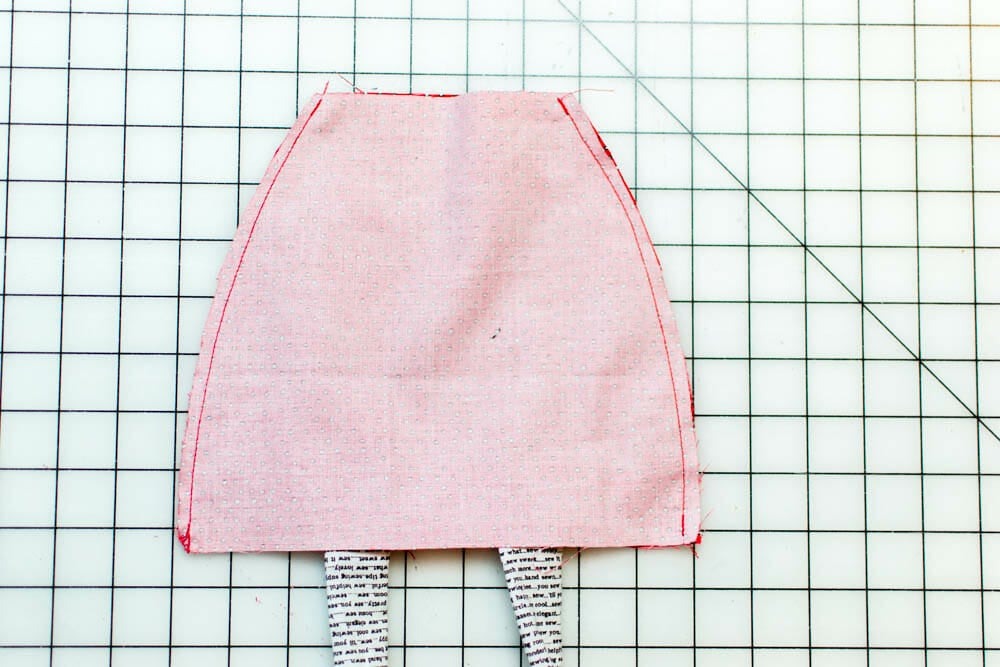
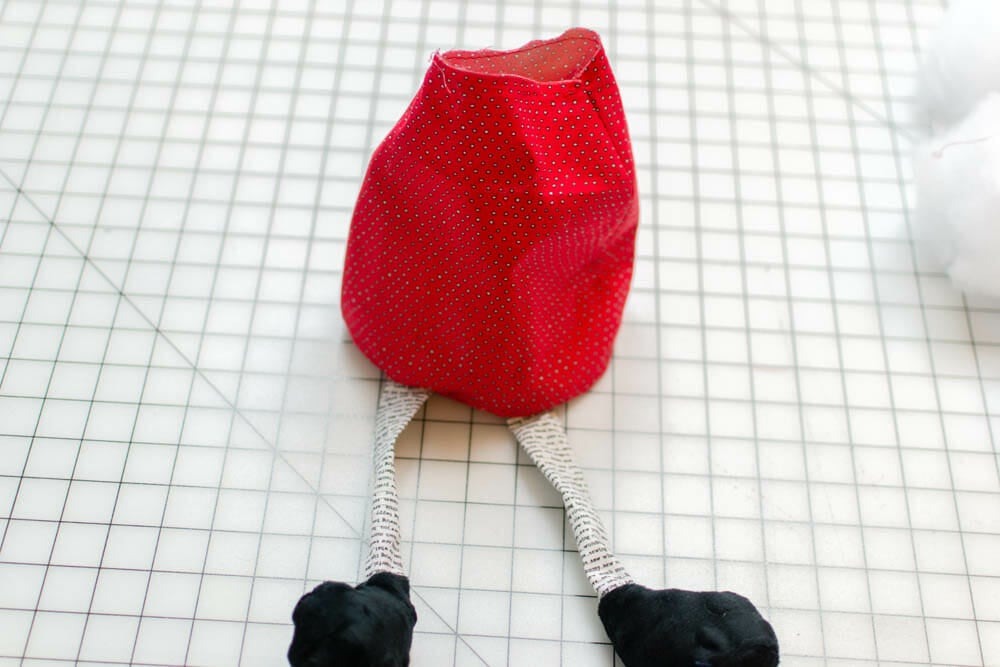
- Flatten the legs and pin them to one of the body pieces. Sew the tops of the legs to the bottom of the body piece.
- Place the second body piece on top and pin. Sew the curved sides.
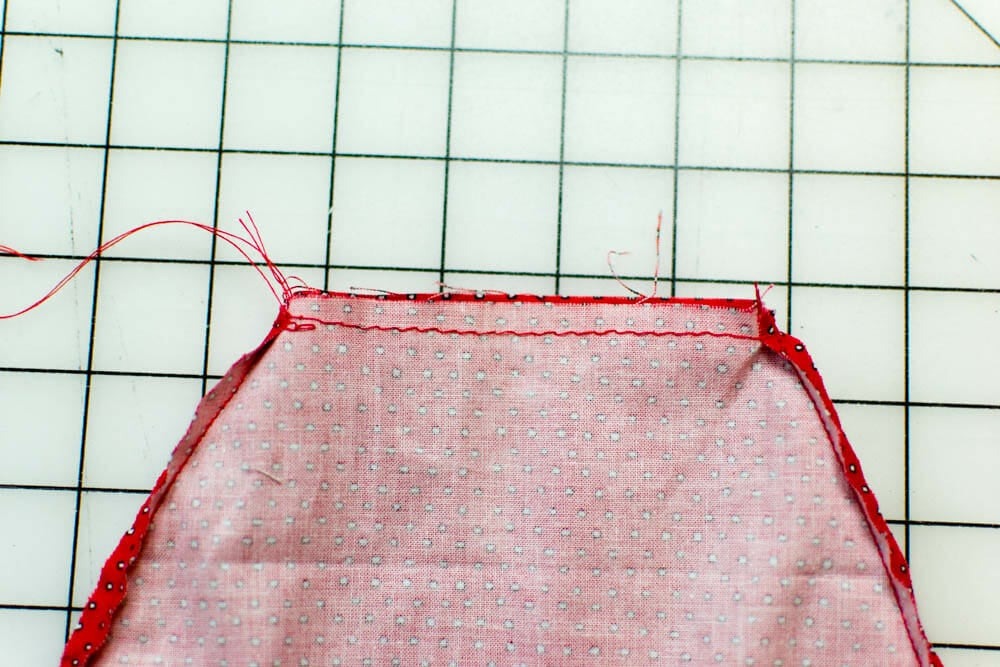
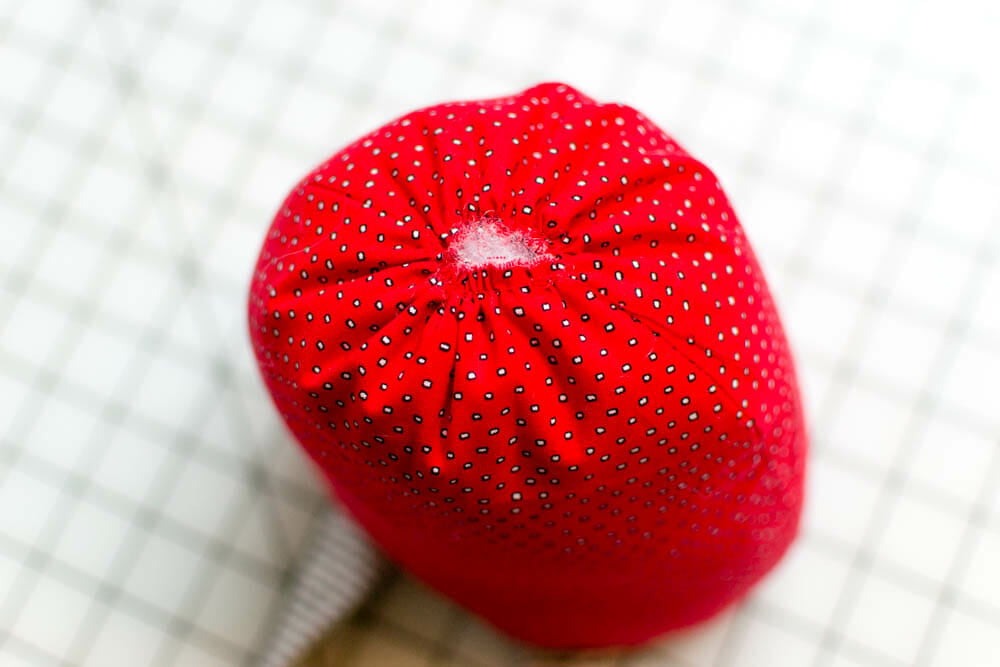
- Sew a row or two of long gathering stitches around the top of the body.
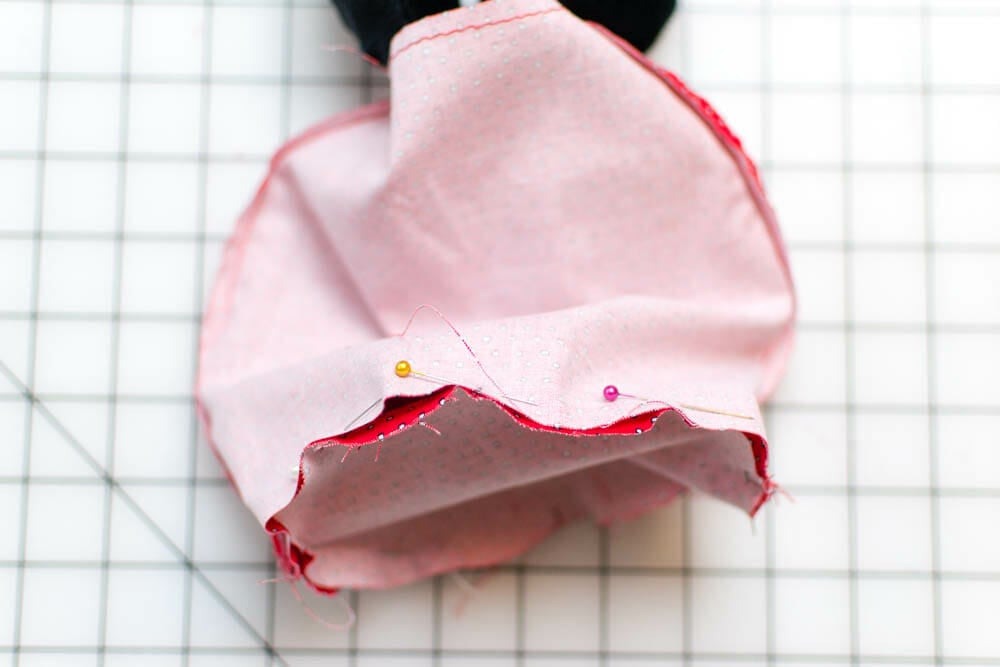
- Tuck the legs up through the opening at the top. Pin the gnome bottom circle to the bottom of the body and sew in place.
SEWING THE HAT AND NOSE:
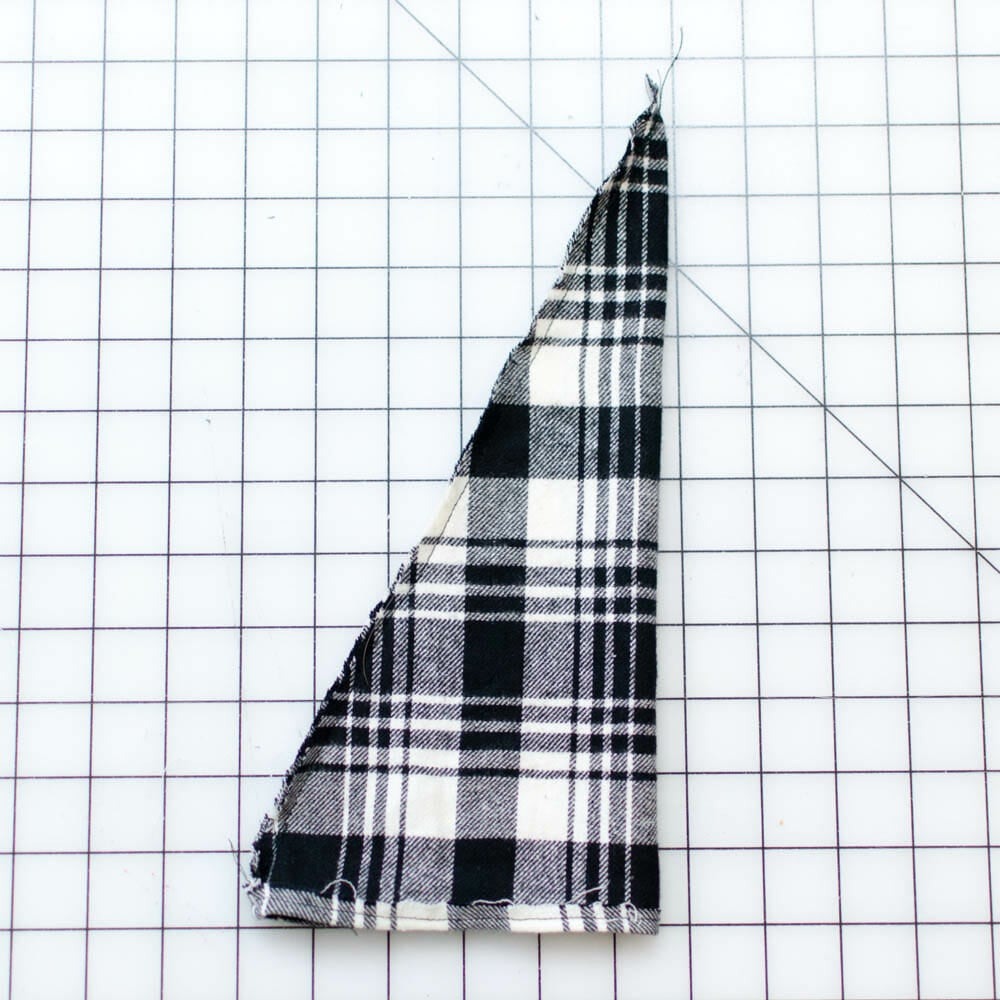
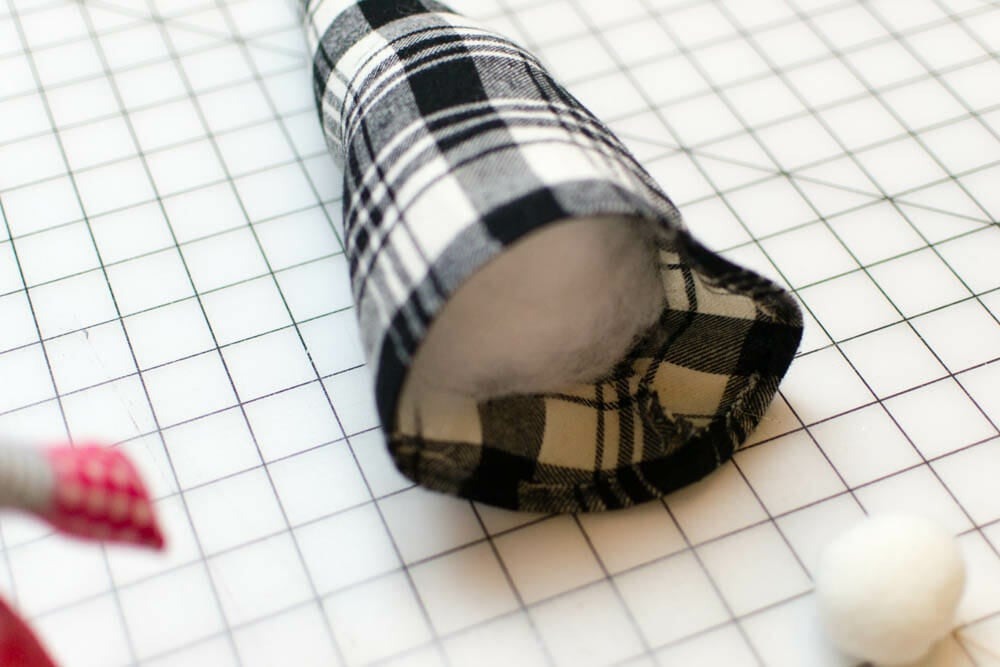
- Fold the hat triangle in half with the long edges together and stitch.
- Fold the opening edge back 1/4 inch and press. Stitch.
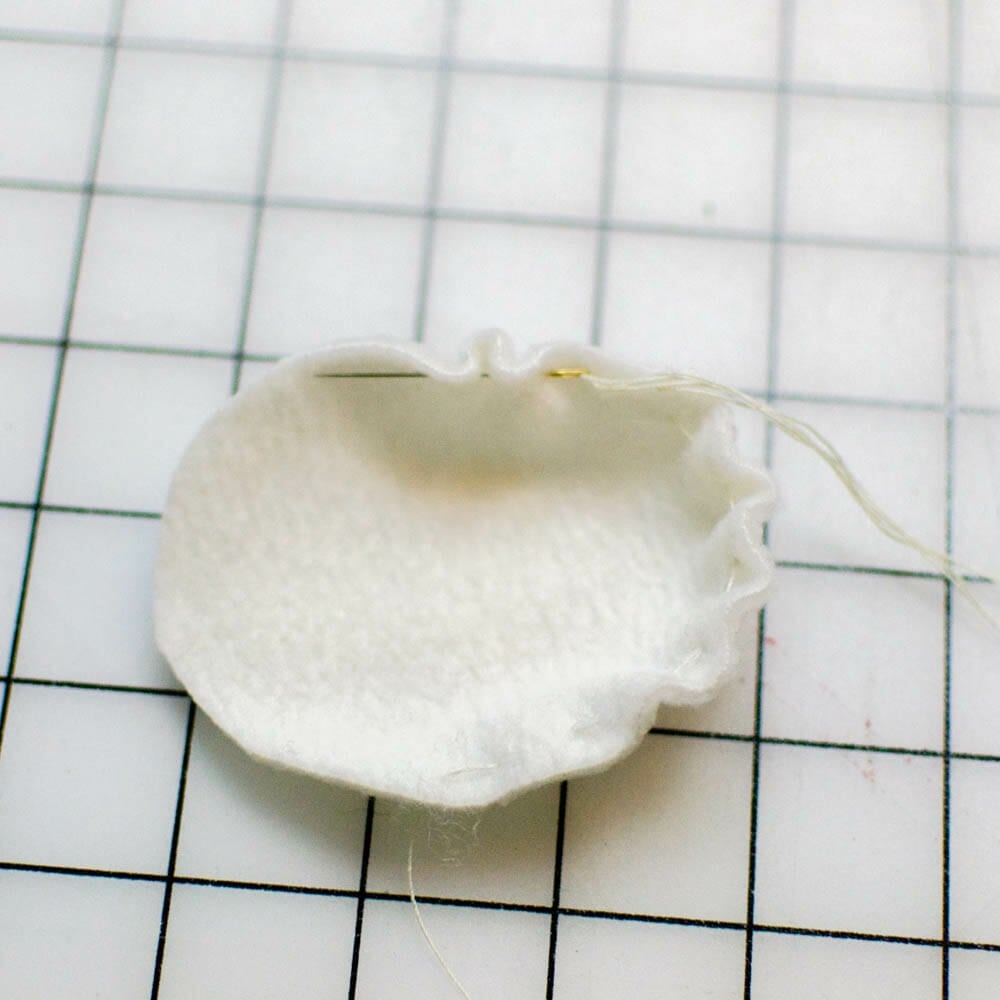
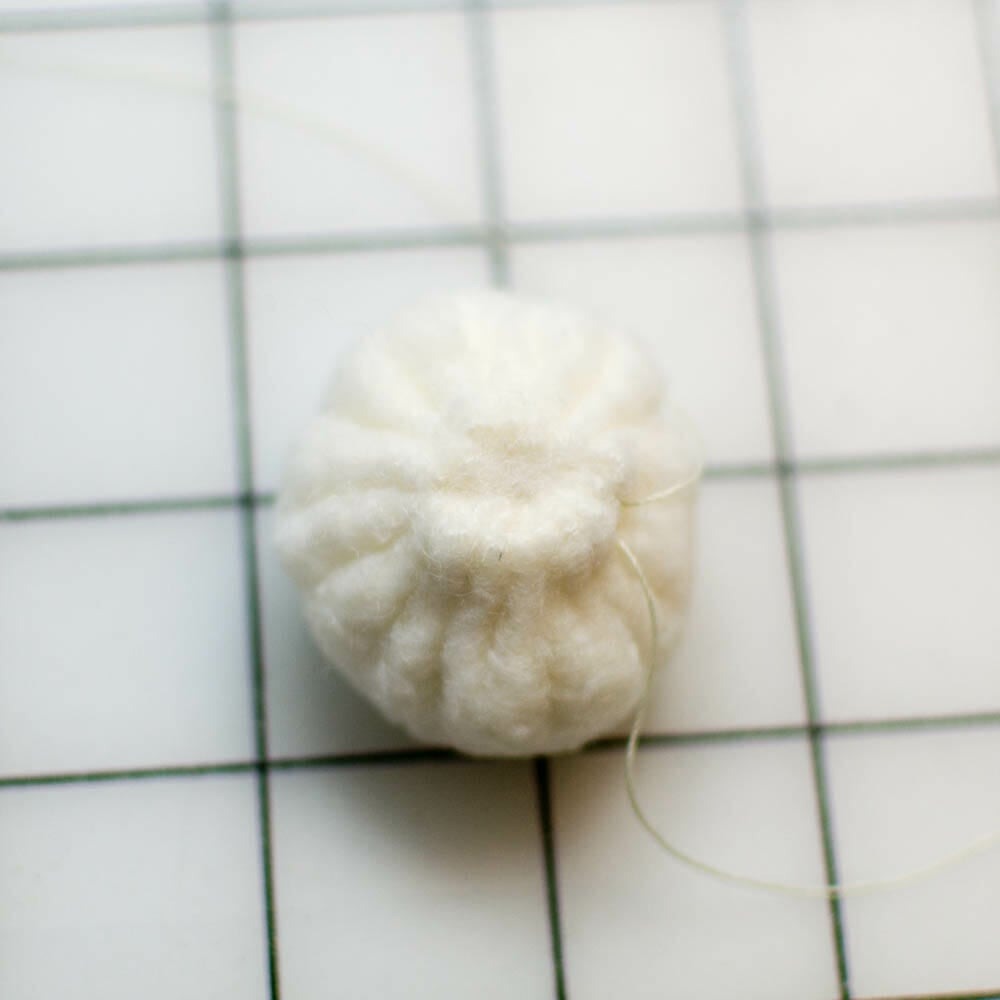
- Hand or machine sew long gathering stitches around the oval of fabric cut for the nose.
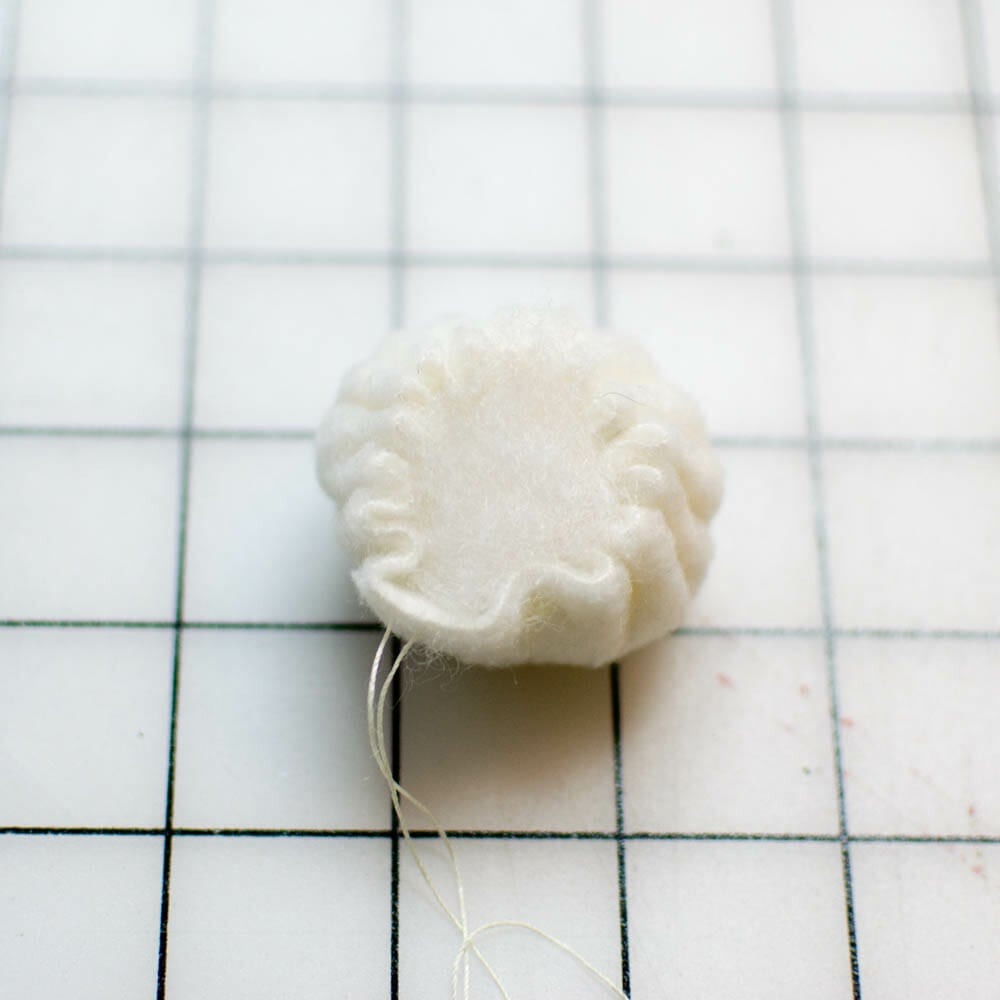
- Place a small amount of fiberfill in the center of the nose and pull the stitches until an oval shaped ball is formed. Tie a knot to secure.
ASSEMBLING THE GNOME!
- Place the pellets or gravel in the bottom of the body. Fill with fiberfill.
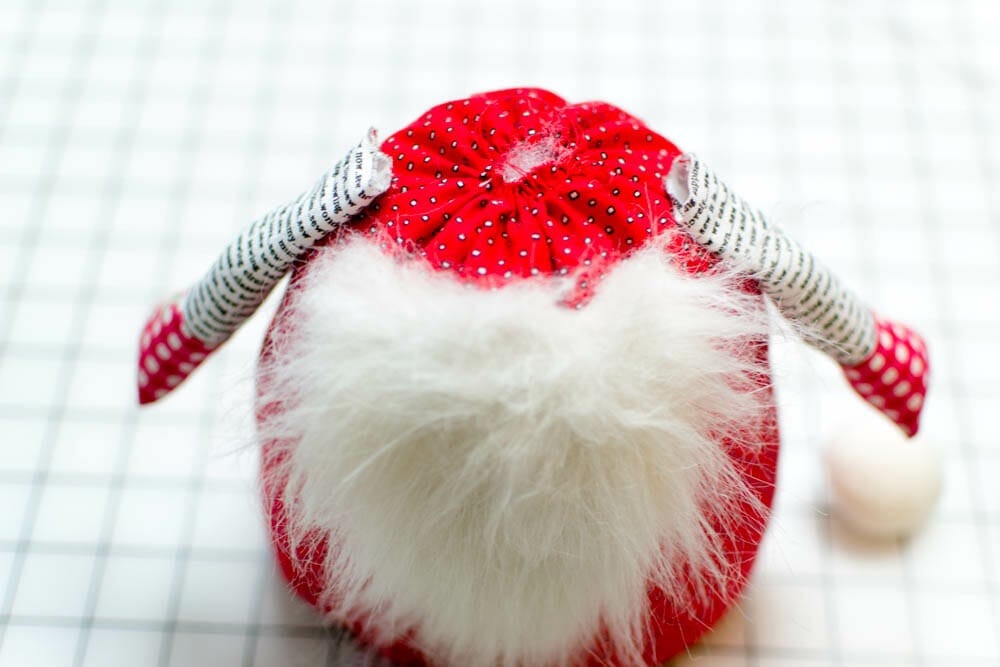
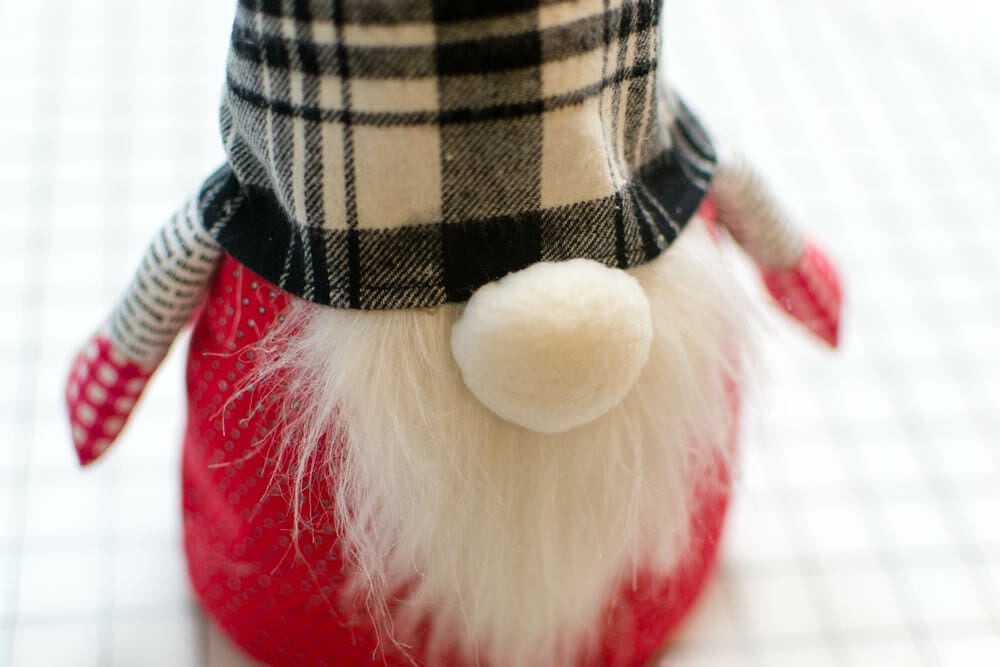
- Pull the gathering threads at the top to close the opening most of the way. Attach the hat and nose with hot glue.
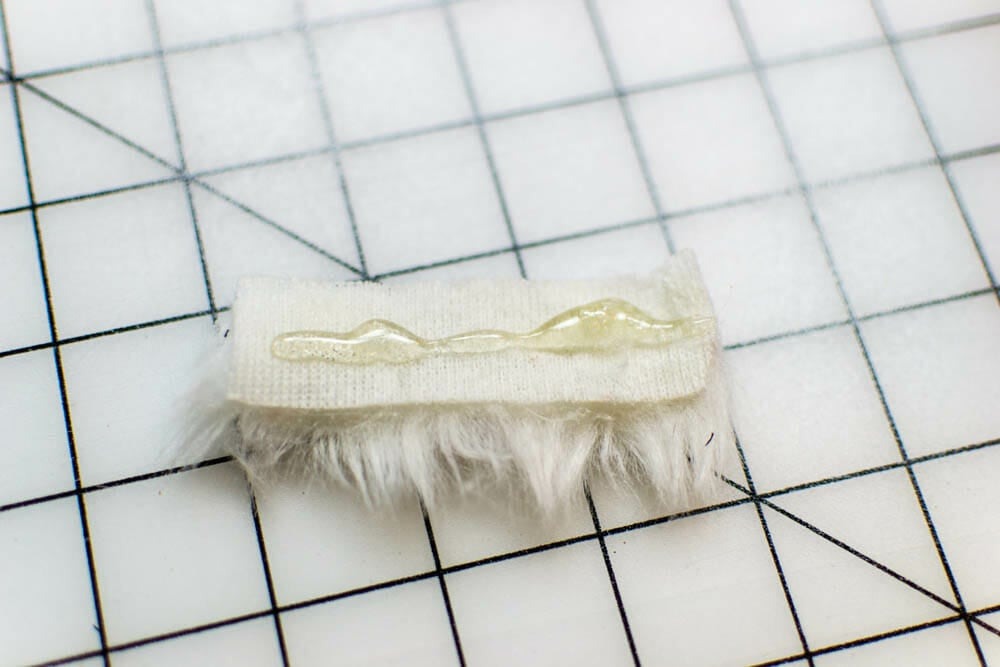
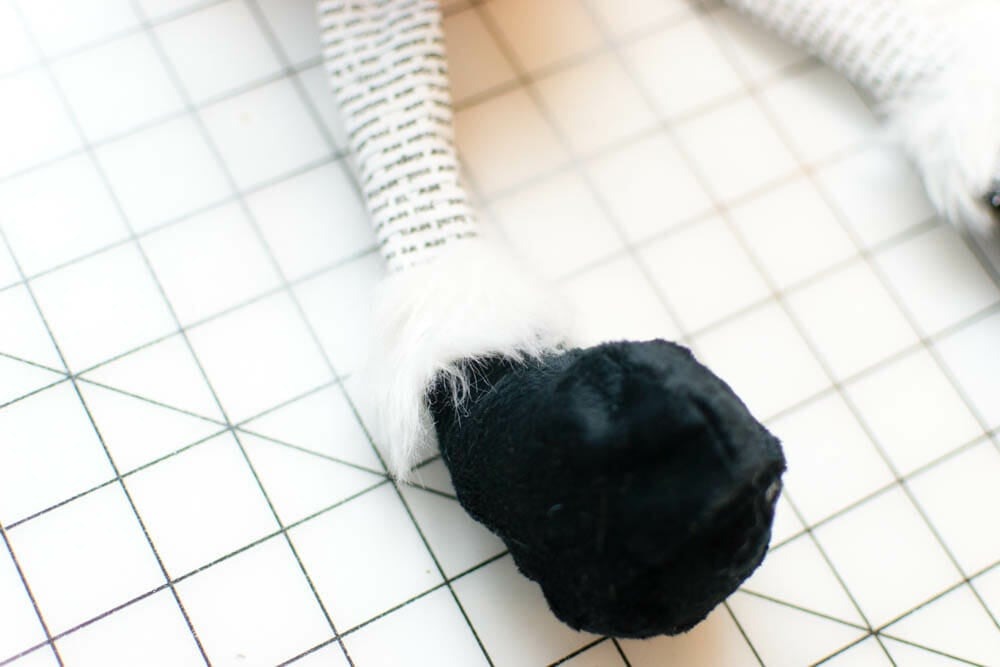
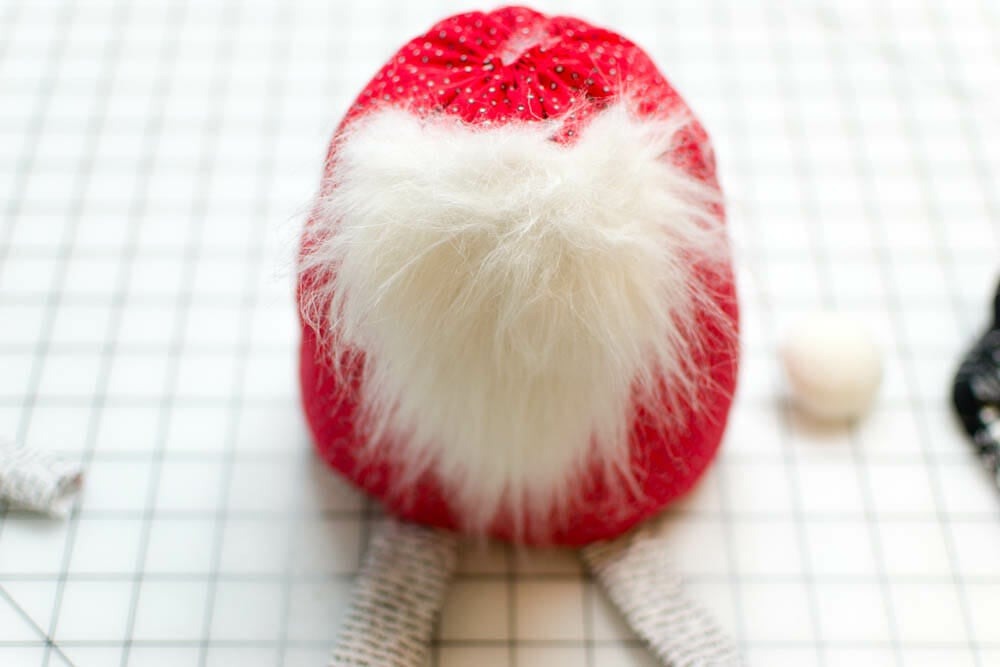
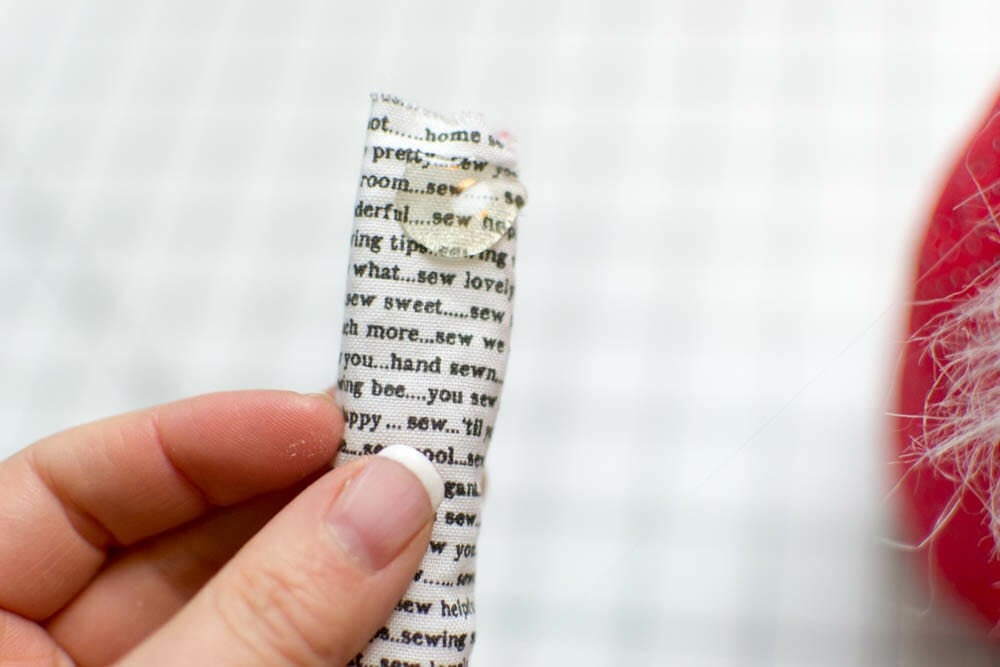
- Use hot glue to attach the boot cuffs, beard, and arms.
- Insert the wire inside the hat for positioning.
- Finish by gluing on the nose.
There you have it! Your Christmas gnome is ready to brighten up your home. Have fun making it!
