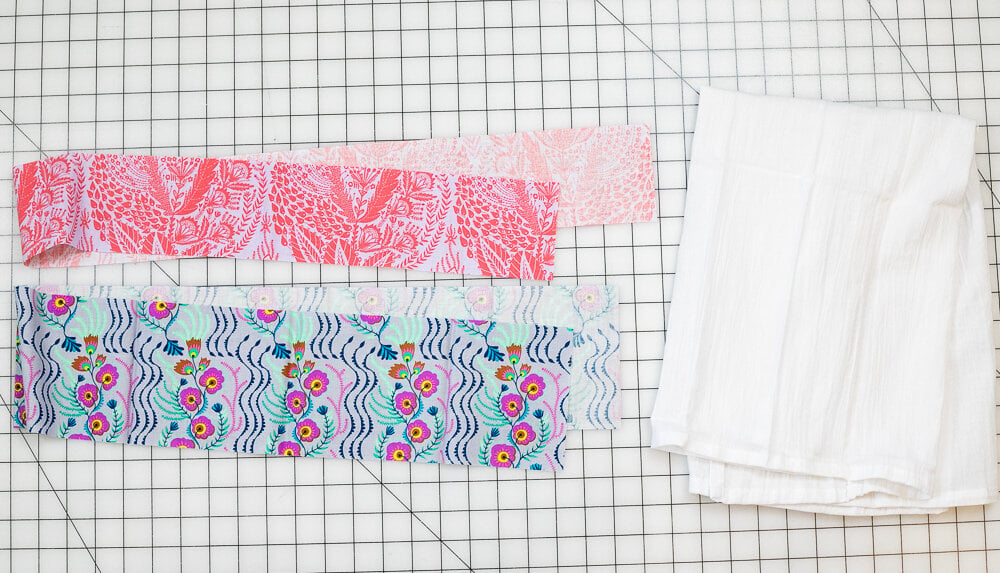
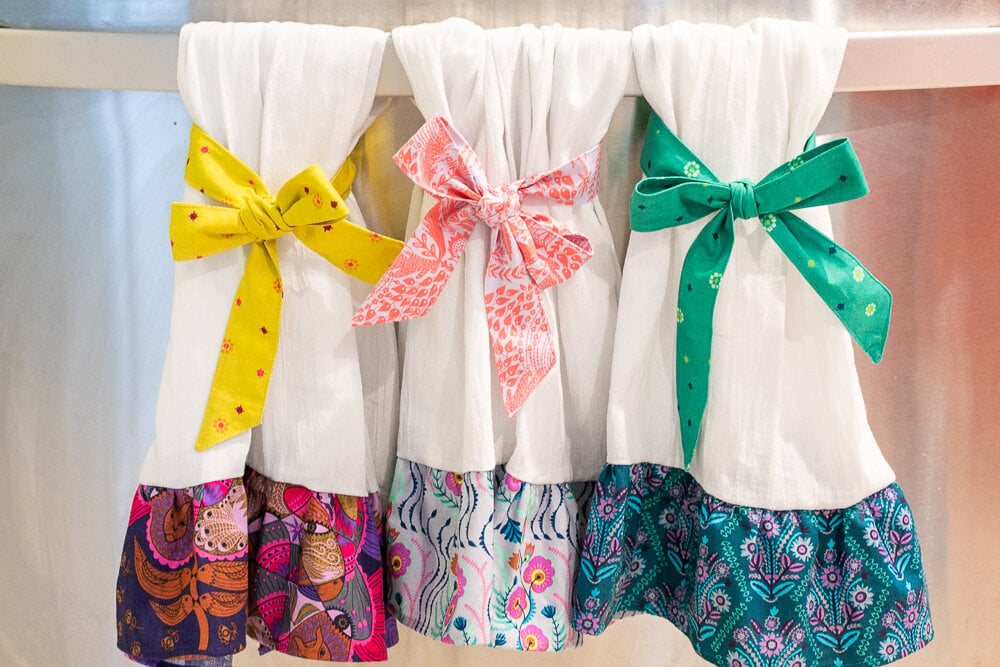
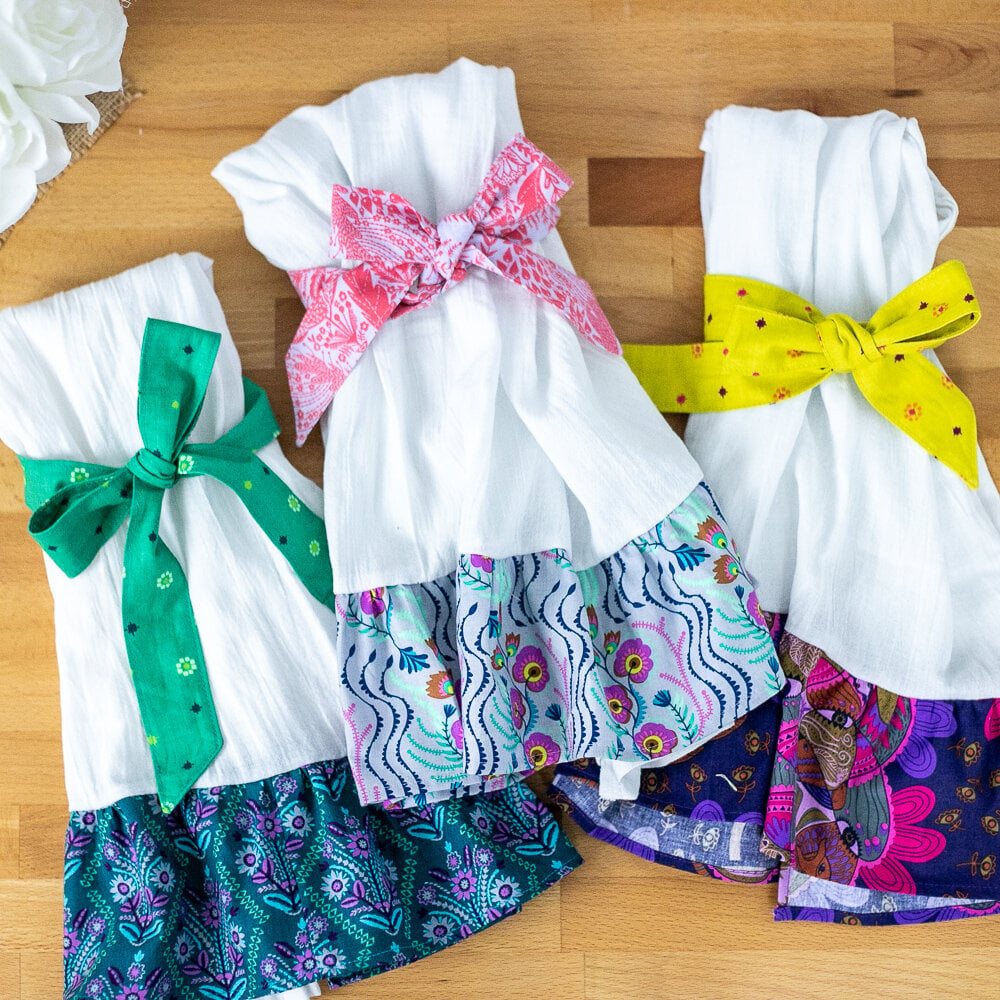
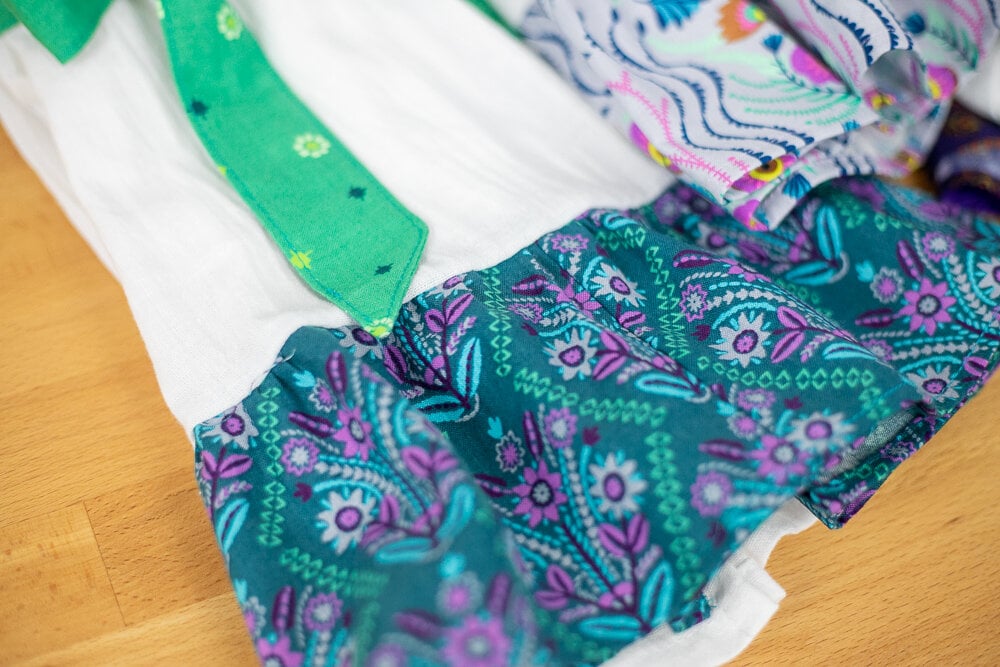
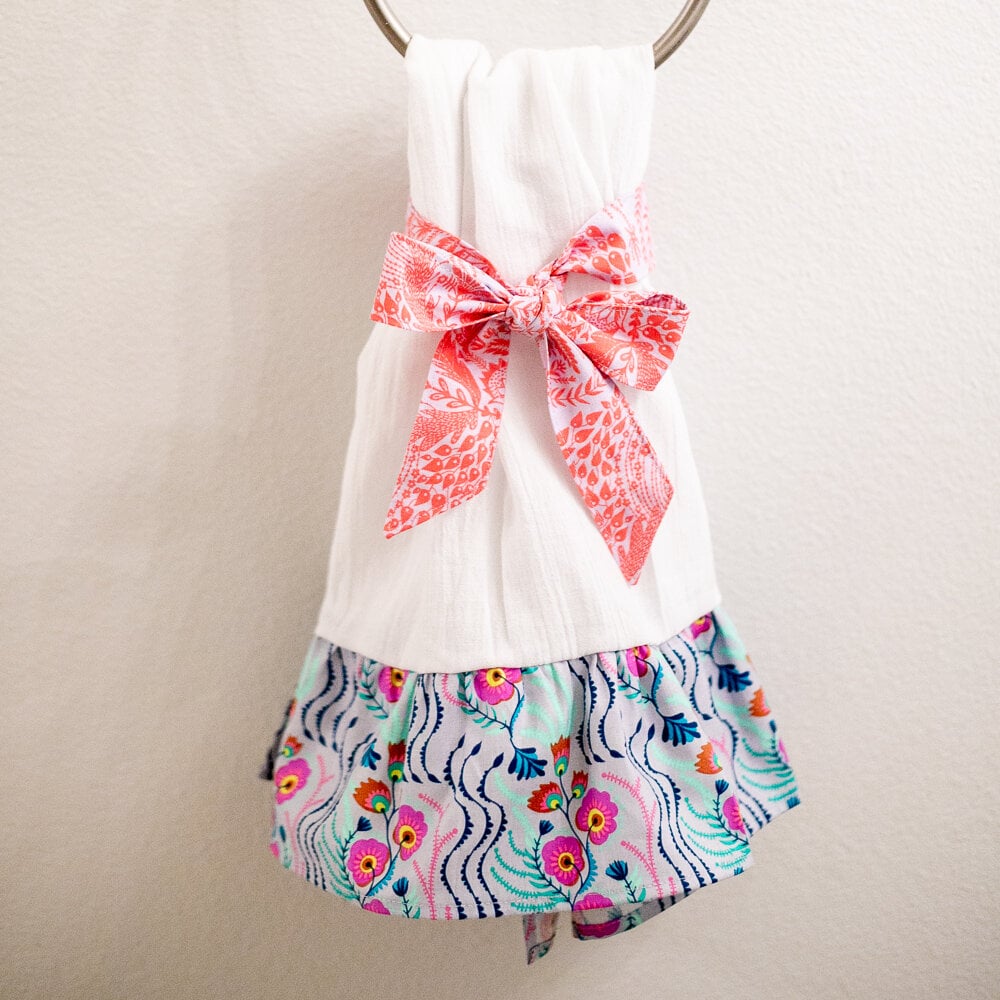
These DIY embellished towels were sewn from inexpensive bar towels, plus 1/4 yard of fabric each.
This blog post has been converted to an optional PDF that’s optimized for printing. Find it here. The free Dog Bandana Pattern is included in the blog post below and is totally free to read, print, and sew! Just hit CTRL +P on your computer to print. The Optimized for Printing PDF download for $3 is totally optional. Did you know you can get ALL the Optimized for Printing PDF files organized in a library for you to access anytime you want? Check it out.
And the best part – the free sewing pattern is fat quarter friendly! You may use fat quarters or regular cut yardage, or scraps like I did to mix and match fabrics.
If you use fabric scraps this truly will be a budget friendly sewing project!
These towels also make a lovely gift.
Use holiday fabrics to make new towels for each season – or personalize for deserving loved ones.
Give with a loaf of bread and jar of handmade jam, or a matching set of Patchwork Potholders. The possibilities are endless!
Are you ready? Let’s sew.
Stay Put Kitchen Towels – free tutorial
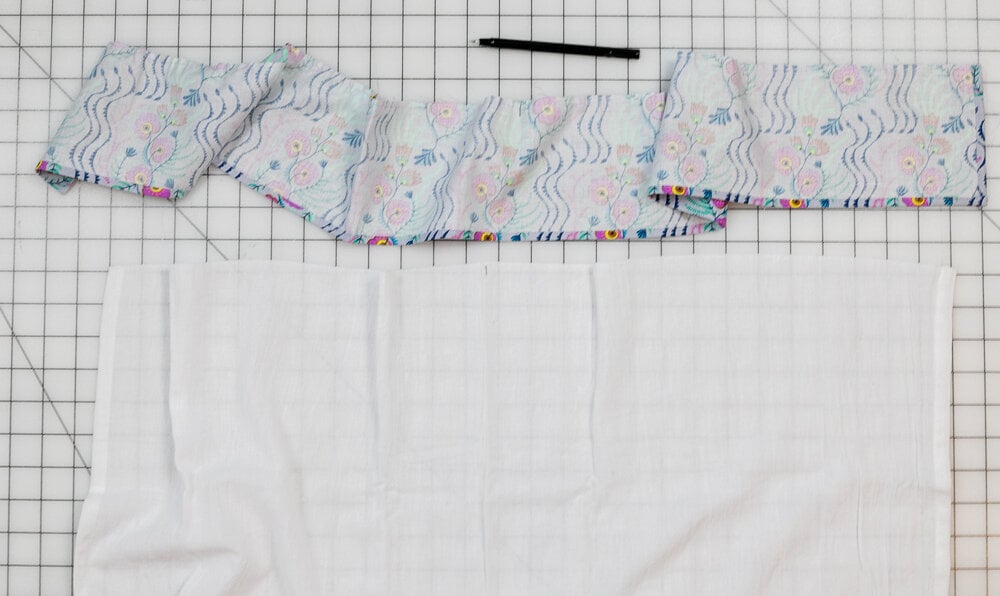
MATERIALS: Besides 1/4 yard of fabric for each towel (Anna Maria Horner’s Tambourine), I used some really fabulous, really inexpensive dishtowels that I found on Amazon.
These 28’’ square dishtowels are thin, not as thin as cheesecloth, but with the same texture. They are very absorbent, and look pretty much the same after being washed – probably because they are already wrinkled. I have tried a lot of plain dishtowels because I like to practice machine embroidery on them, and these are some of my favorite for sewing projects.
At a price point of $1.17 per towel (current pricing) – they are perfect for this project. But, of course you may use another 28’’ square (or similar sized) dish towel.
You will also need a fabric marking pen, such as a frixion pen.
CUTTING:
- From fabric, cut:
- 1 strip 5’’ x 42’’ (or WOF) for the ruffle
- 1 strip 3 1/2’’ x 42’’ (or WOF) for the tie
Tip: if you are using fat quarters, cut two 3 1/2’’ x 21’’ strips for the tie and two 5’’ x 21’’ strips for the ruffle. Then sew them together with a 1/4’’ seam allowance and finish the seam with a zig zag stitch. Proceed with the pieced-together strips.
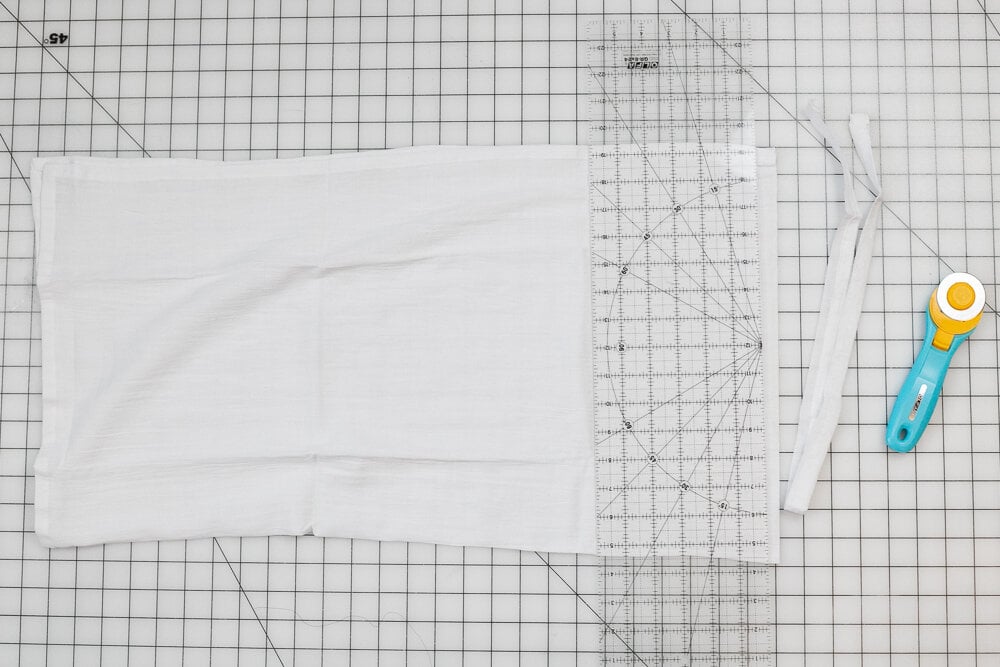
- Cut the hem of one edge of the towel – this will be the bottom edge.
SEW THE RUFFLE:
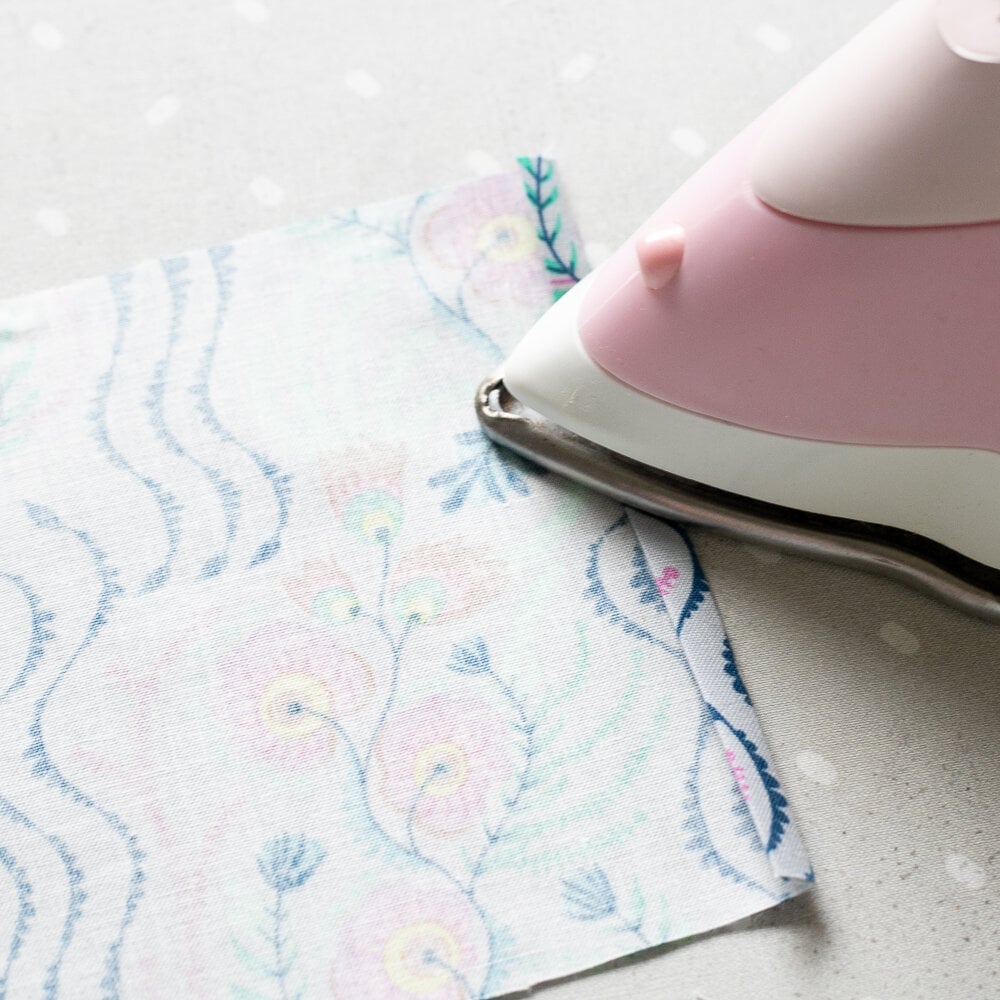
- Fold each short end of the 5’’ x 42’’ ruffle strip over 1/4’’ twice and press.
Stitch close to the fold to make a narrow hem on both ends.
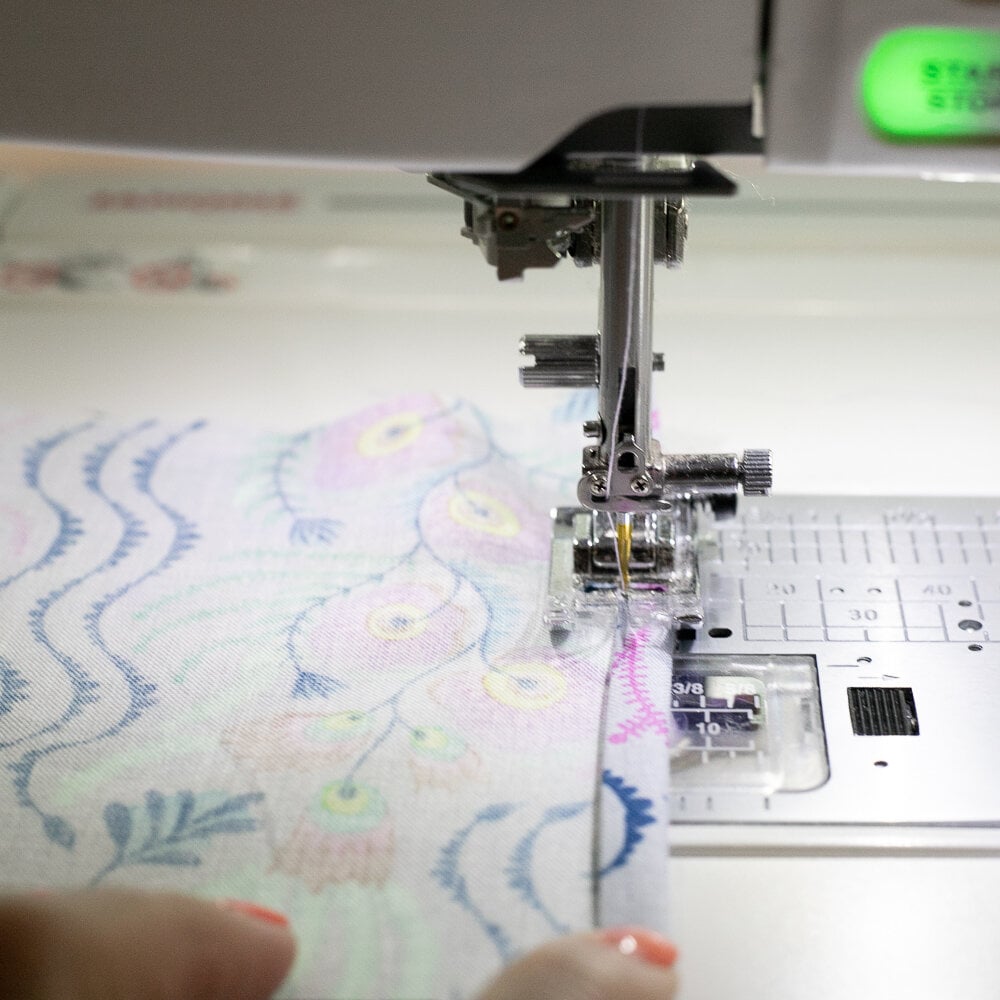
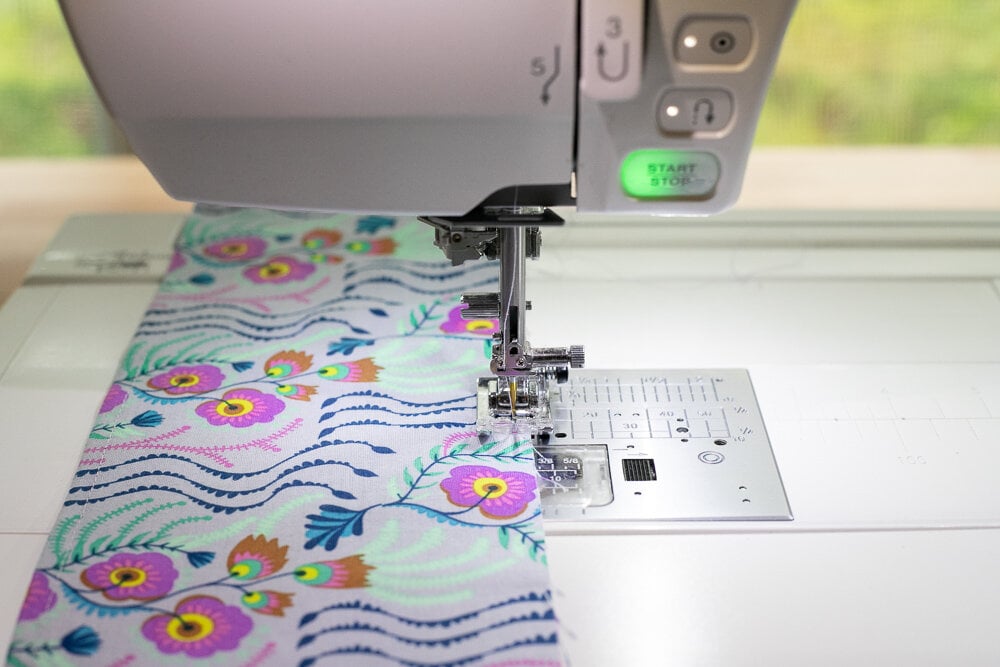
- Fold and press one long edge of the ruffle strip the same way. Stitch the narrow hem. See my tip below first.
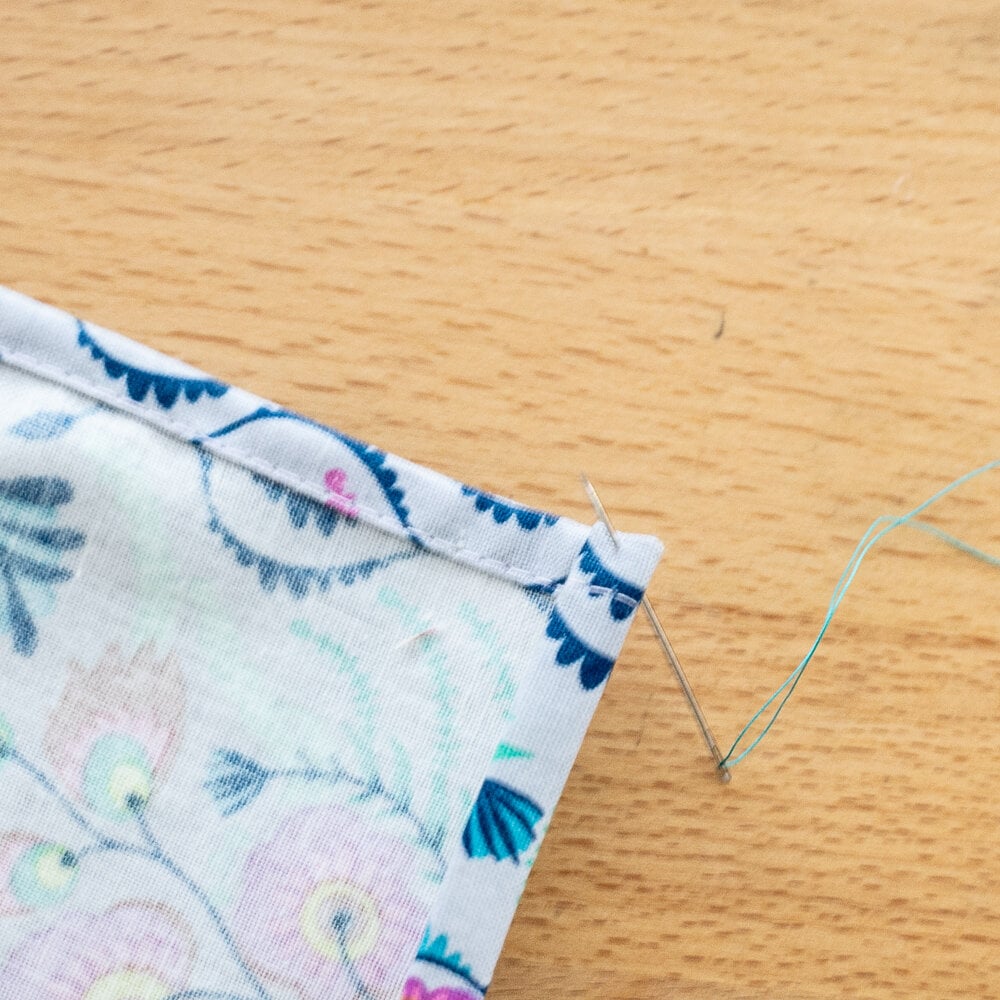
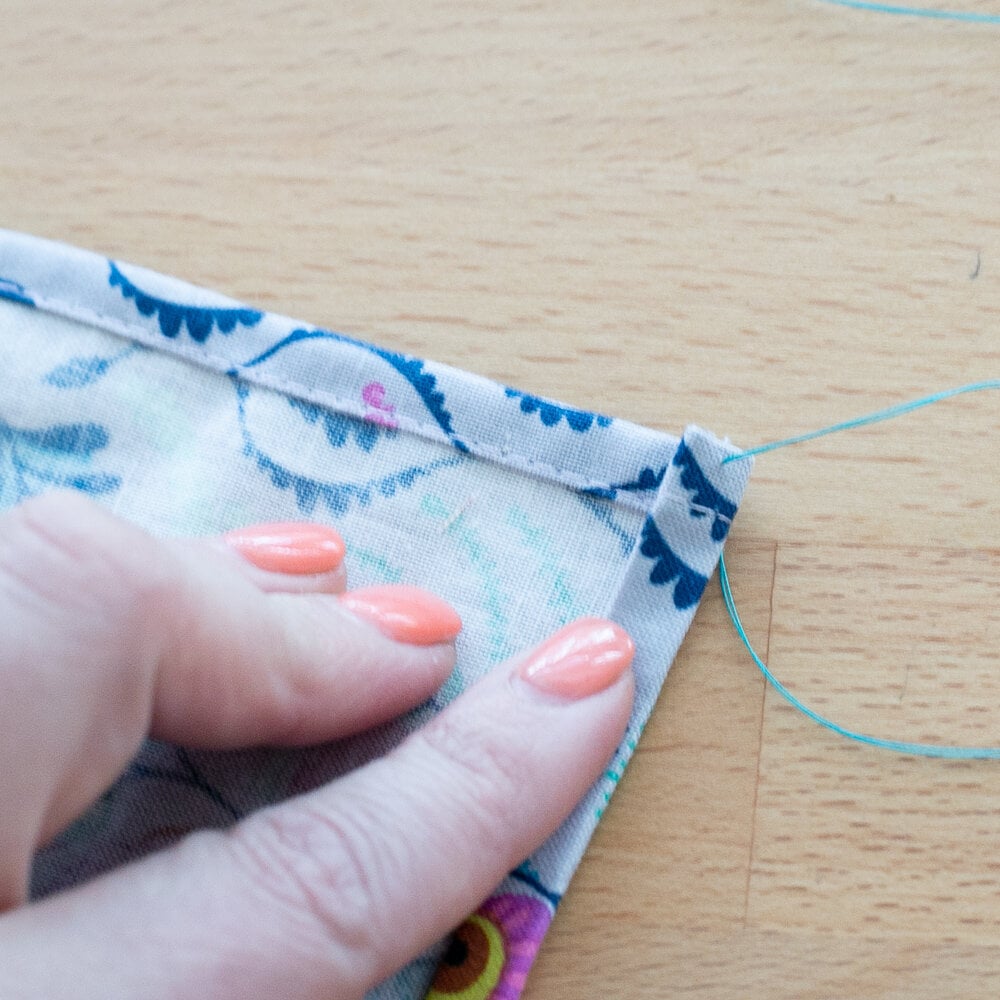
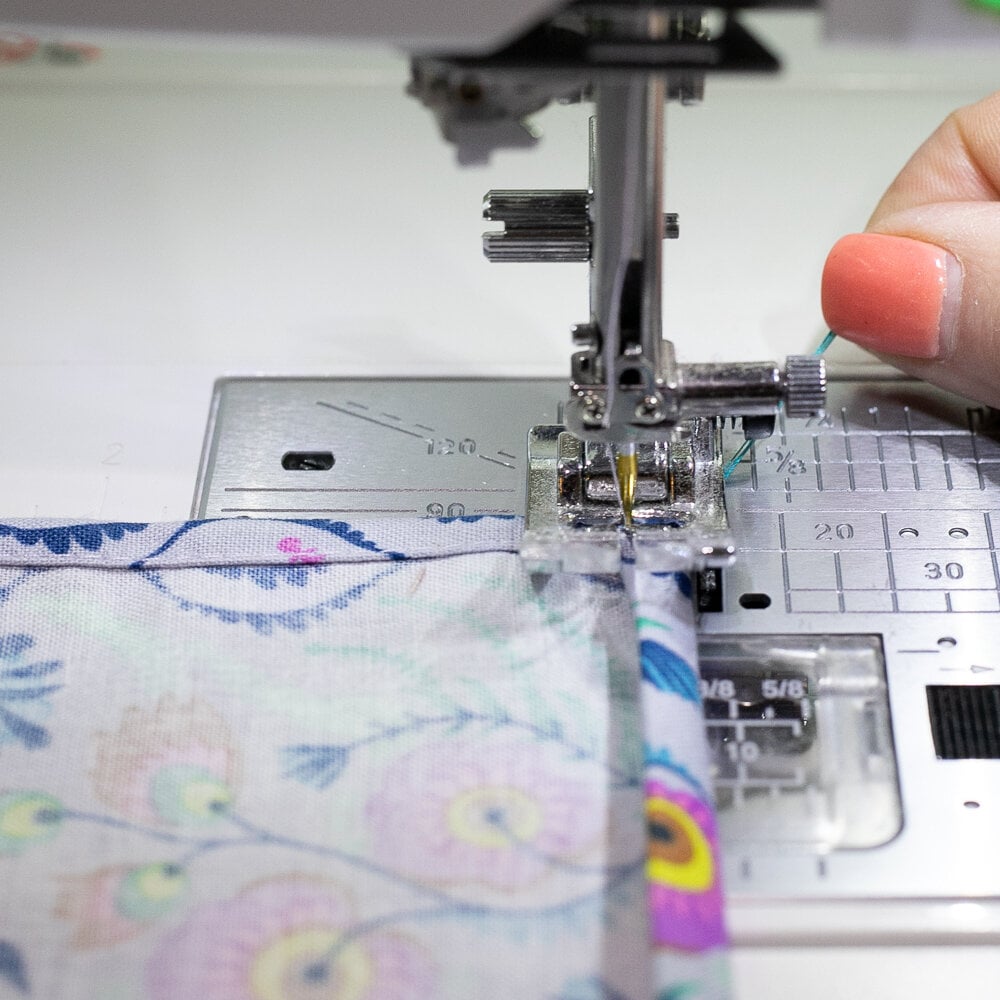
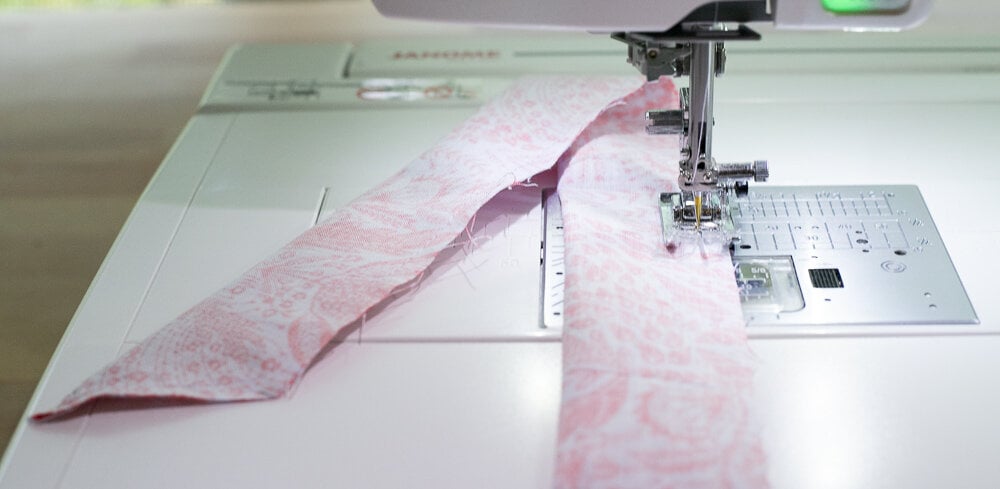
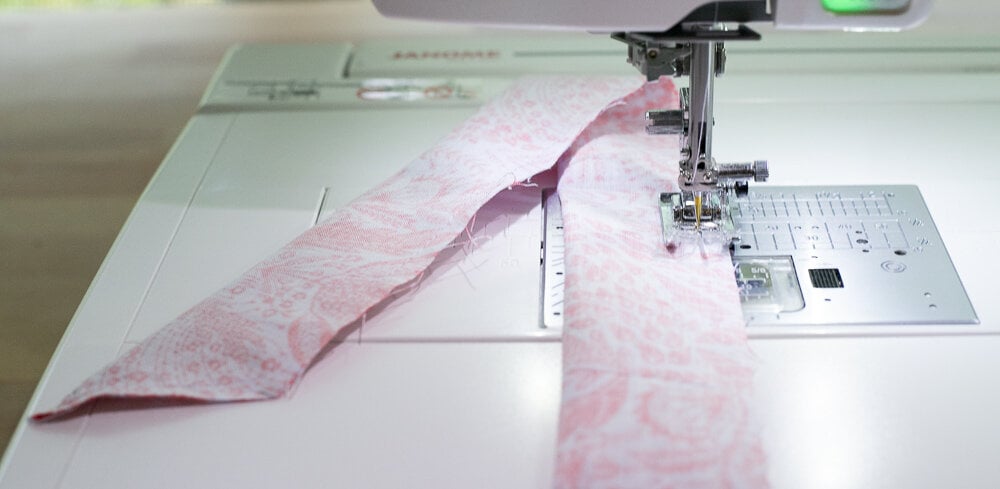
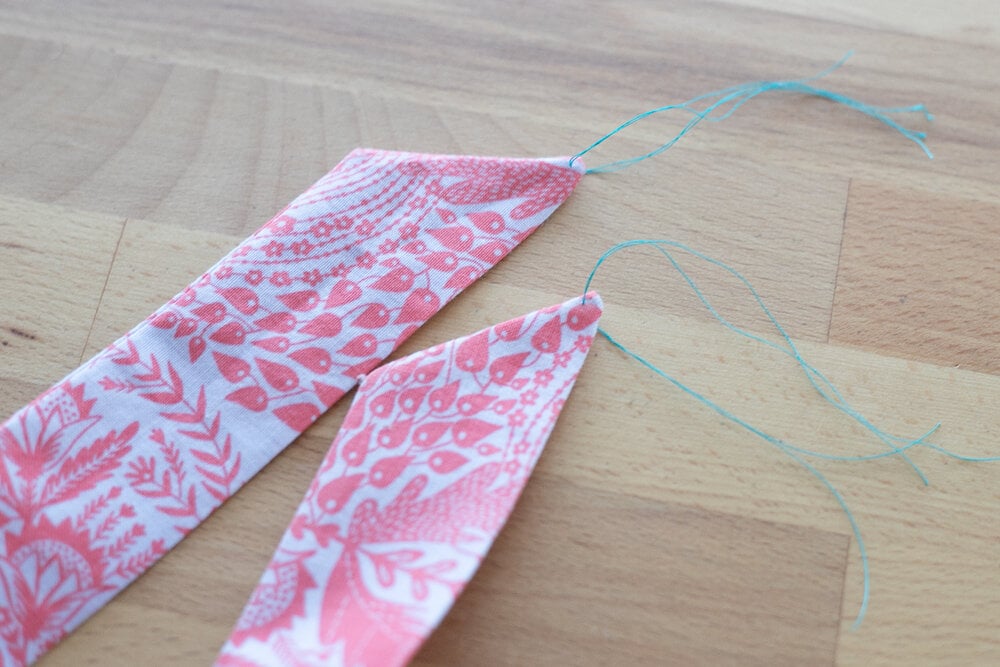
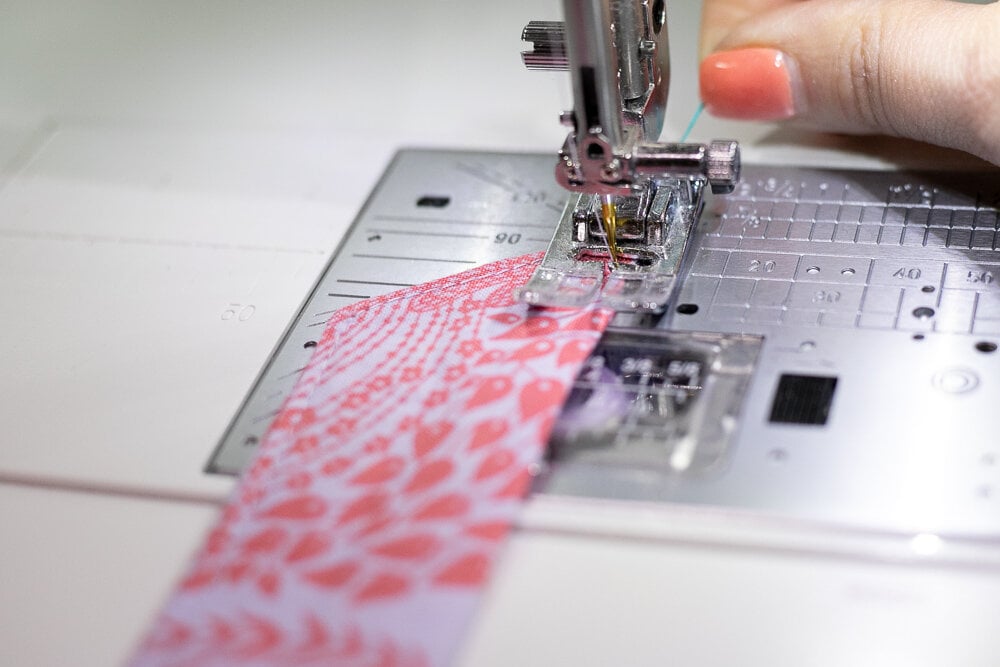
Tip: The first corner of this hemmed edge wanted to get stuck in my sewing machine’s feed dogs. So before sewing it, I threaded a needle with a long length of thread, doubled over. Then I pushed the needle through the corner and pulled the thread almost to the end. I cut the threads with about 3’’ left on either side of the corner (double thread).
When I started sewing the long hem, I gently tugged on the thread in the back to prevent the corner from getting stuck in my feed dogs as I started sewing.
- Sew 1 or 2 long rows of basting stitches 1/8’’ – 1/4’’ away from the long raw edge for gathering. Leave long threads at either end to make them easy to pull.
- Mark the center of the ruffle along the raw edge and the center of the cut edge of the towel.
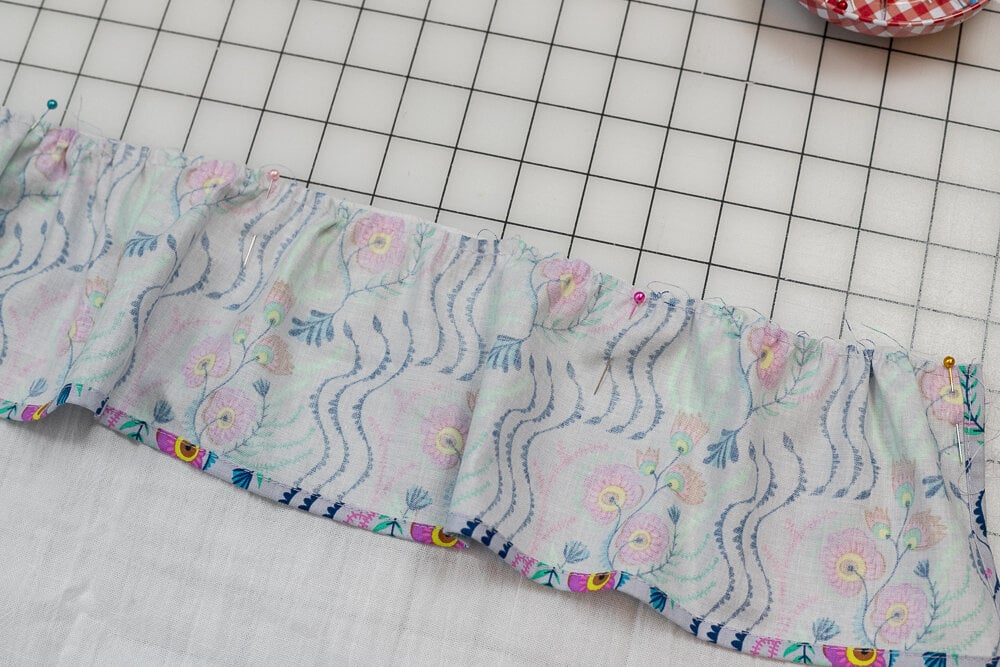
- Pin the raw edges of the ruffle and the towel right sides together, matching up the ends and the center marks. Then gently pull on the bobbin threads to gather the fabric so that the length of the ruffle strip matches the length of the towel. Pin every few inches.
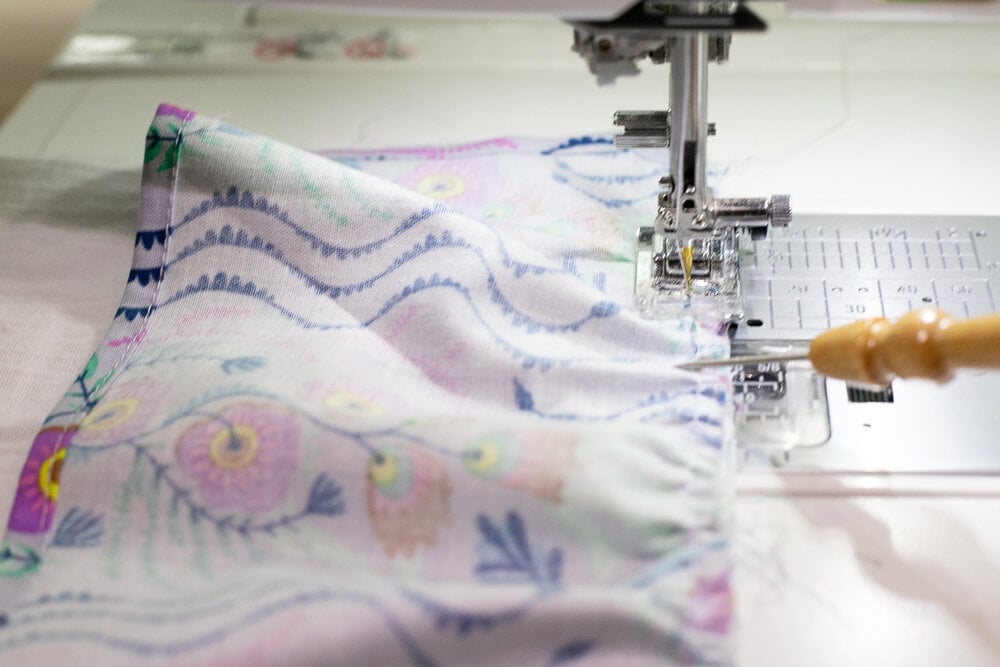
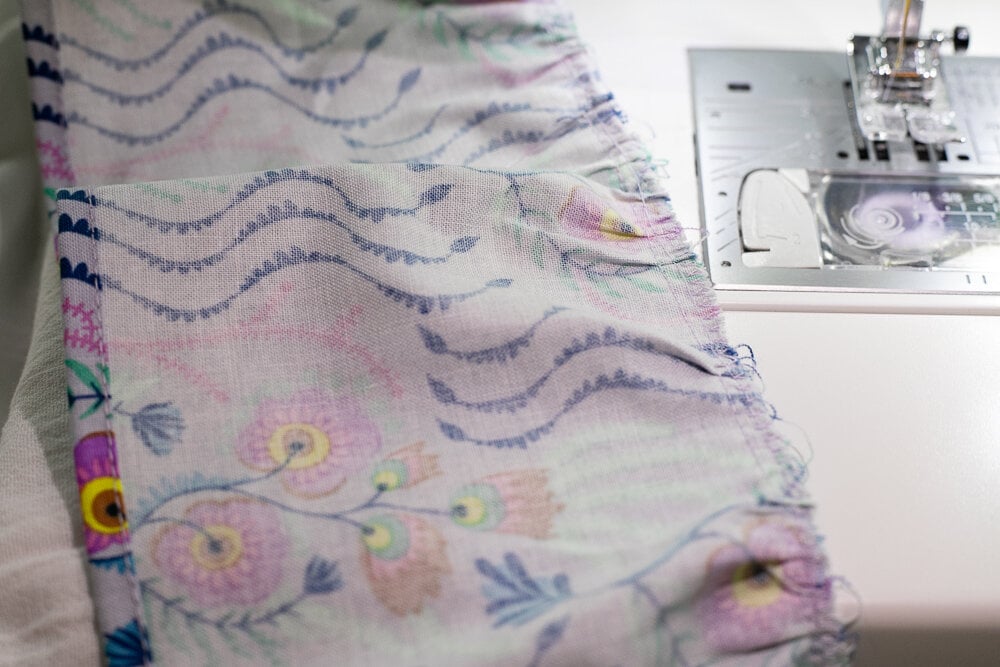
- Sew the ruffle strip to the towel with a 1/4’’ seam allowance (I used a sewing stiletto to help me control the gathers as I sewed). Finish the seam with a zig zag stitch or a serger.
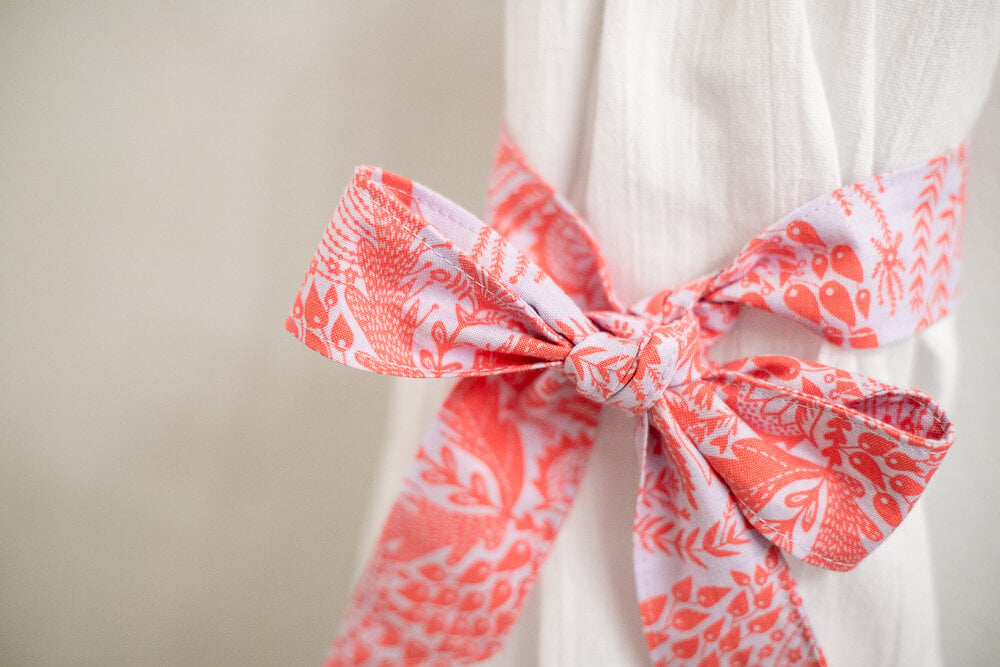
MAKE THE WRAP AROUND TIE:
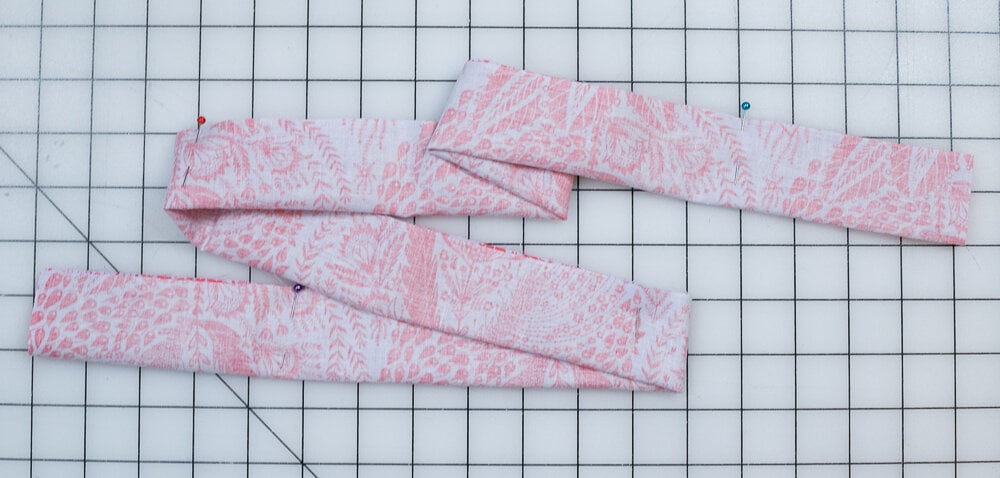
- Fold the 3 1/2’’ x 42’’ strip in half lengthwise and pin.
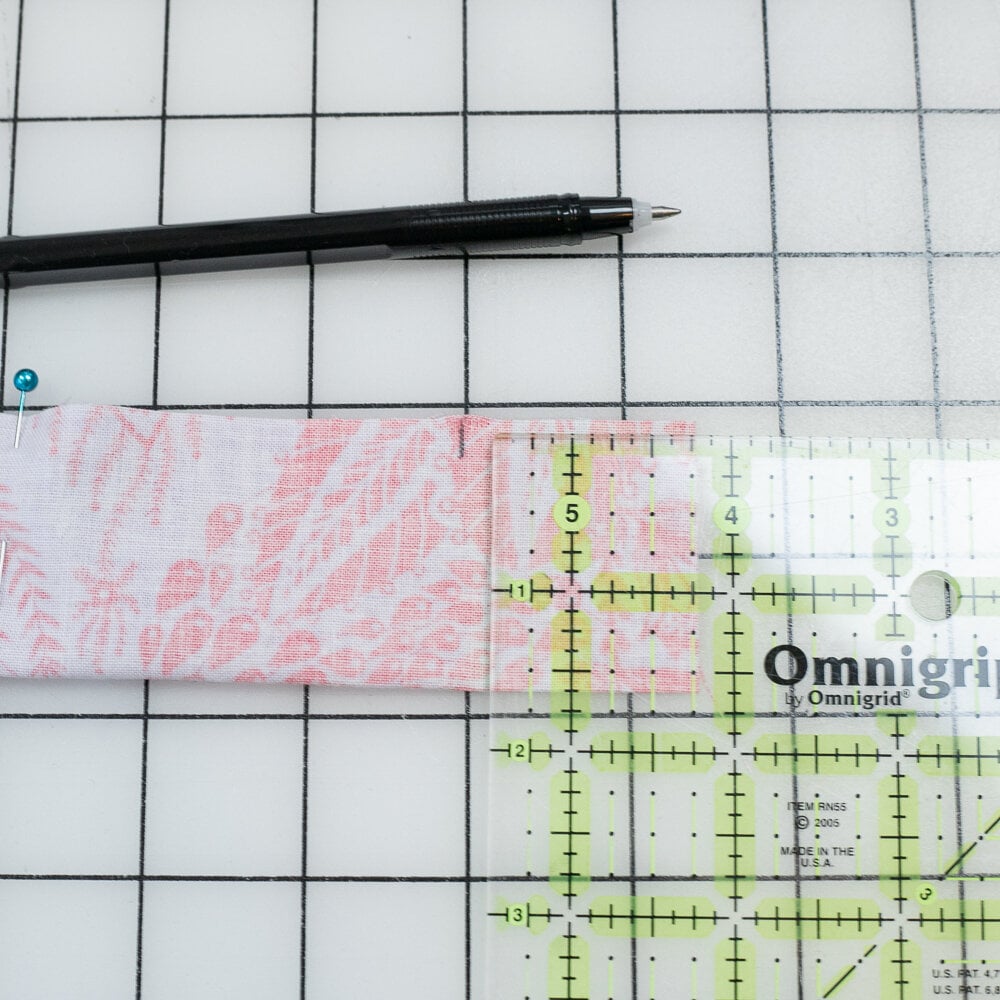
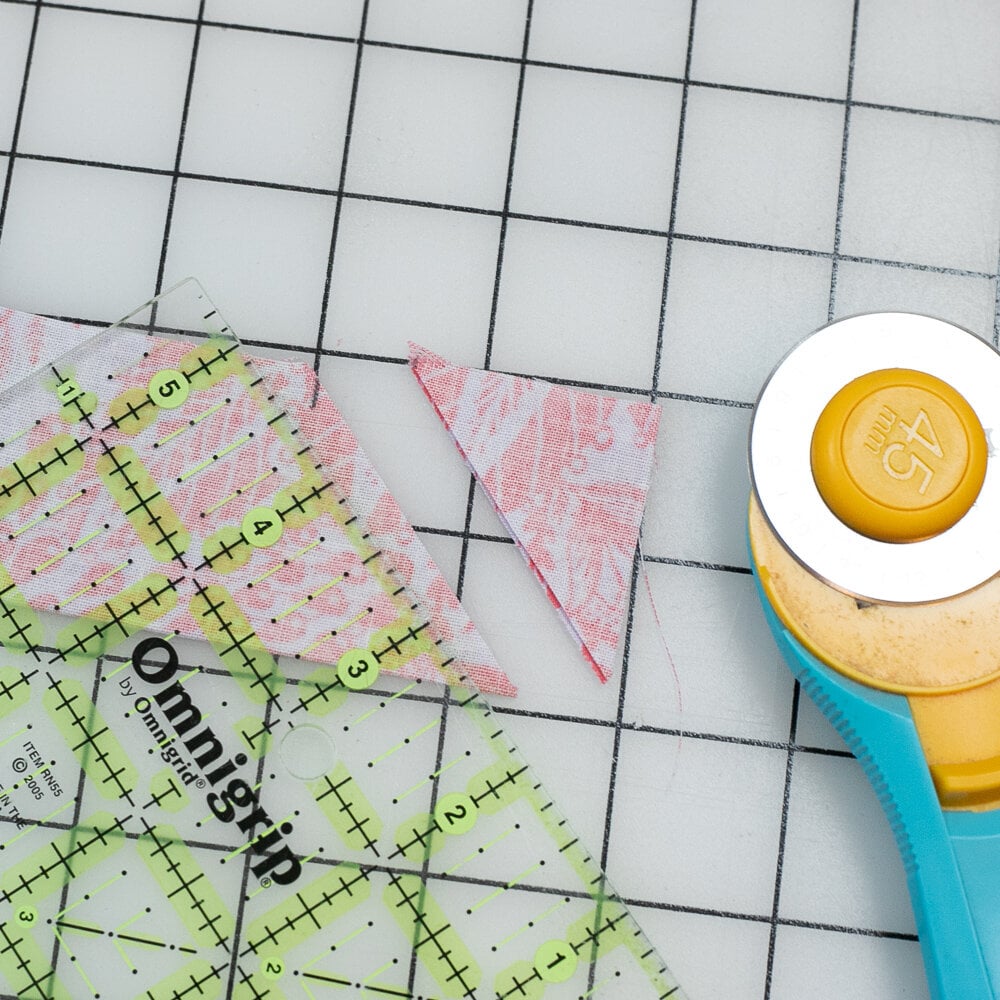
- Make a mark on the raw edge, 1 1/2’’ from the end of the strip. Use a ruler and rotary cutter to make a diagonal cut from the corner (near the fold) to the mark. Pin the end together.
Repeat on the other end of the long strip.
- Sew the ends and long edge of the tie with a 1/4’’ seam allowance. Leave an opening about 3’’ long near the center of the long edge.
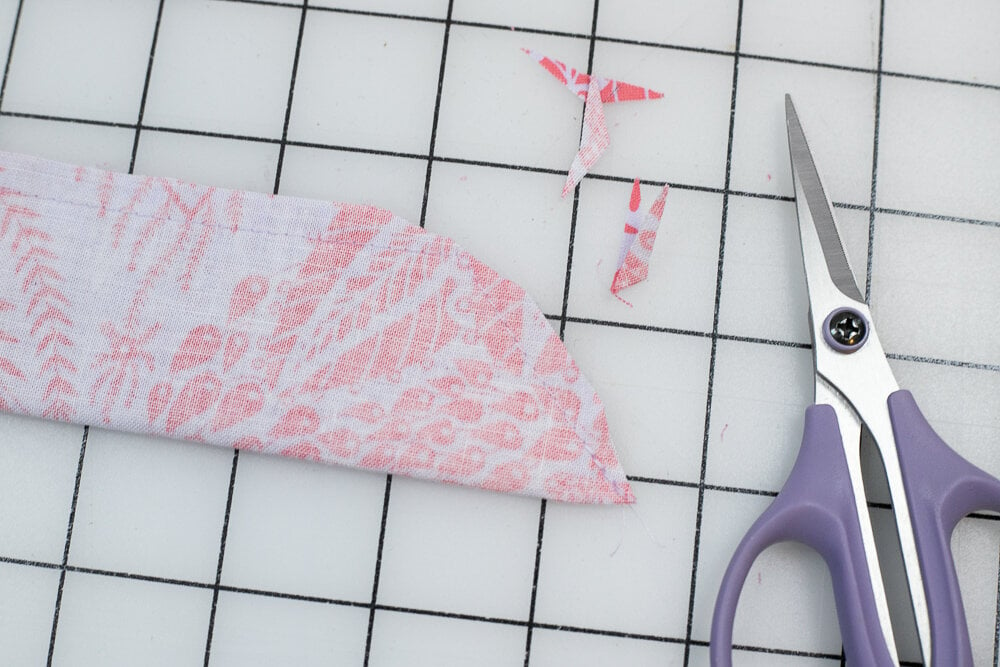
- Clip the corners on both ends of the tie.
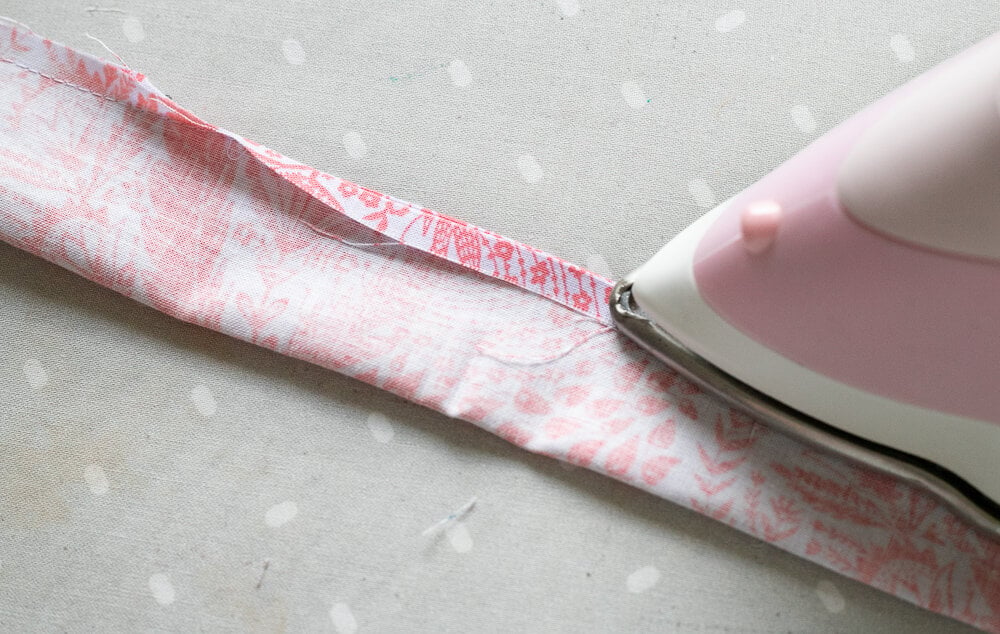
Tip: Pressing the tie before turning it right side out can make the turning process much easier.
First I like to press the edges at the opening back. Then I press the rest of the seams open.
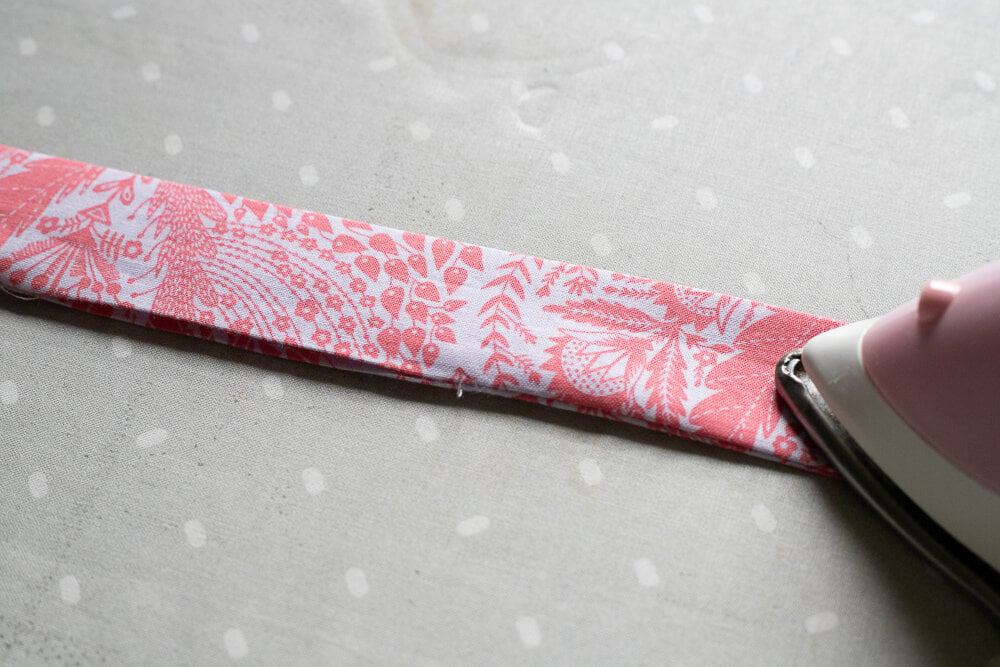
- Turn the tie right side out through the opening and gently push the corners out with a chopstick or turning tool. Press the tie flat.
If desired, attach threads to each point on the tie ends to make them easier to topstitch (see tip above).
- Topstitch all the way around the tie, 1/8’’ from the edge. The threads at the ends can help you prevent the tips from getting stuck in your sewing machine’s feed dogs.
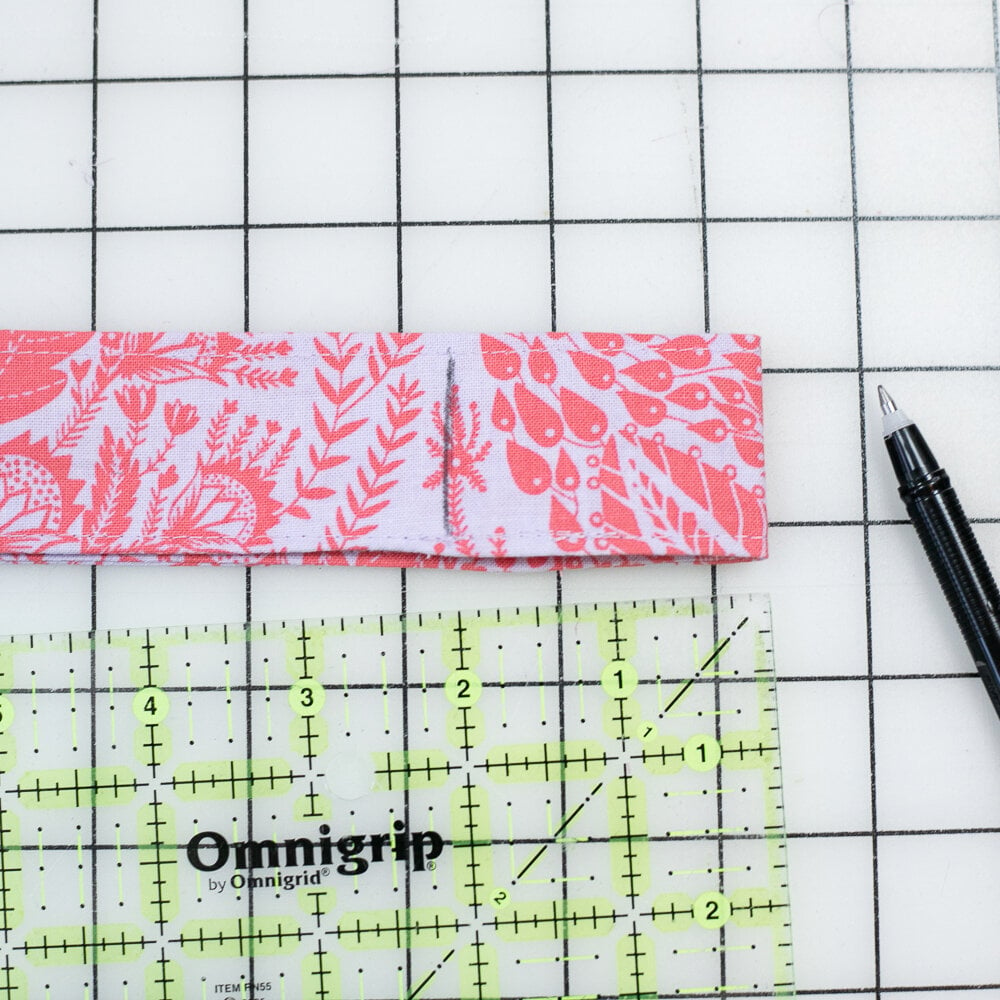
- Fold the tie in half to find the center. Draw a vertical line 2’’ from the fold – on both sides of the folded tie.
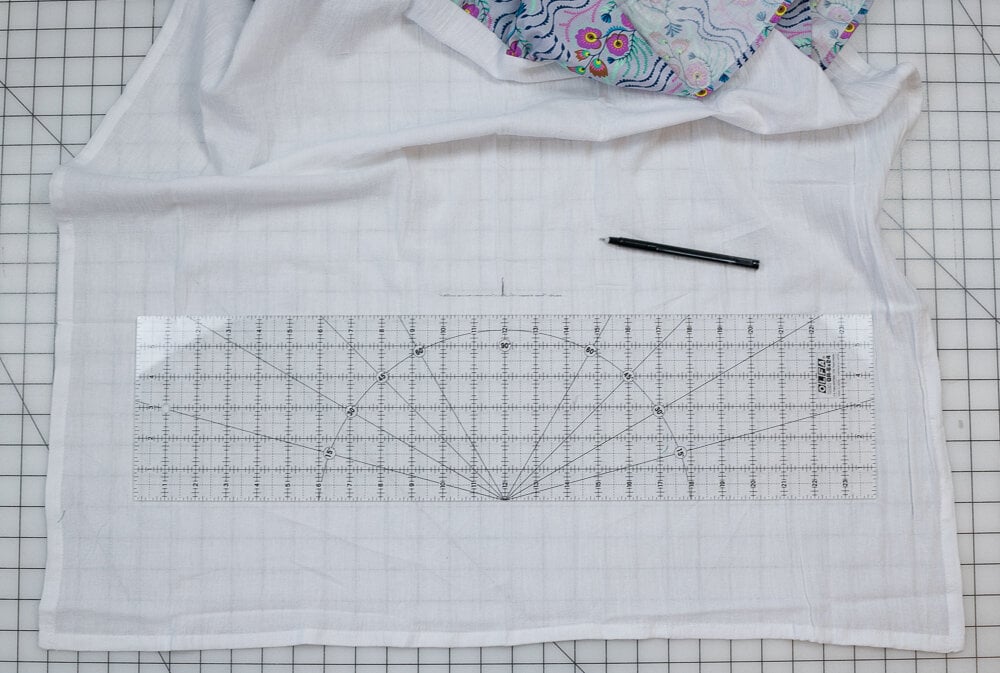
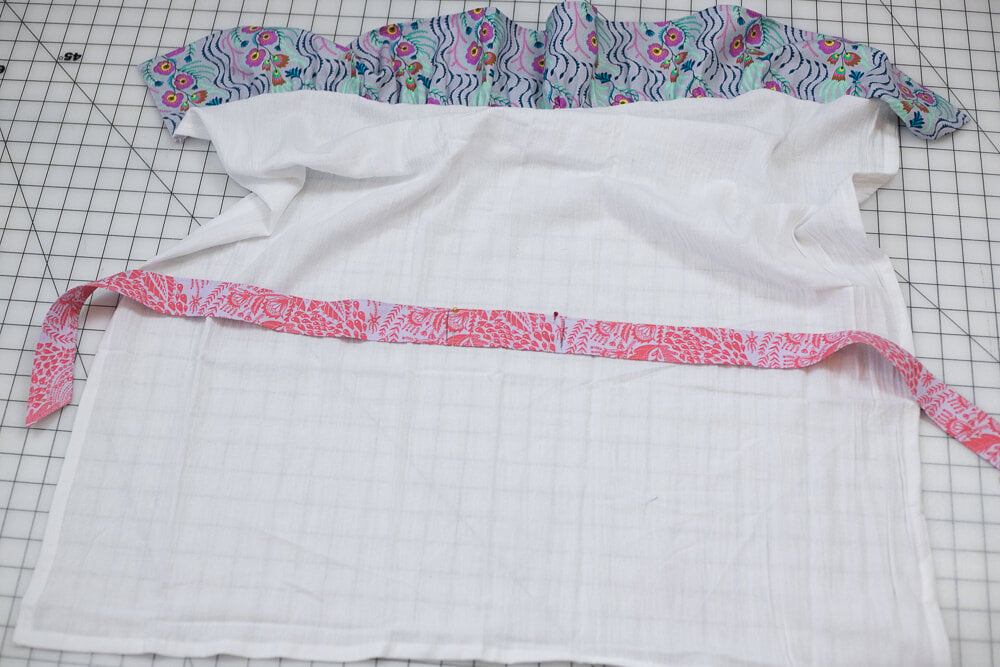
- Lay the towel right side up on your work space with the ruffle at the top. Mark the center of the towel 11’’ above the lower hemmed edge.
Then draw a line 4’’ long that is 11’’ from the hem and extends 2’’ from the center on either side of the mark.
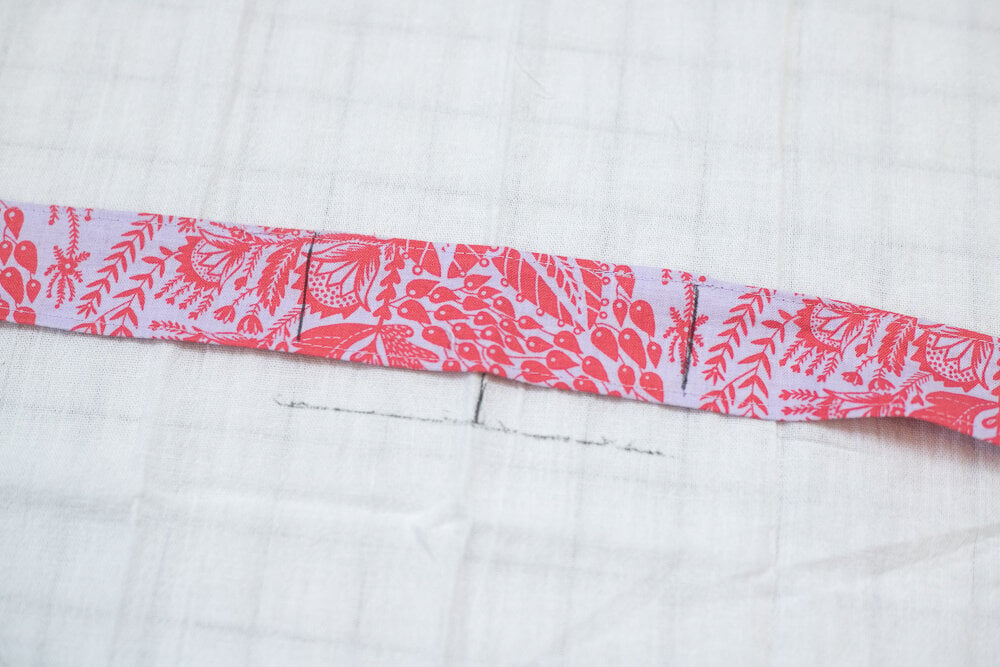
- Place the tie along the line so that the center of the tie matches the center mark on the tie and the tie is 11’’ from the hemmed edge.
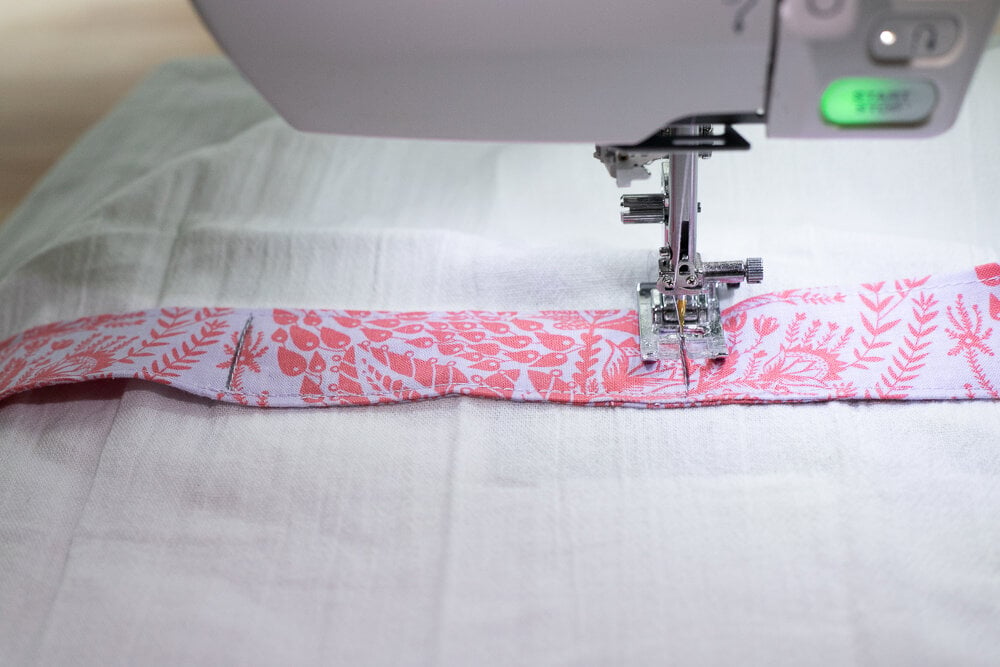
- Attach the tie to the towel by sewing a 1 1/2’’ x 4’’ rectangle. Sew on top of both vertical lines and along the lines of topstitching to make the rectangle. Backstitch to secure the stitching.
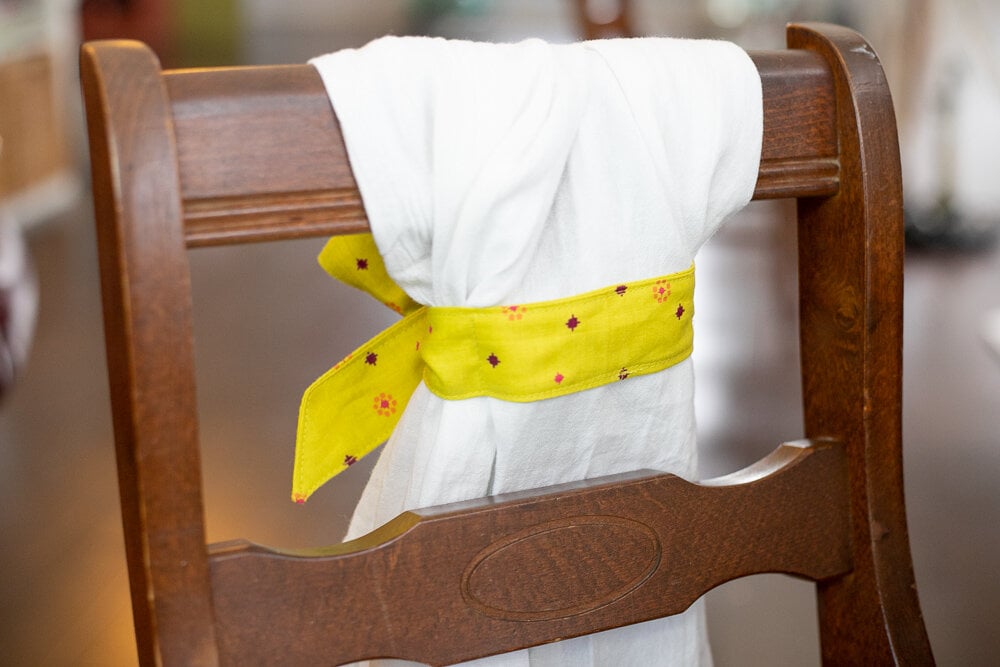
To attach the towel to a bar, slide the top/back of the towel over the bar, including the tie ends.
