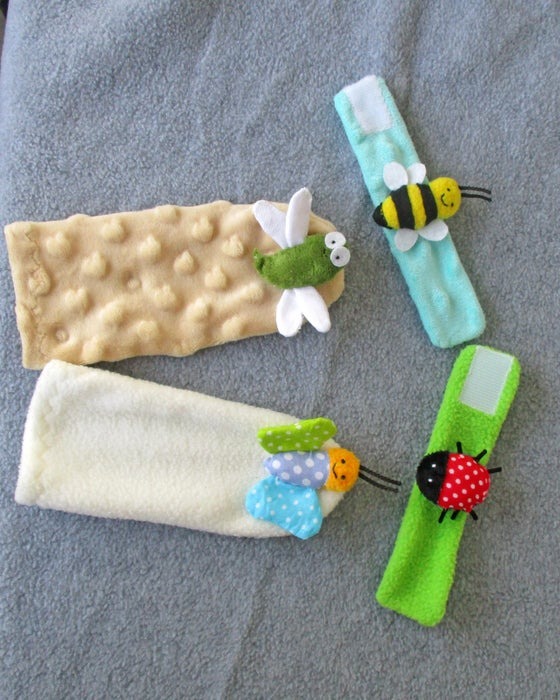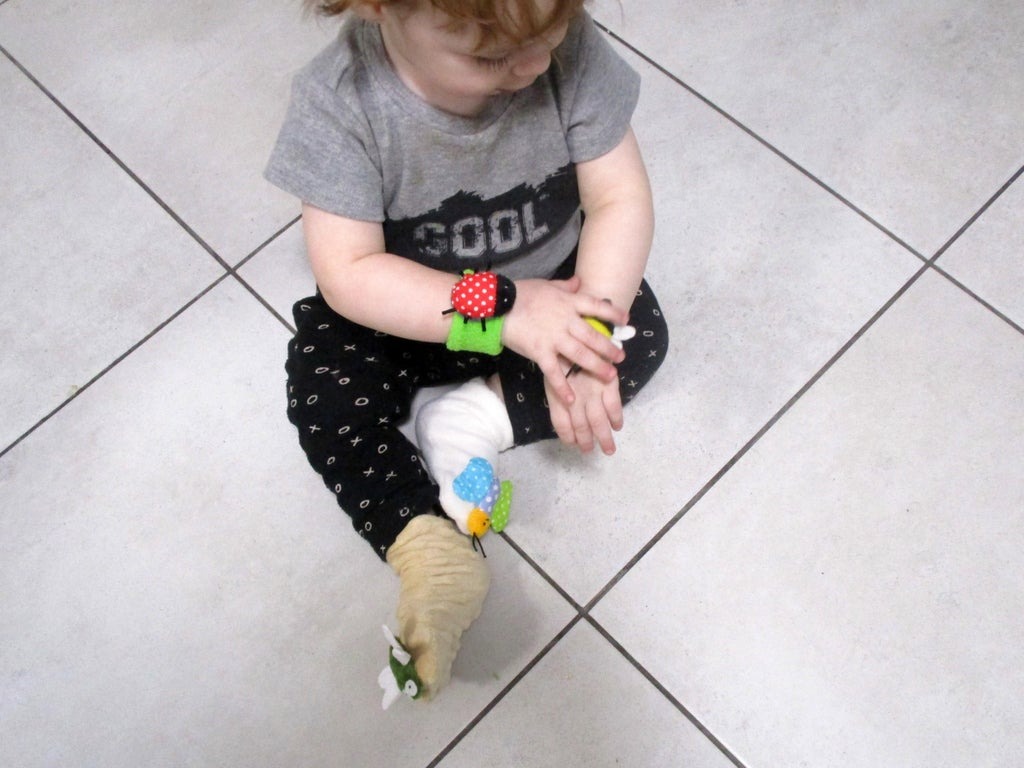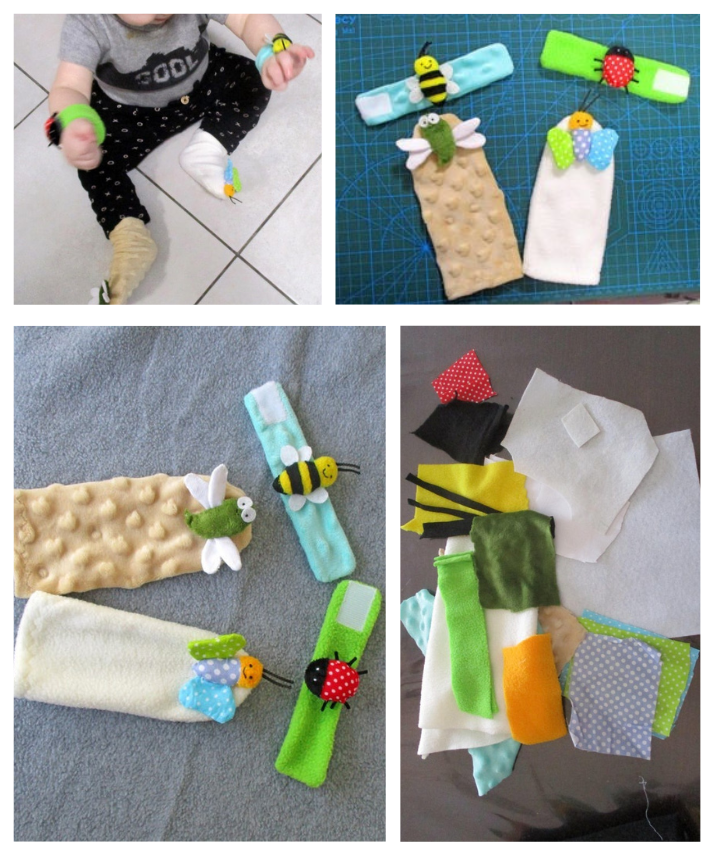
Is it a rattle? A bracelet? A sensory toy? Baby socks? Well, it’s all that and more! These are wearable toys designed to promote your baby’s reach-and-grab movements, helping to develop hand-eye coordination and fine motor skills. They’re perfect for when your little one starts to explore their hands and feet. Plus, they make a great baby shower gift!
Supplies Needed:
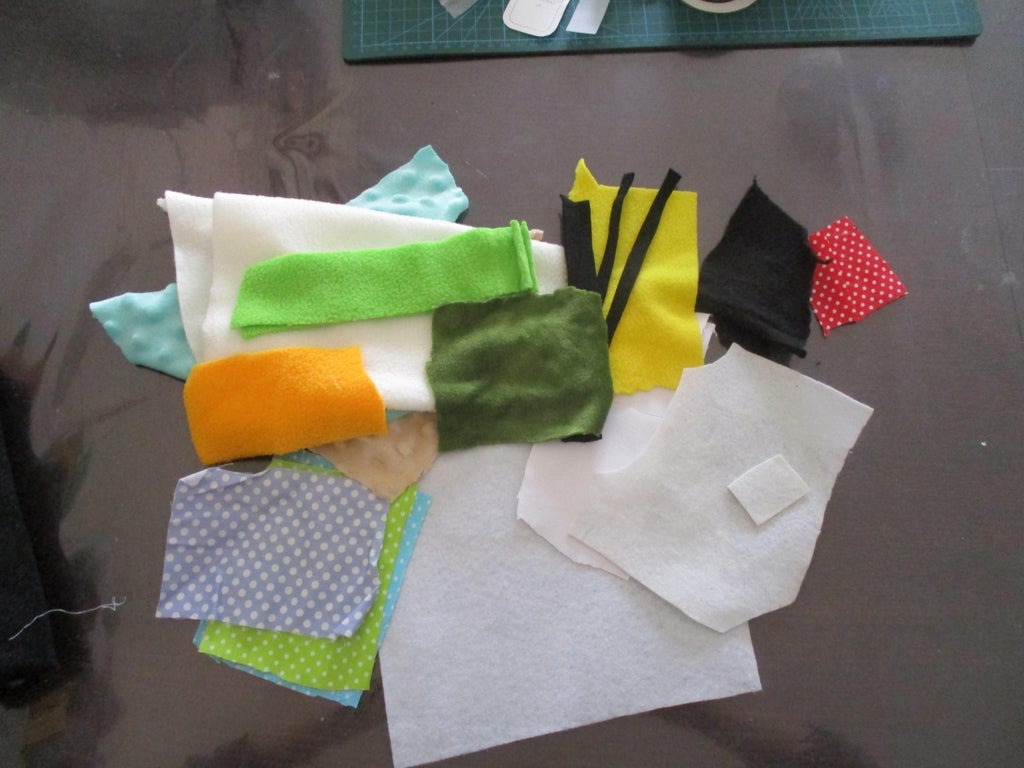
- Fabric scraps
- Rattles
- Satin cord
- “Velcro” strips (non-adhesive backing)
- Polyfill stuffing
- Crinkle material (you can recycle cereal/chips/cookies’ bags!)
- Sewing machine
- Basic sewing supplies (scissors, pins, needle, threads…)
- Hemostat (optional but highly recommended)
Step 1: Prepping
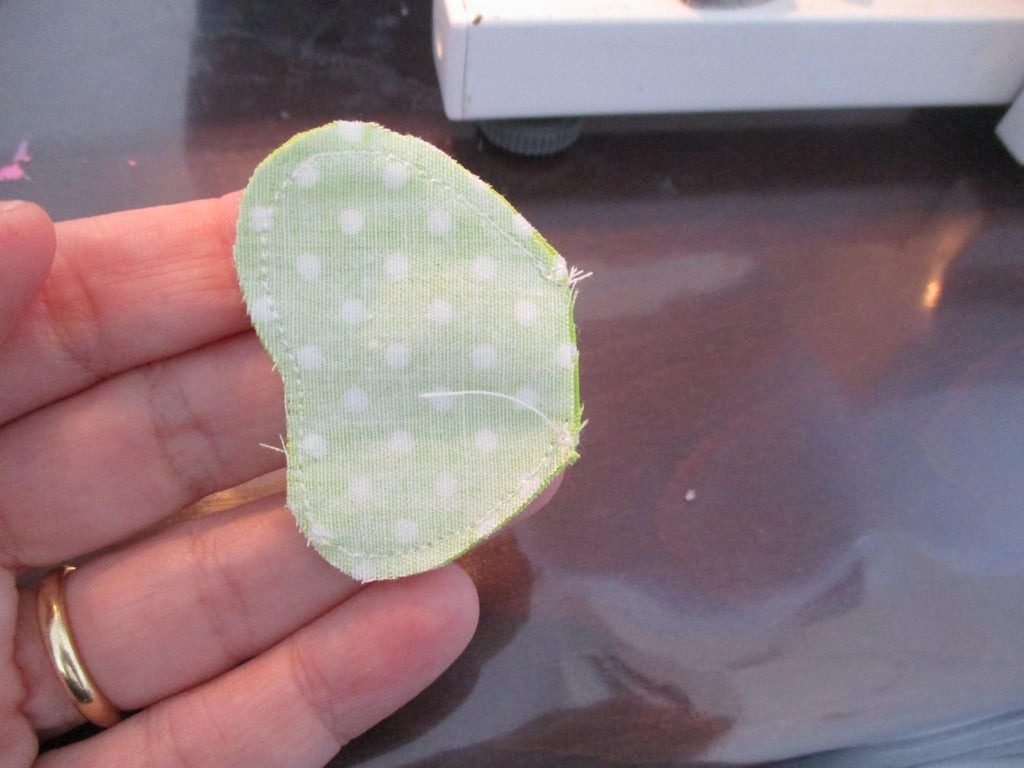
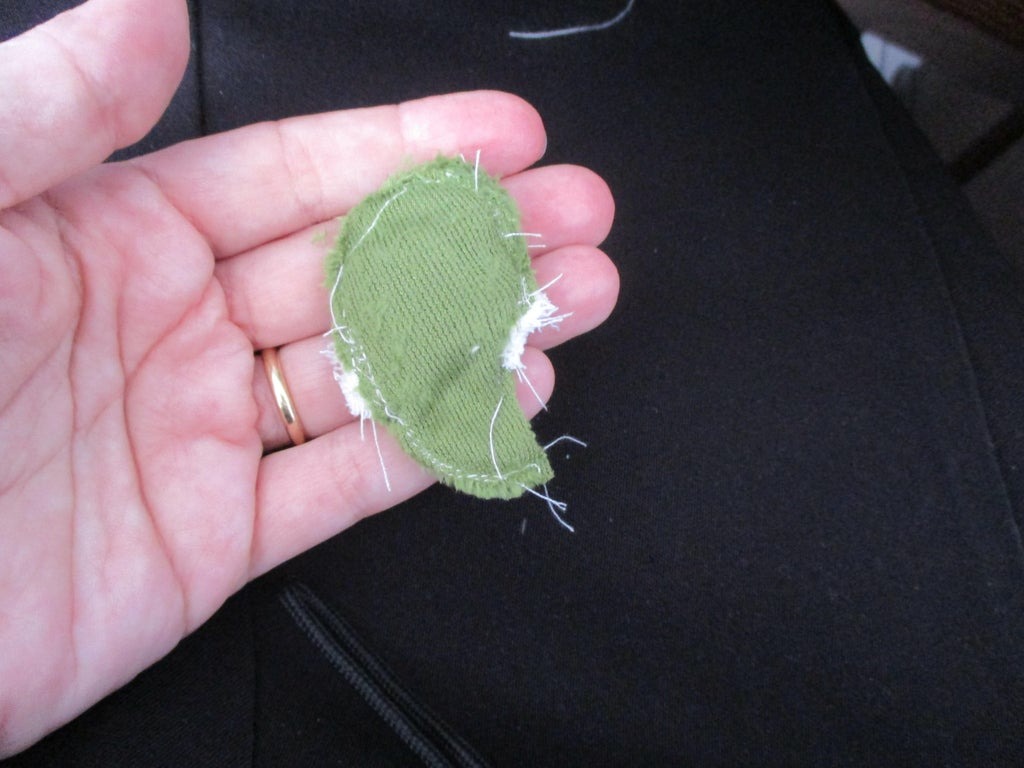
- Cut your fabric pieces according to the provided pattern.
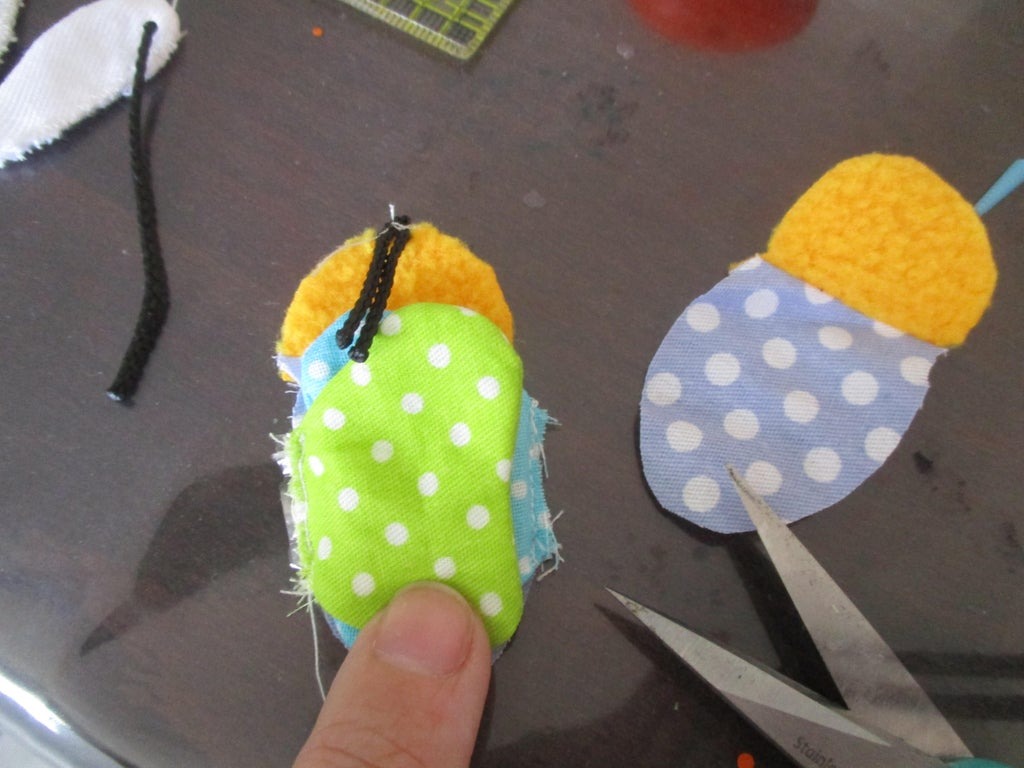
- For the ladybug and butterfly designs, sew two fabrics together before cutting the bodies.
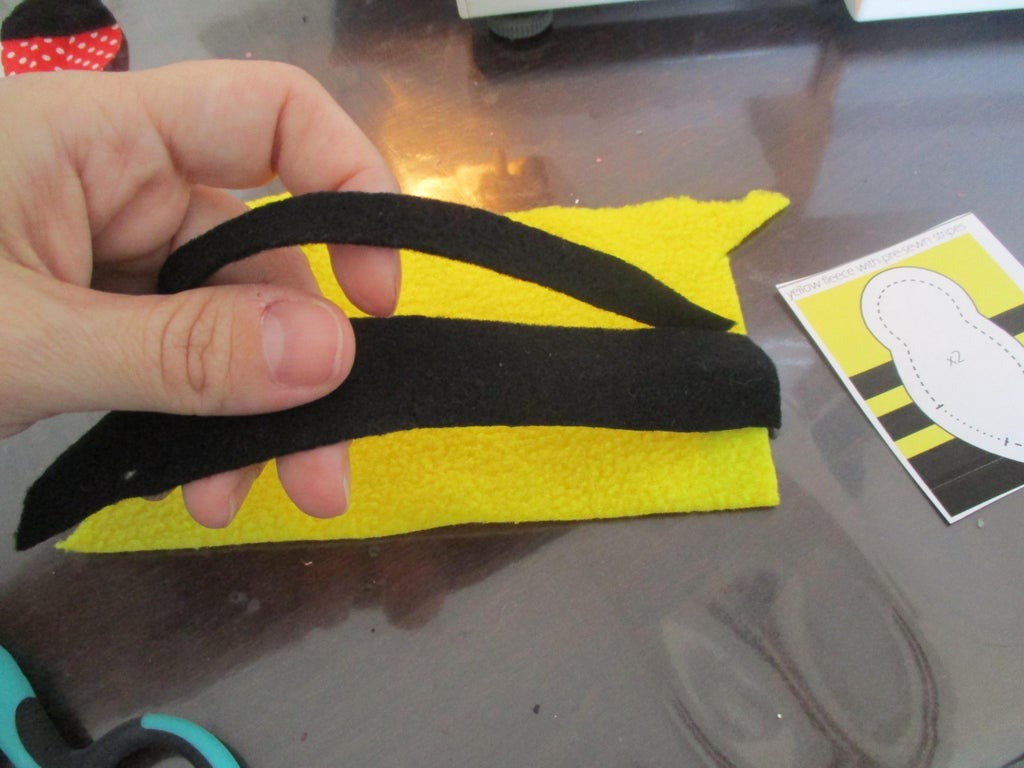
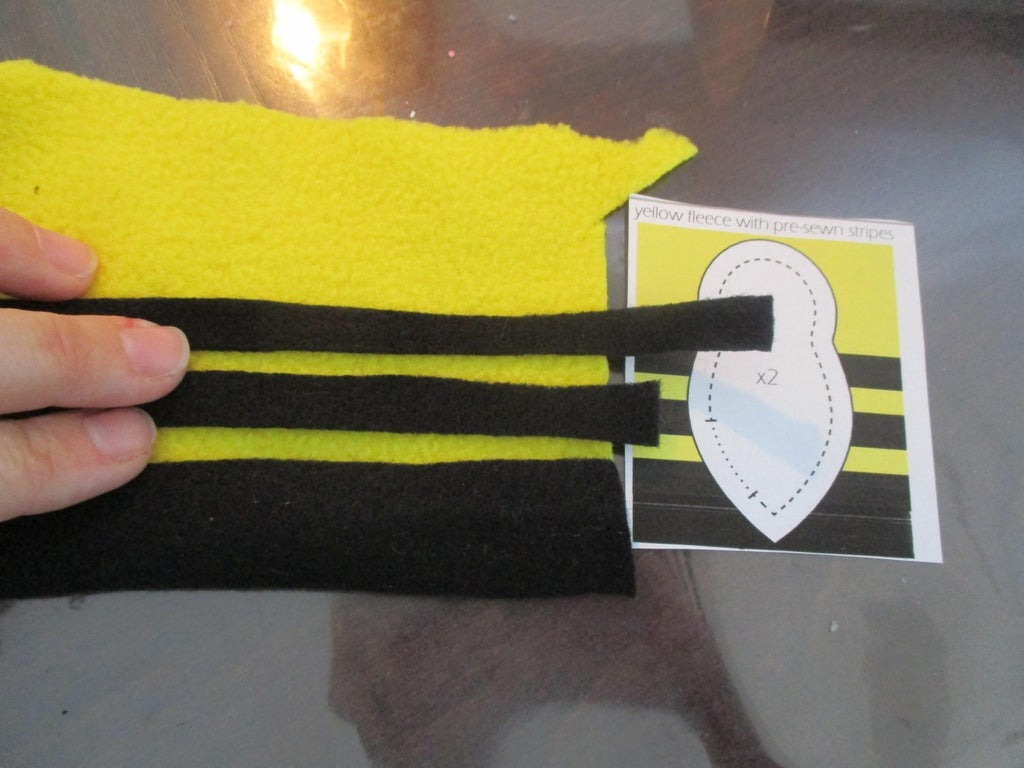
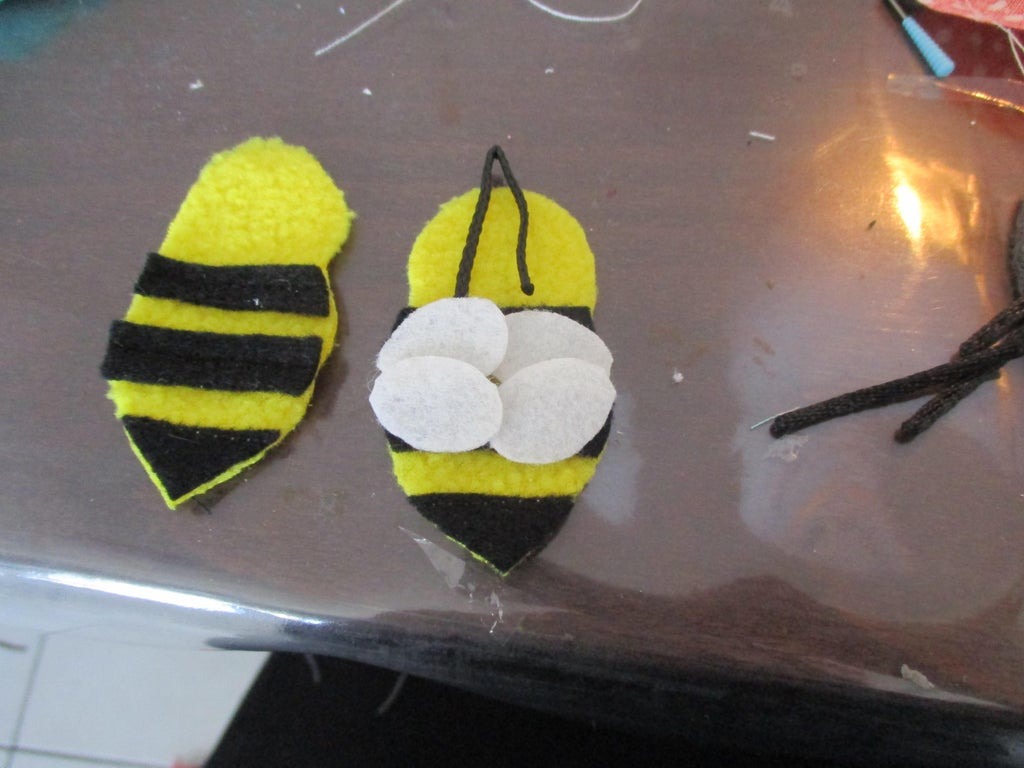
- For the bee design, sew three strips of black fleece on top of the yellow fabric before cutting.
Step 2: Crinkle Wings
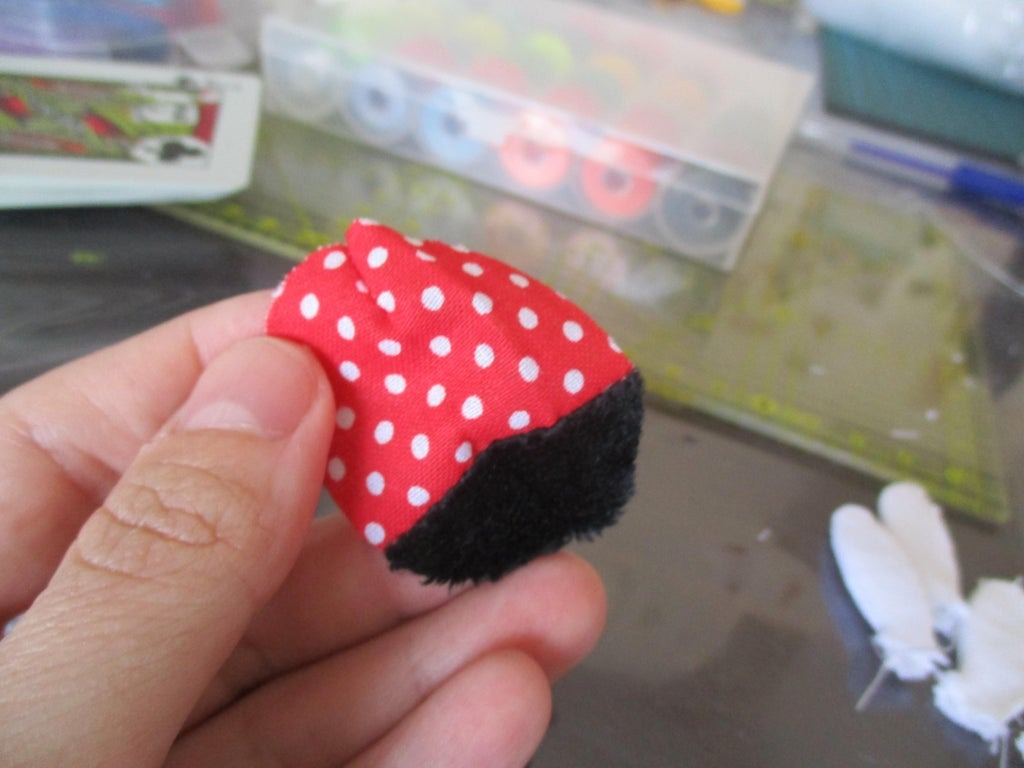
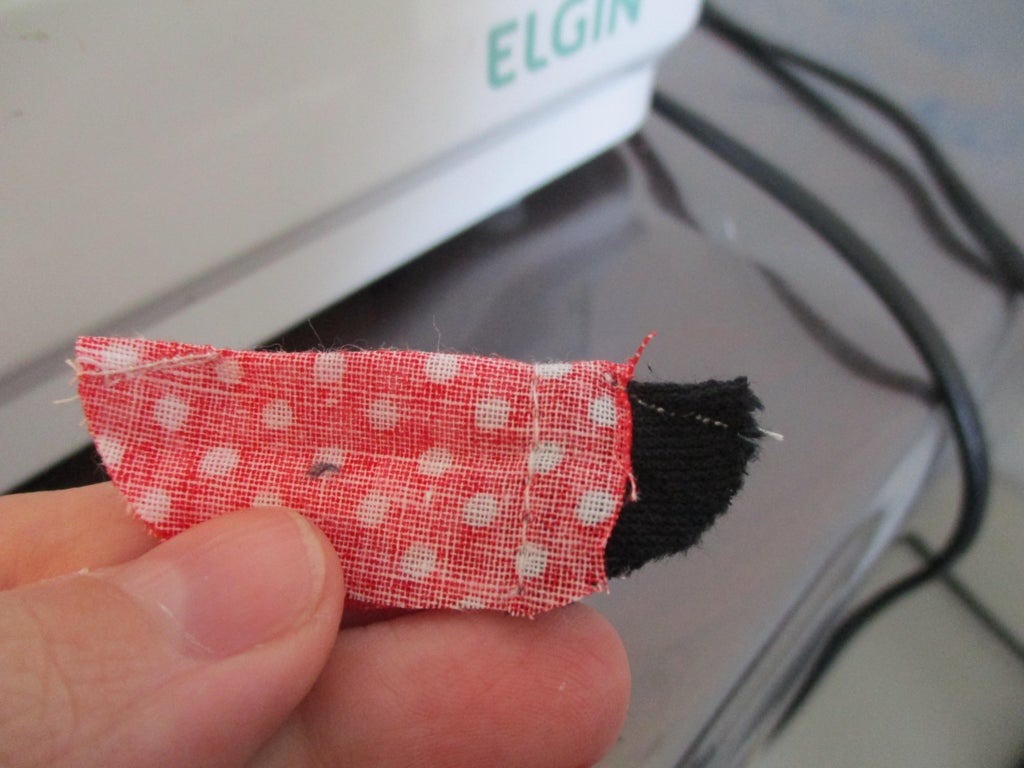
- Pair the fabric pieces for the wings, with right sides facing each other.
- Lay your crinkle material on top of the paired wings pieces.
- Sew along the dashed line and turn inside out.
Step 3: Dangling Parts
- Place the legs/wings/feelers on top of the front main piece of fabric.
- Turn them inwardly, to the opposite direction of how you want them to stick out, and stitch along the edge.
Step 4: Bodies
- Pair the bodies’ fabric pieces, with right sides facing each other.
- Sandwich the already fixed-in-place “limbs” between them and sew along the edge, leaving an opening to stuff them.
Step 5: Stuffing
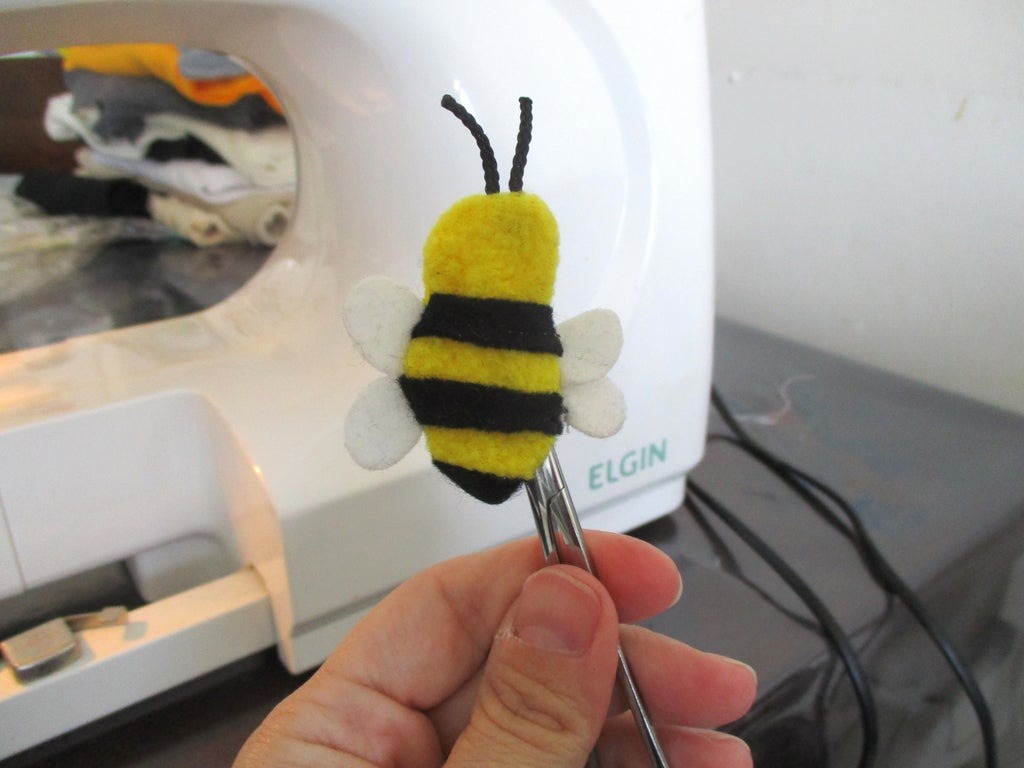
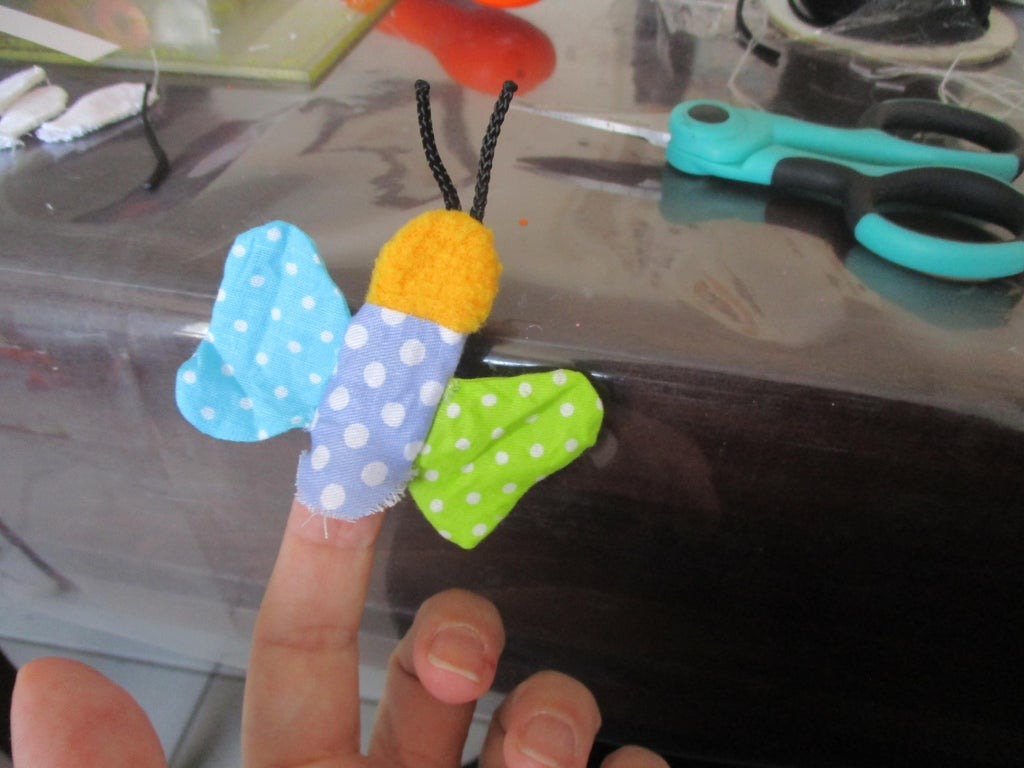
- Stuff the bodies with polyfill and insert the rattles.
- Close the opening with ladder stitch.
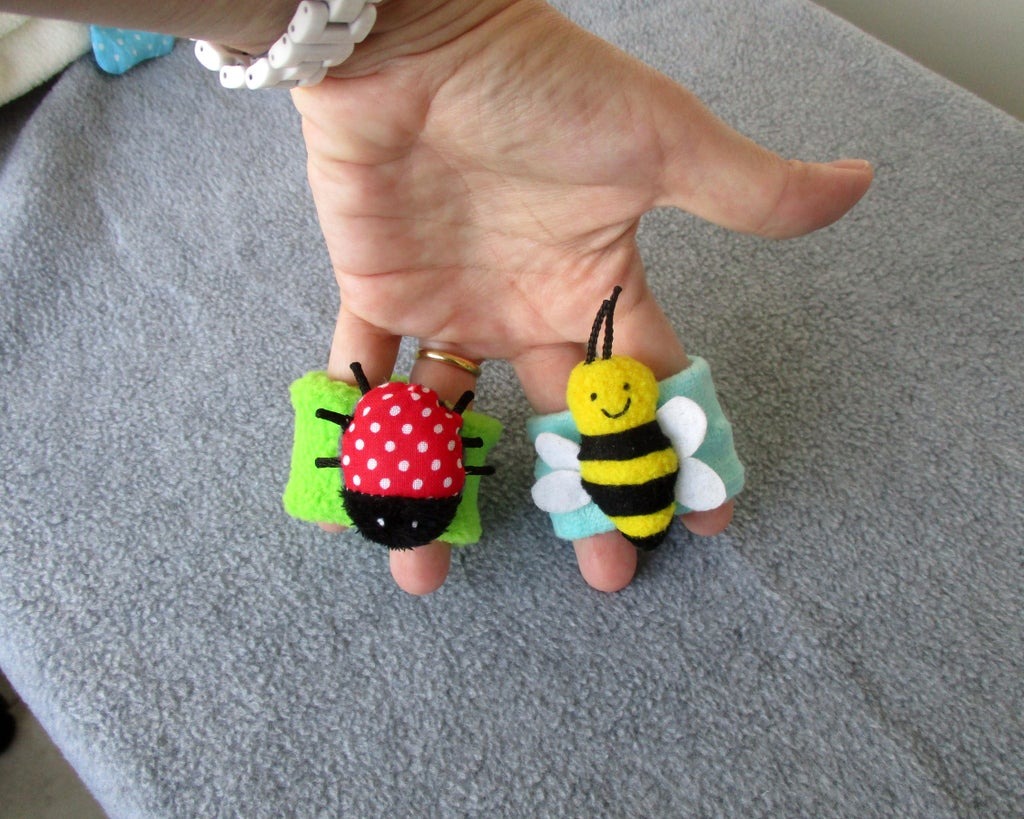
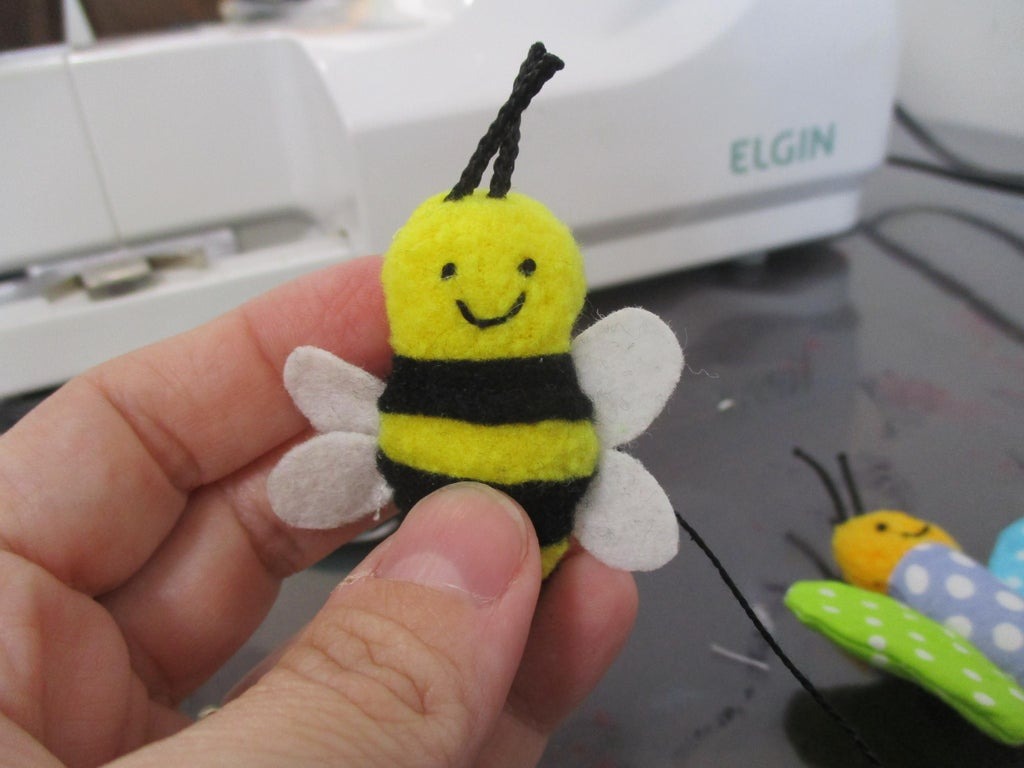
Step 6: Details
- Embroider eyes and smiles on each face using French knots and back stitch.
Step 7: Bracelets
- Sew the velcro hook and loop sides on each fabric strip.
- Pin the strips together with the hook and loops at opposite ends.
- Sew along the edge, leaving a small opening to turn it inside out.
- Close the opening with ladder stitch.
Step 8: Socks
- Hem the socks by folding 1cm inwards and sewing along the edge.
- Pin each pair, right sides facing, and sew them together.
Step 9: Affixing
- Firmly sew the toys onto the bracelets and socks using a double ladder stitch.
Step 10: Playtime
- Put them on your baby and watch them play and discover!
These wearable sensory toys are not only fun for babies but also aid in their development. Enjoy watching your little one explore and interact with these adorable creations!