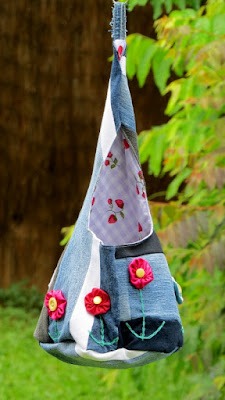
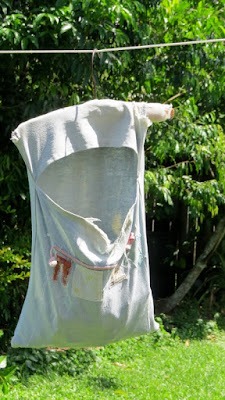
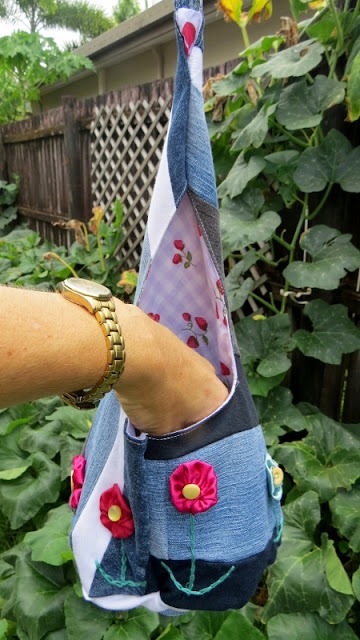
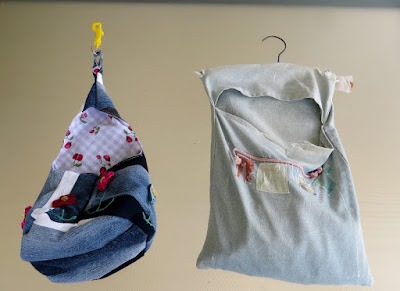
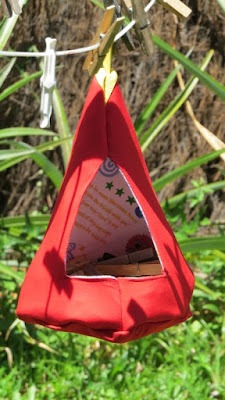
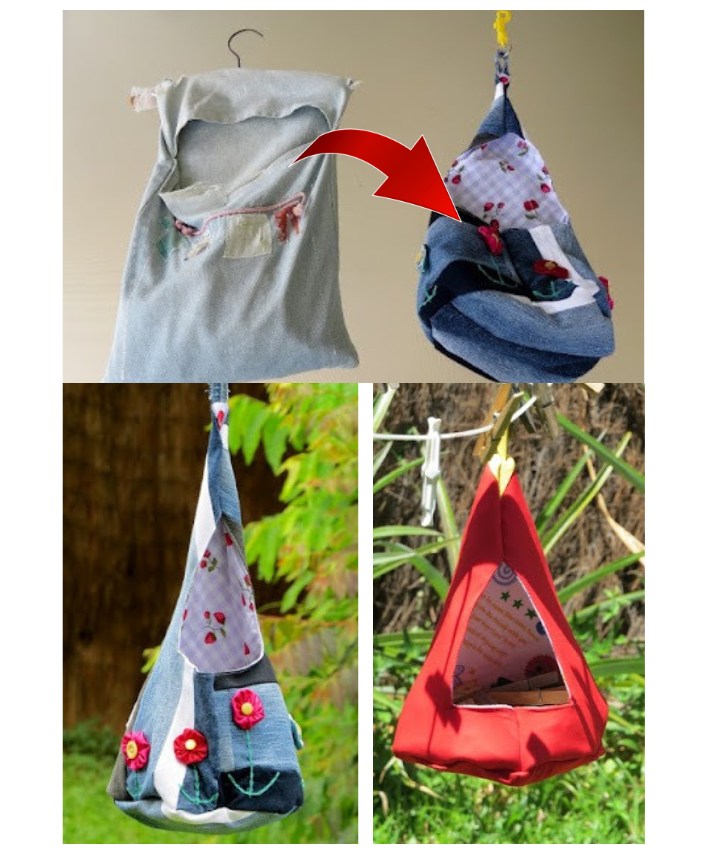
Introduction: For a while now, I’ve needed a new peg bag. My old one has served me well for three years, but it’s starting to show signs of wear and fading from being left out in the harsh Queensland sun. So, I decided it was time for a change and drew inspiration from some pictures I saw on Pinterest. After some puzzling, drawing, and tweaking of patterns, I finally came up with a design I was happy with. Here’s how you can make your own peg bag with a unique twist!
Step 1: Gather Your Materials
- Download and print the free PDF templates.
- Choose your inner and outer fabrics (approximately a fat quarter of each).
- Prepare a small scrap of fabric, cord, or a jeans seam strip for the hanger.
- Find a metal ring or clip for hanging.
Step 2: Cut and Prepare Your Fabrics
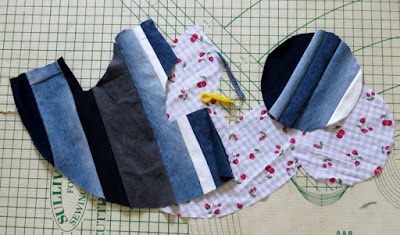
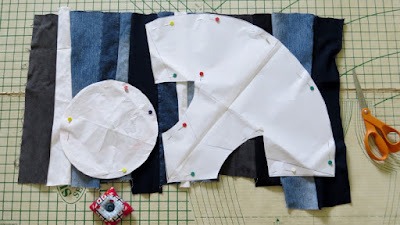
- Cut two pieces of each fabric from the templates provided in the PDF.
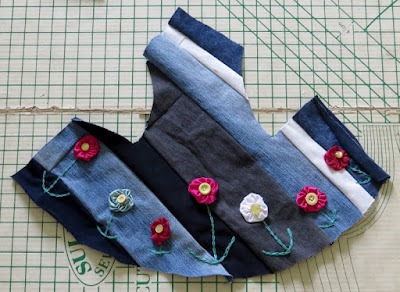
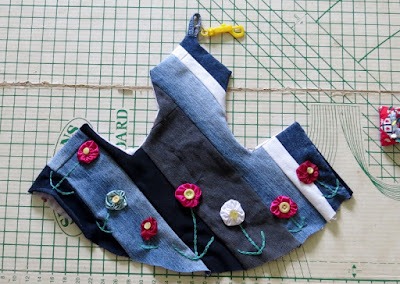
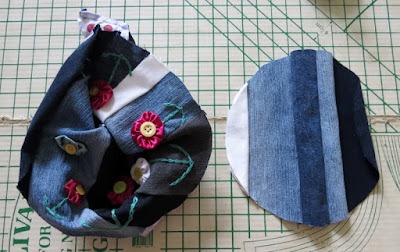
- If using denim for the outer fabric, cut strips from denim scraps and stitch them together to create a large enough piece for the templates.
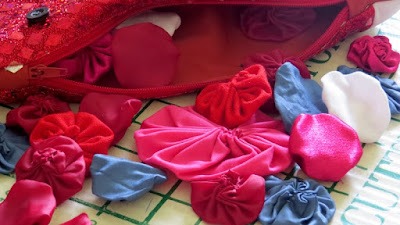
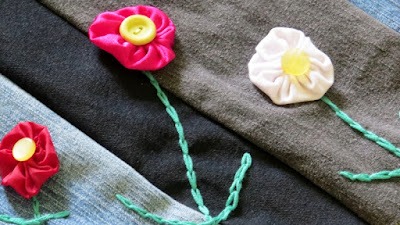
- Consider adding embellishments to the outer fabric, such as fabric yoyos or buttons, using embroidery thread for extra decoration.
Step 3: Assemble Your Peg Bag
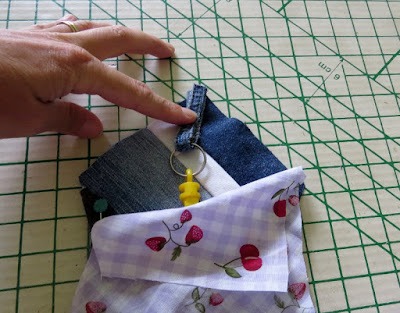
- Begin by attaching the hanging loop and clip or ring to the tip of the large outer fabric piece.
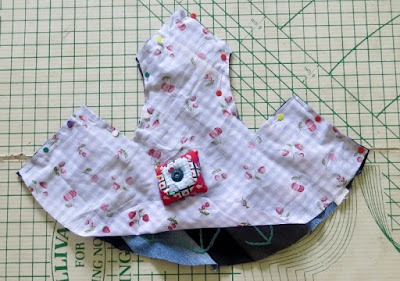
- Pin and stitch the two large fabric pieces together around all edges except the curved base.
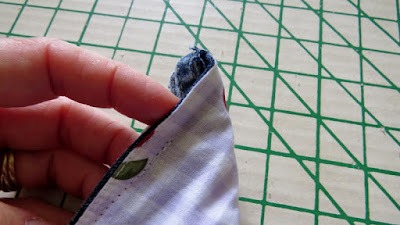
- Turn the fabric right side out and top stitch around all edges, leaving only the curved bottom edge open.
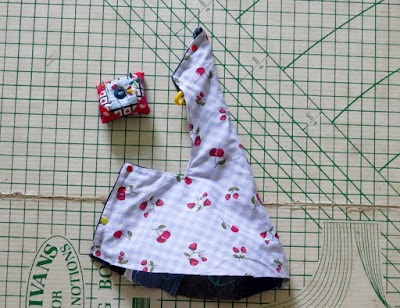
- Fold the piece in half with the outer fabric on the inside and stitch along the two straight edges.
Step 4: Attach the Base
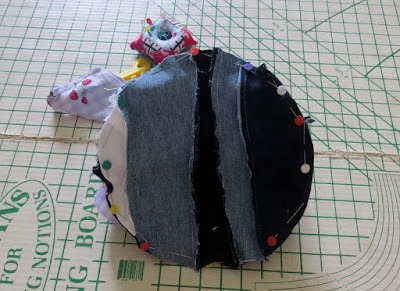
- Pin and stitch the outer fabric circle to the base edge of the bag.
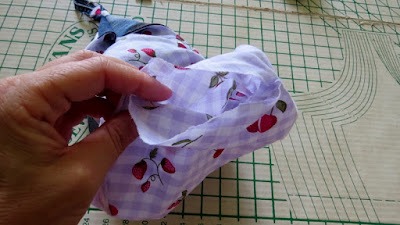
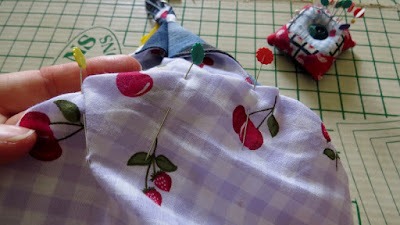
- Leave a small gap in the stitching of the inner fabric circle to allow for turning the bag right side out.
- Once both base circles are stitched on, turn the bag right side out through the gap in the inner fabric circle.
Step 5: Finish Off
- Close the gap in the inner fabric circle with a neat stitch either by hand or using a sewing machine.
- Push the lining back inside the bag, and your new peg bag is complete!
Conclusion: I’m thrilled with how my new Flowers on Denim Peg Bag turned out. It’s a refreshing change from my old one, and I’m excited to fill it with pegs and hang out some washing. While I initially considered adding stiff interfacing to help the bag hold its shape, I ultimately opted for a softer feel. However, you can easily incorporate interfacing if you prefer a more structured look. Overall, this project was a fun and rewarding way to breathe new life into my laundry routine. Give it a try and see how you can personalize your own peg bag!
