Introduction: Hey everyone, it’s Andrea Vergara from Nocturno Design Blog! Today, I’m thrilled to share with you a fun and creative project: making a patchwork denim jacket from recycled jeans. This DIY project not only breathes new life into old, worn-out denim but also allows you to create a completely unique garment using the patchwork technique. So, let’s dive in and turn those old jeans into a stylish jacket!
Step 1: Gather Your Materials First things first, gather all the materials you’ll need for this project:
- Recycled jeans (preferably different shades)
- Jacket pattern (available for free on my blog)
- Fabric scissors
- Sewing machine
- Thread
- Pins
- Iron
- Chalk or fabric marker
- Lining fabric (optional)
- Buttons
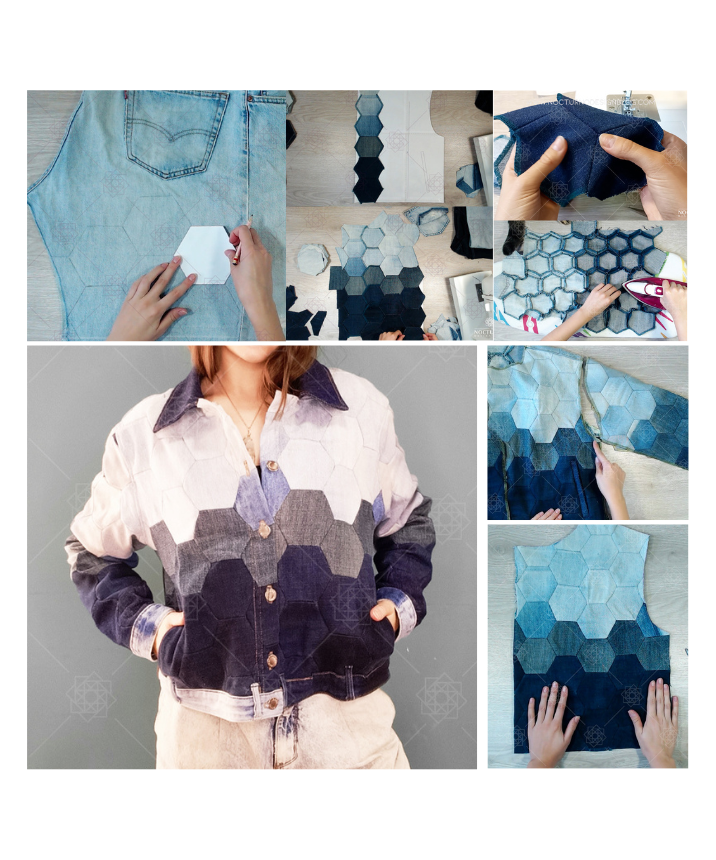
Step 2: Prepare the Hexagons Using a hexagon template, trace and cut out hexagons from the denim fabric. You can use different shades and textures of denim for a varied look. Cut enough hexagons to cover the front, back, and sleeves of the jacket.
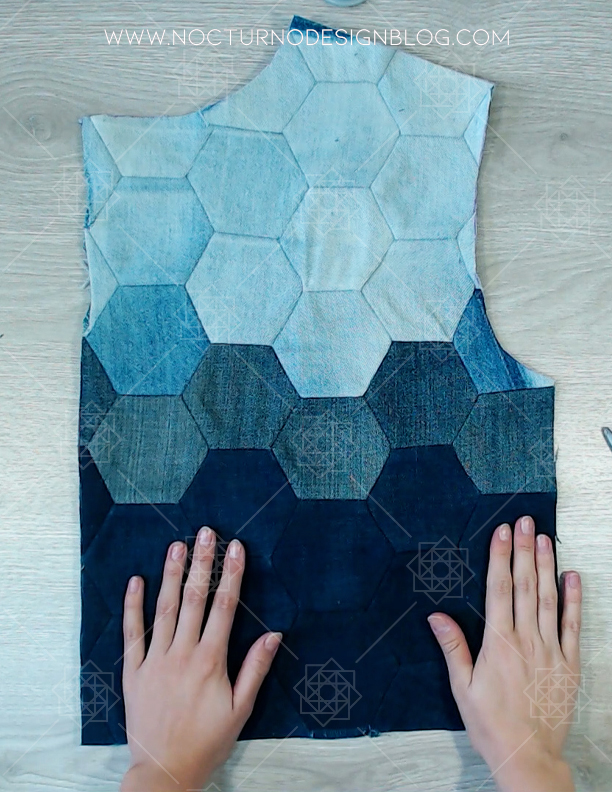
Step 3: Arrange the Hexagons Lay out the hexagons on the jacket pattern to plan the color combination and design. Aim for a faded effect from top to bottom or get creative with your arrangement.
Step 4: Sew the Hexagons Start sewing the hexagons together, one row at a time, using a straight stitch and a 1cm seam allowance. Press the seams open with an iron for a neat finish.
Step 5: Complete the Front, Back, and Sleeves Continue sewing the hexagons until the front, back, and sleeves of the jacket are fully covered. Trim any excess fabric and press the seams open.
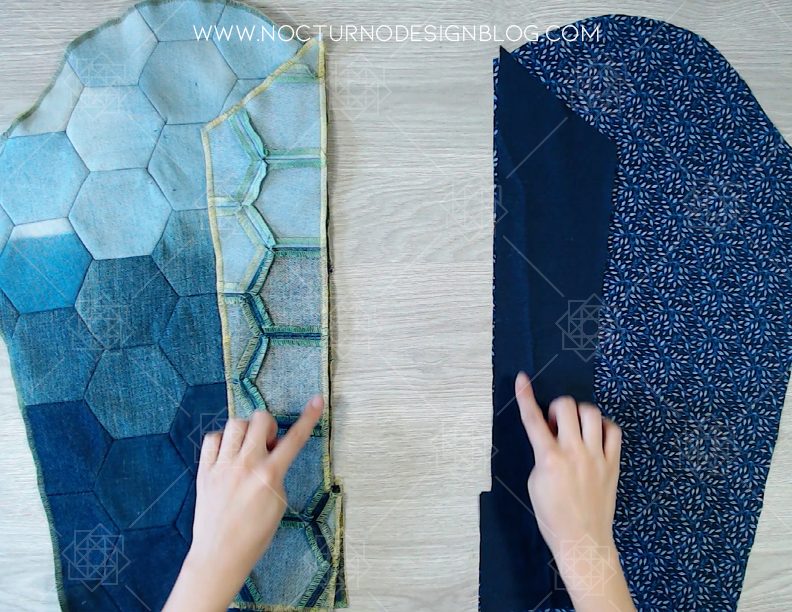
Step 6: Add Pockets and Lining (Optional) If desired, add welt pockets to the front of the jacket following a separate tutorial. Consider lining the jacket for added comfort and durability.
Step 7: Assemble the Jacket Join the front and back pieces of the jacket together at the shoulders and sides, then attach the sleeves. Ensure the lining is attached securely and aligns with the outer fabric.
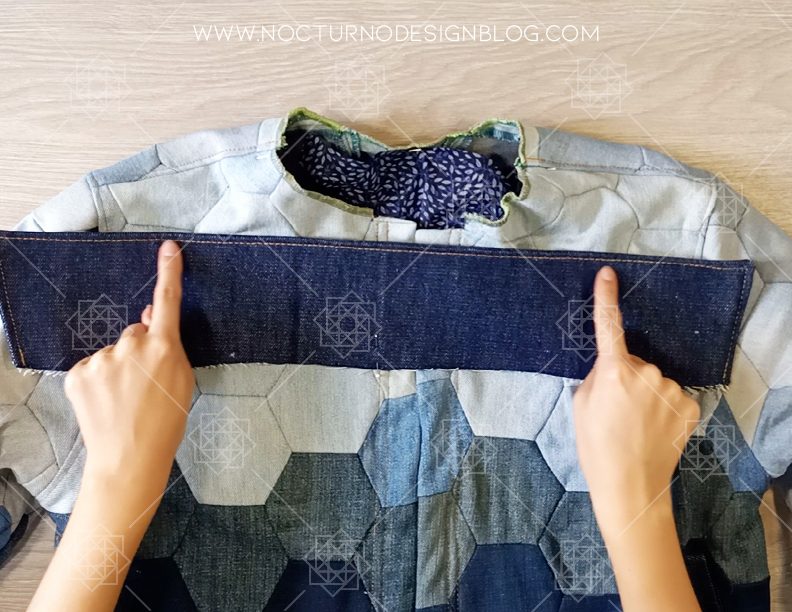
Step 8: Finish the Details Attach the collar and waistband to the jacket, ensuring the lining is enclosed. Topstitch or embellish as desired for added style.
Step 9: Sew Buttonholes and Attach Buttons Using the jacket pattern as a guide, mark and sew buttonholes on the jacket knob. Attach buttons using a sewing machine or by hand.
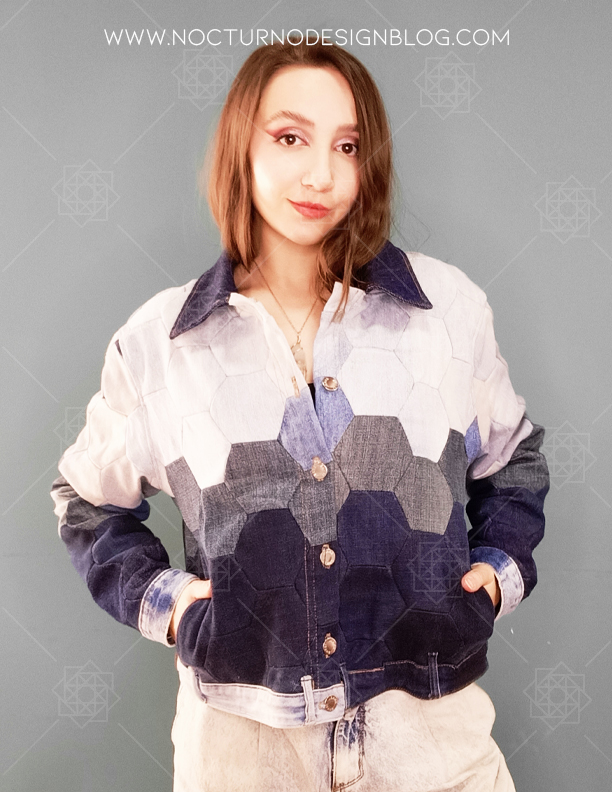
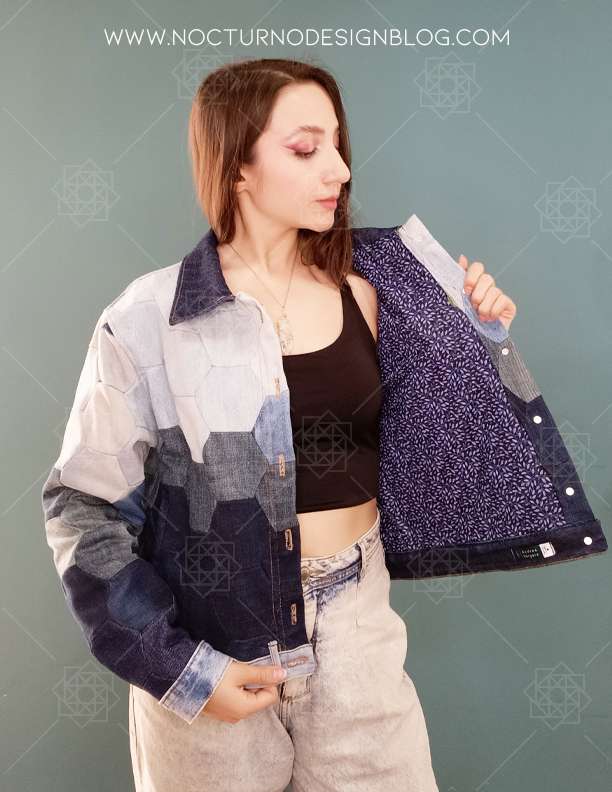
Step 10: Final Touches Give the jacket a final press with an iron to smooth out any wrinkles and ensure a polished look. Try on your new patchwork denim jacket and admire your handiwork!
Conclusion: And there you have it, your very own patchwork denim jacket made from recycled jeans! This project not only allows you to express your creativity but also promotes sustainable fashion by upcycling old garments. I hope you enjoyed following along with this tutorial. Don’t forget to share your creations with me in the comments below. Stay tuned for more sewing and design videos coming your way soon!
Happy sewing!