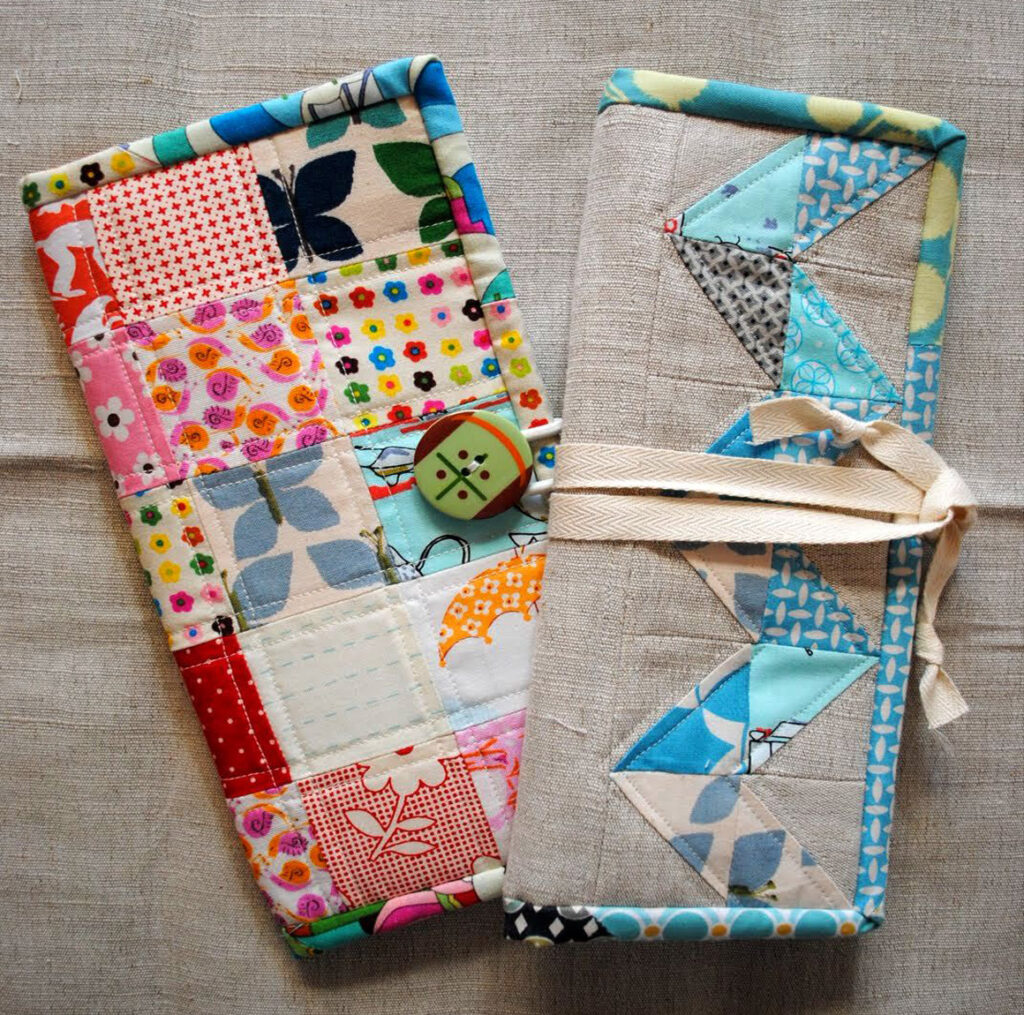
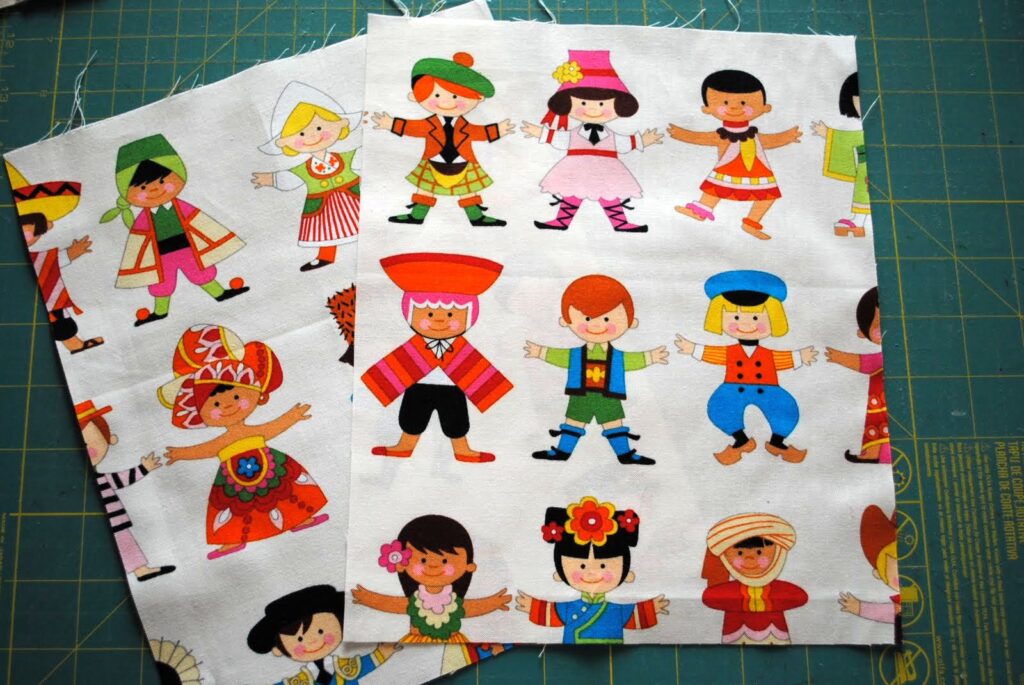
Here’s the tutorial for making a passport organizer. You can use your fabric scraps for this project, just like I did!
Materials/Supplies:
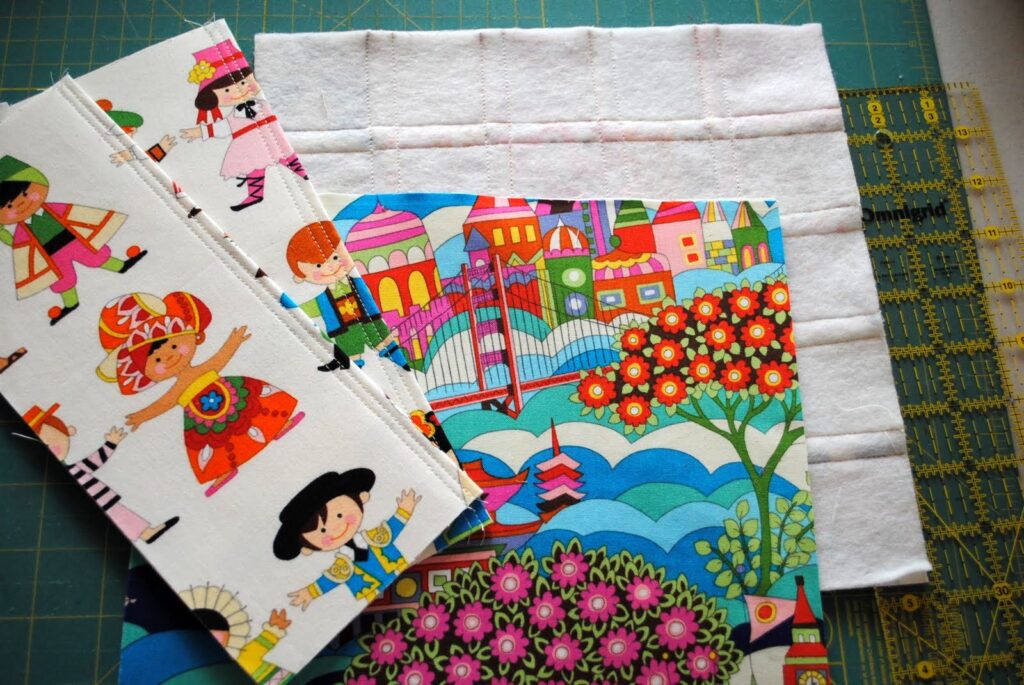
- 25 pieces of 2.5″x2.5″ fabric for the outer piece
- 1 piece of 10.25″x10.25″ fabric for the inner piece
- 2 pieces of 8.5″x10.25″ fabric for the large pockets
- 1 piece of 4.5″x12″ fabric for the folded card pocket
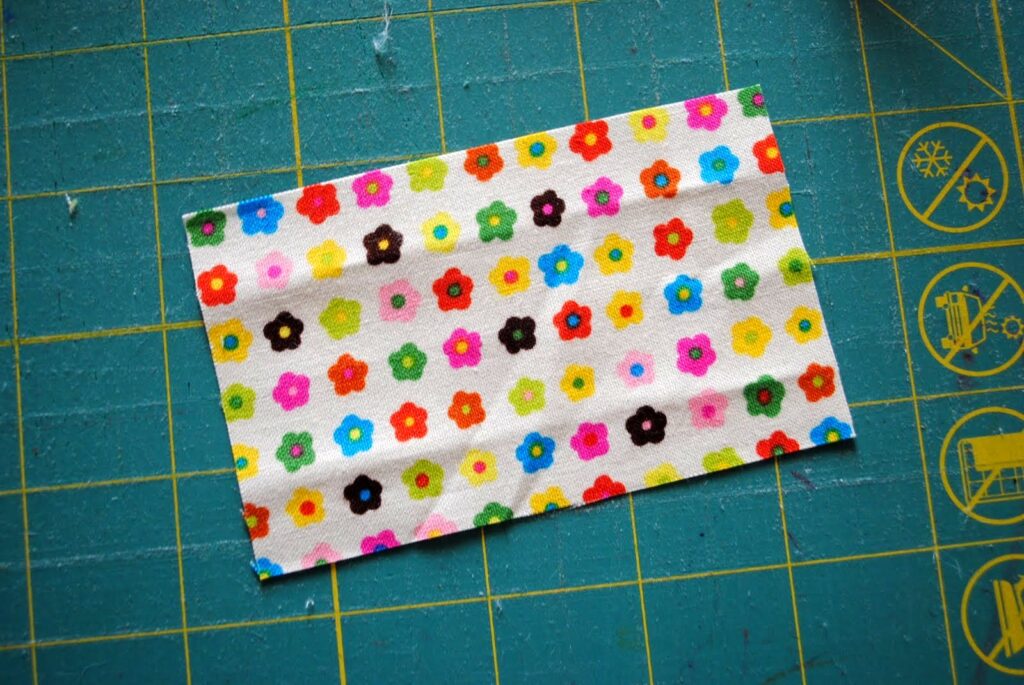
- 1 piece of 2.5″x4″ fabric for the pen holder
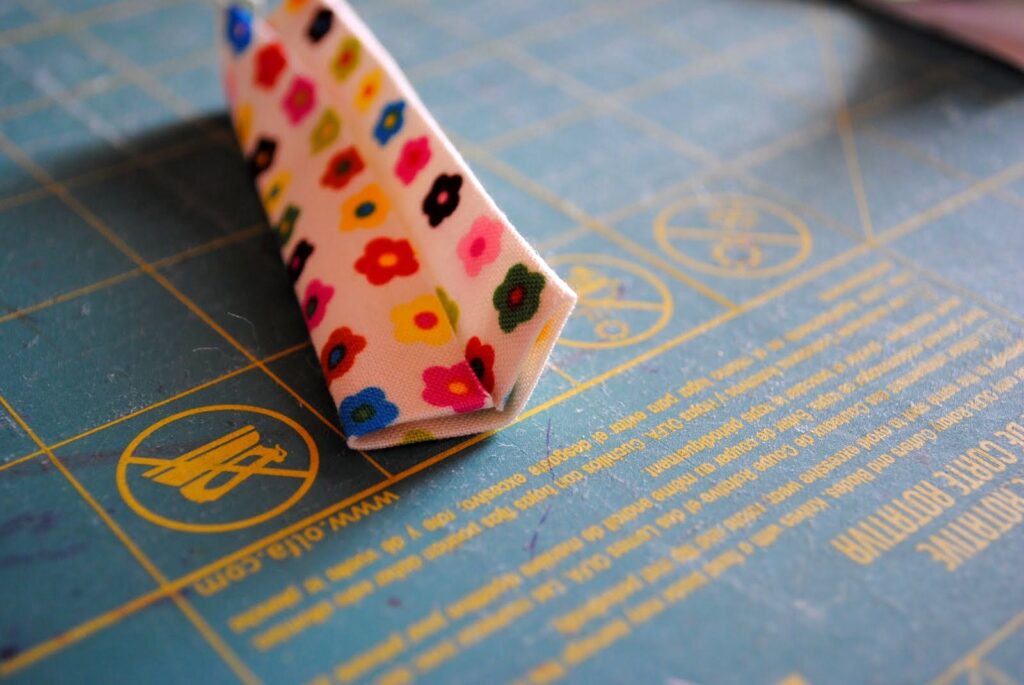
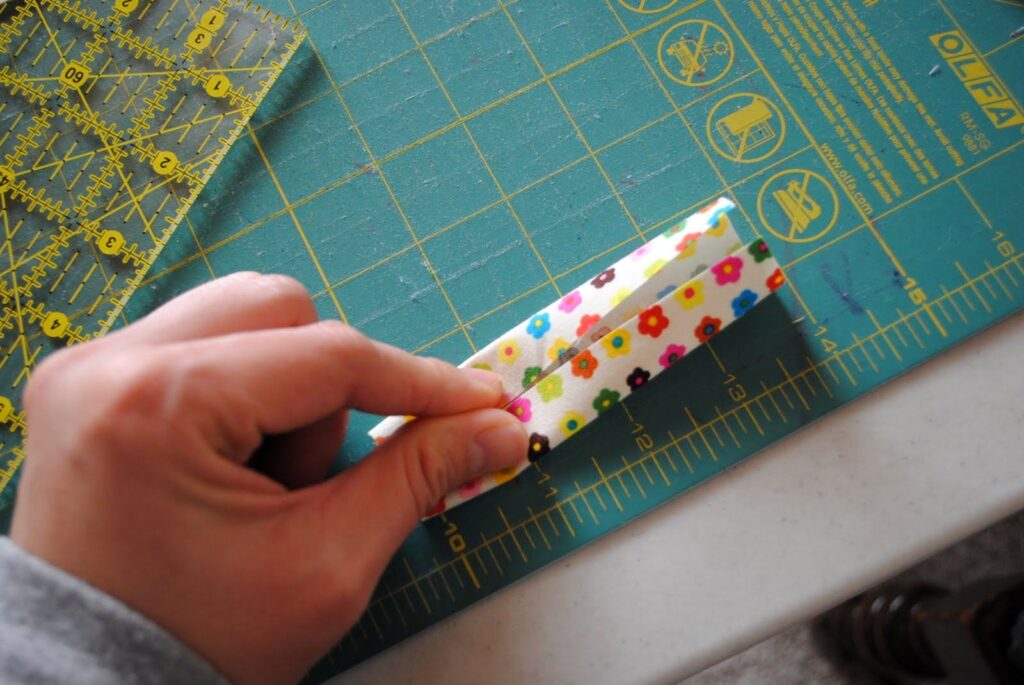
- Fabric for binding (cut 2.5″ wide)
- Button
- Elastic
- Thread
- Sewing machine
Fusible Craft Interfacing:
- 2 pieces of 10.25″x10.25″ for the outer piece/inner piece
- 2 pieces of 10.25″x8.5″ for the large pockets
- 1 piece of 12″x4.25″ for the folded card pocket
Instructions:
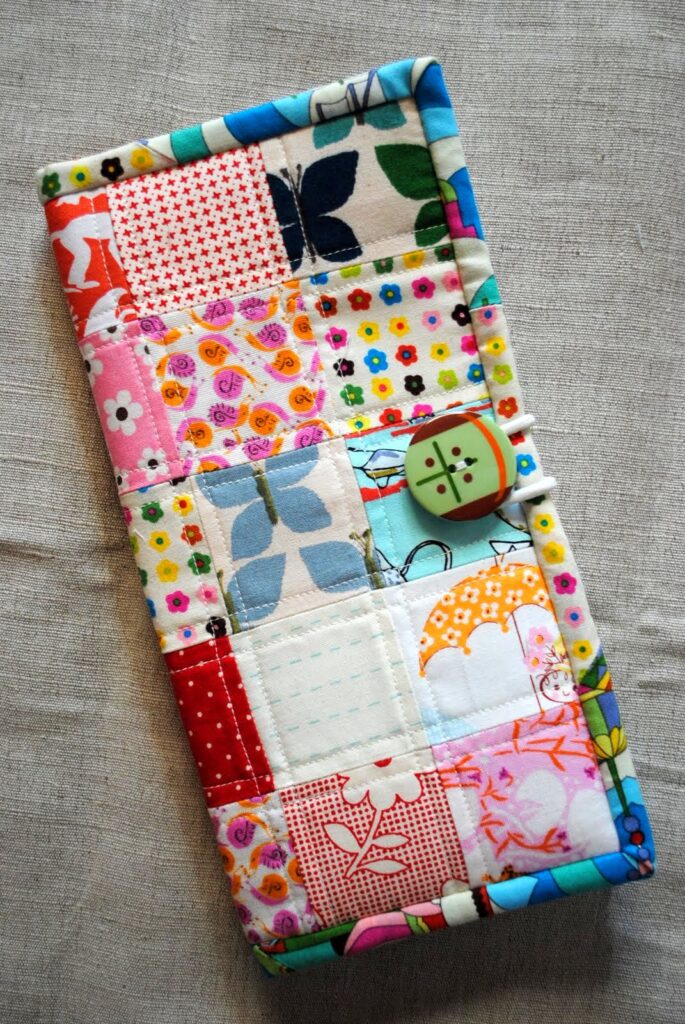
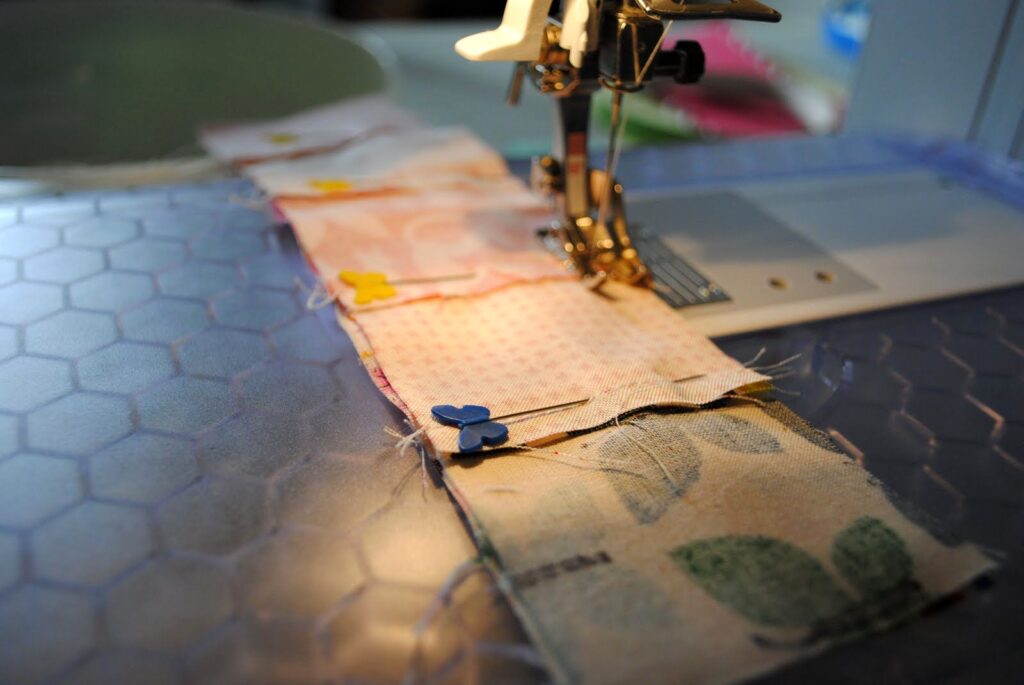
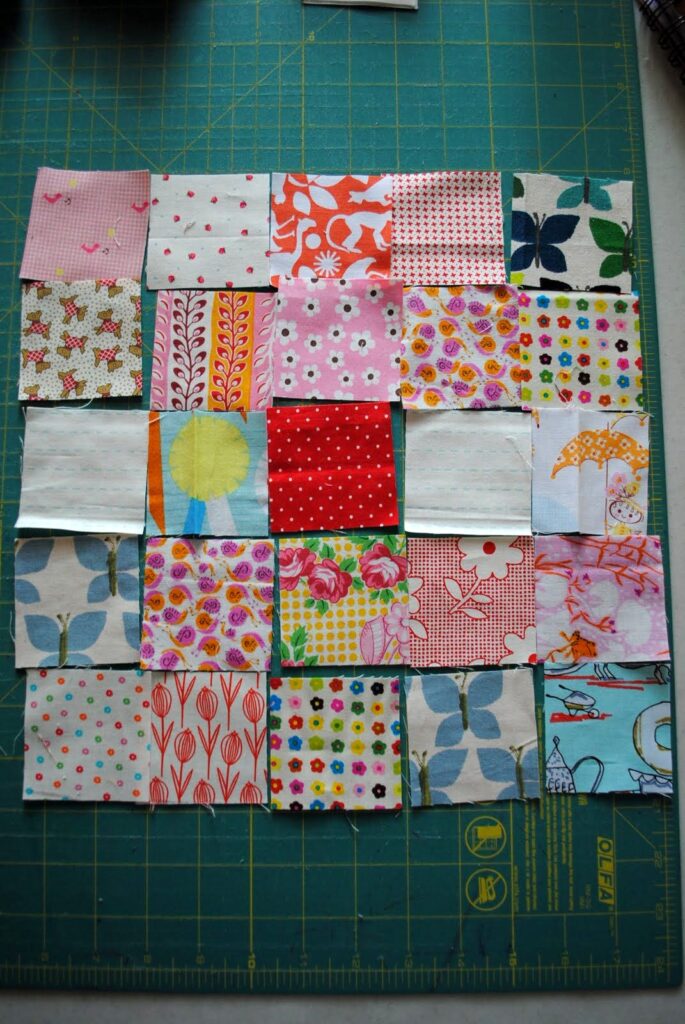
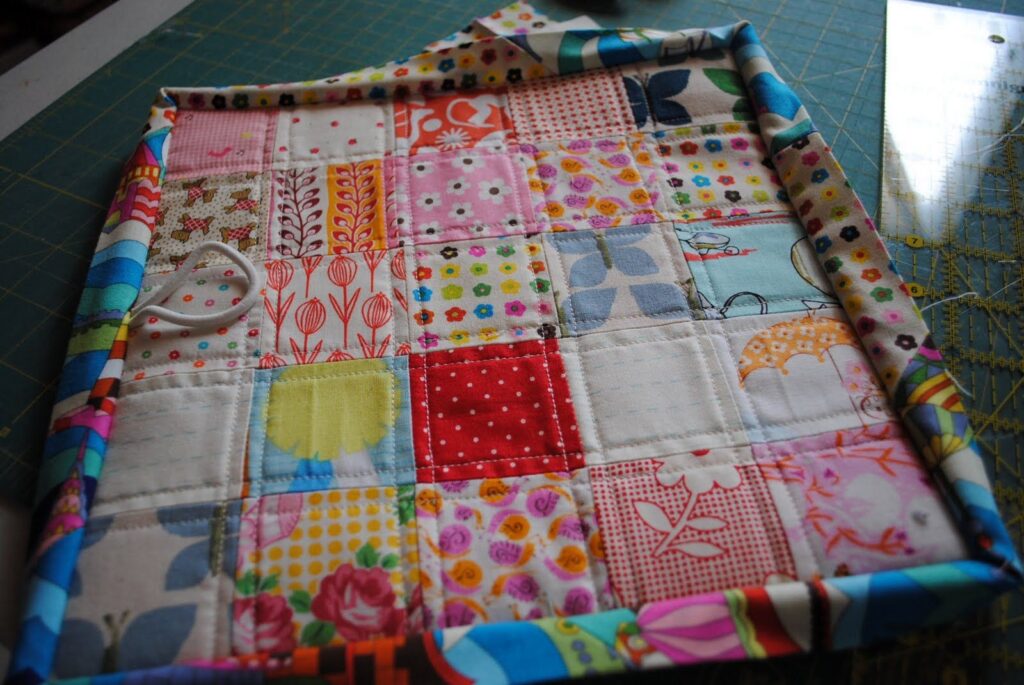
- Layout the 25 pieces of 2.5″x2.5″ fabric and arrange them as desired.
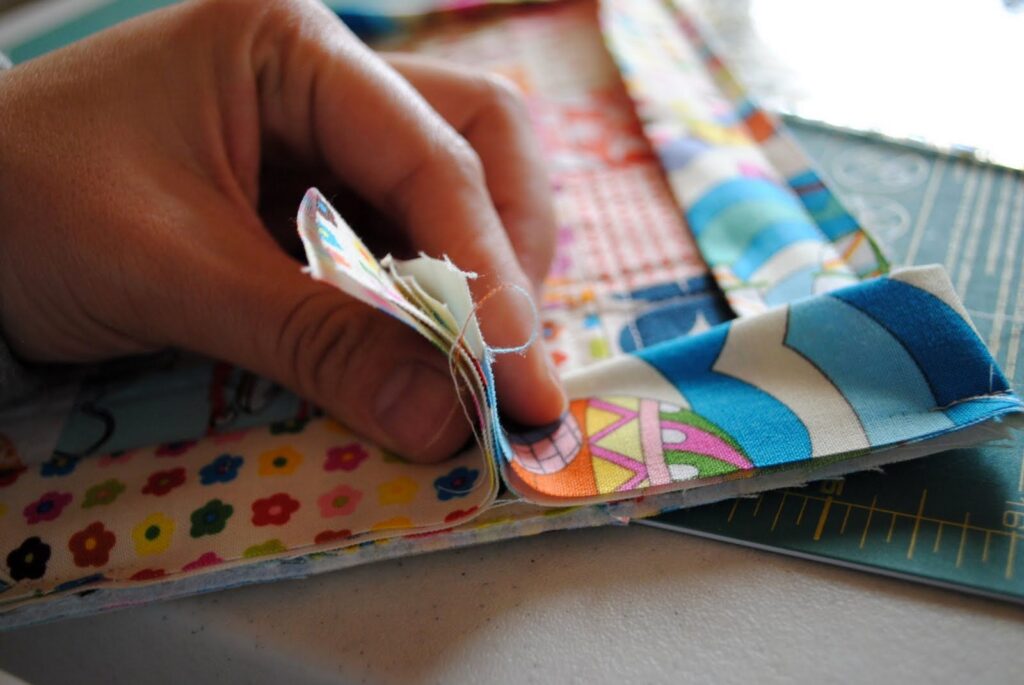
- Sew the pieces together using a 1/4″ seam allowance.
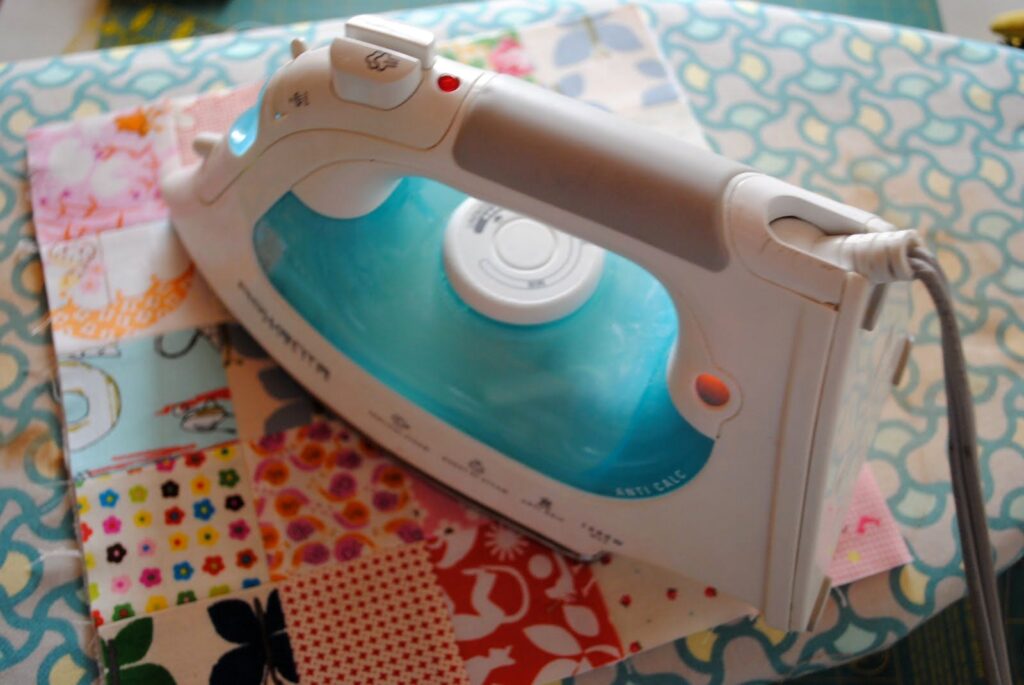
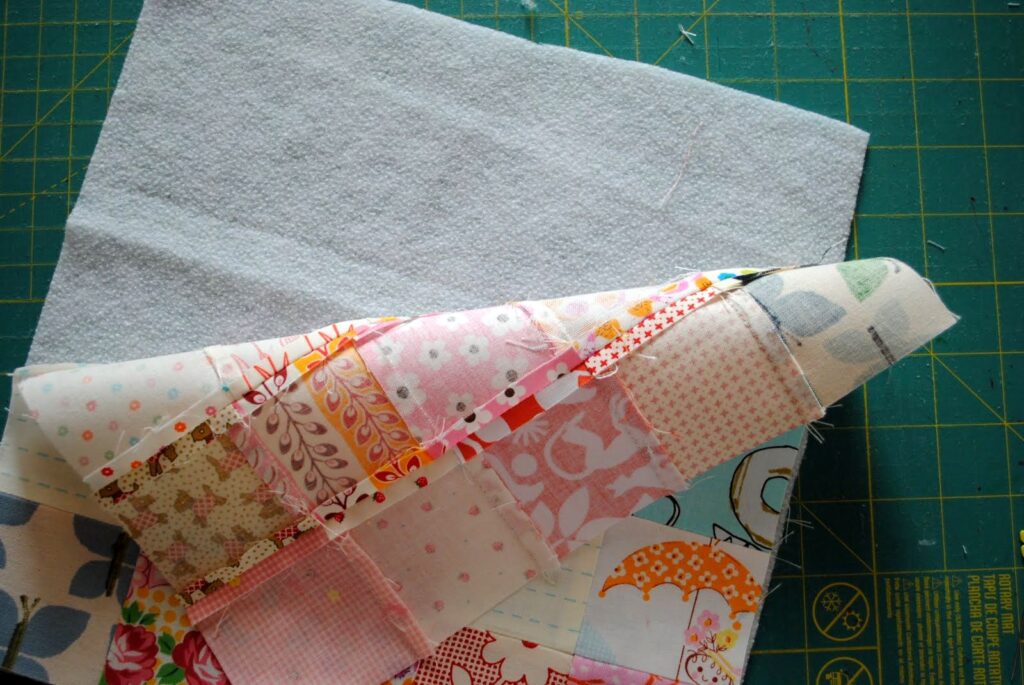
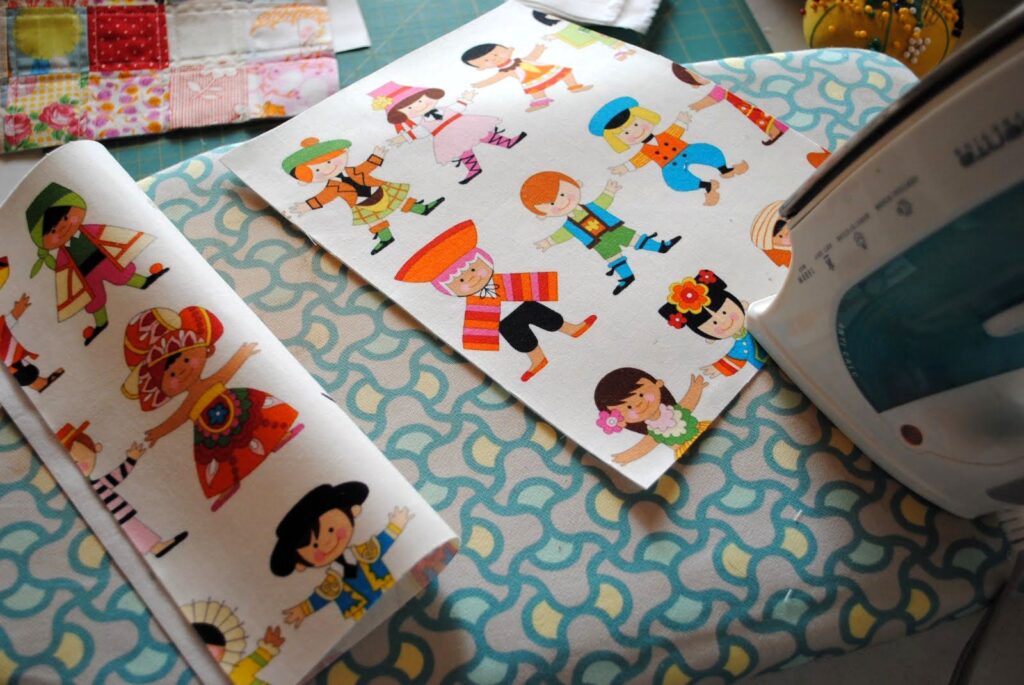
- Press the back seams well to ensure there are no unpressed areas.
- Iron the top piece onto a fusible batting. It’s recommended to use heavy-weight fusible batting for this.
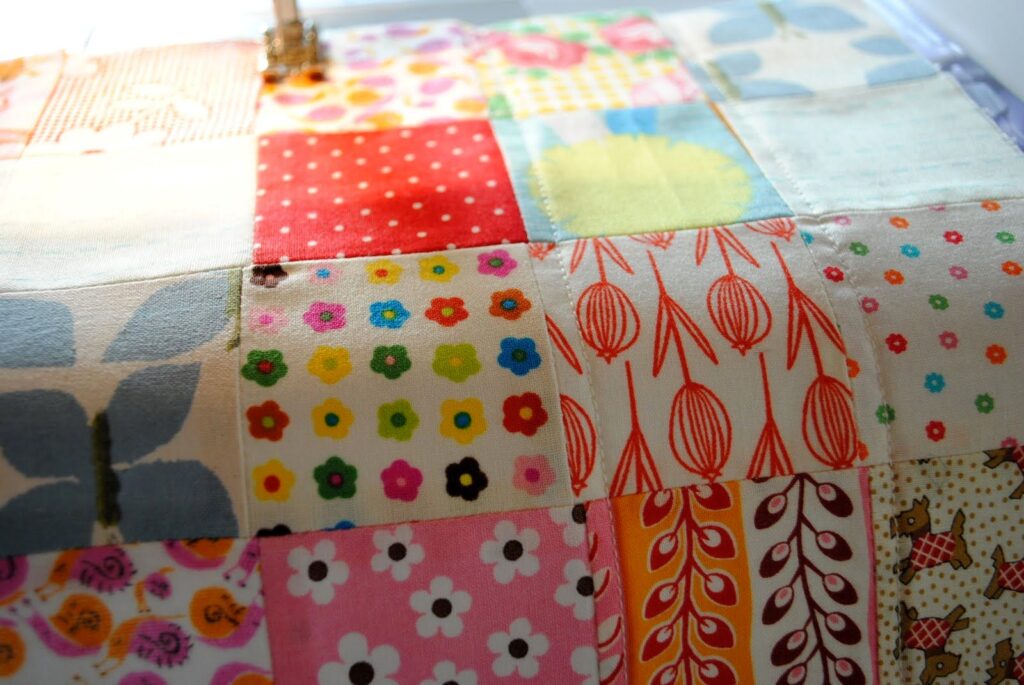
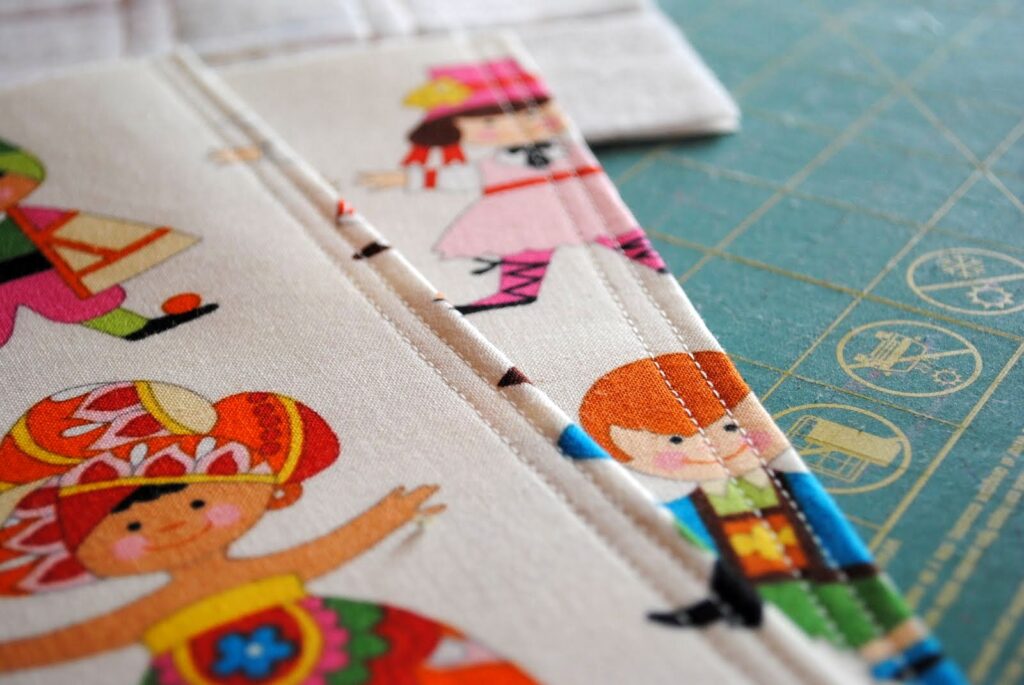
- Machine quilt the top piece. I used 1/4″ straight stitches for quilting, but feel free to use any stitch you like.
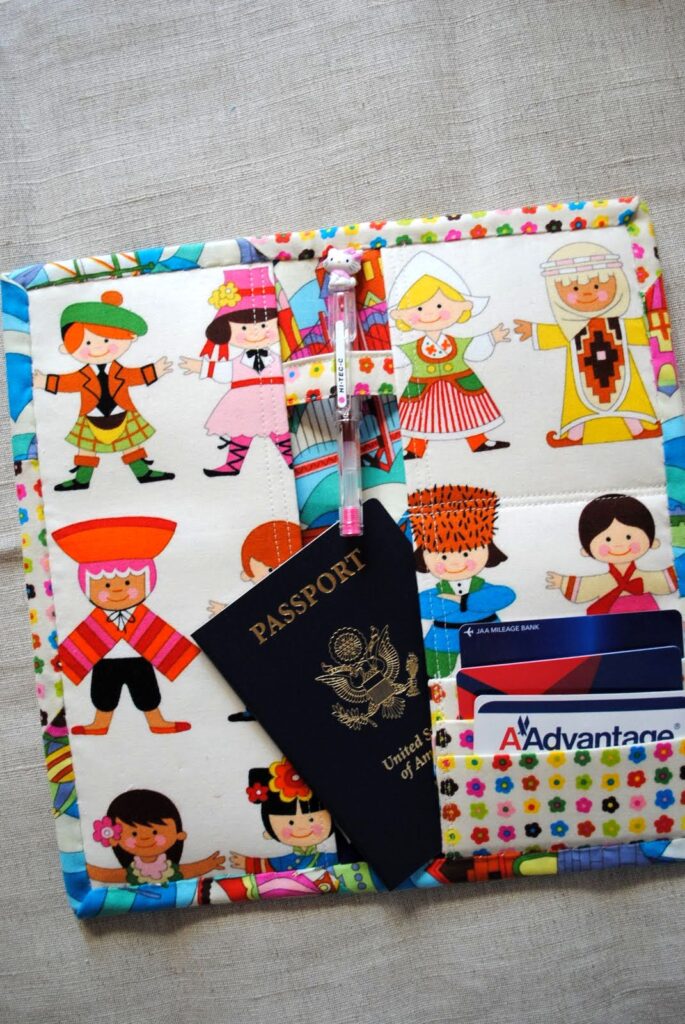
- Fold and press the two inner pocket pieces in half, then topstitch them.
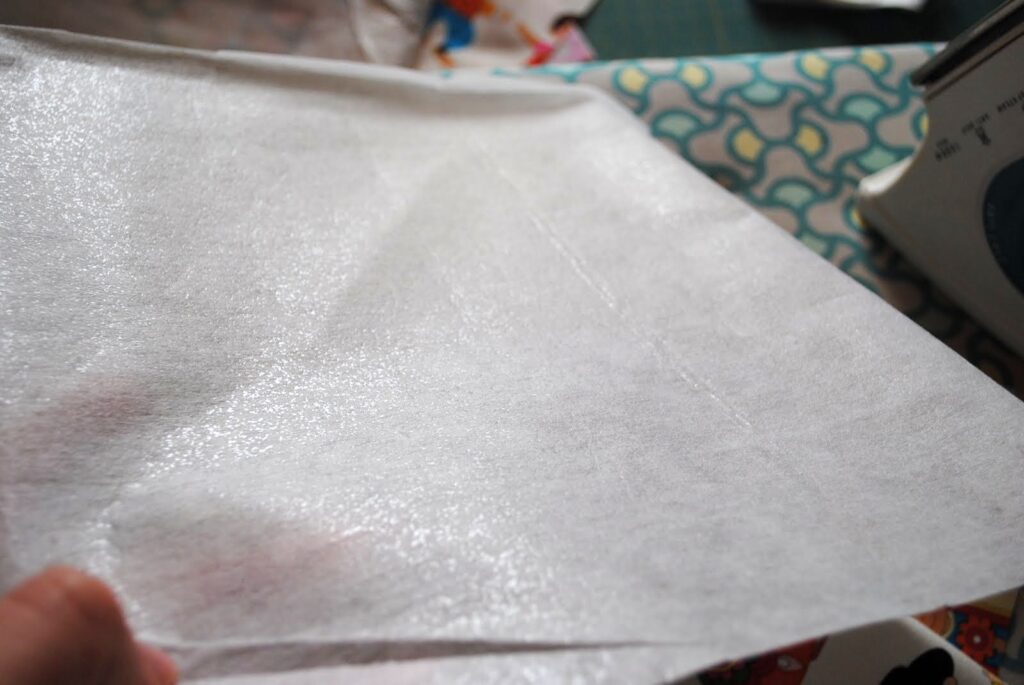
- Iron fusible interfacing onto the two inner pocket pieces, then trim them down to size.
- Iron fusible interfacing onto the 10.25″x10.25″ inner piece of fabric.
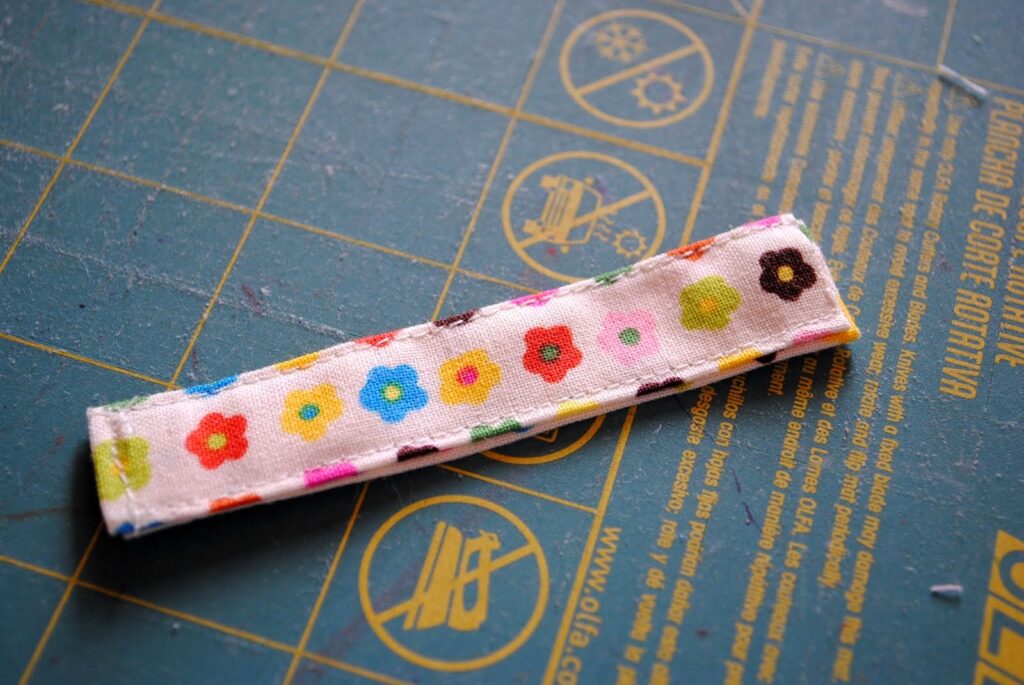
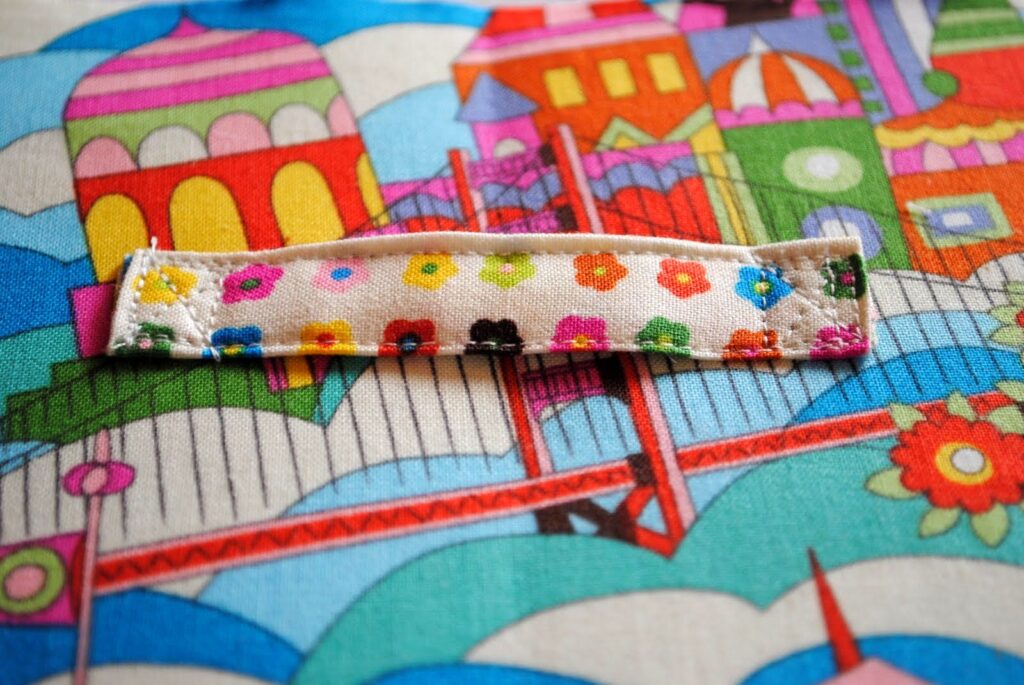
- Fold and press the 2.5″x4″ piece of fabric for the pen holder, then sew around the edges.
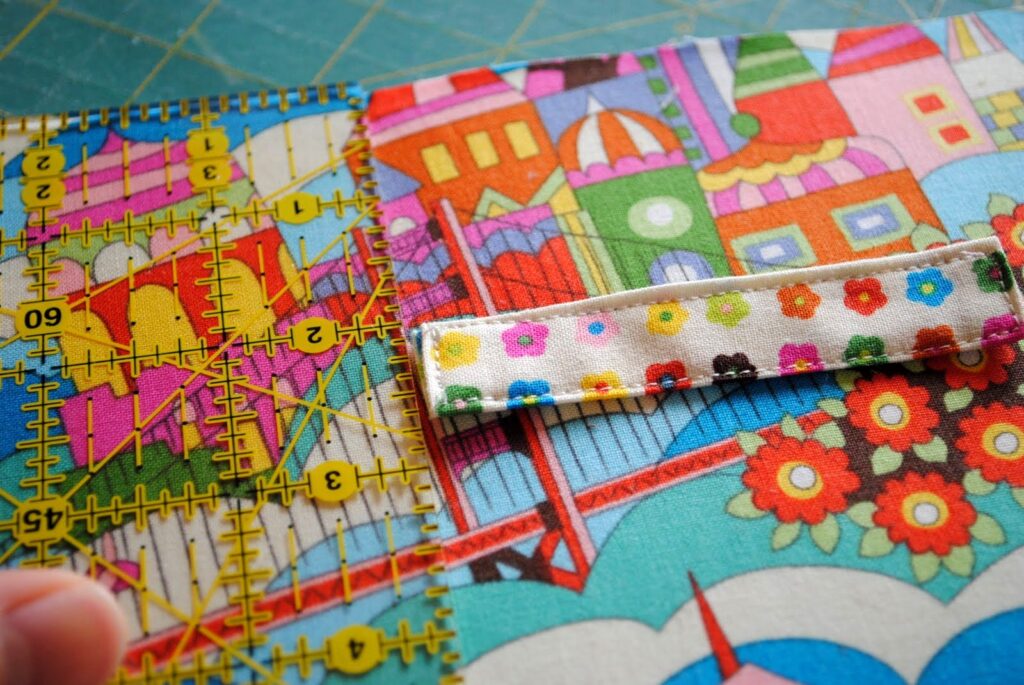
- Attach the pen holder to the inner piece of fabric, about 2″ from the top.
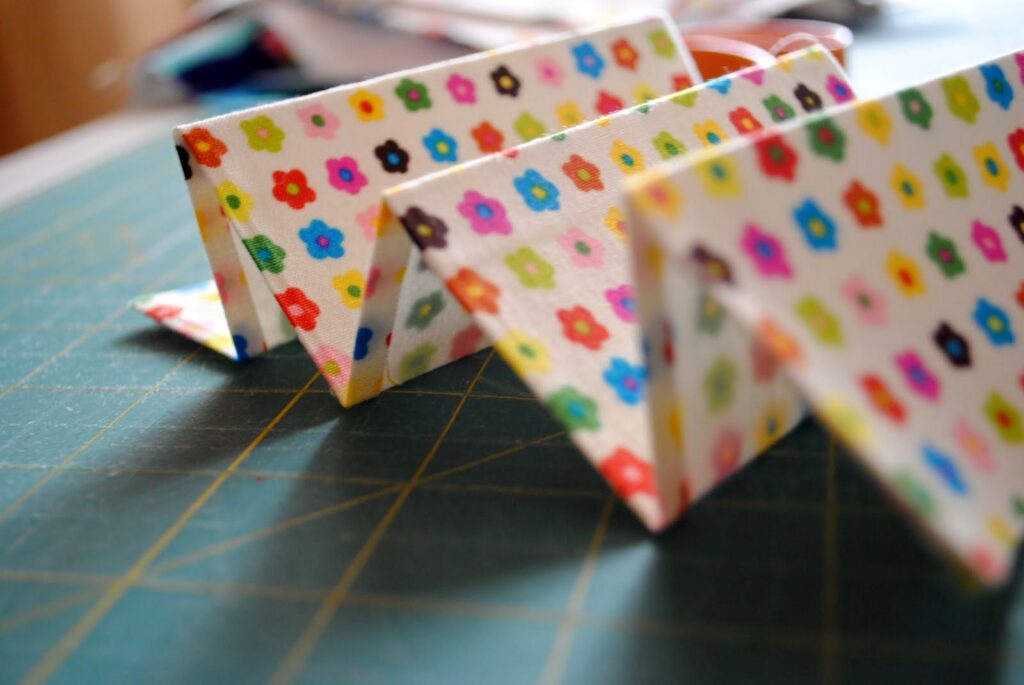
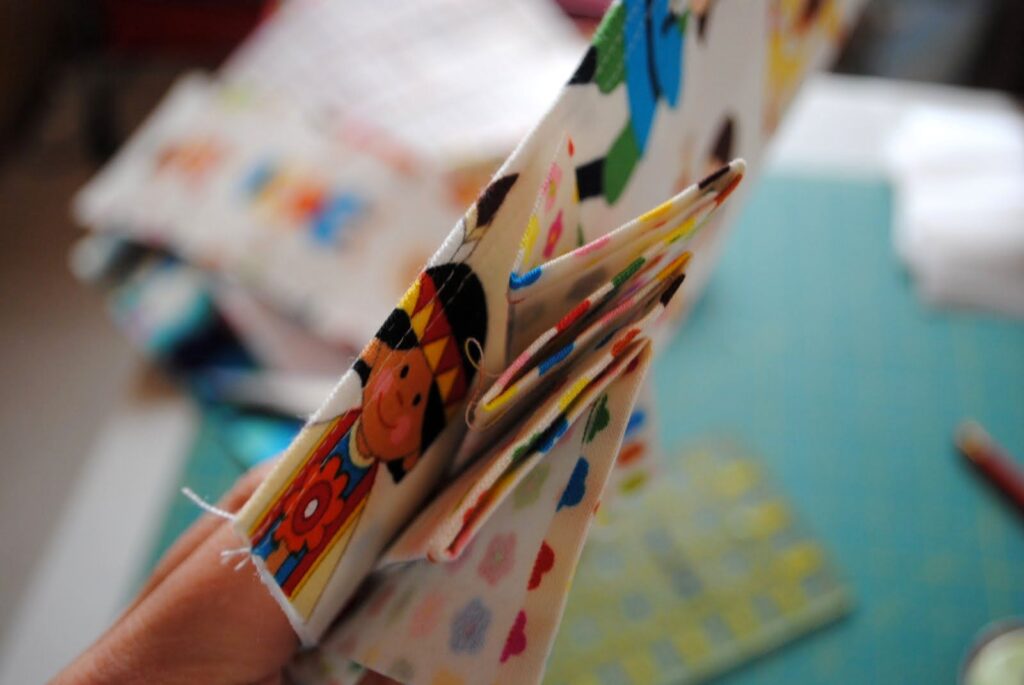
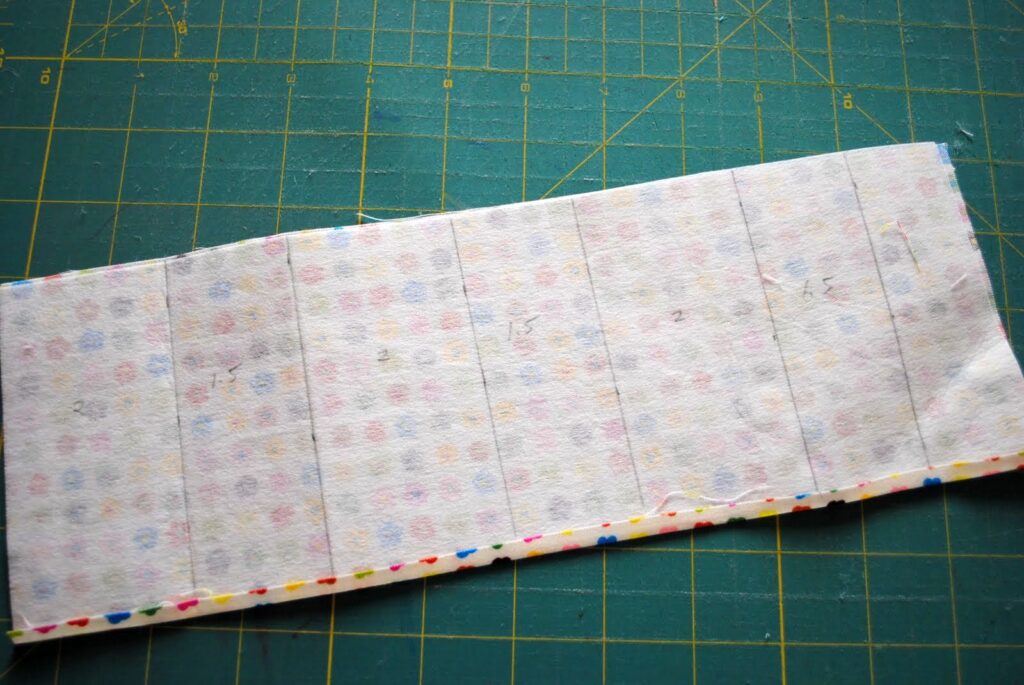
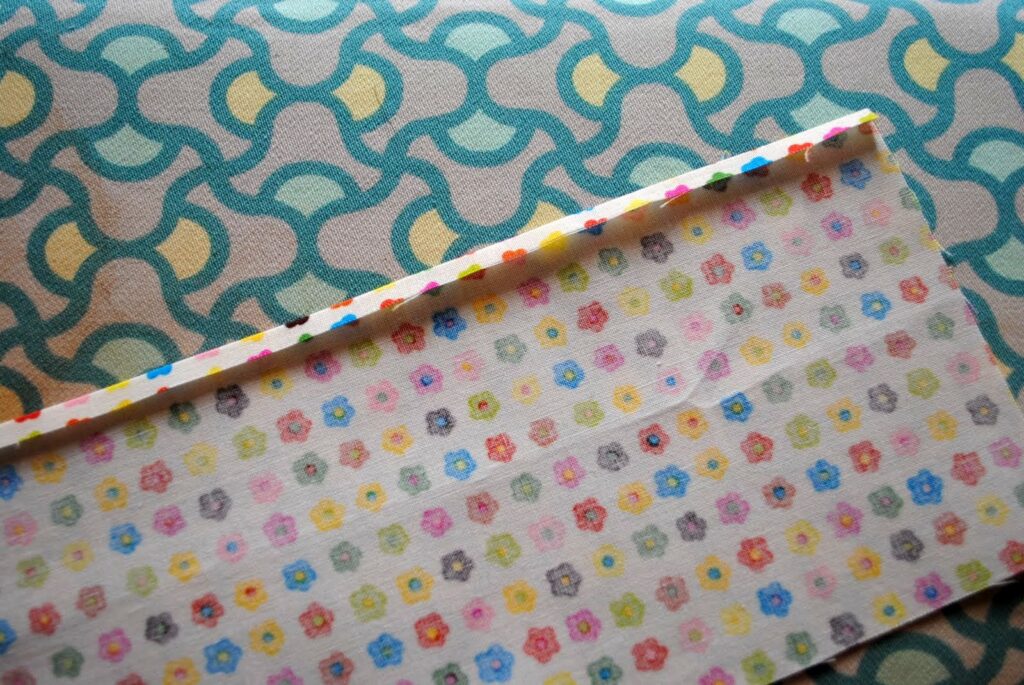
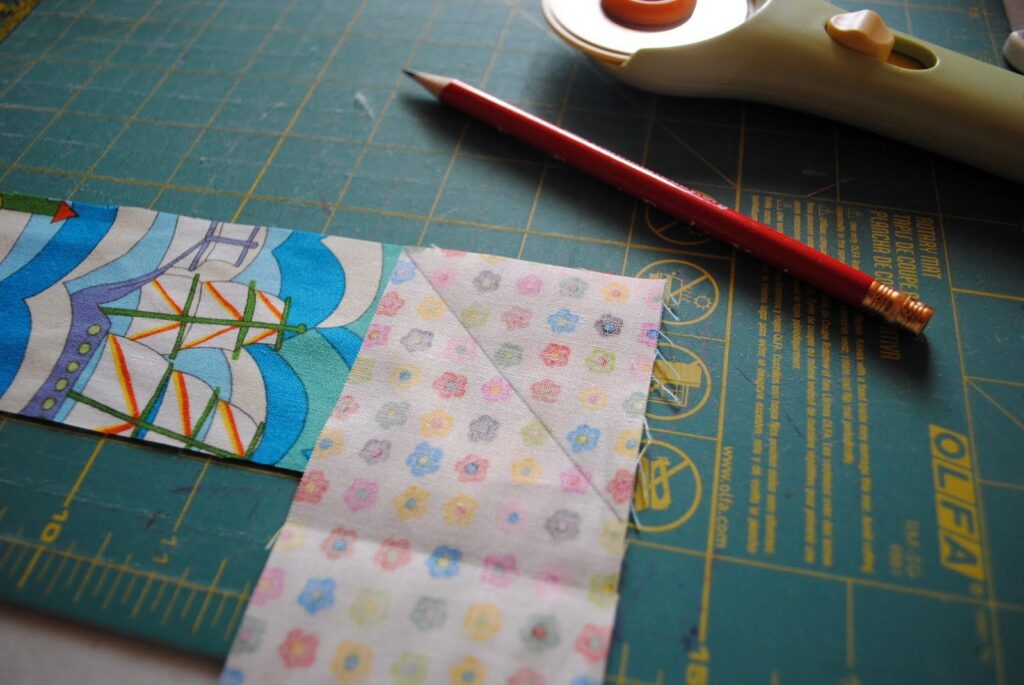
- Fold and press the 12″x4.5″ piece of fabric for the folded card pocket, then sew along the folded edge.
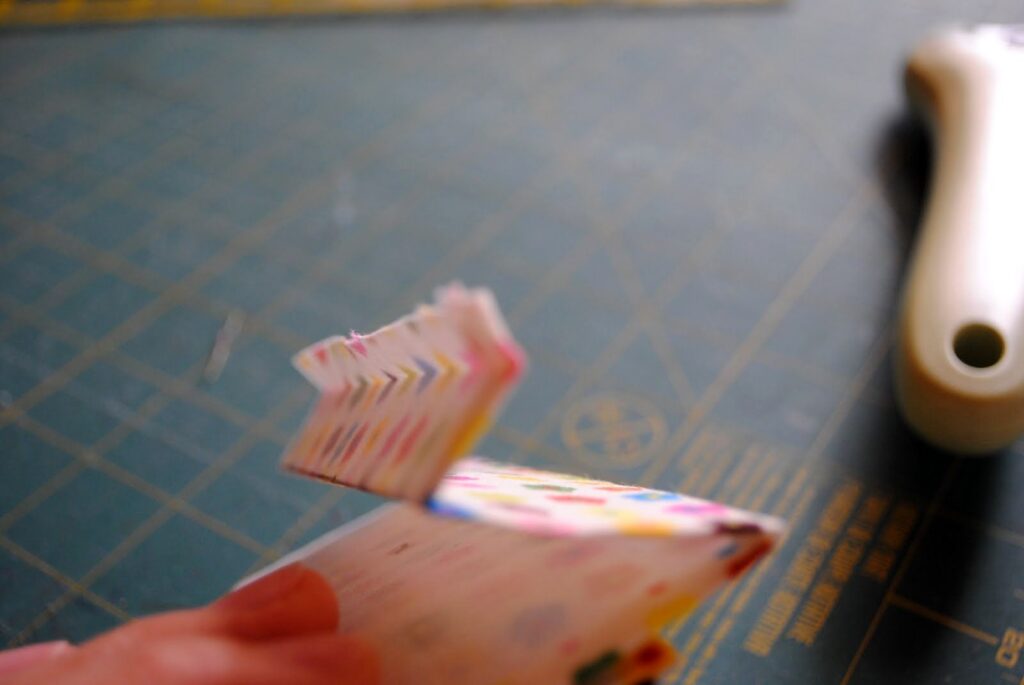
- Draw lines on the interfaced side of the folded card pocket as indicated in the instructions, then fold and press along these lines.
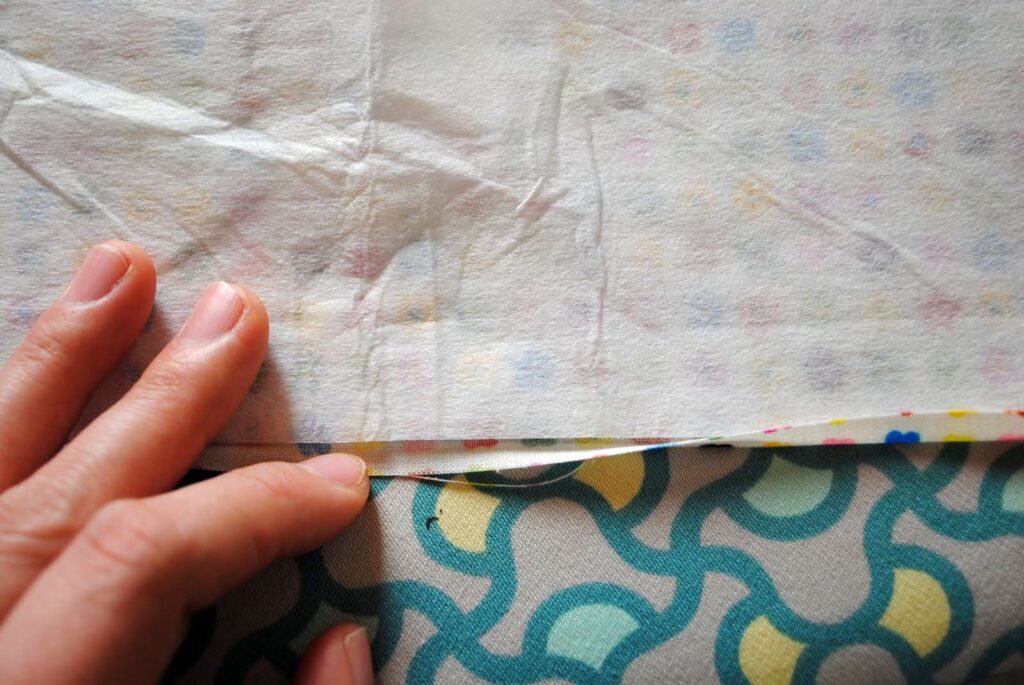
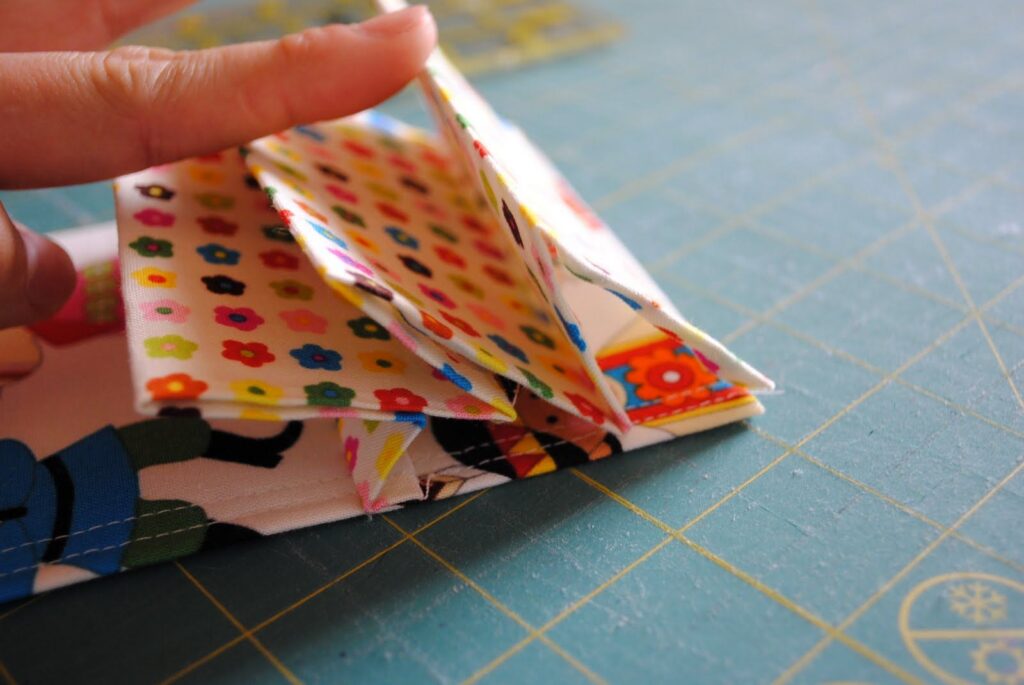
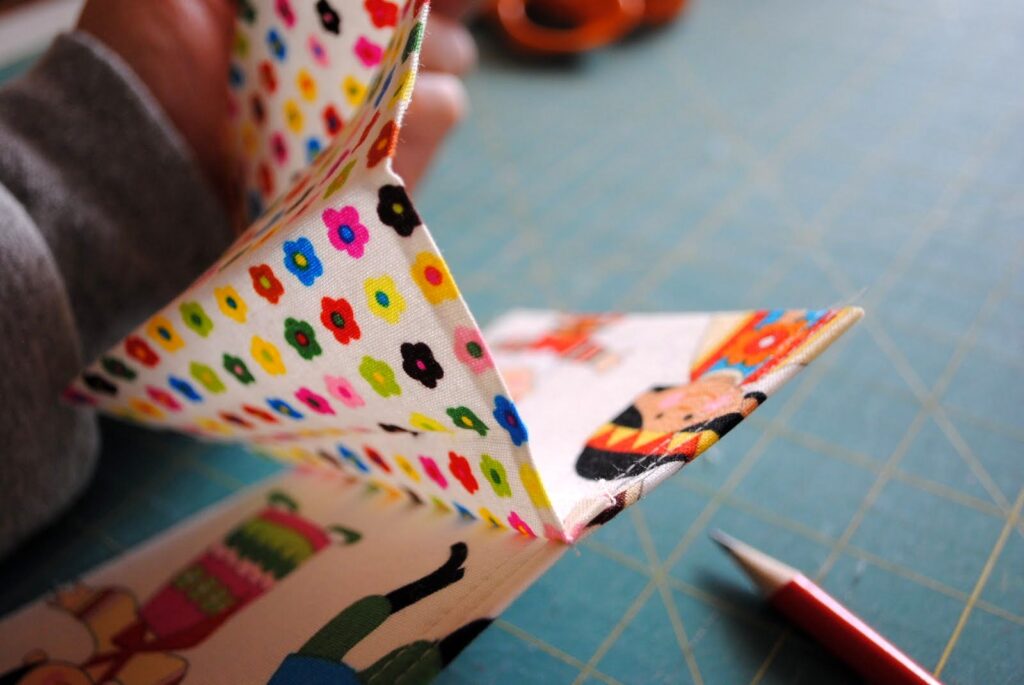
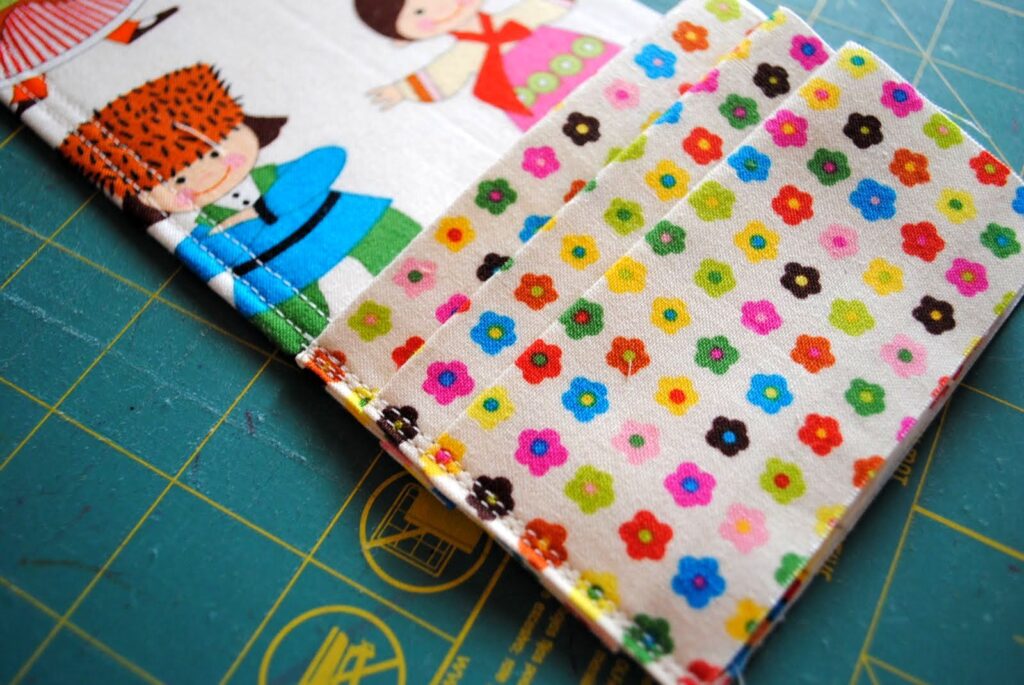
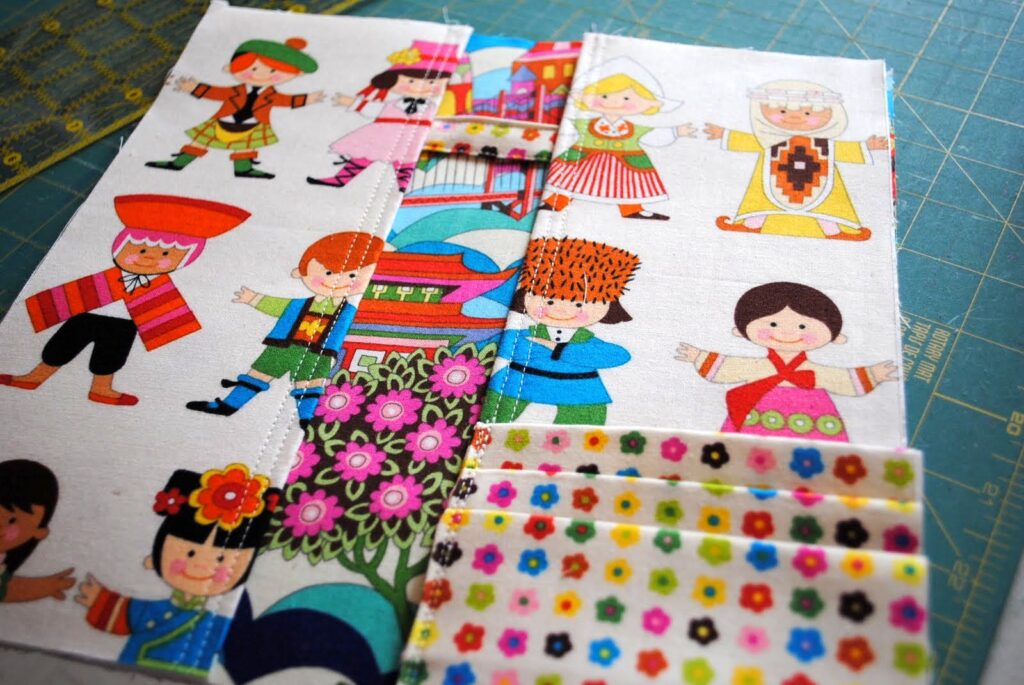
- Trim and fold the remaining blank piece of the folded card pocket, then sew it onto one side of the large pocket piece.
- Sew the large pocket piece onto the inner piece, making sure to measure and mark where the passport will be stored.
- Layer all four pieces together and sew around the edges using a 1/8″ seam allowance.
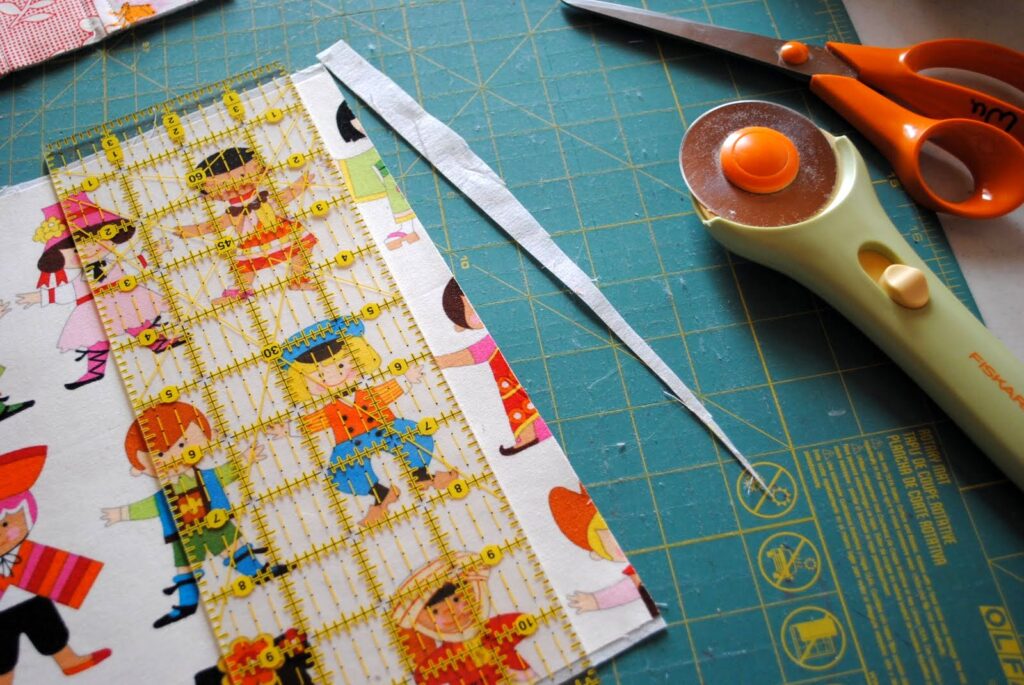
- Create the binding by cutting fabric strips 2.5″ wide and stitching them onto the edges of the organizer.
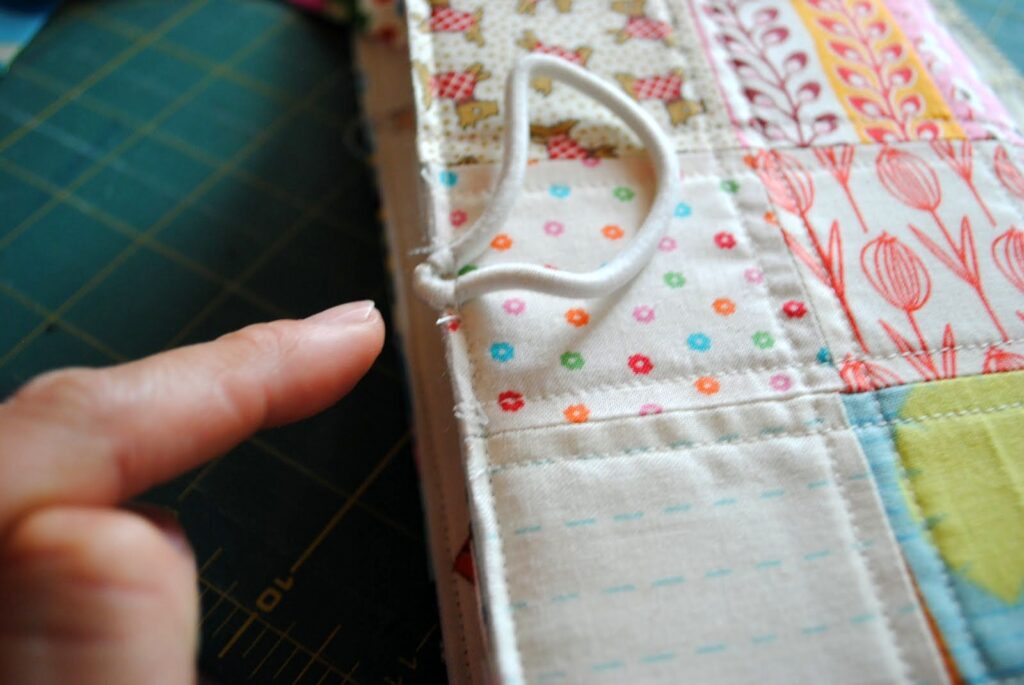
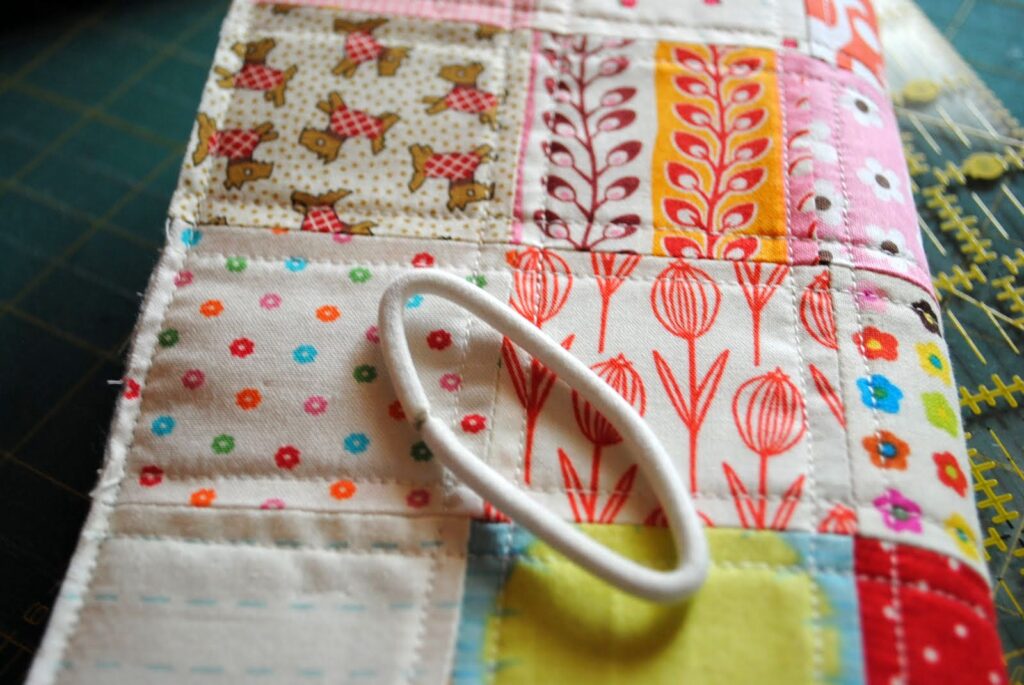
- Attach the elastic to hold the organizer closed, then sew on a button.
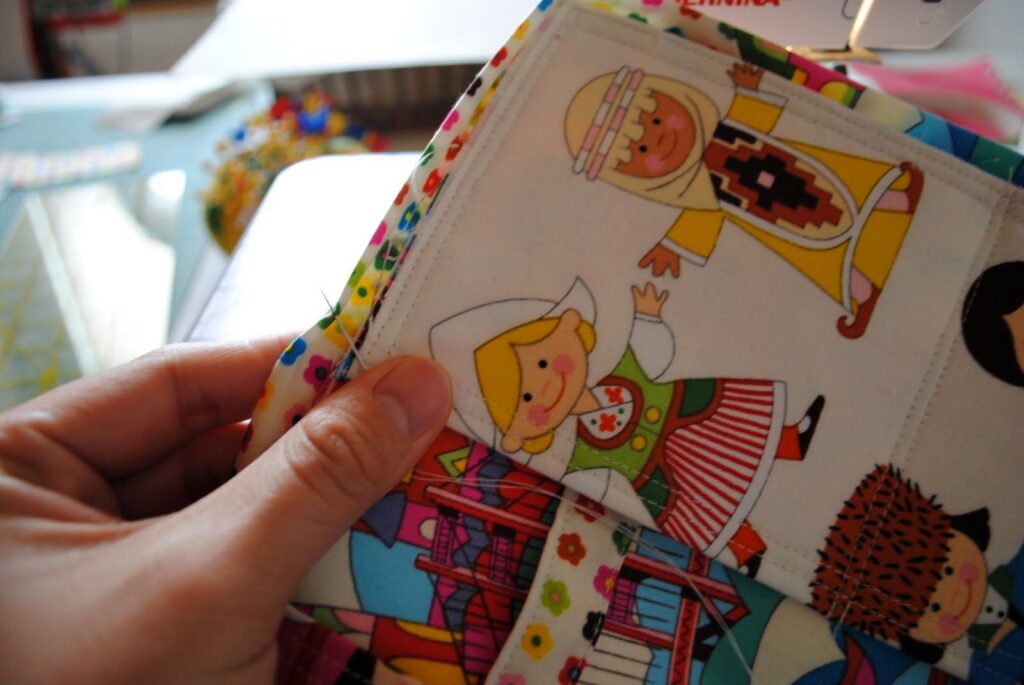
- Your passport organizer is now complete!