Introduction: Do you have a furry friend who loves to accompany you on outdoor adventures? Keep them cozy and stylish with this easy DIY no sew fleece dog poncho! Perfect for small to medium-sized dogs, this project requires minimal supplies and can be completed in no time. Let’s get started!
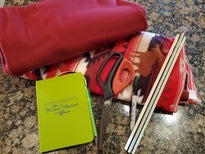
Step 1: Gather Your Supplies Before you begin, gather the following supplies:
- Fleece fabric (1 yard of printed fleece and 1 yard of solid fleece)
- Measuring tape
- Sewing scissors
- Sewing pins
- Ruler
- Pen and paper
- Something to draw the pattern on with (e.g., chalk or a sharpie marker)
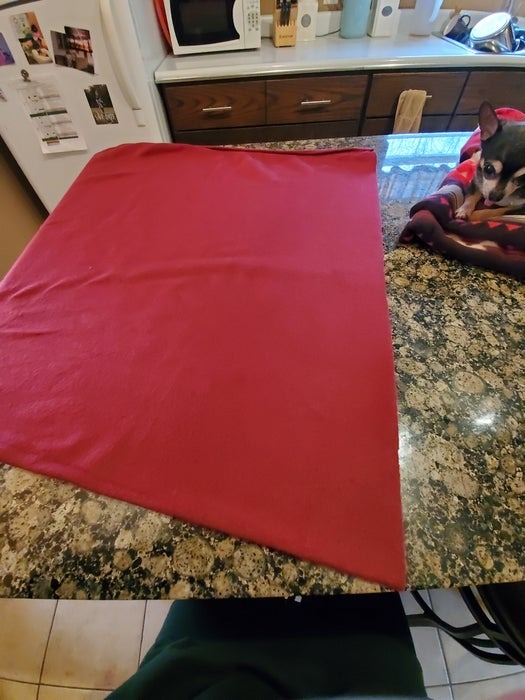
Step 2: Prepare the Fabric Fold the fleece fabric in half so the wrong side is facing out. This will make cutting and assembling the poncho easier later on.
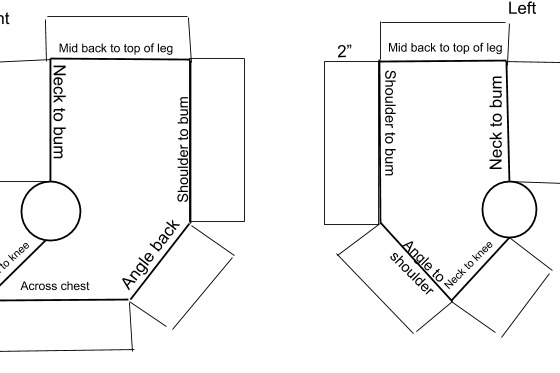
Step 3: Take Your Dog’s Measurements Using a measuring tape, measure the following:
- From the base of your dog’s neck to their bum
- Across the front of their body/chest
- Center of their back to how low you want the poncho to hang
- The center of the neck angled downward to the side of their chest
- An angle backward from the previous measurement to determine the length of the poncho
- From their front shoulder to their bum
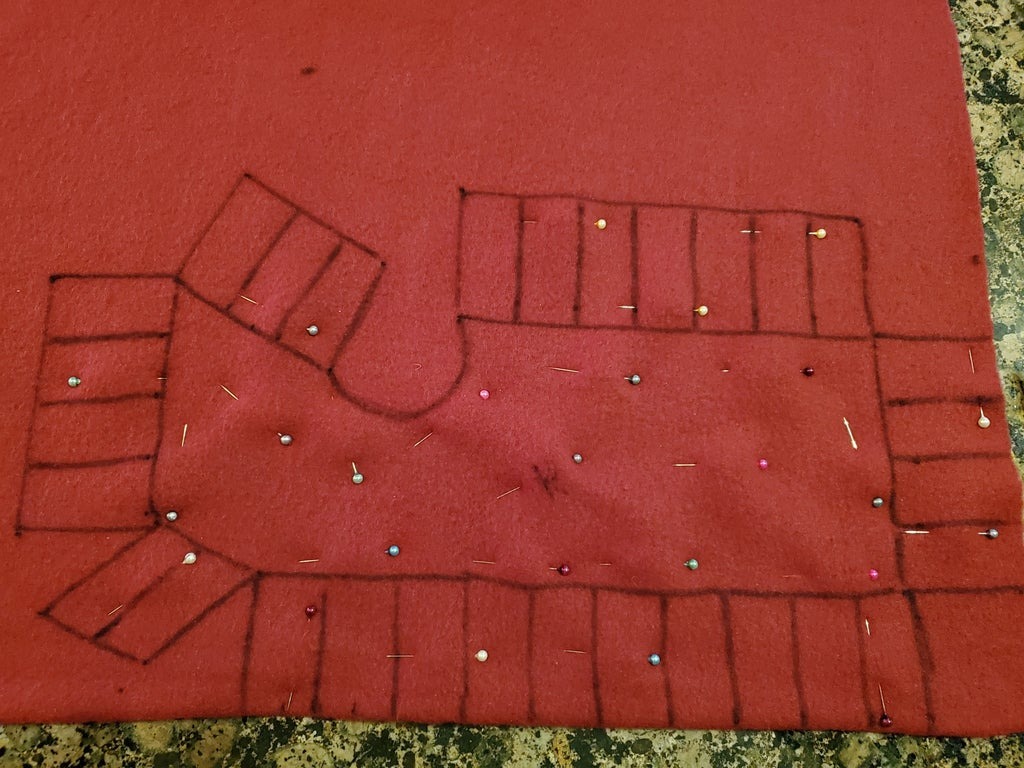
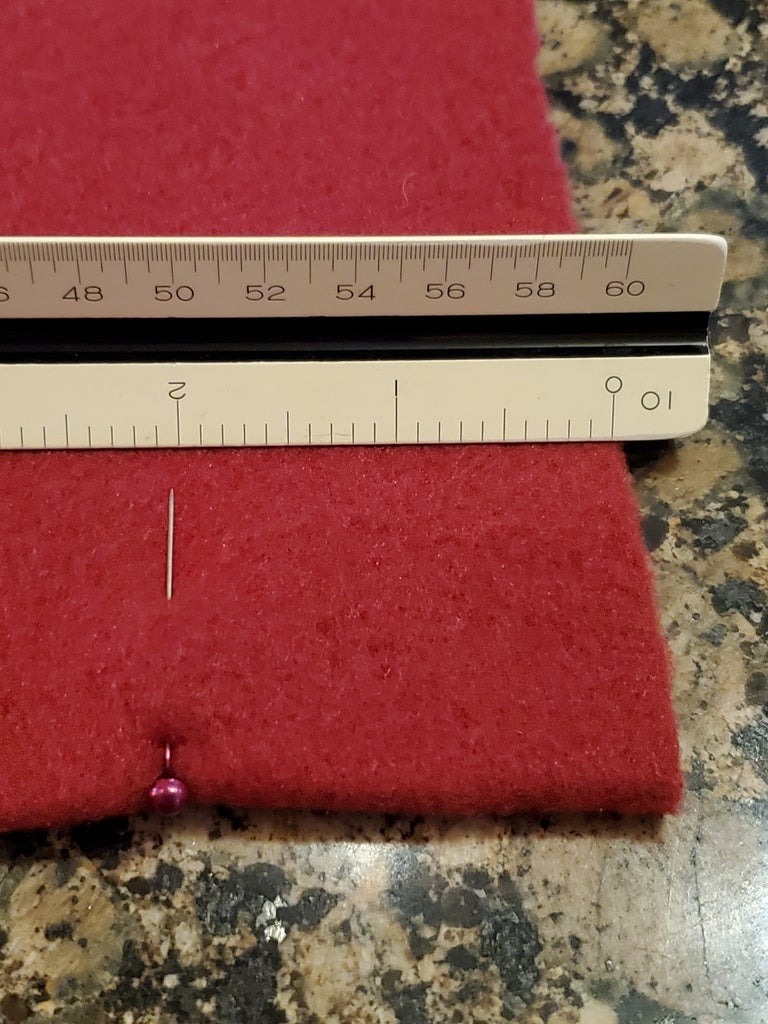
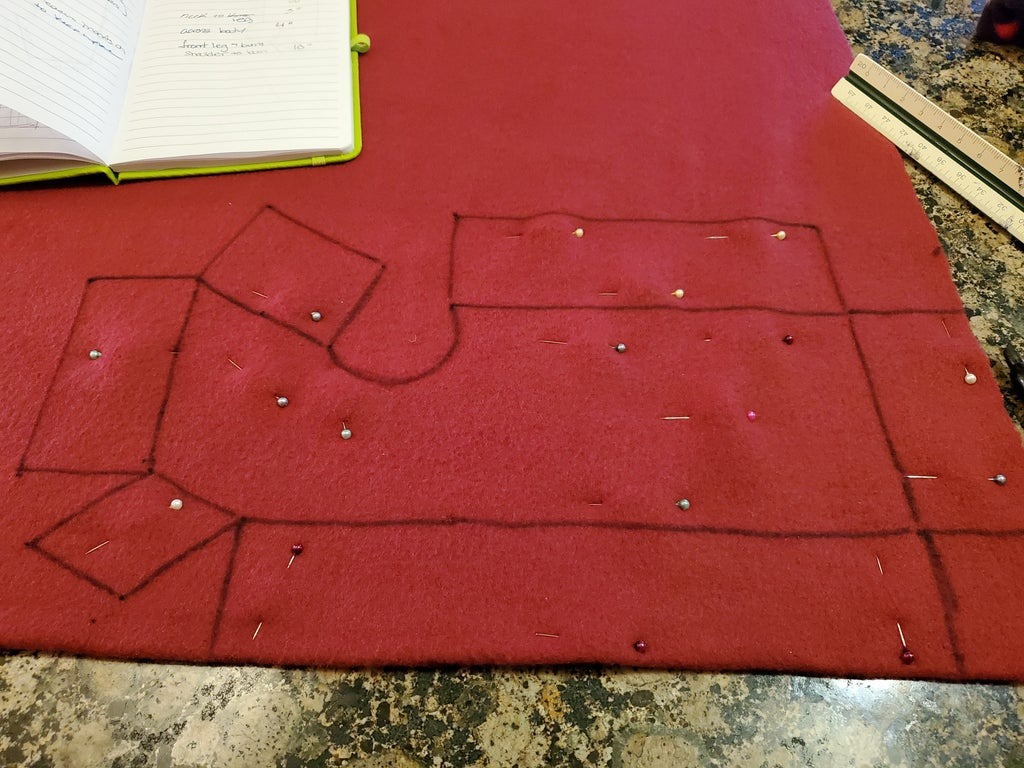
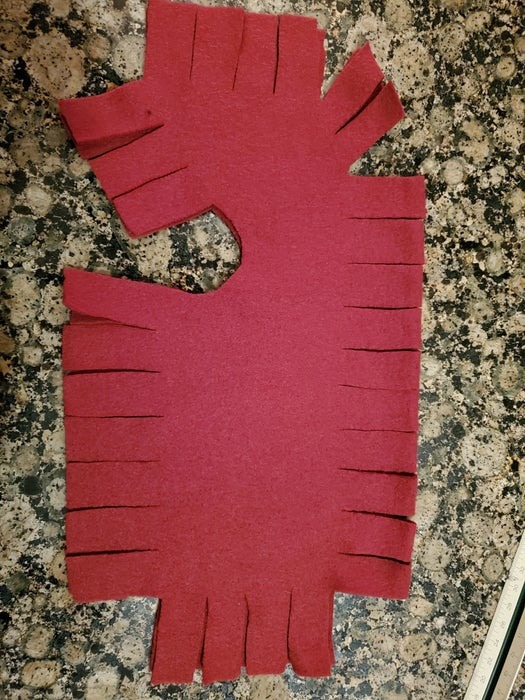
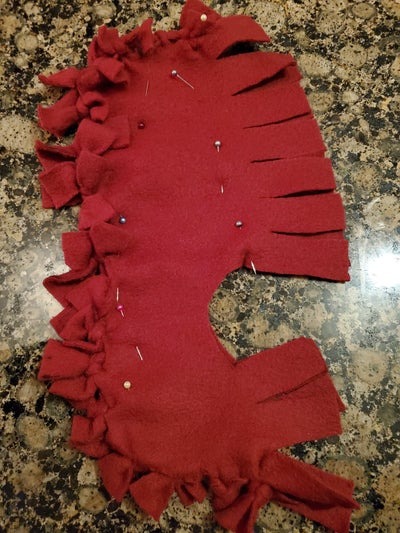
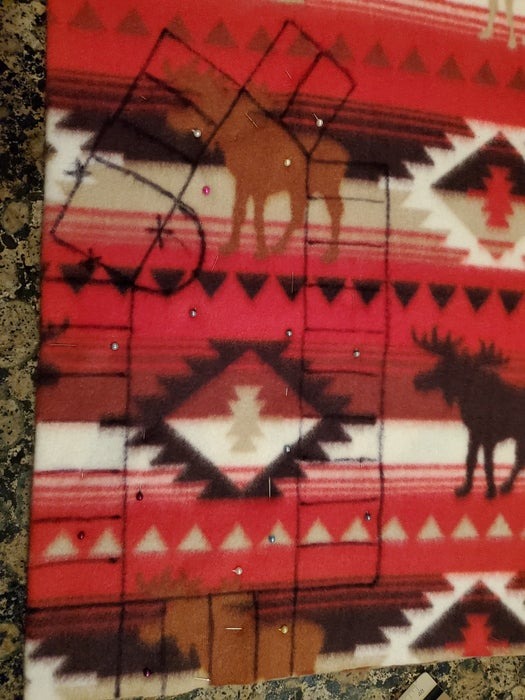
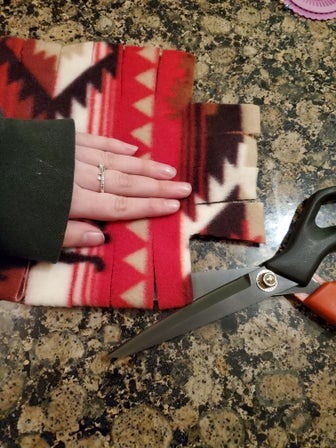
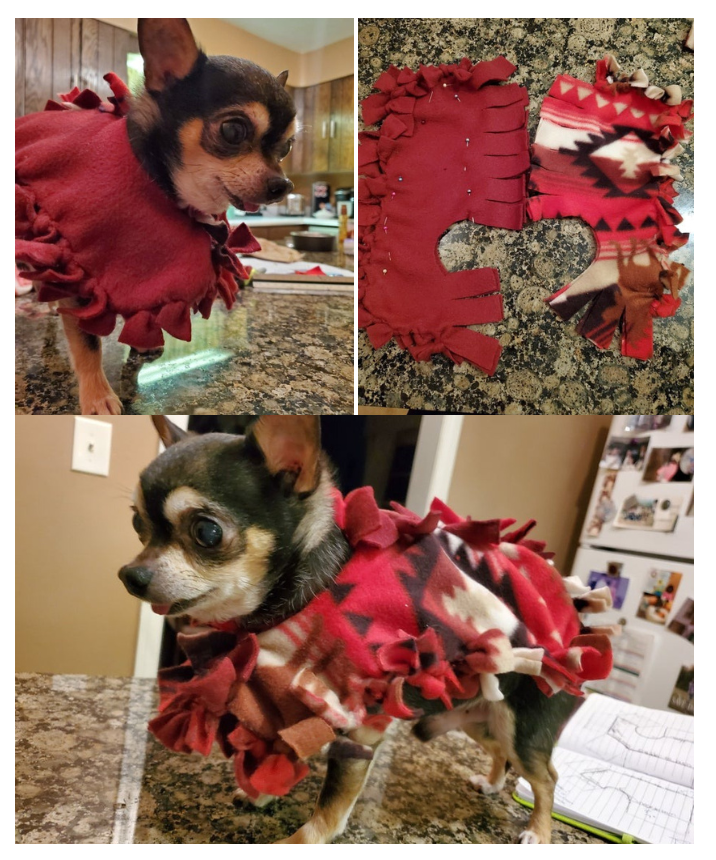
Step 4: Trace Out the Pattern Using your dog’s measurements, trace out the pattern on the folded fleece fabric. Start with the left side of the pattern, aligning the “bum” end with the folded edge. Use sewing pins to hold the fabric in place as you trace.
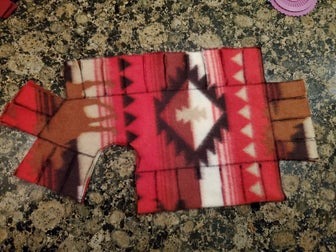
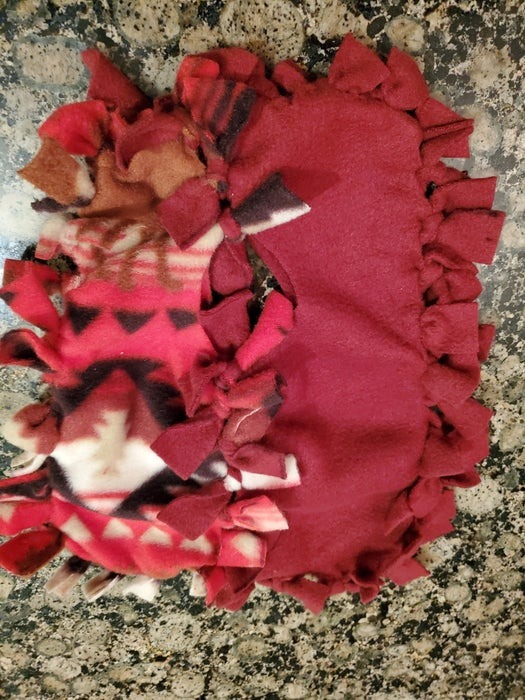
Step 5: Begin Cutting Carefully cut along the traced lines, leaving the folded edge intact. Cut out any fringe lines as indicated in the pattern.
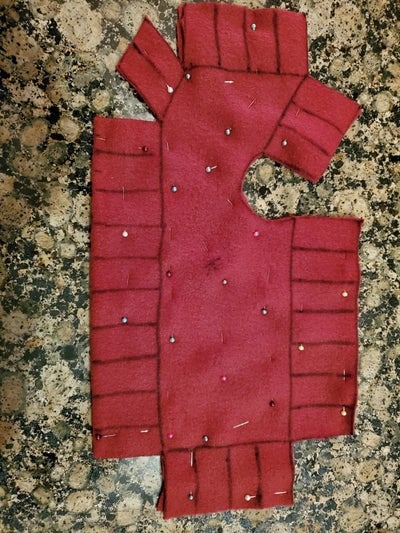
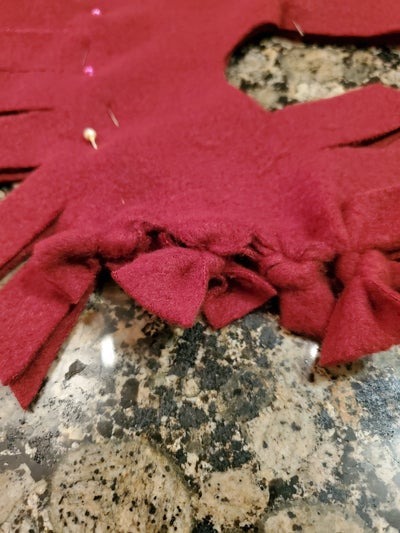
Step 6: Pin and Cut Fringe Pin every other fringe line to keep the fabric layers together, then cut along the fringe lines, including the folded edge.
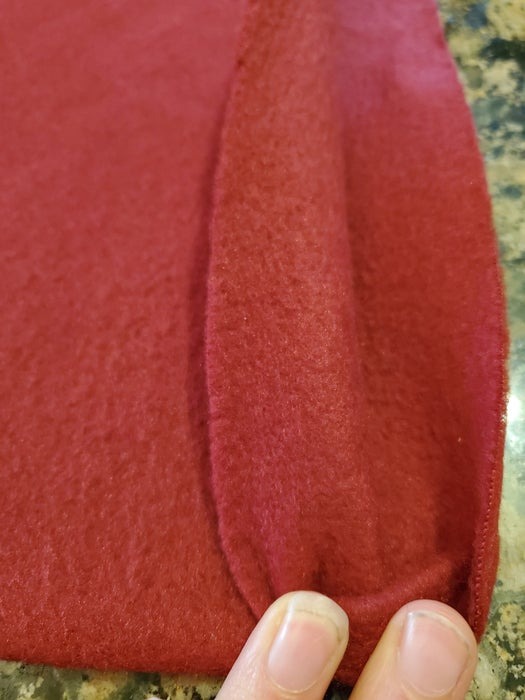
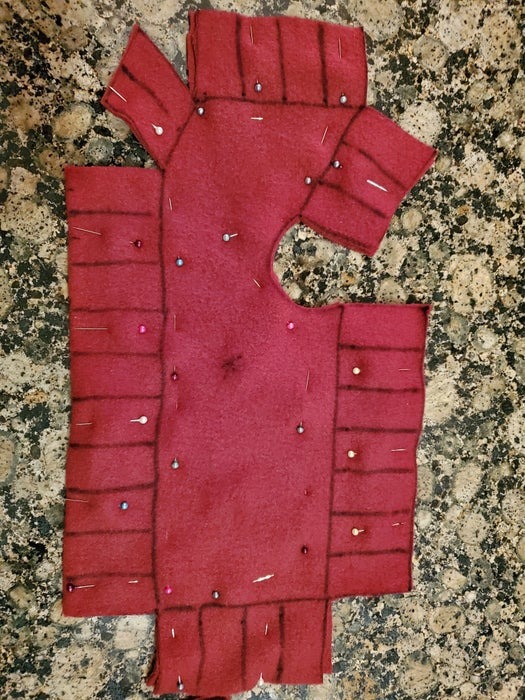
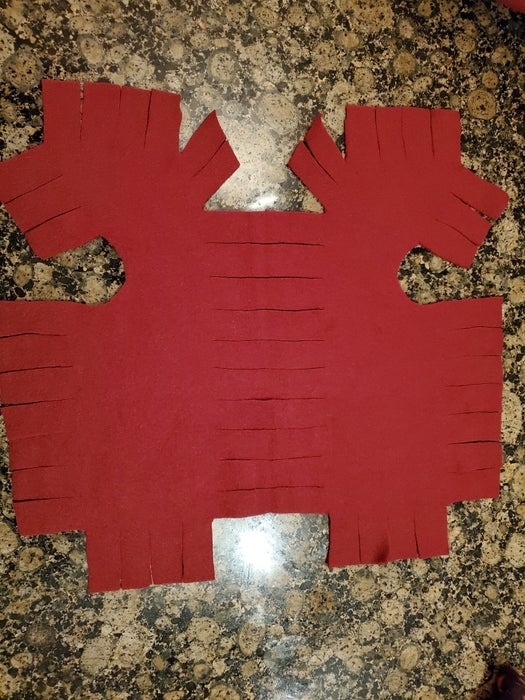
Step 7: Flip the Fabric Right Side Out After cutting the fringe, flip the fabric right side out and realign the edges.
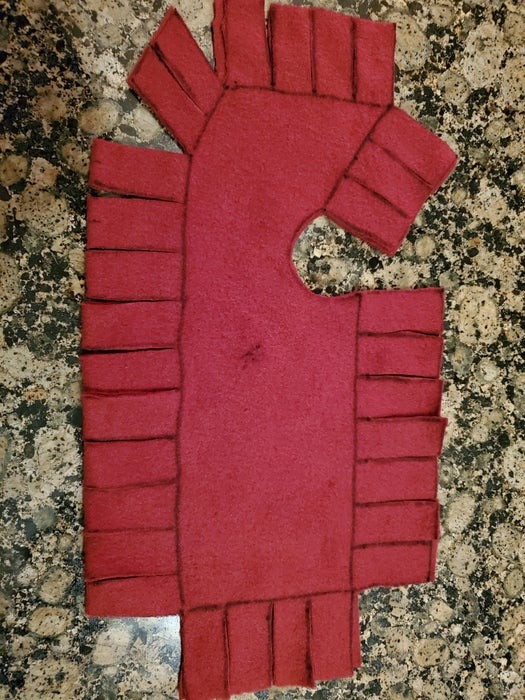
Step 8: Cut the Folded Side Using scissors, cut the folded edge to separate the two halves of the poncho.
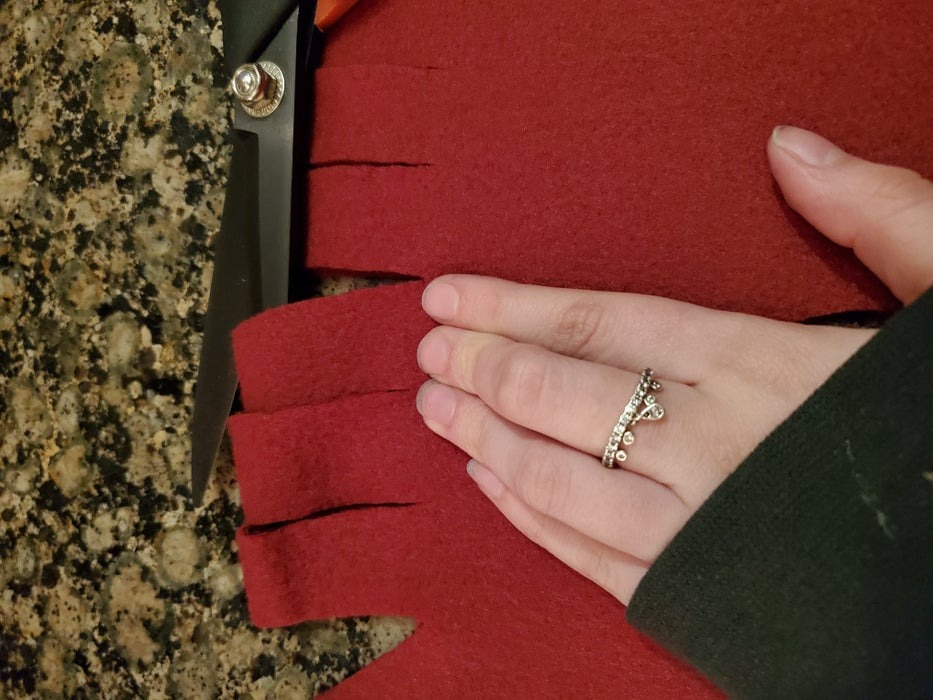
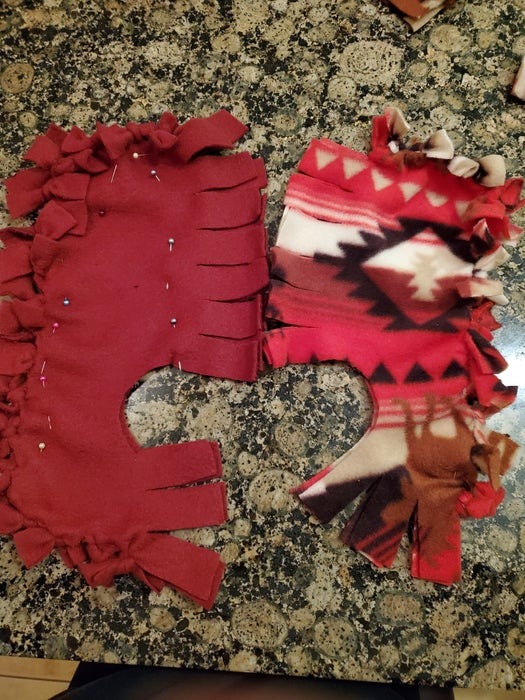
Step 9: Tie the Fringe Tie the fringe pieces together along the outer edges of the poncho, using a double knot. Leave the edges that will be connected to the other half untied.
Step 10: Repeat for the Right Side of the Pattern Repeat steps 3-9 to create the right side of the poncho.
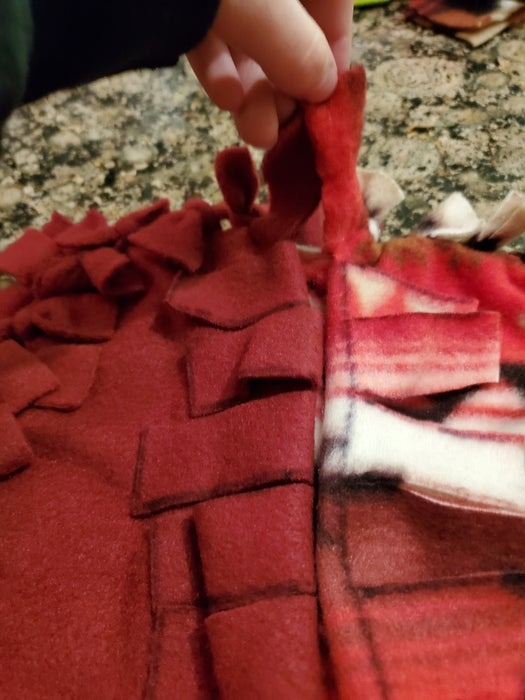
Step 11: Align the Two Halves Align the fringe pieces of both halves of the poncho, ensuring they are equal in length.
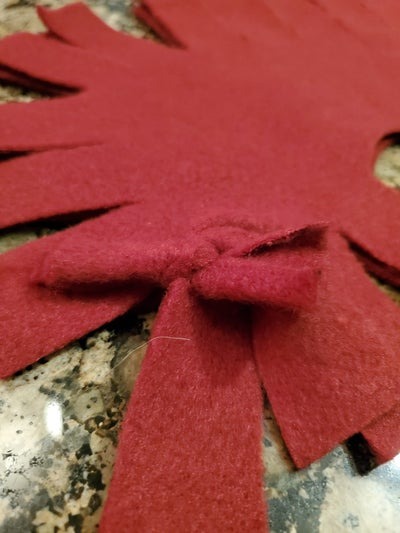
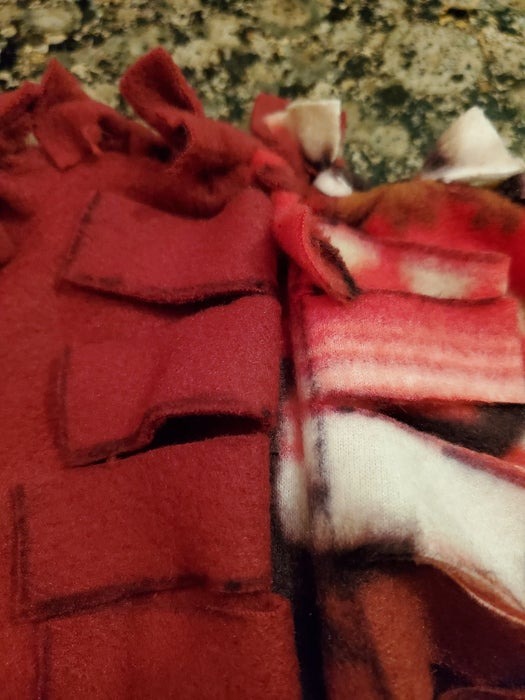
Step 12: Tie Corresponding Pieces Together Tie together the corresponding fringe pieces along the top and bottom edges of the poncho.
Step 13: Adjust and Stretch Gently pull along the edges of the poncho to loosen any bunching caused by the knots. Be careful not to rip the fabric.
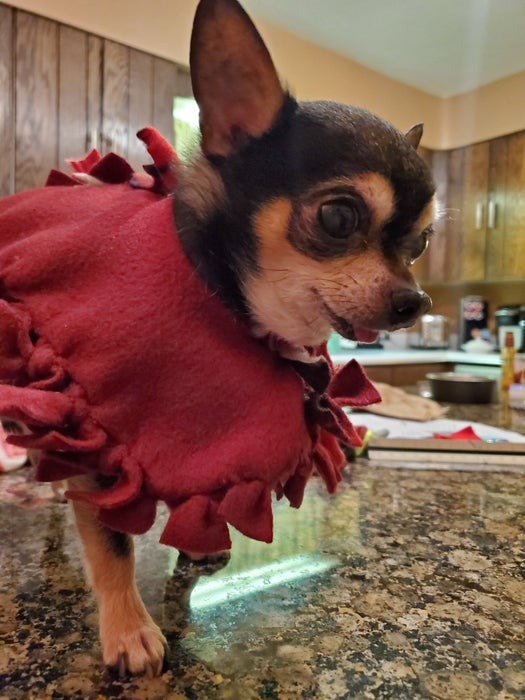
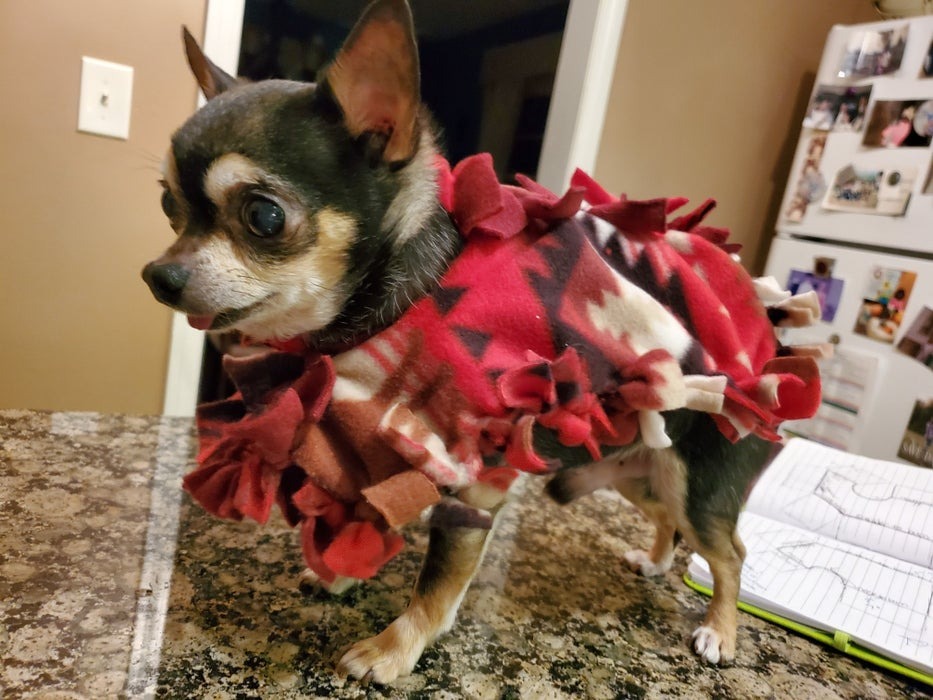
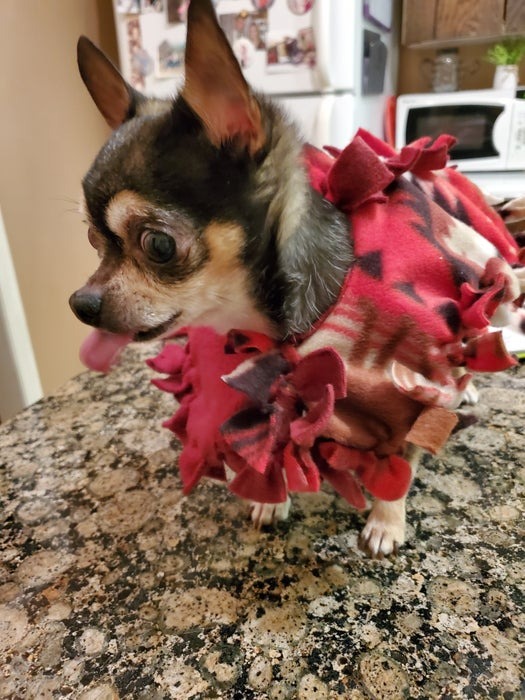
Step 14: Model It on Your Dog! Finally, let your furry friend model their new poncho and enjoy the outdoors in style!
Conclusion: With just a few simple steps, you can create a cozy and stylish poncho for your beloved dog without any sewing required. Get creative with different fleece patterns and colors to personalize their look. Happy crafting!