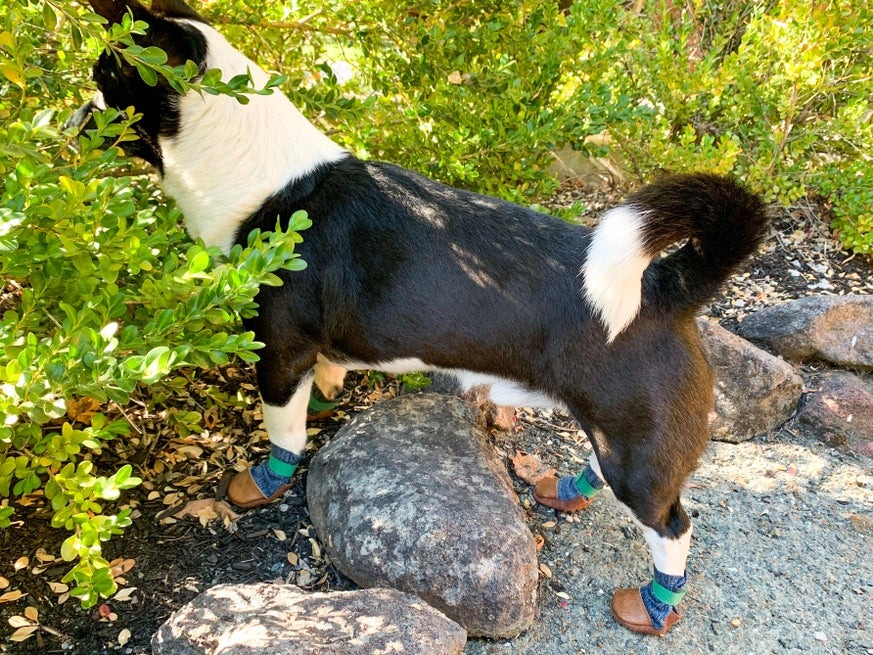
If you’re a dog owner, you know how important it is to keep your furry friend comfortable and safe, especially when it’s hot outside. My dog loves to go for walks, but the pavement can get scorching hot in the summer. That’s why I decided to make him some stylish and functional shoes to protect his paws from the heat.
Here’s a step-by-step guide on how to make your own DIY dog shoes:
Step 1: Gather Your Supplies
To make your DIY dog shoes, you’ll need the following materials:
- Fabric (I used the sleeve of a denim jacket)
- Leather (approximately 1.3 mm thickness, upholstery leather remnant works well)
- 1/2″ wide double-sided hook & loop tape (also known as reusable cable ties)
- Thread
- HeatnBond UltraHold Iron-On Adhesive Tape (3/8″ width)
And the following tools:
- Sewing Machine
- Iron
- Scissors
- Paper
- Pen
- Ruler
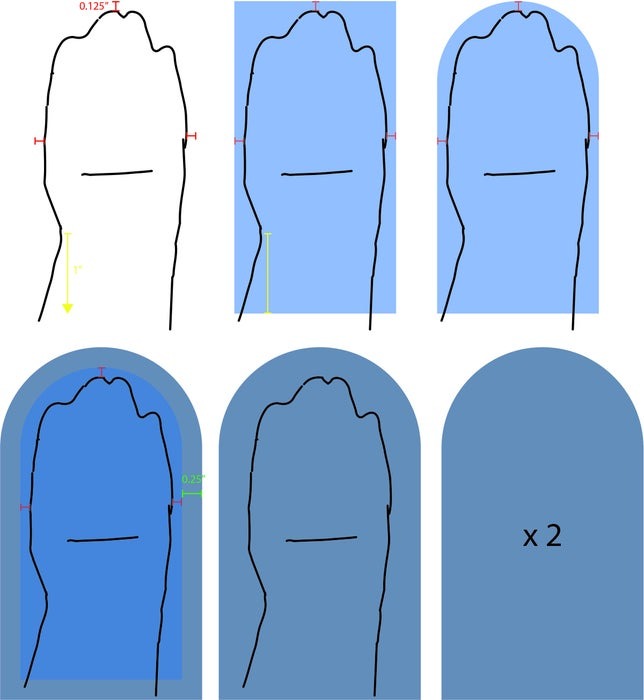
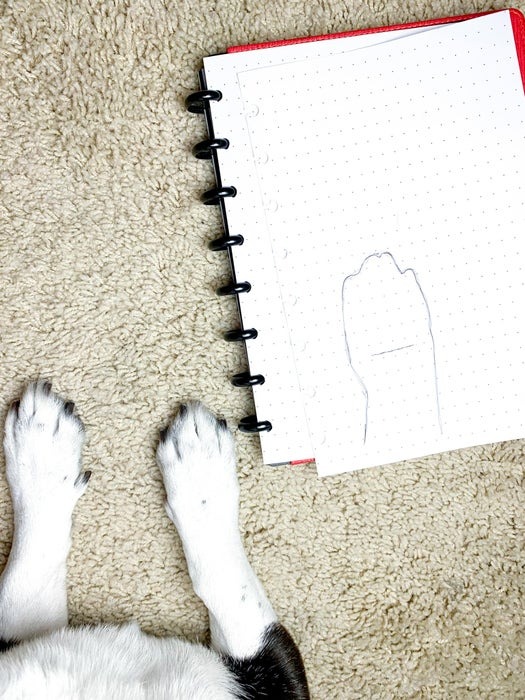
Step 2: Create Your Patterns
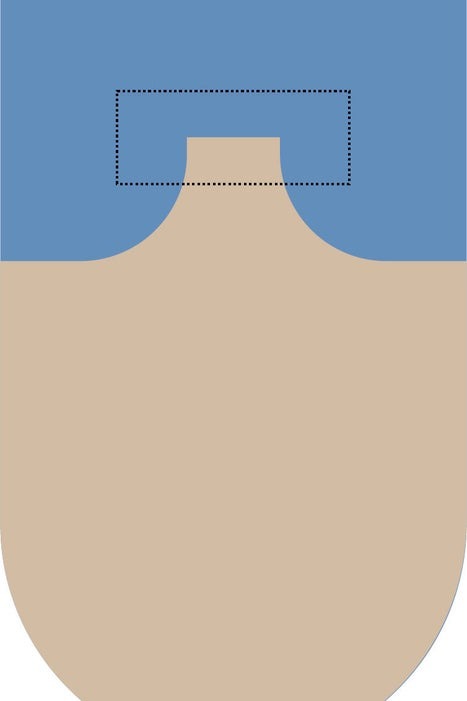
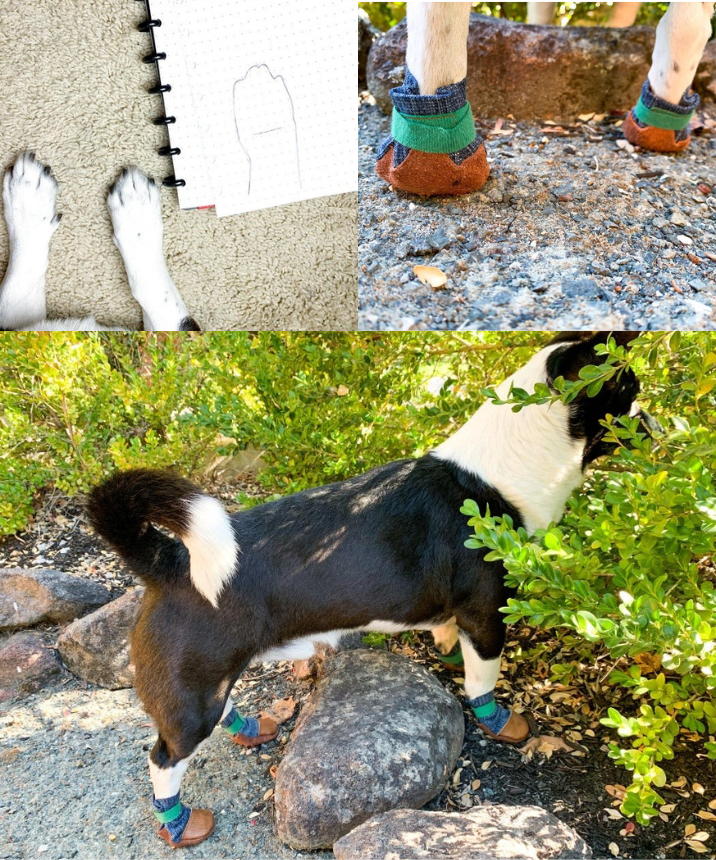
Start by creating patterns for the main body, toes, and soles of the shoes. Trace your dog’s paw onto paper and add 0.125″ around the sides and front, then round the corners. Use this as your main pattern. Duplicate it for the toe pattern and adjust the length to cover the nails. For the sole pattern, extend the length and width slightly, adding a trapezoid shape for the paw pad.
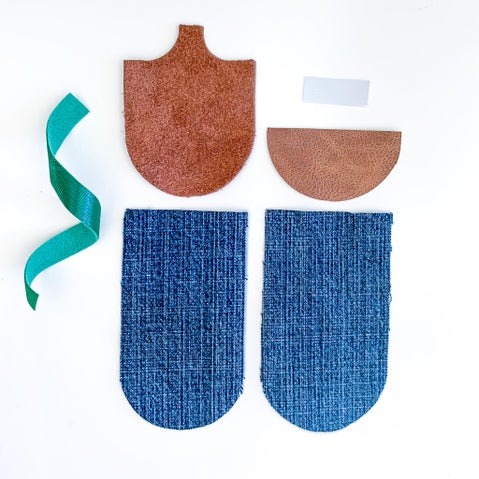
Step 3: Cut Out Your Pieces
Using your patterns, cut out pieces from denim for the main body, leather for the toes and soles, and hook & loop tape for the straps. Make sure to cut everything to the correct size and shape.
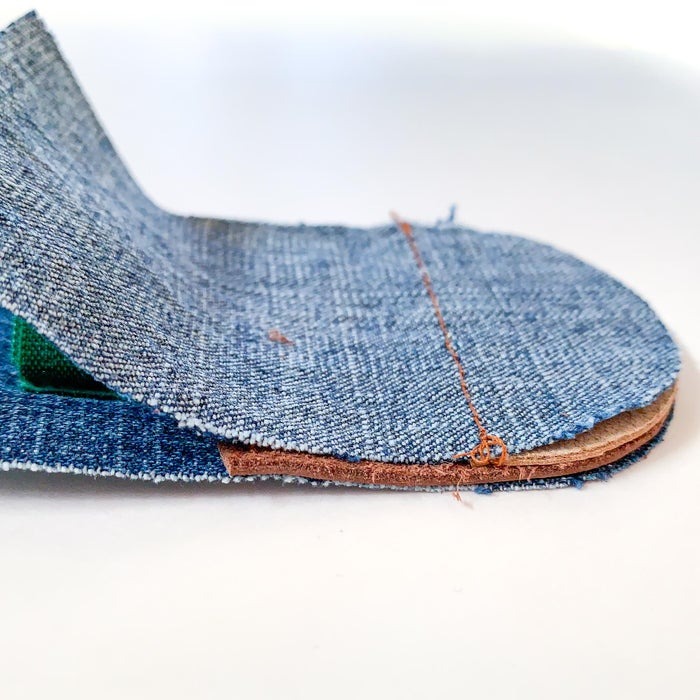
Step 4: Sew Your Pieces Together
Start by sewing the leather toe and sole pieces onto the denim main body pieces. Use a 4mm stitch length for sewing through leather and 2.5mm for everything else. Then, sew the hook & loop tape onto the straps, making sure to align them properly.
Step 5: Apply Adhesive Tape
Apply the HeatnBond UltraHold Iron-On Adhesive Tape to the wrong side of each piece. This will help hold everything together and provide extra durability.
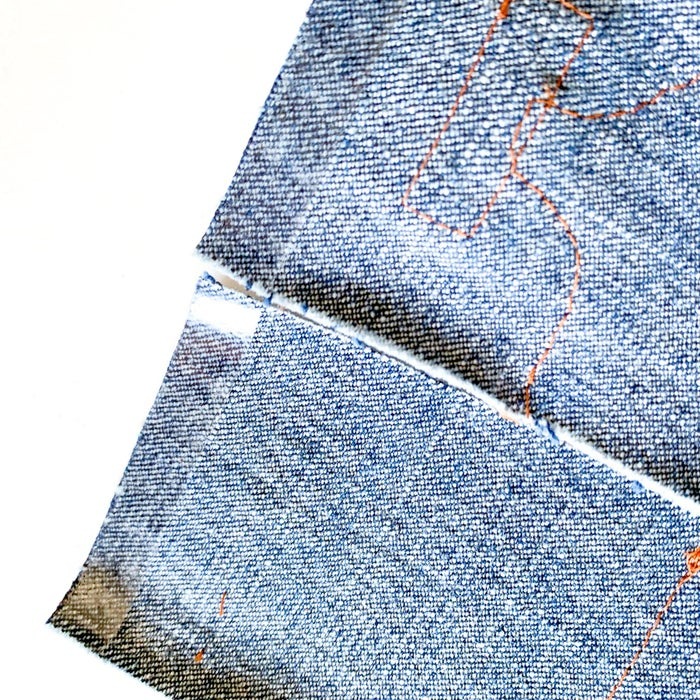
Step 6: Complete the Shoes
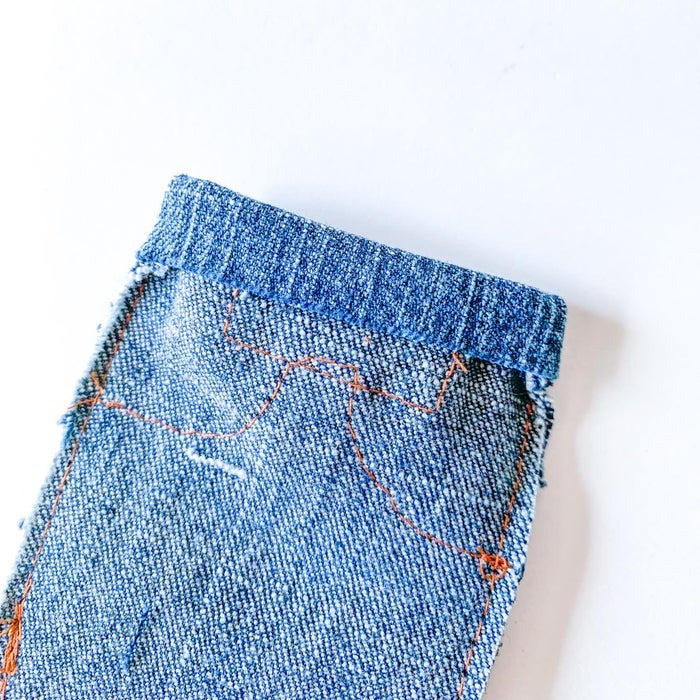
Next, sew the two halves of each shoe together, leaving the top open. Sew along the edges, making sure to reinforce the toe area. Then, fold the tops down over the adhesive tape and iron to secure them.
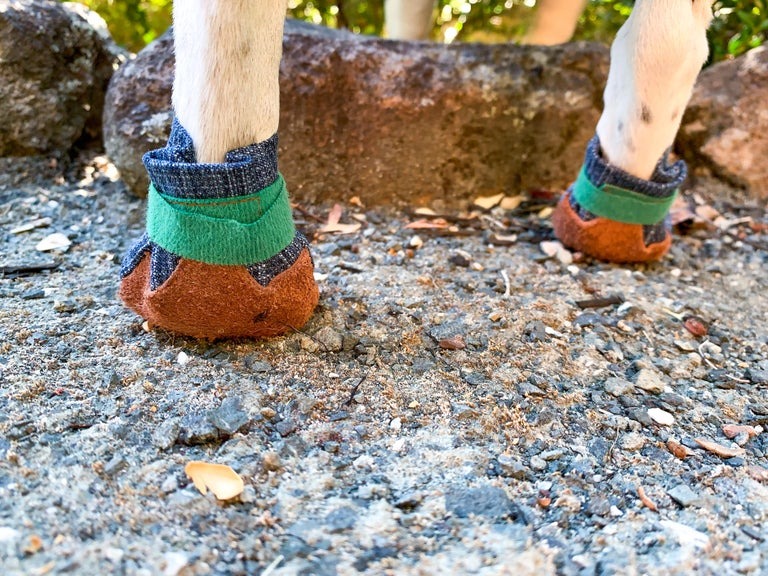
Finally, flip the shoes inside out, and your DIY dog shoes are ready to go! Slip them onto your pup’s paws and head out for a walk with confidence, knowing that their feet are protected and stylish.
With just a few materials and some basic sewing skills, you can create custom dog shoes that are perfect for keeping your furry friend comfortable and safe in any weather. So why not give it a try and treat your pup to some handmade footwear? They’ll thank you for it!