DIY Carhartt Coat for Your Pup: A Step-by-Step Guide
Introduction
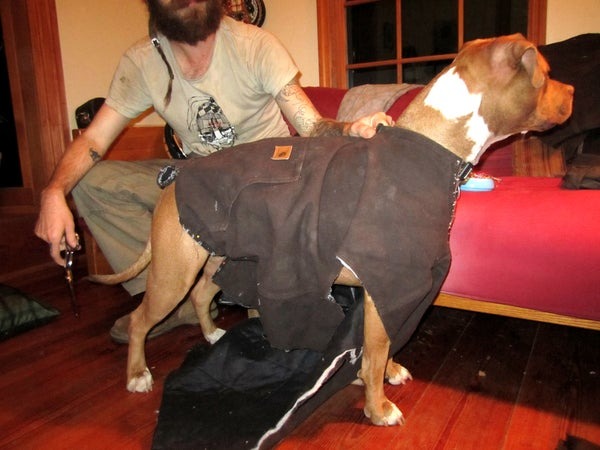
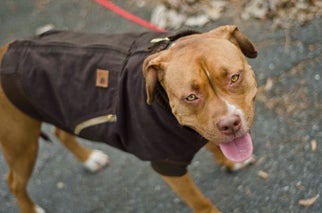
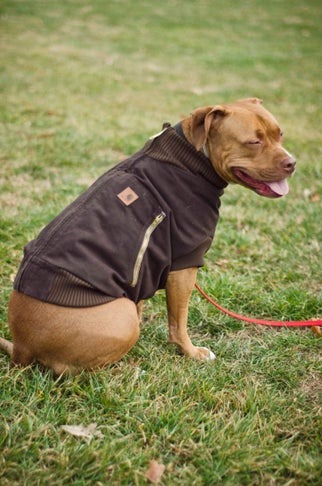
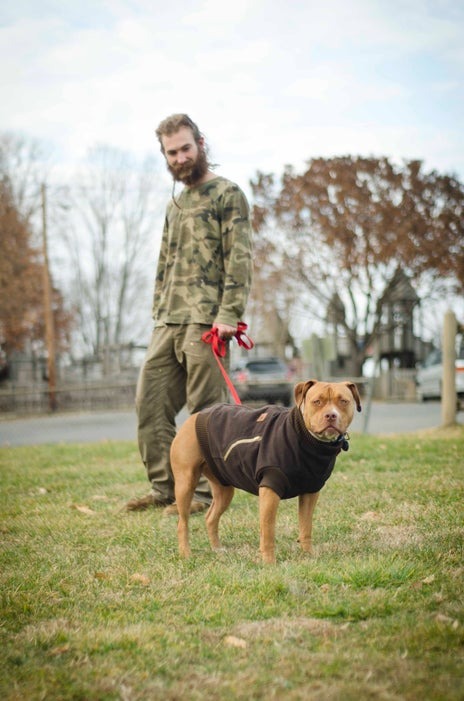
Seeing your furry friend shivering in the winter cold can be heart-wrenching. That’s why my friend Will and I decided to create a cozy Carhartt coat for his pit bull, Honey. Follow along to learn how to make one for your pup!
Step 1: Gather Materials
You’ll need:
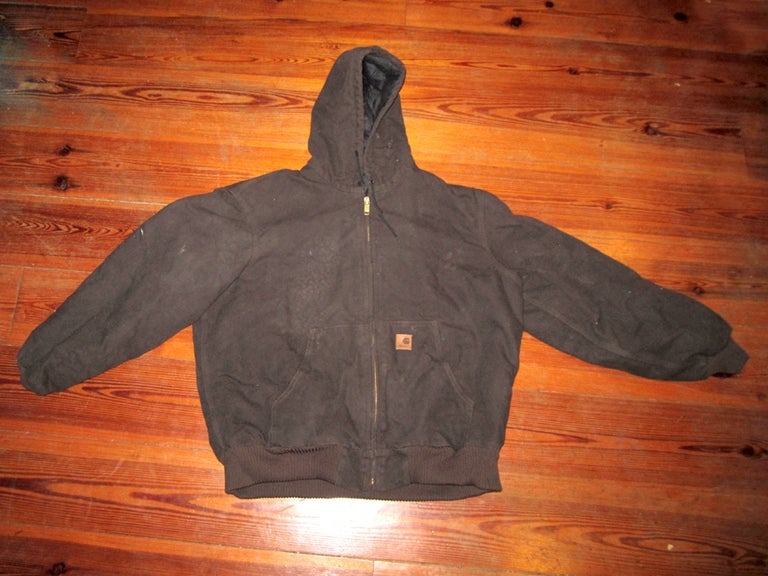
- XL Carhartt coat
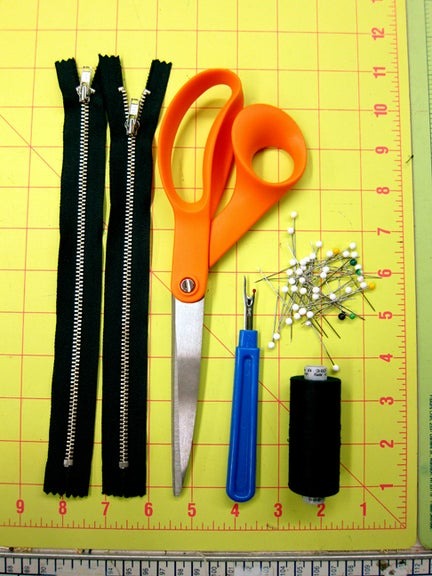
- Black thick thread
- 2 x 7” zippers
- Stitch ripper
- Scissors
- Pins
- Sewing machine
- Serger
- 1 exceptionally patient dog
- 2 people (1 to hold the dog, 1 to pin the jacket)
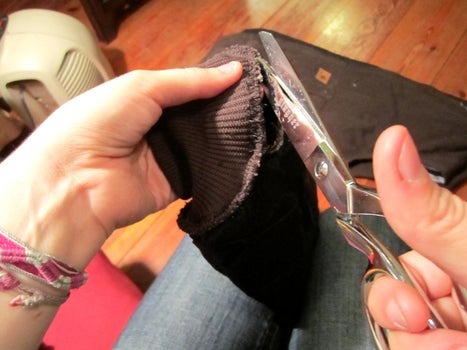
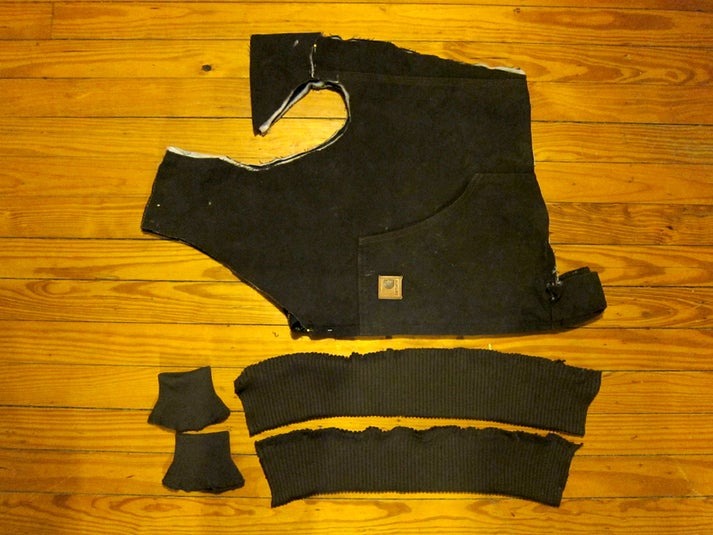
Step 2: Dismantle the Coat
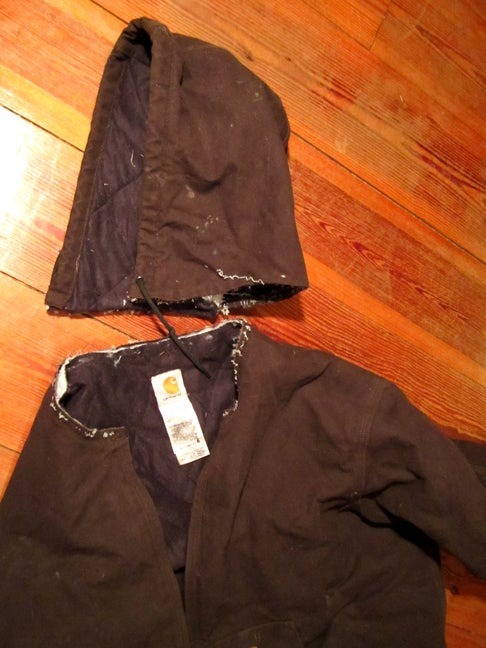
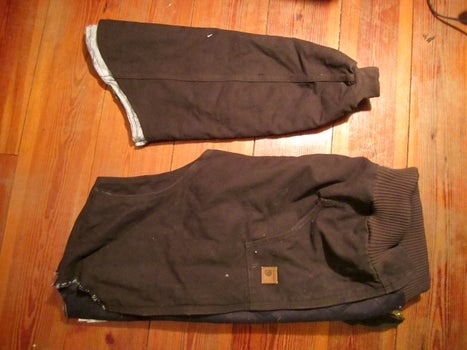
Use the stitch ripper to remove the hood, sleeves, elastic sleeve cuffs, and elastic waistband. Leave the zipper intact.
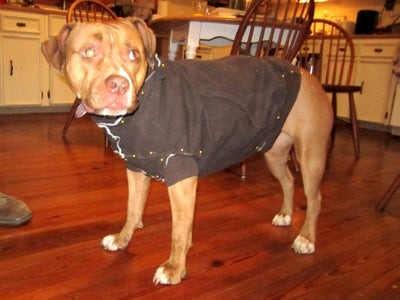
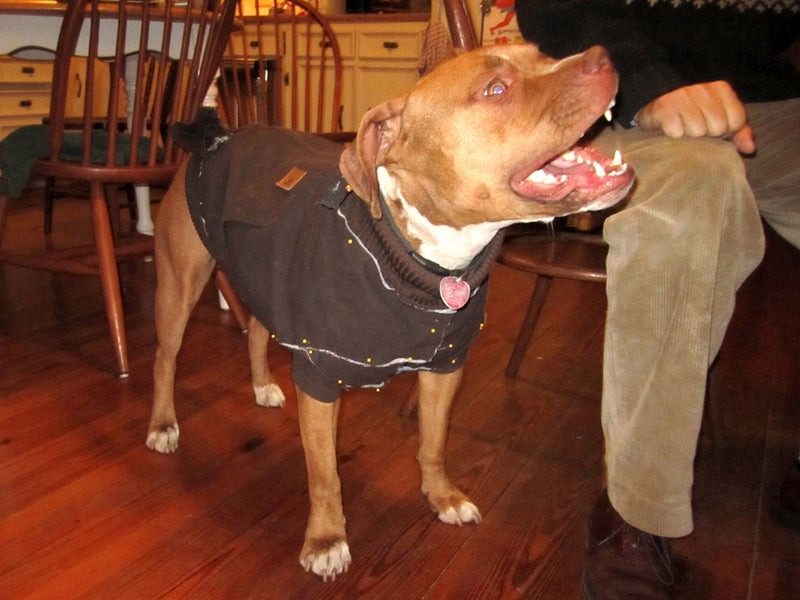
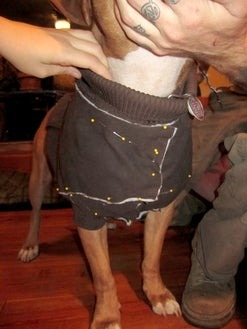
Step 3: Draping the Jacket
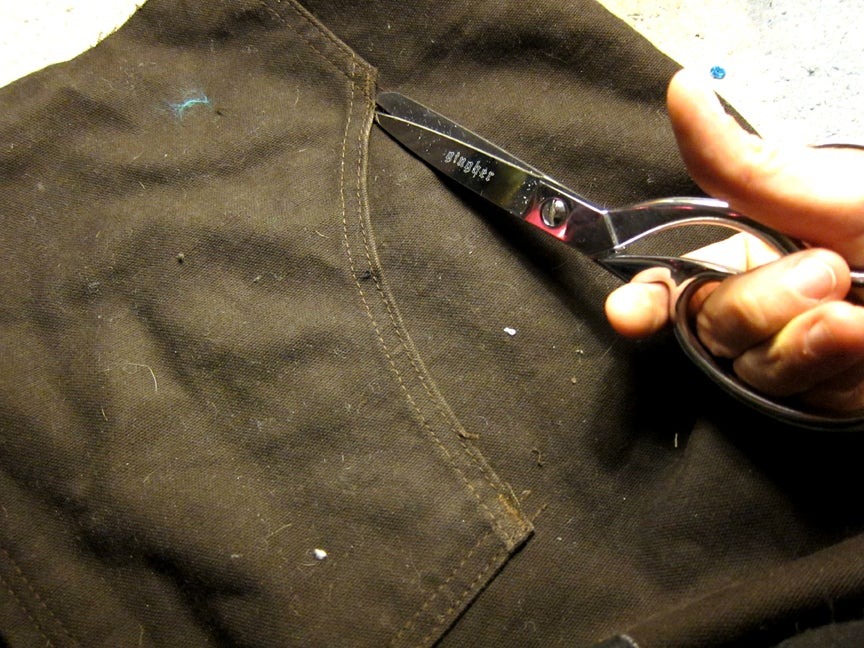
- Fit the chest: Pin the chest dimensions and cut along the pin lines with a 1/2” seam allowance.
- Determine armholes: Mark armhole positions for free shoulder movement.
- Establish neckline: Pin the neckline for comfort and movement.
- Connect neck to chest: Pin a chest piece to connect the neck and chest.
- Pin the entire jacket: Pin all seams together for final fitting.
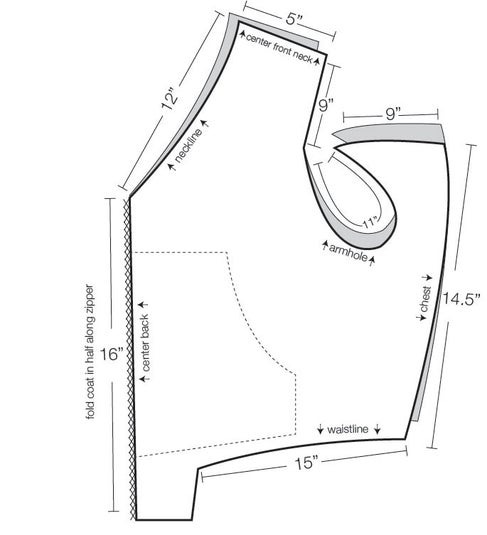
Step 4: Coat Pattern (Optional)
If you prefer, use provided pattern pieces and dimensions for a medium-sized dog.
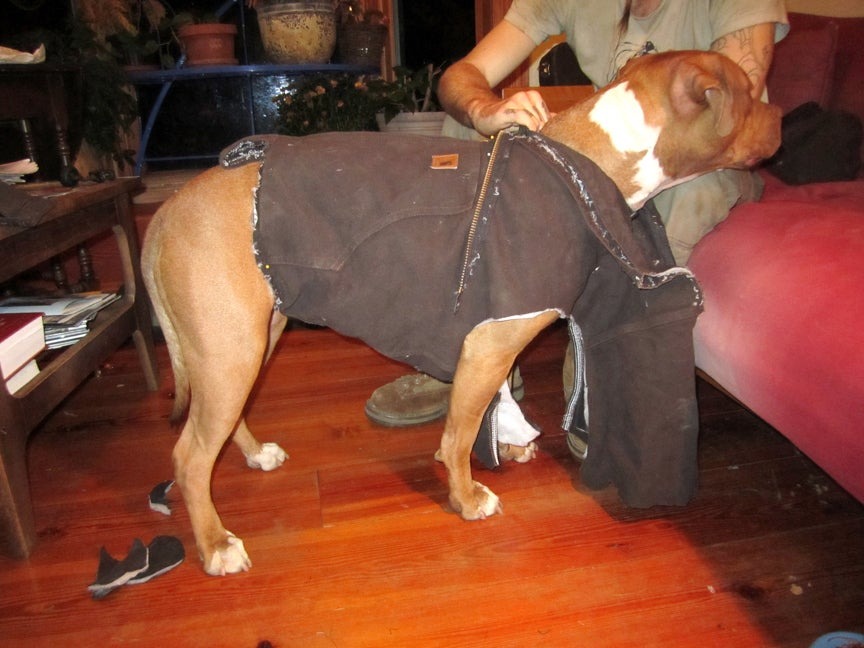
Step 5: Sewing the Coat
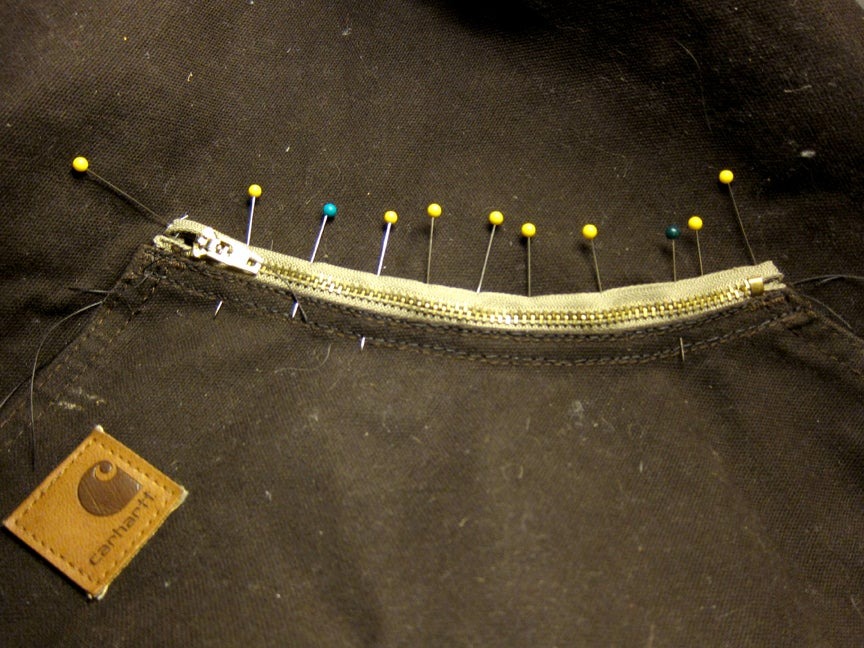
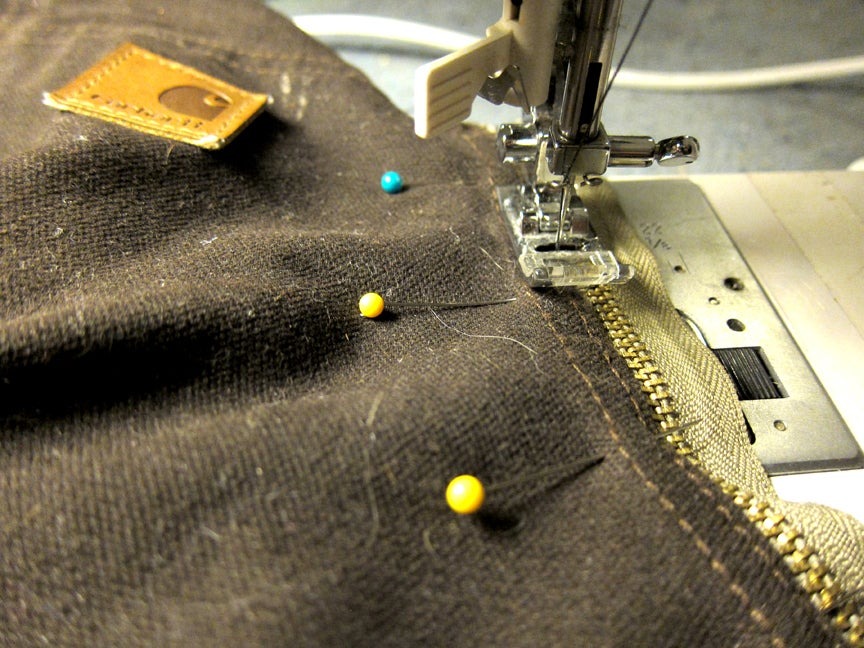
- Add zippers to pockets: Undo pocket stitching, pin zippers, and sew in place.
- Sew the torso: Sew chest and center front seams.
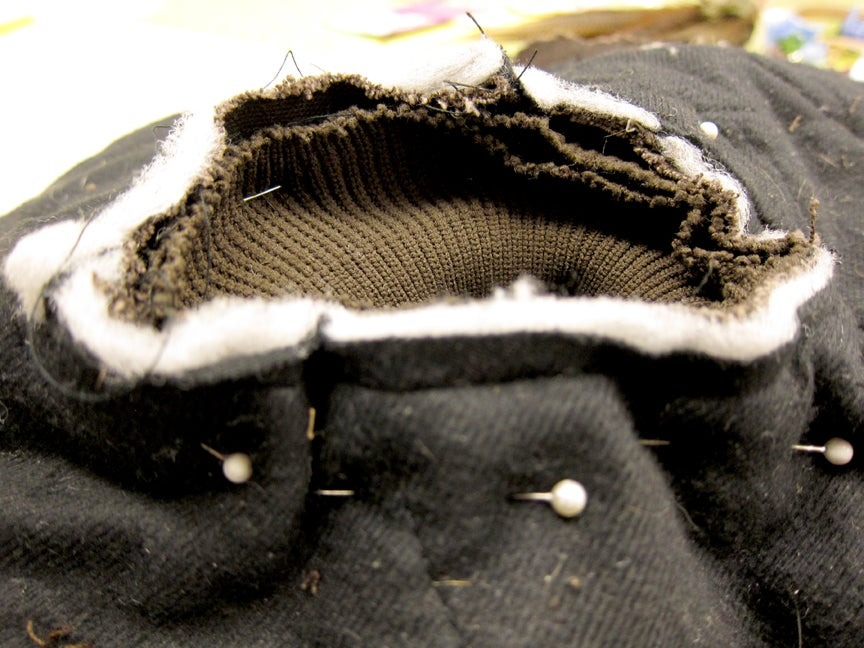
- Attach neck and waistbands: Pin and sew bands to outer layer, flip coat, pin to lining, sew, and reattach to zipper.
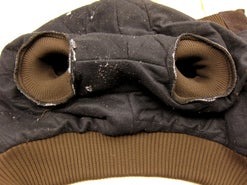
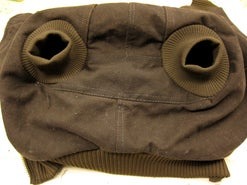
- Sew arm bands: Pin cuffs to armholes on both layers and sew, then serge seams.
Conclusion:
With a bit of patience and sewing skills, you can create a stylish and warm Carhartt coat for your beloved pup. Now, they can brave the winter weather in comfort and style!