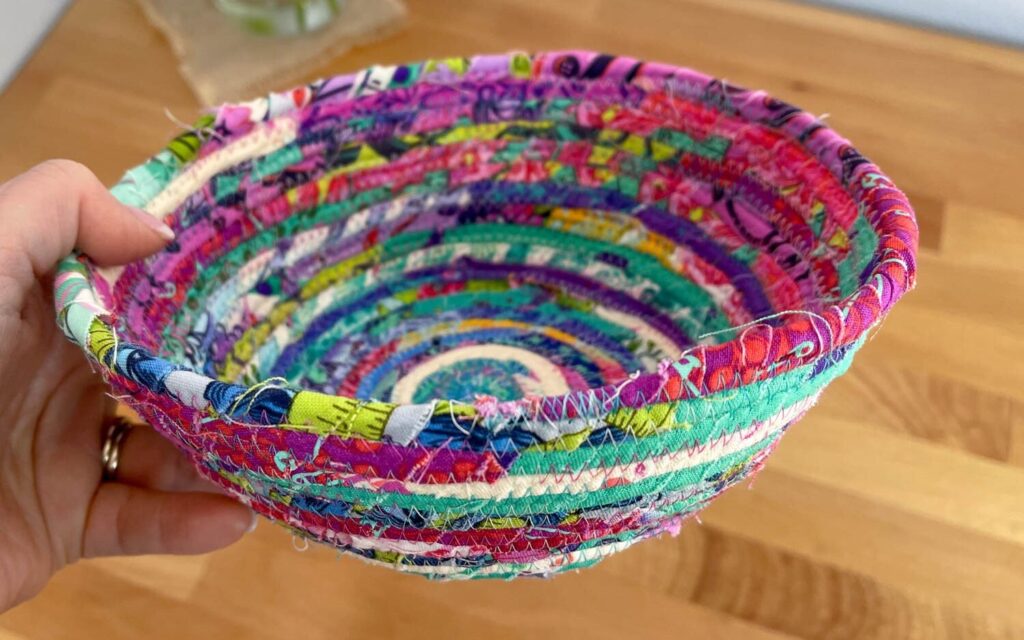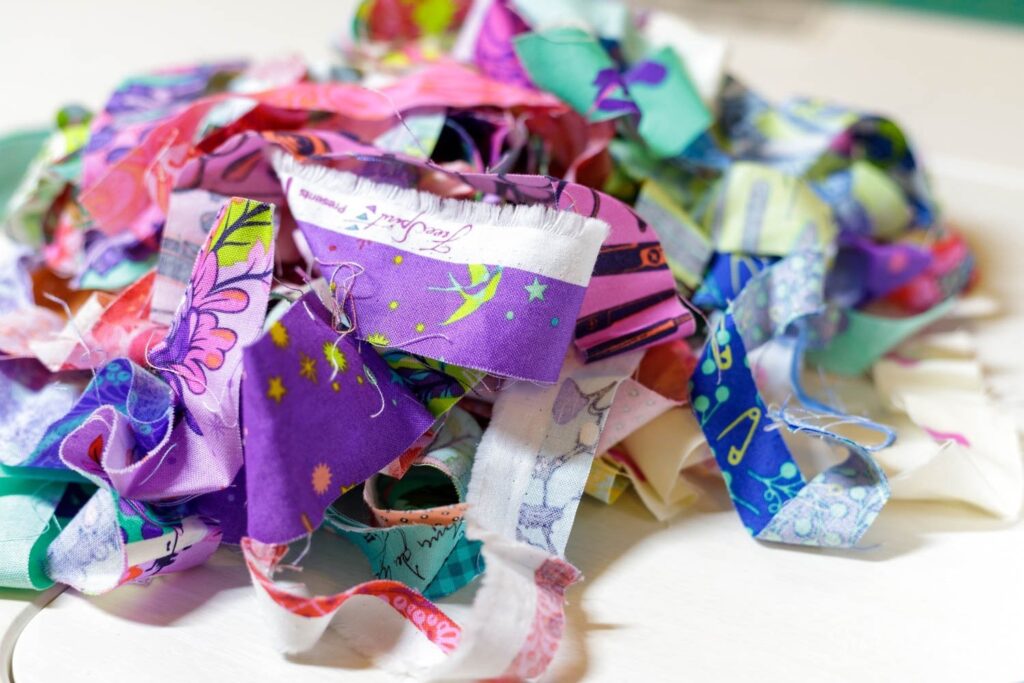
Introduction: Welcome to our step-by-step tutorial on making a fabric-covered rope bowl! If you’re someone who loves to save fabric scraps and has a stash of selvages, this project is perfect for you. Not only is it a great way to use up those scraps, but it’s also an easy and enjoyable sewing project that you can complete in under an hour.
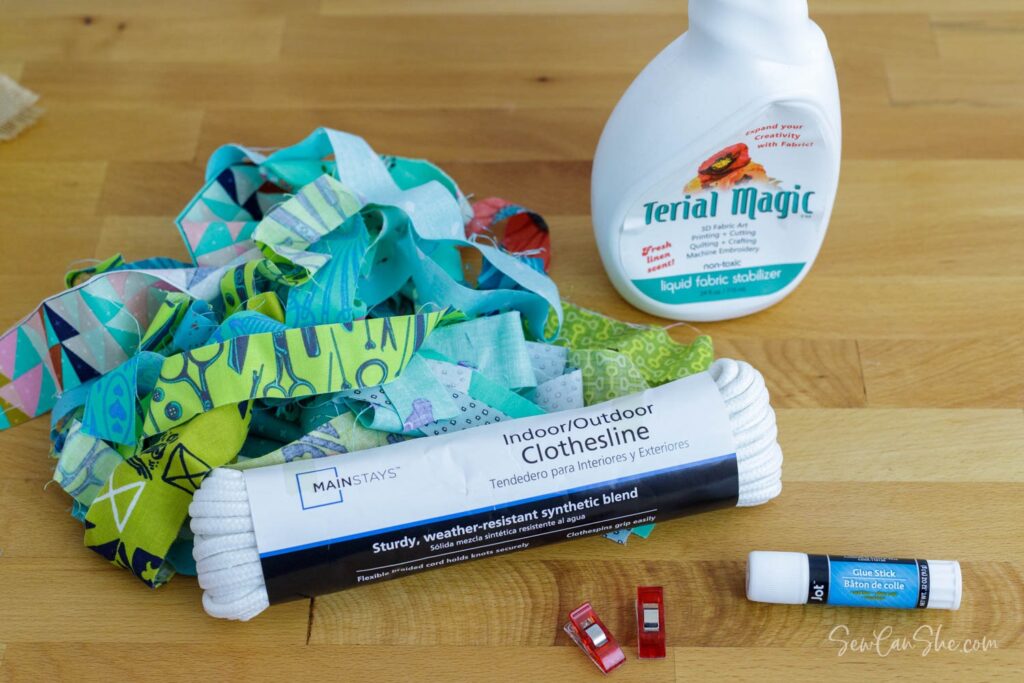
Materials Needed:
- Fabric strips (preferably long and skinny)
- Matching sewing thread
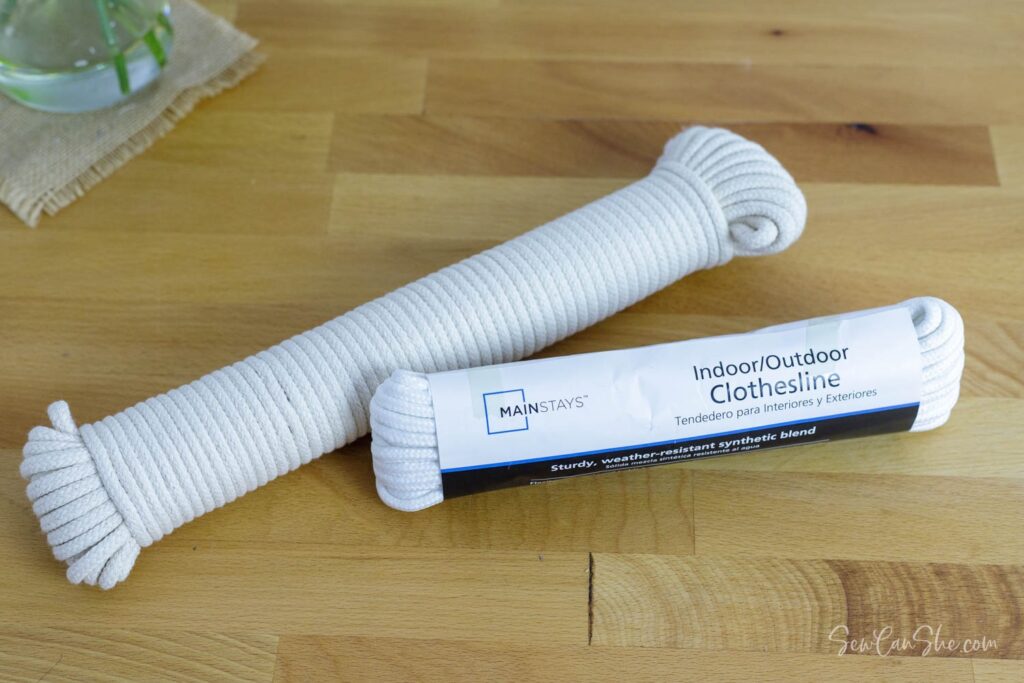
- Clothesline rope (1/4″ thickness recommended)
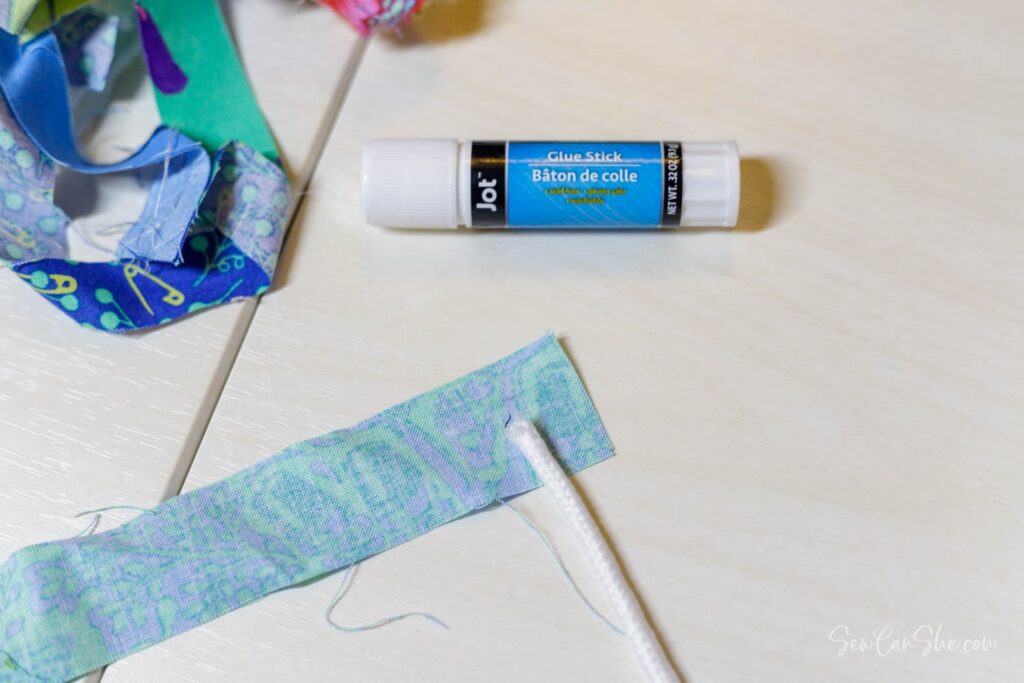
- Glue stick
- Sewing machine with a zig-zag stitch
- Heavy-duty sewing machine needle (sharp 100/16)
- Sewing pins and clips
- Scissors Optional but helpful:
- Sewing stiletto
- Terial Magic liquid fabric stabilizer
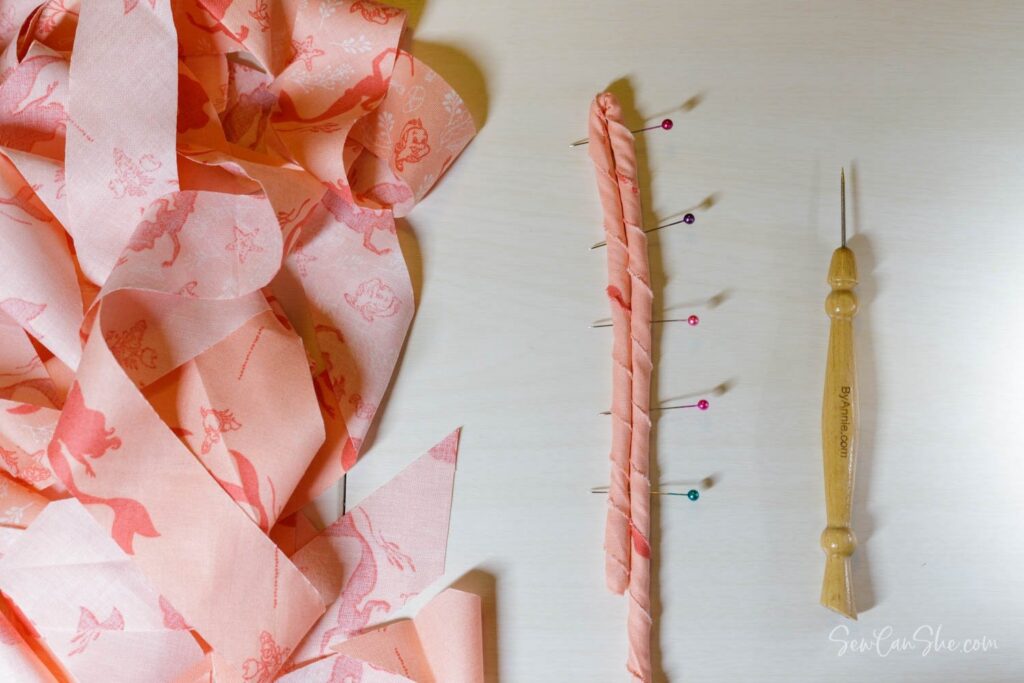
Step 1: Cutting Fabric Strips If you already have a stash of fabric scraps, you’re ahead of the game! Cut your fabric strips to be between 1/2″ to 1 1/2″ wide and at least 10″ long. If cutting from yardage, consider cutting bias strips for smoother wrapping around the rope.
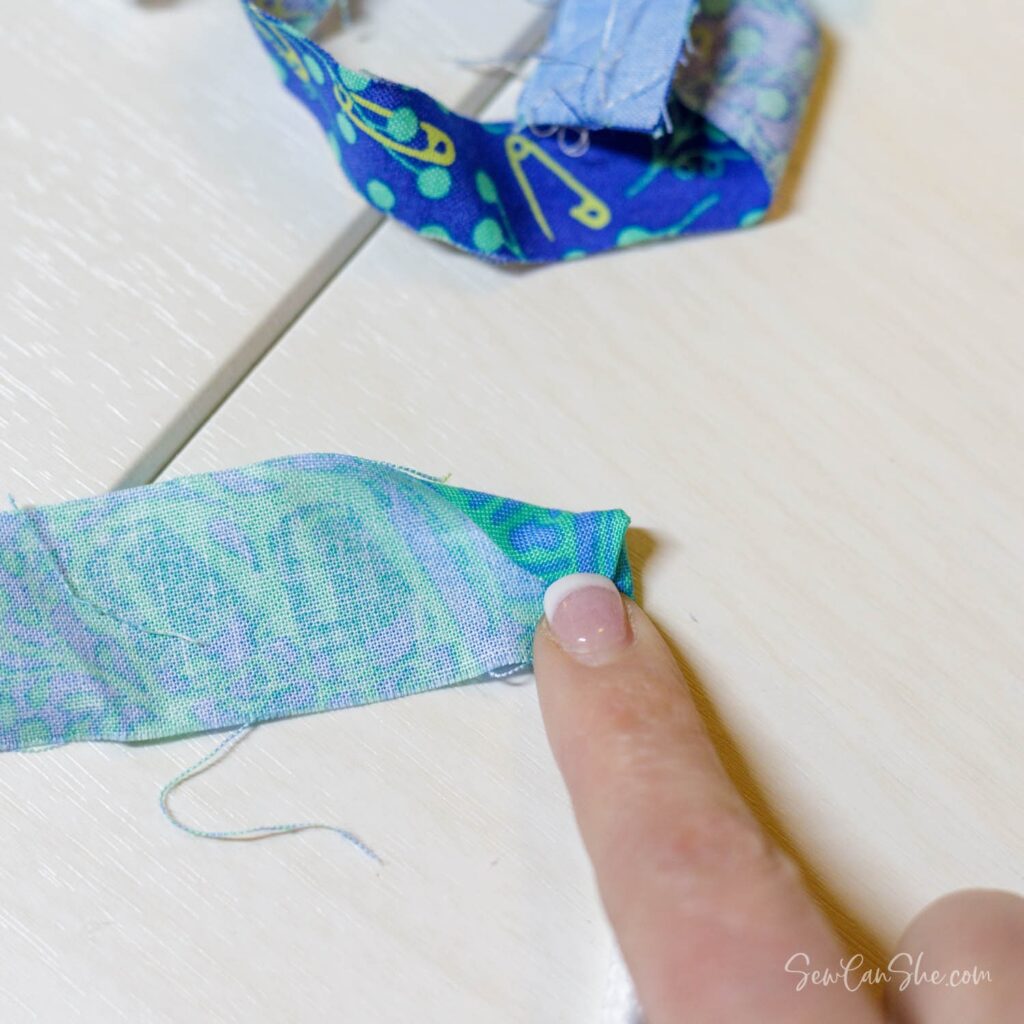
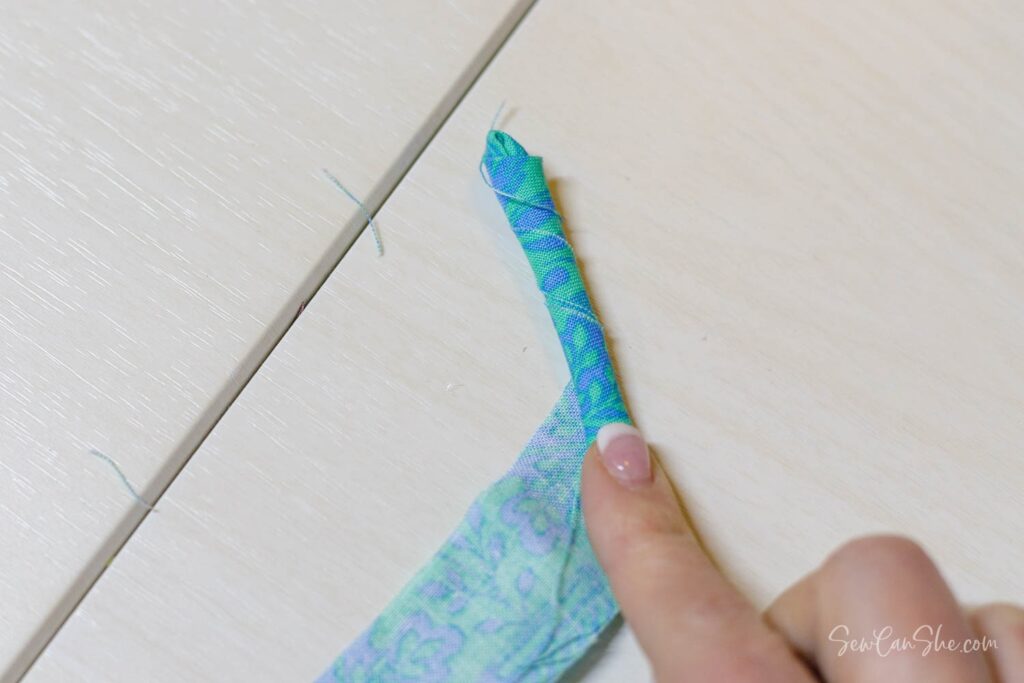
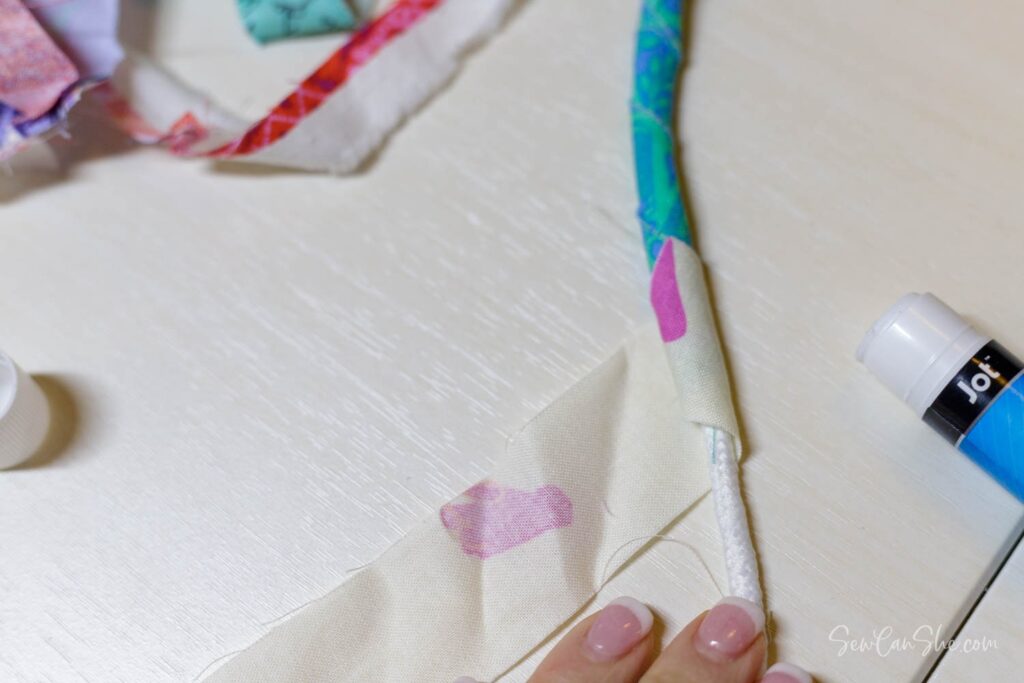
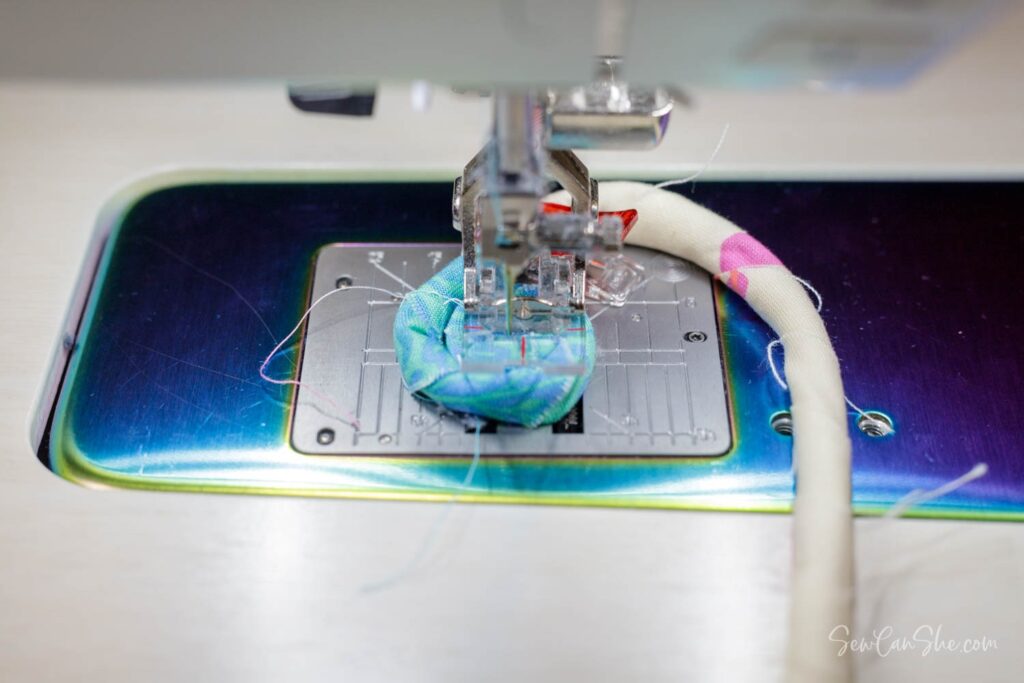
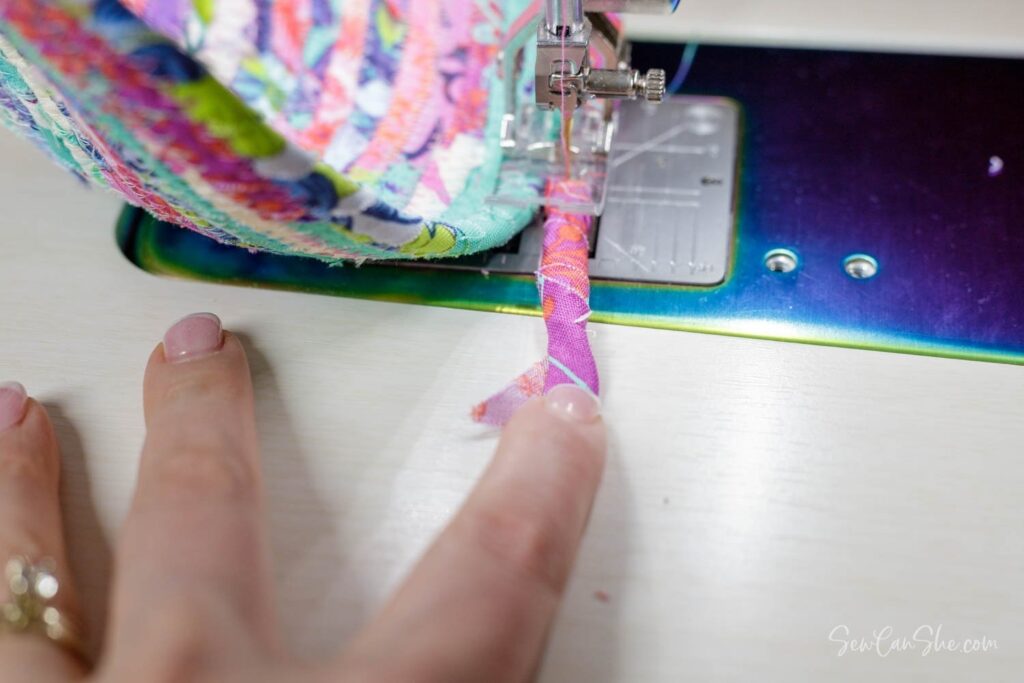
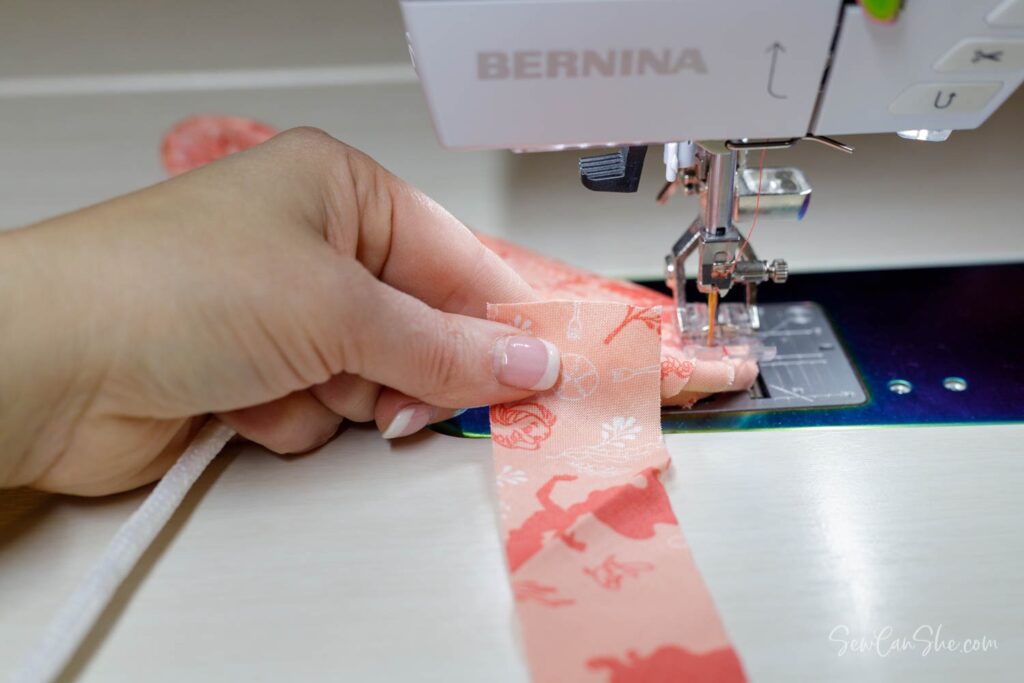
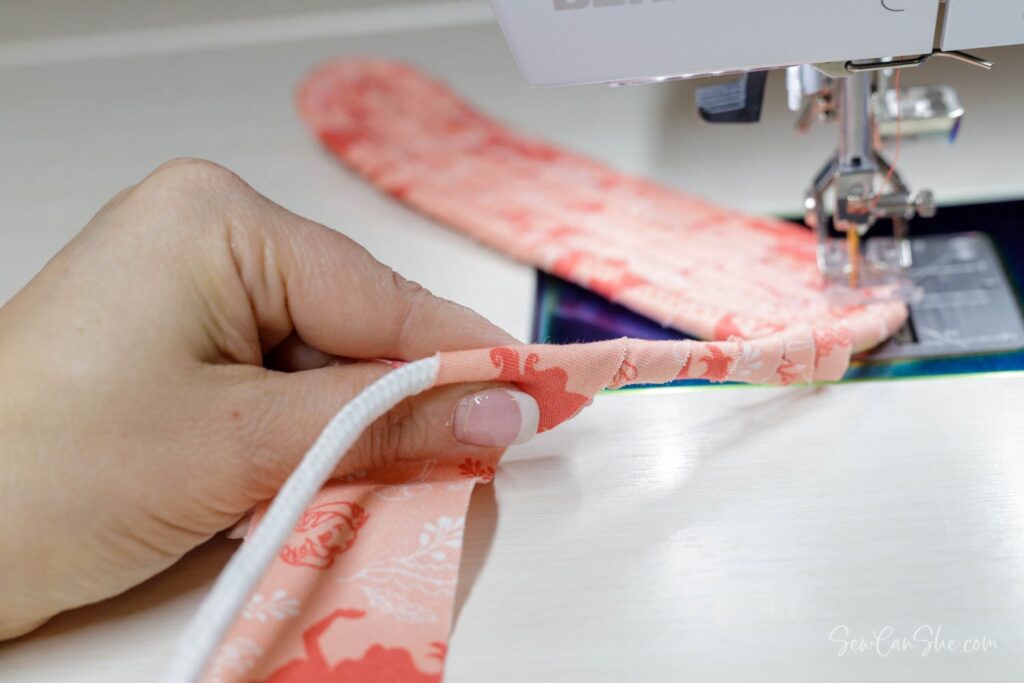
Step 2: Starting the Bowl Choose a fabric strip to start with and apply glue to one end. Lay the end of the clothesline rope on top of the glued area and wrap the fabric around it, folding the top edge down as you go. Continue wrapping the fabric around the rope, applying glue to secure the end of each strip and overlapping them slightly.
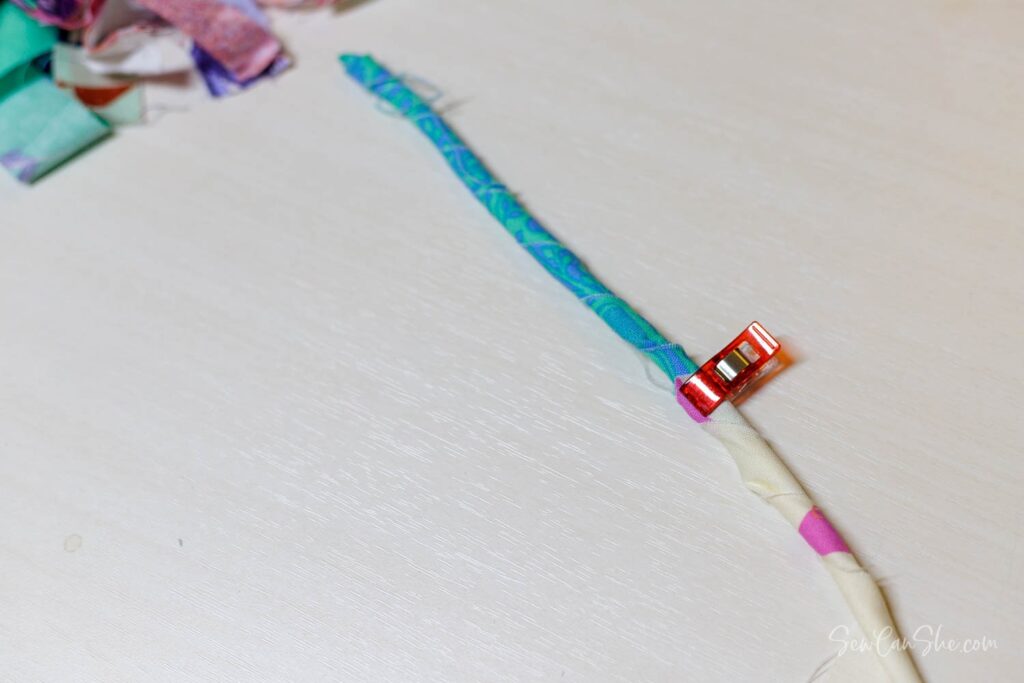
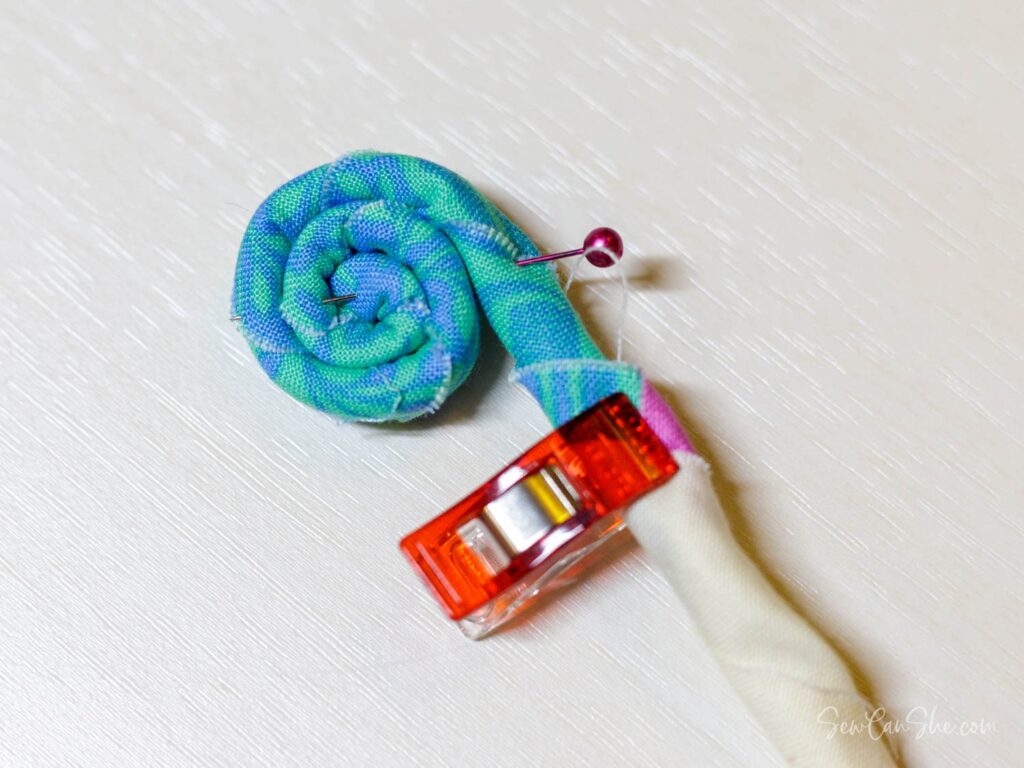
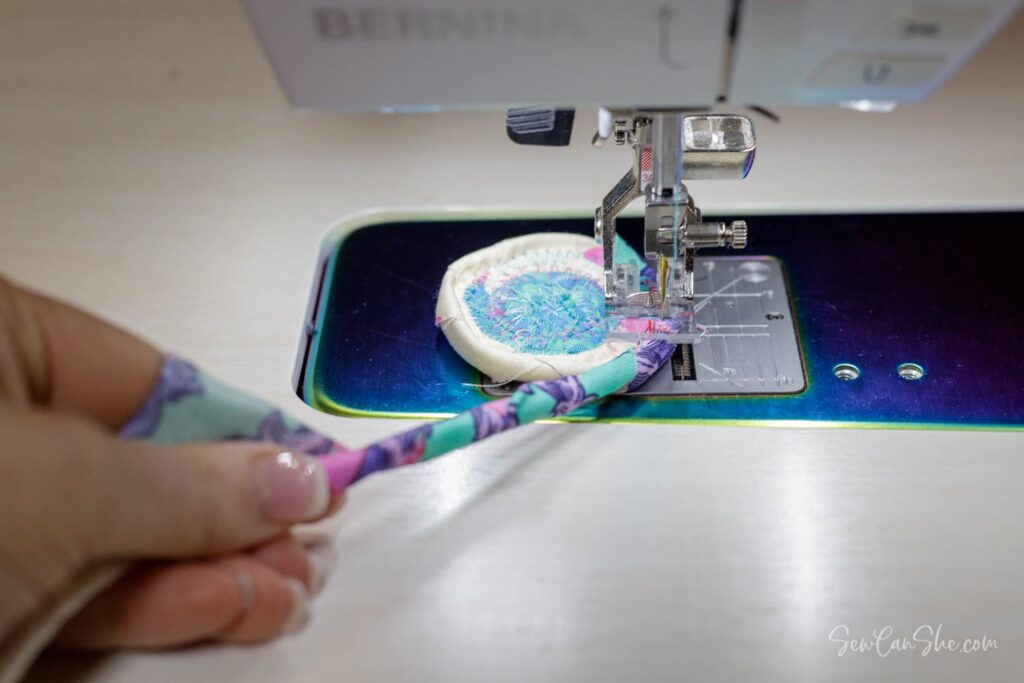
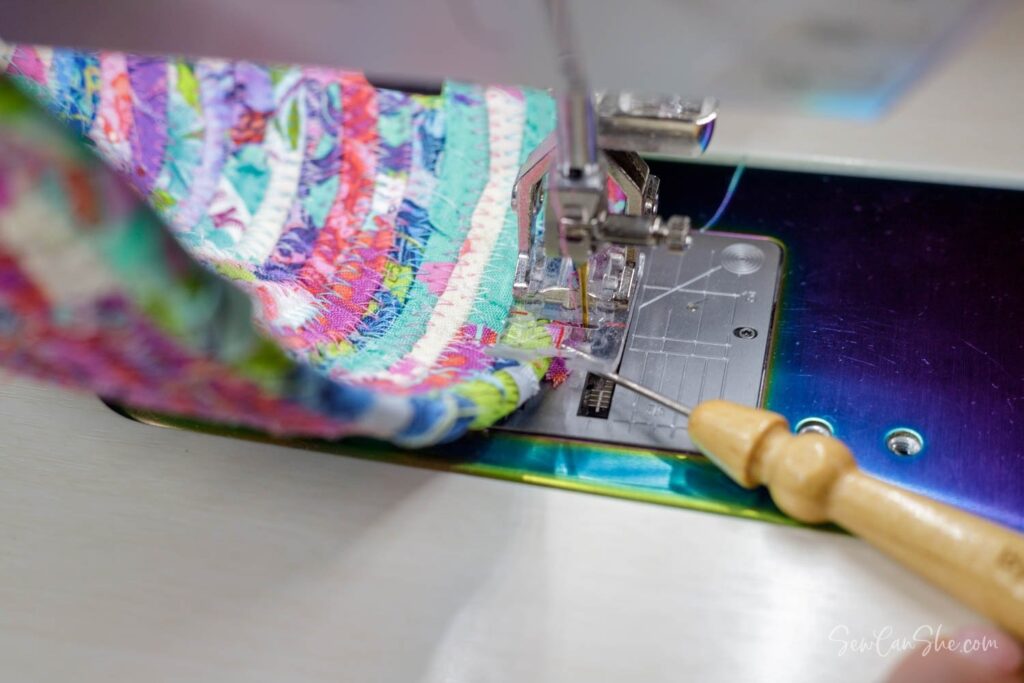
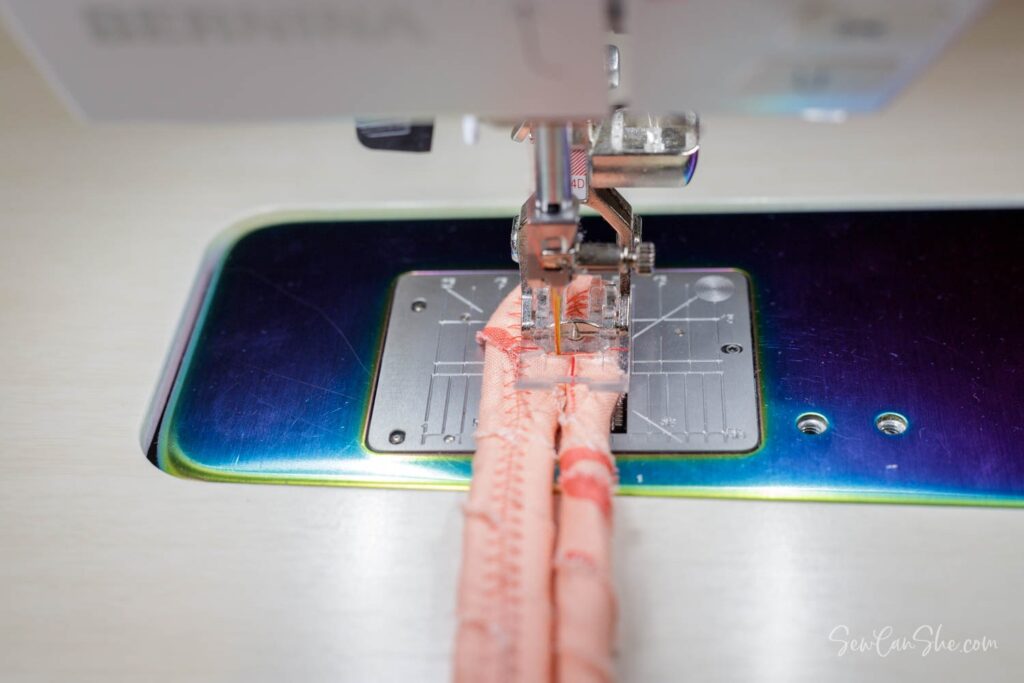
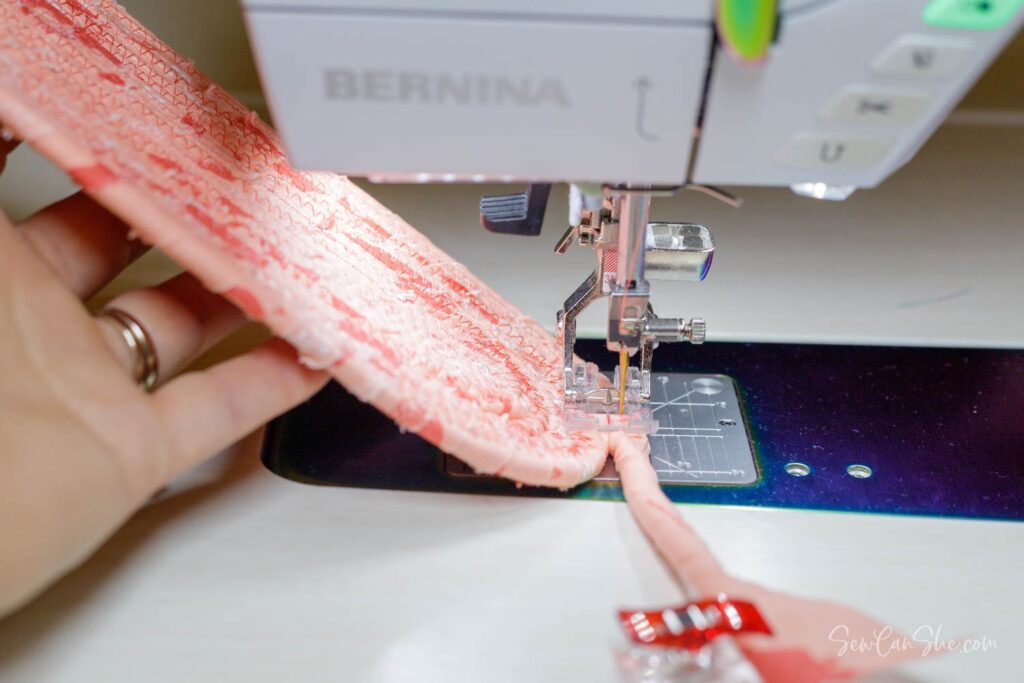
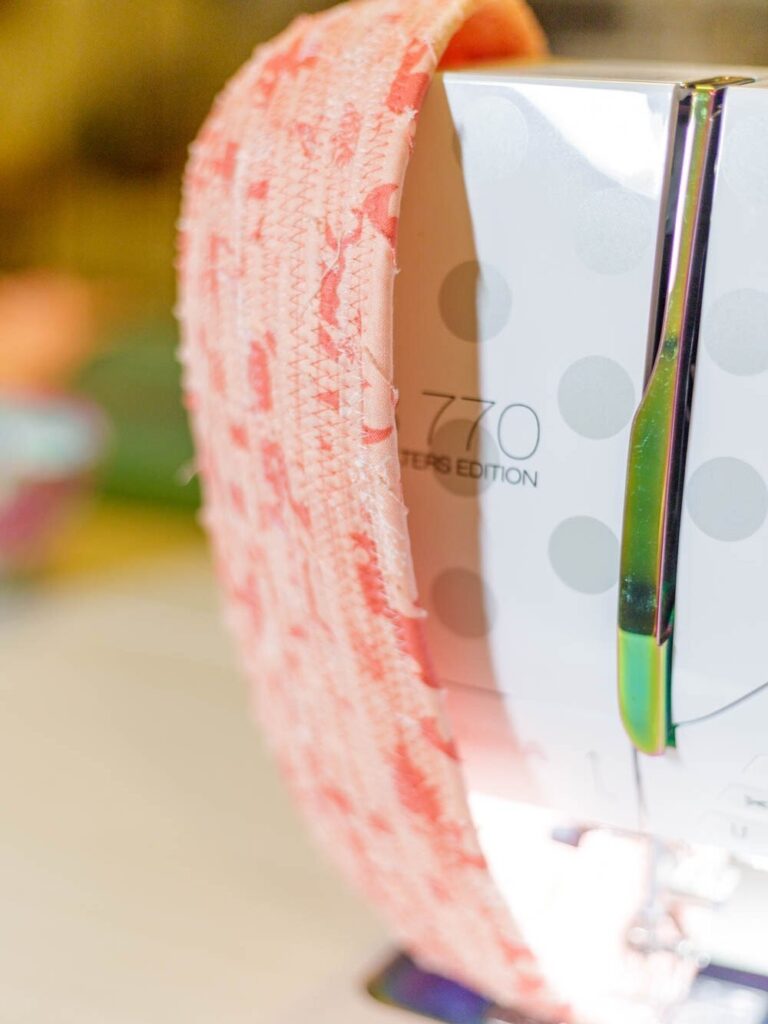
Step 3: Sewing the Coil Once you’ve wrapped enough fabric around the rope to form a coil, use a straight stitch to sew an ‘X’ on the coil to hold it together. Then, switch your sewing machine to a zig-zag stitch and begin sewing around the coil, gradually building up the sides of the bowl.
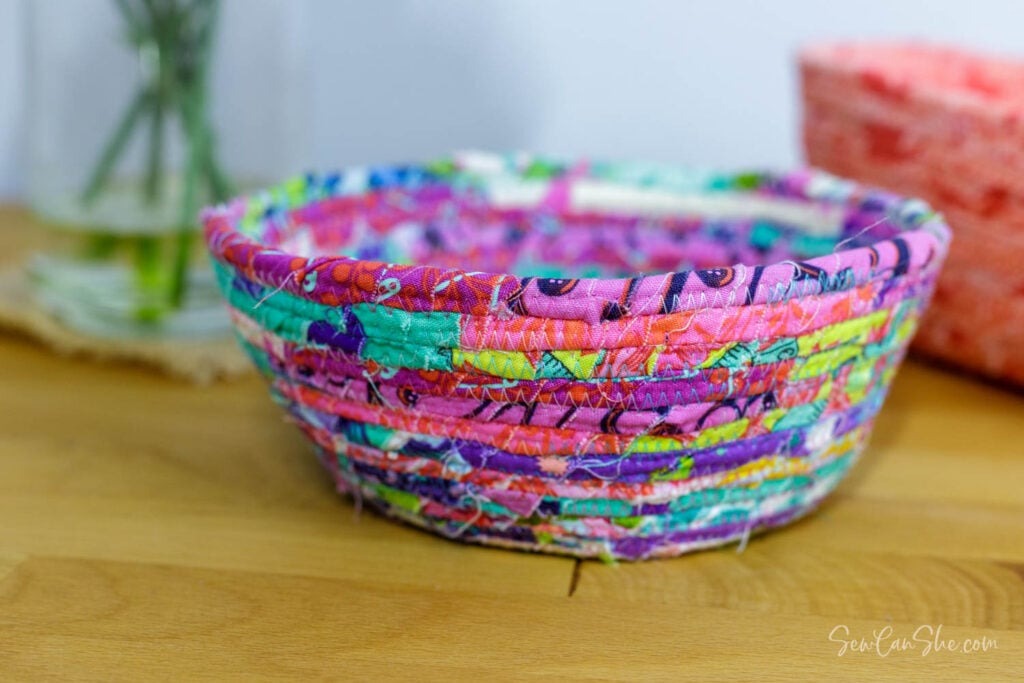
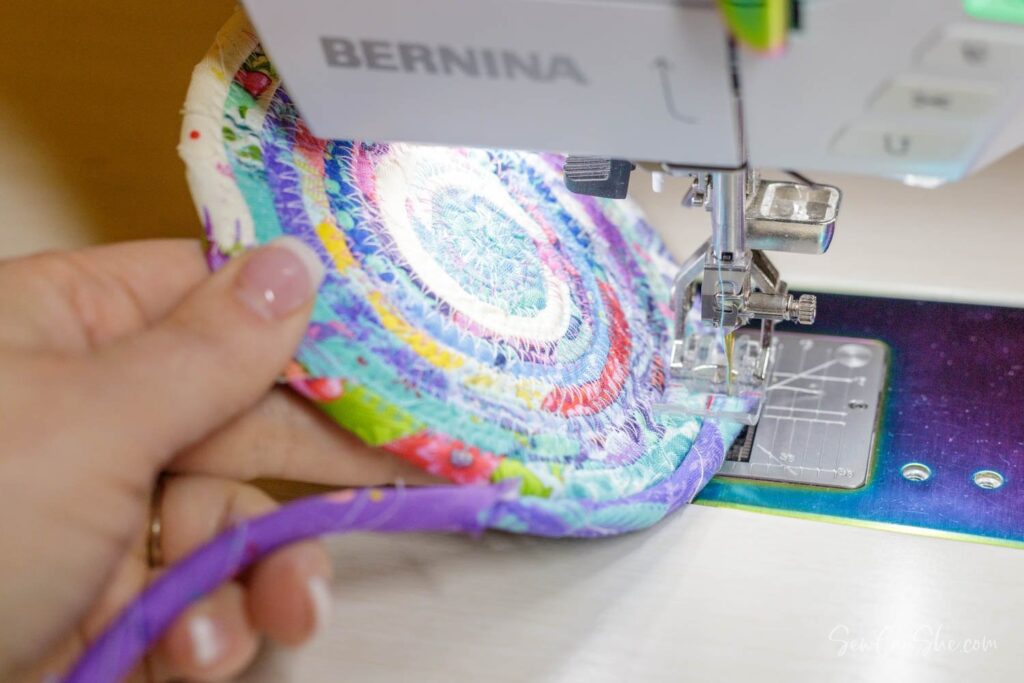
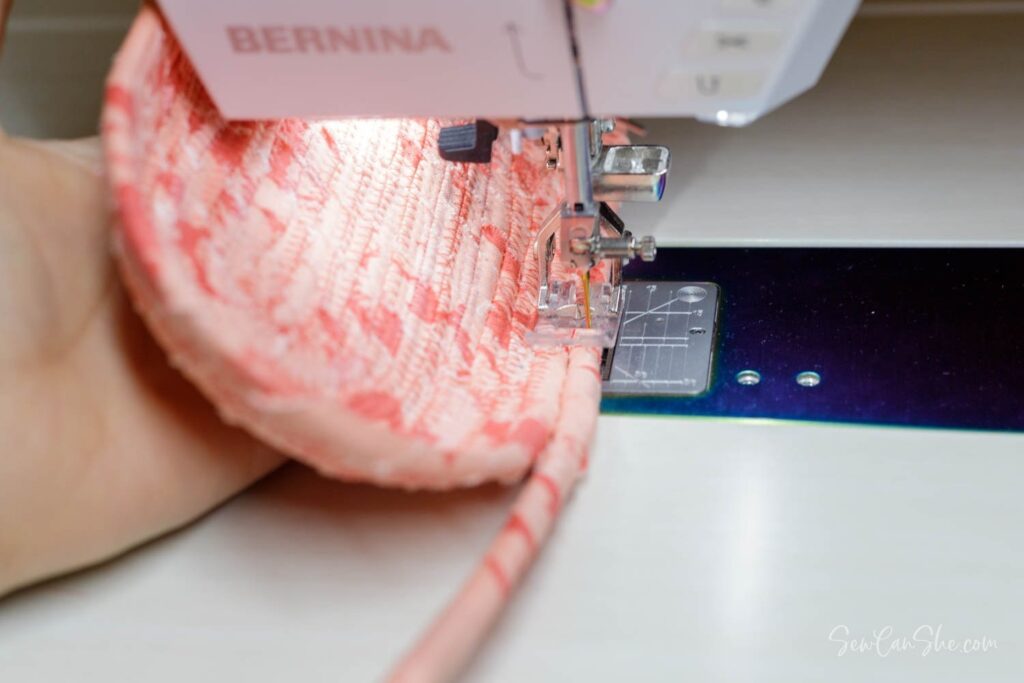
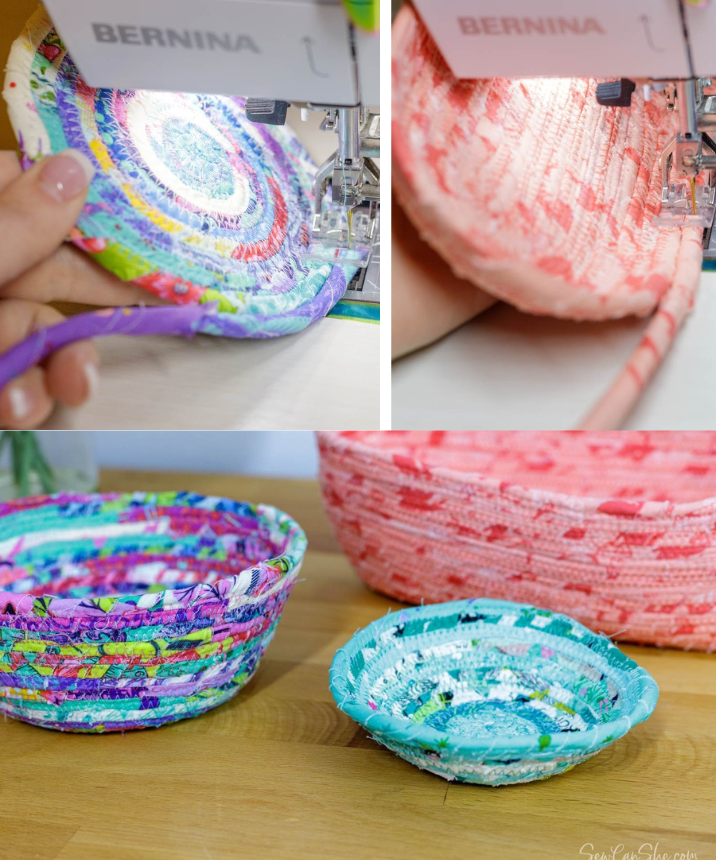
Step 4: Shaping the Bowl As you sew, experiment with different angles to shape the bowl. Use your left hand to lift the spiral at an angle, creating curves or steep sides, depending on your preference. Continue sewing until the bowl reaches your desired height.
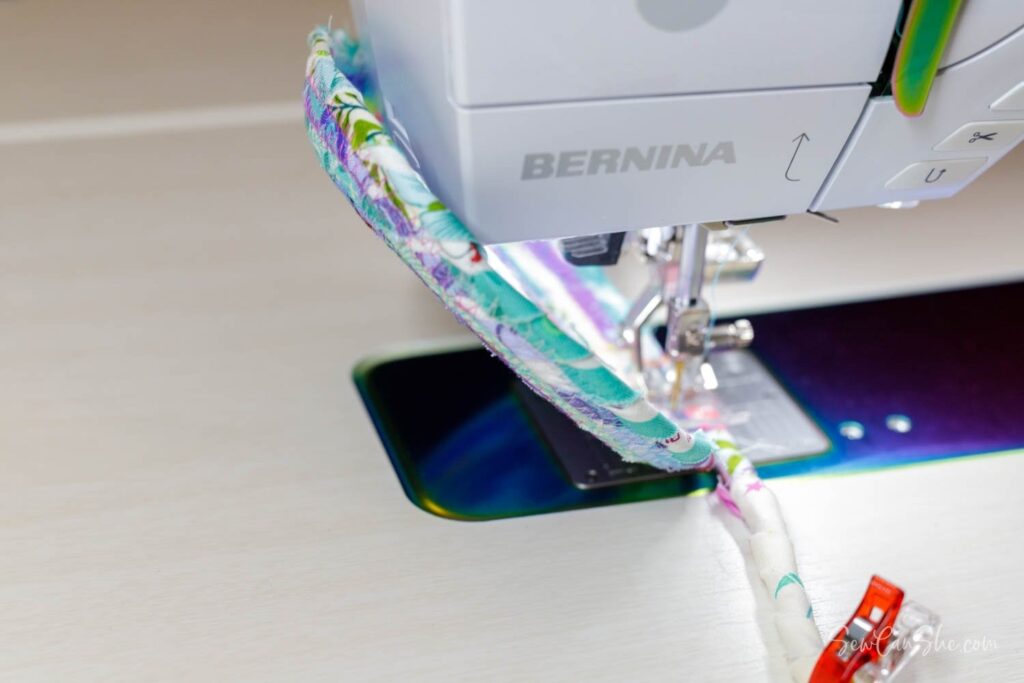
Step 5: Finishing Touches When you’re ready to finish sewing, cut the end of the rope at an angle and wrap it with fabric. Sew the fabric-covered rope to the top edge of the bowl to secure it, and trim any excess fabric or rope as needed.
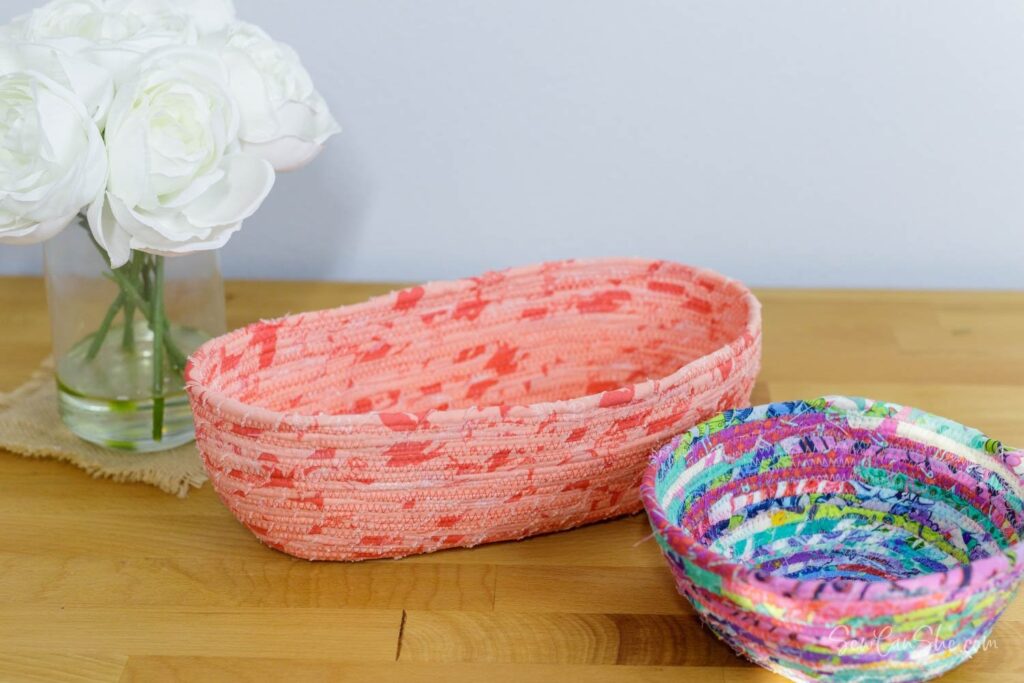
Conclusion: Congratulations, you’ve completed your fabric-covered rope bowl! Now that you’ve mastered this technique, you can use it to create trivets, baskets, placemats, and more. Experiment with different fabrics and rope sizes to customize your creations, and don’t forget to share your finished projects with us on social media. Happy sewing!