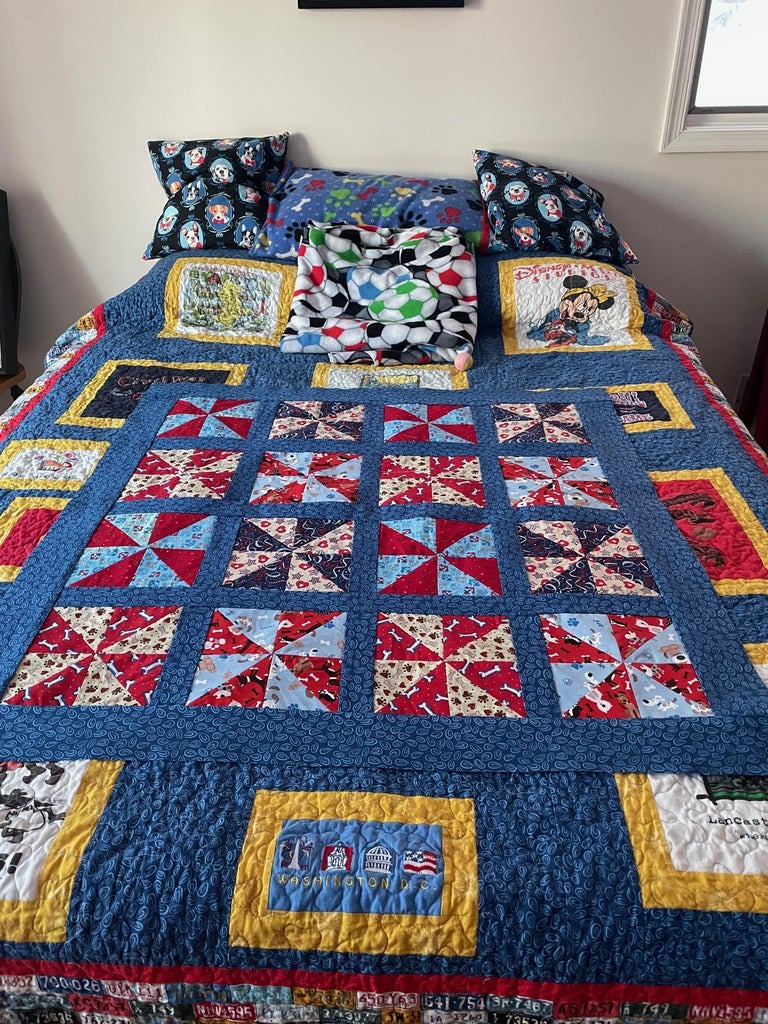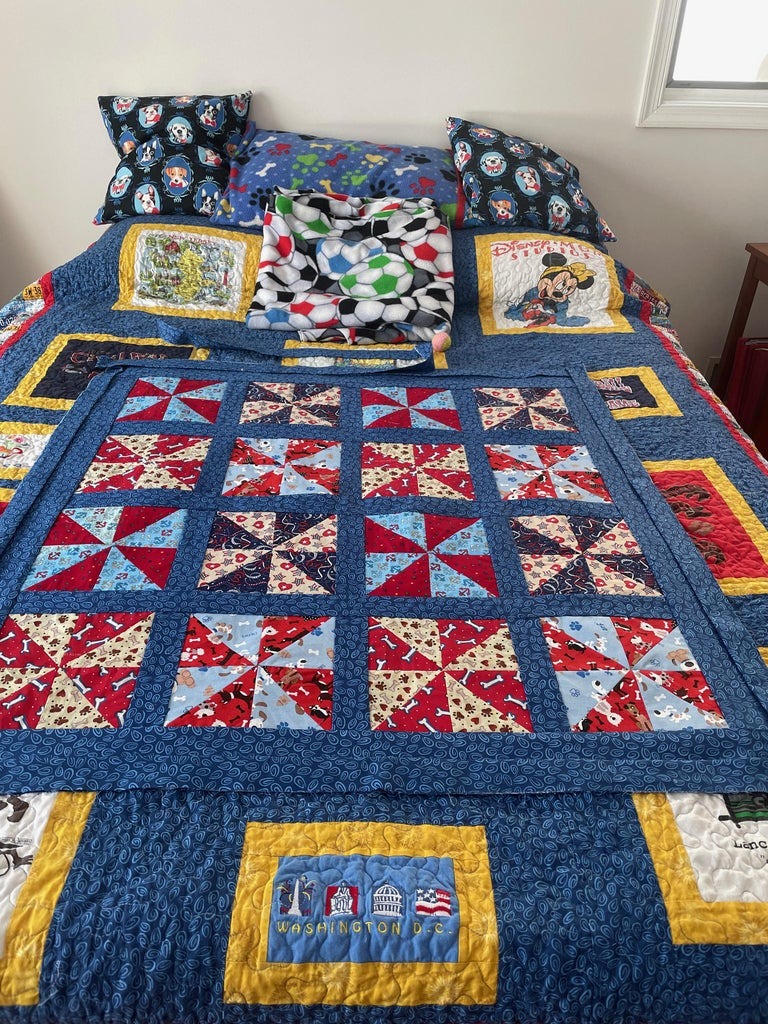
Are you ready to embark on a quilting adventure and create a beautiful Kaleidoscope Pinwheel Quilt filled with memories and love? Join me as I walk you through each step of this rewarding journey.
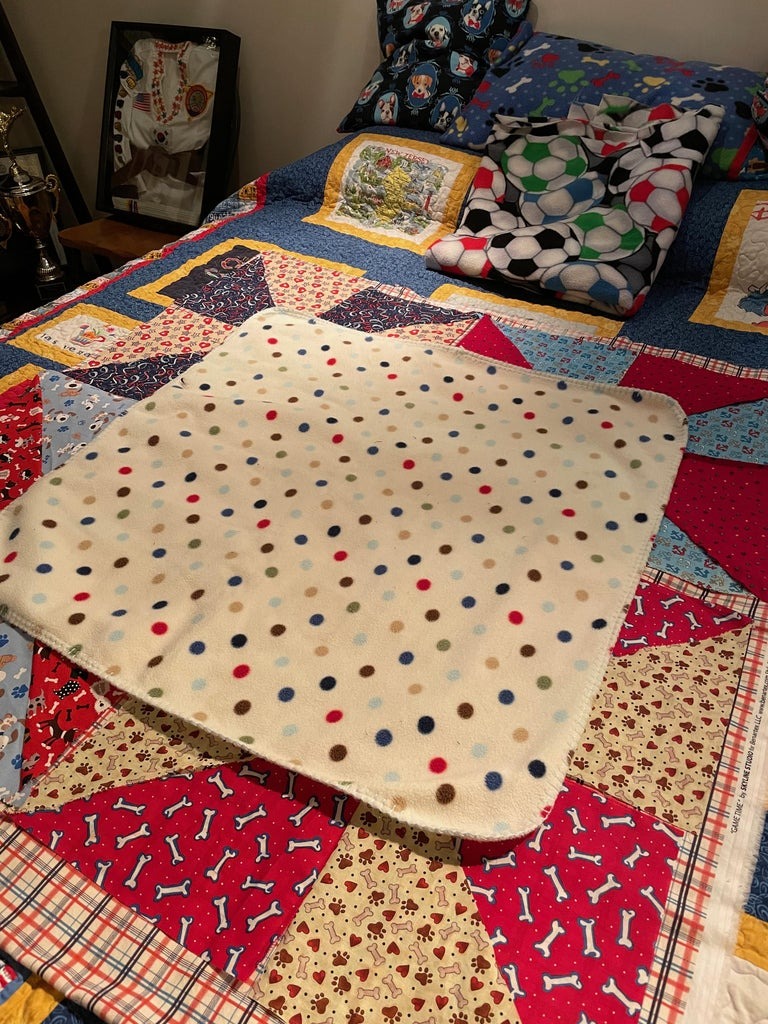
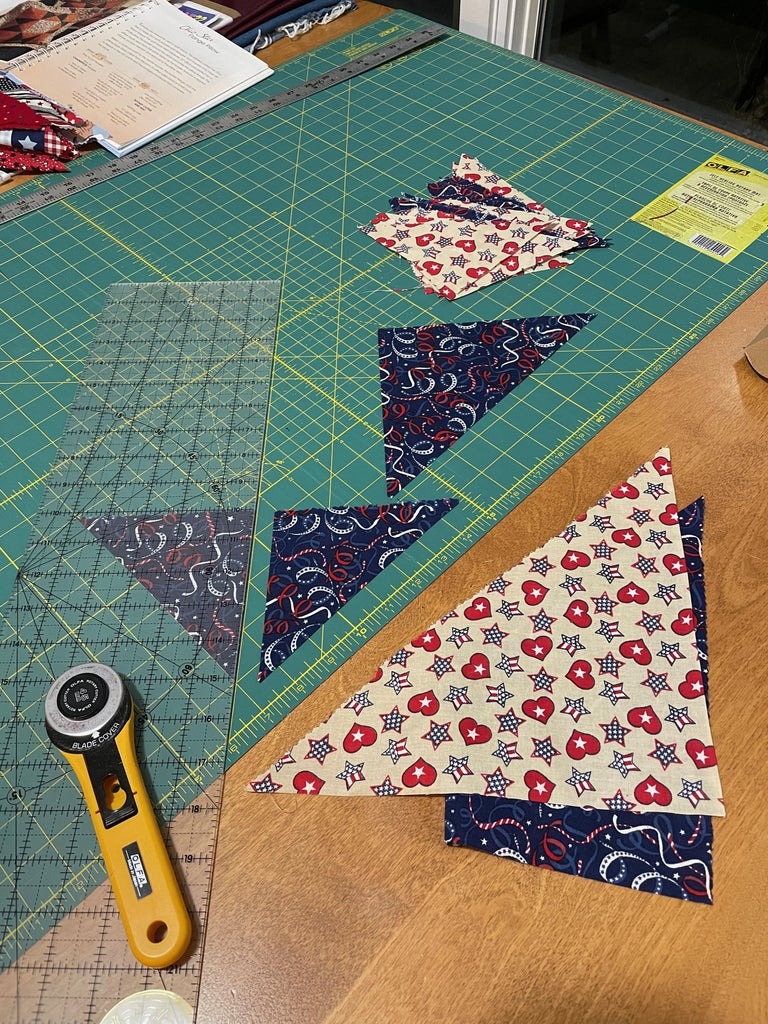
Step 1: Inspiration and Preparation Before diving into the quilting process, take some time to select a pattern that speaks to you. As a relatively new quilter, I chose the Kaleidoscope Pinwheel Quilt for its simplicity and charm. Gather your supplies, including a self-healing cutting mat, quilting ruler, rotary cutter, and fabric scraps rich in color and sentimentality.
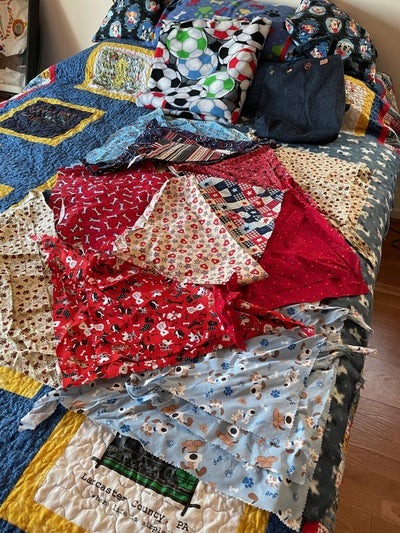
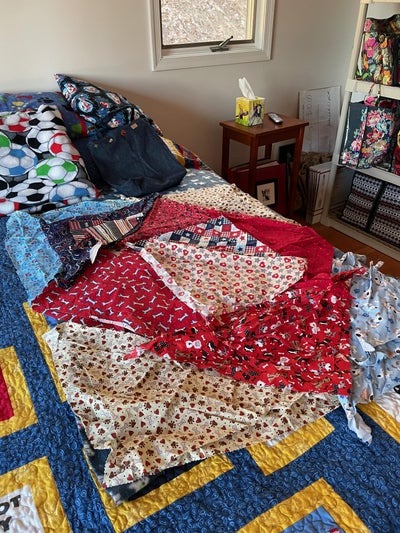
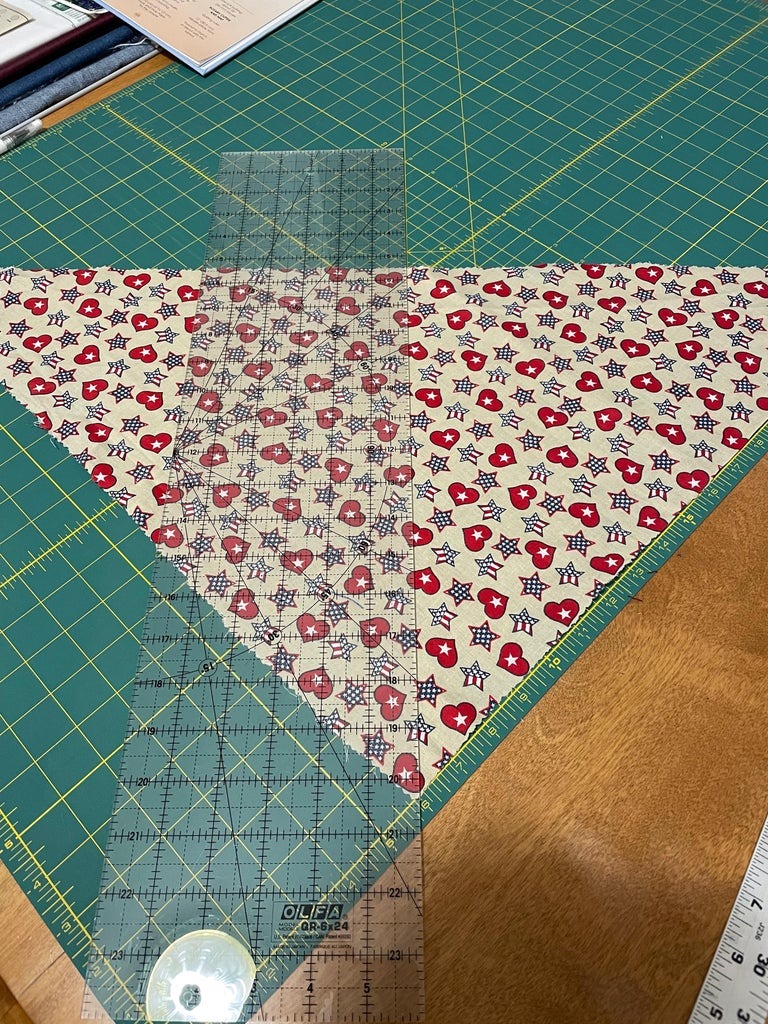
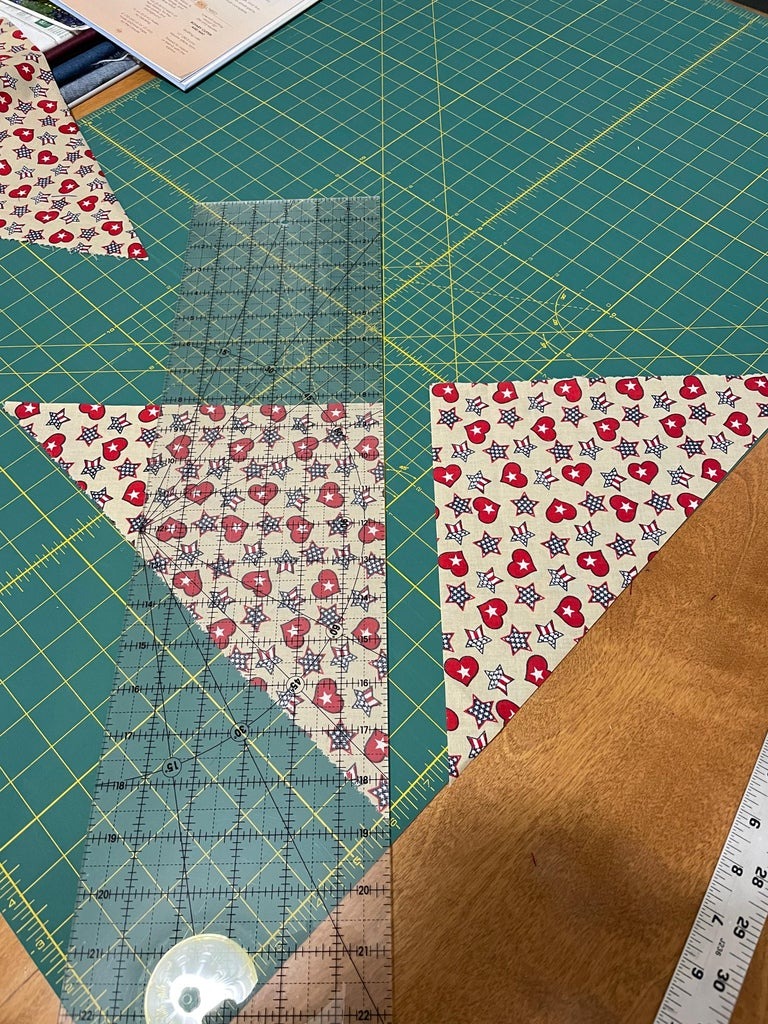
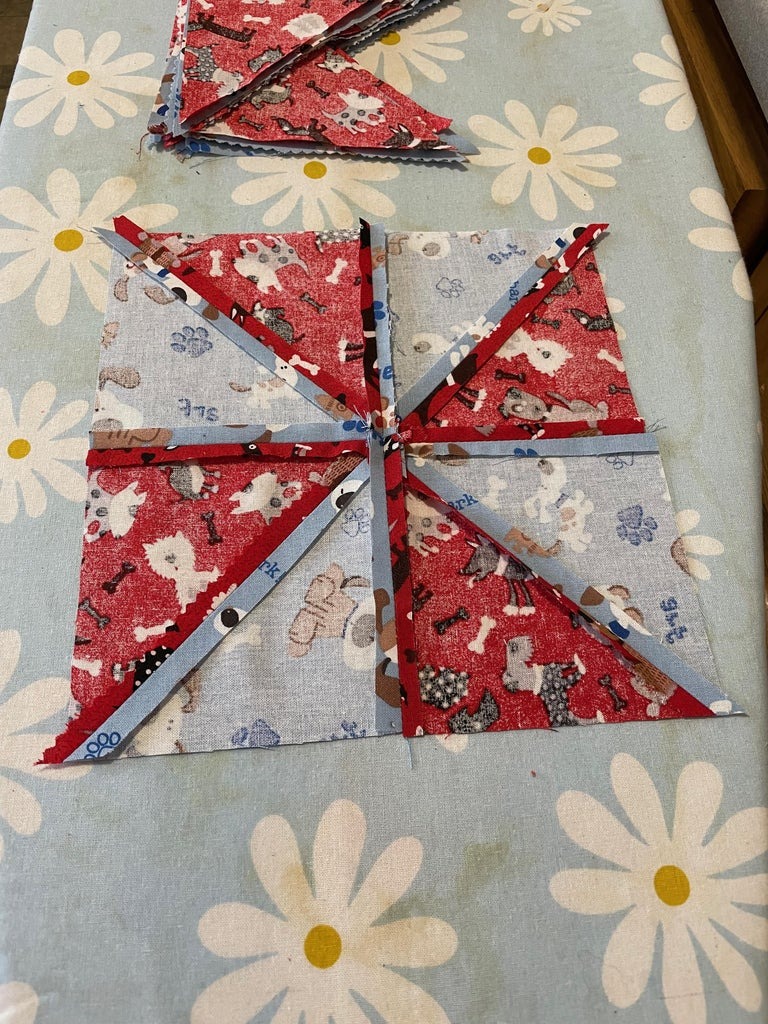
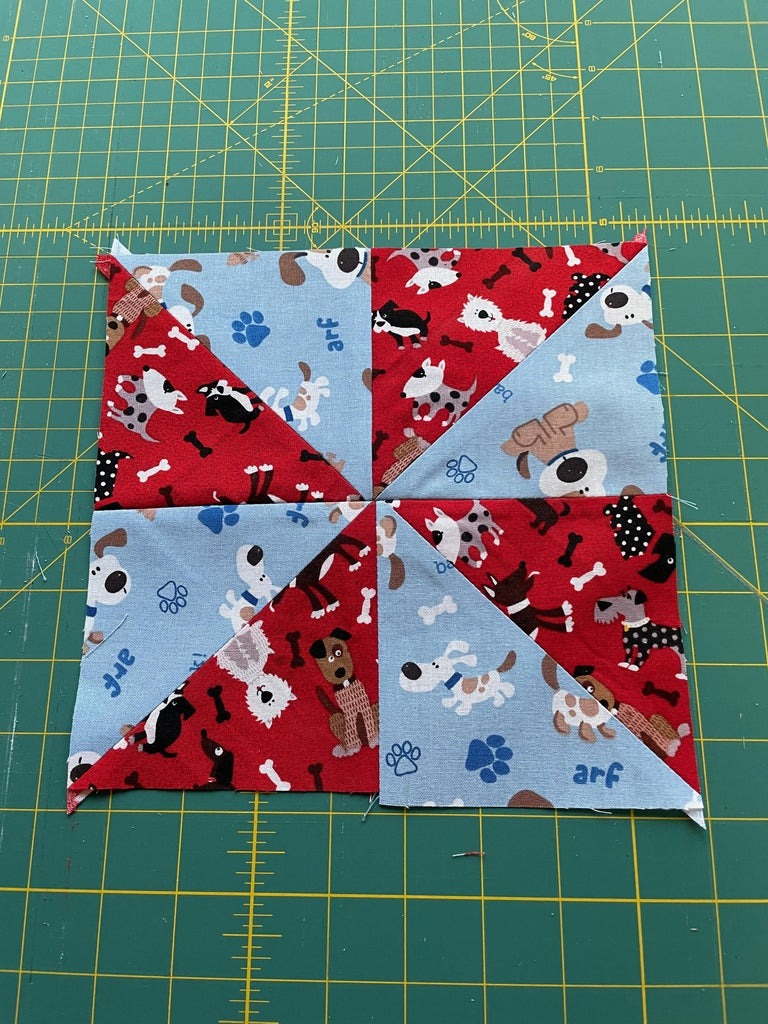
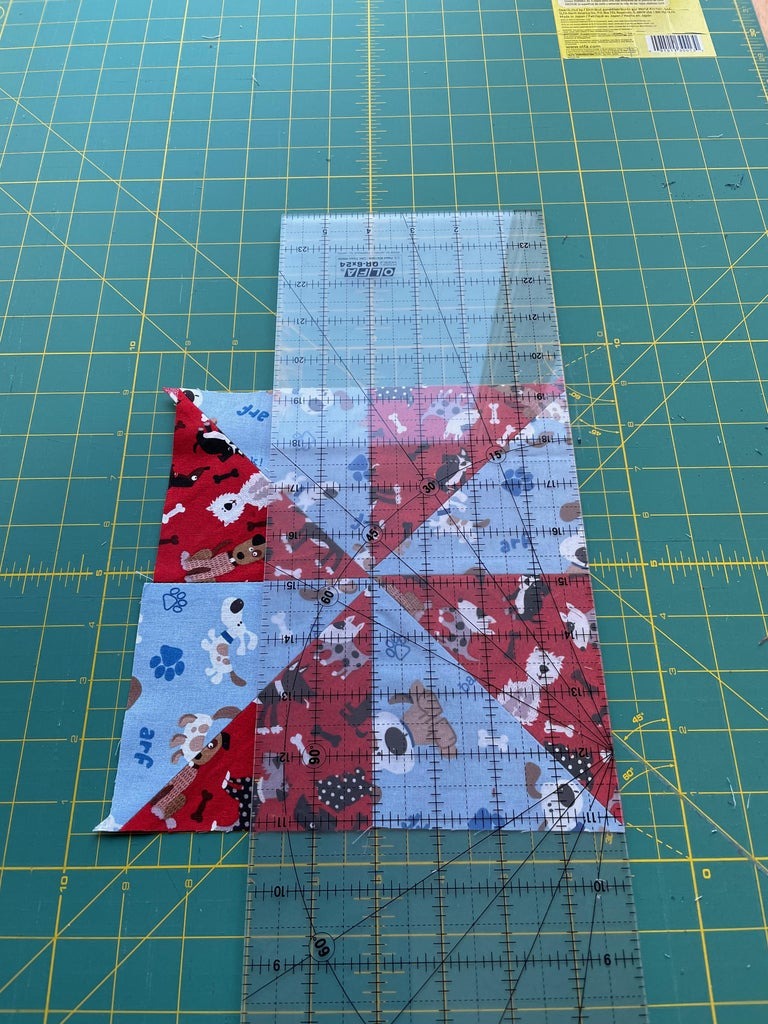
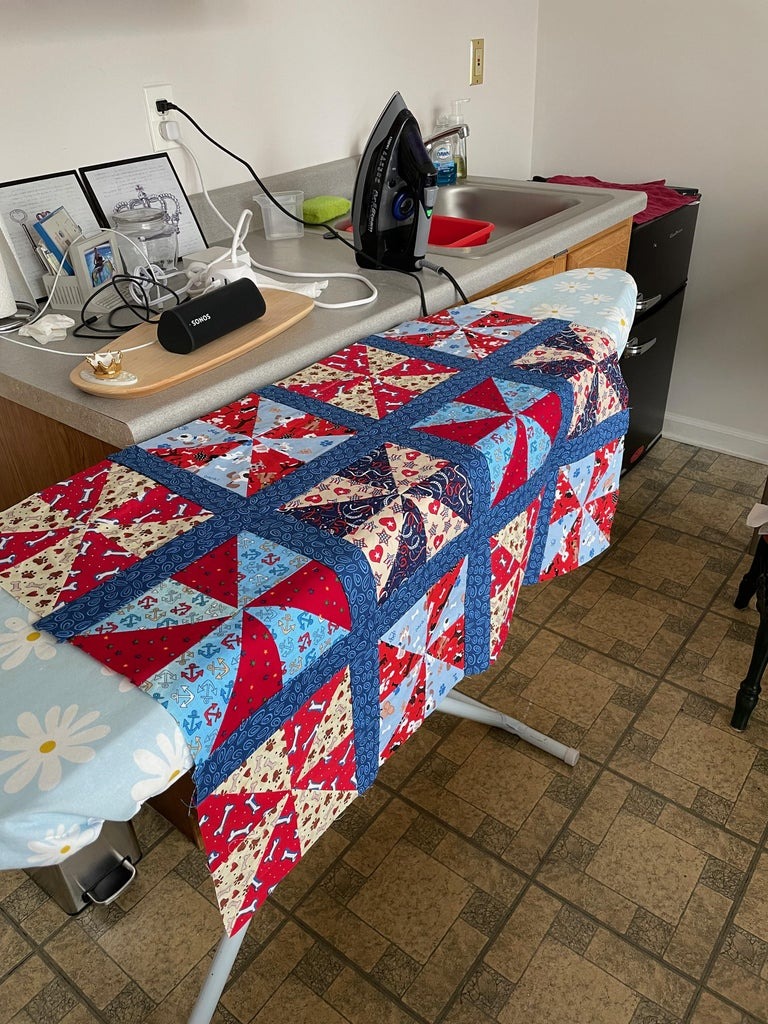
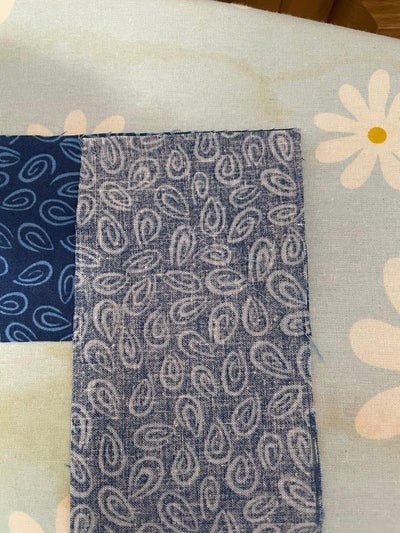
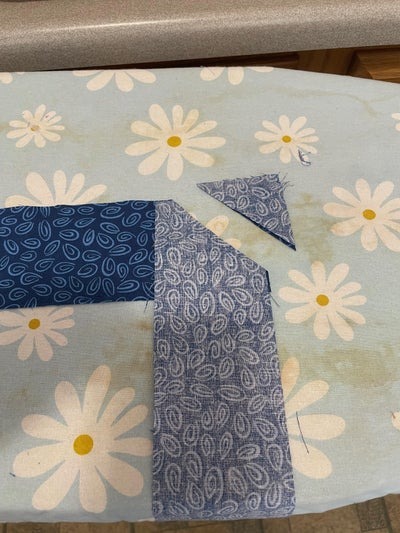
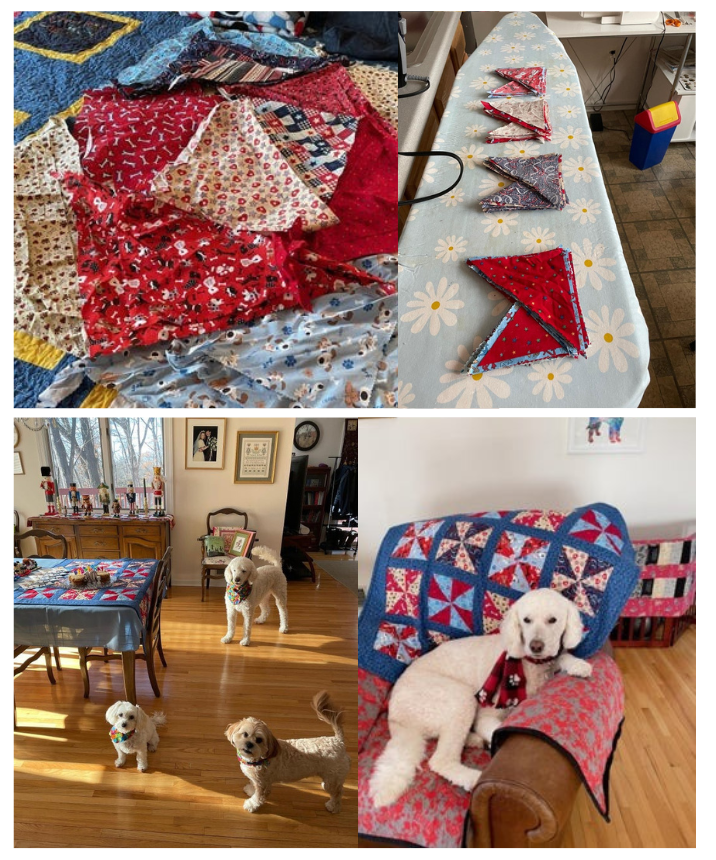
Step 2: Cutting Triangles for Pinwheels Using your quilting ruler and rotary cutter, carefully cut triangles from your chosen fabric scraps. Since my fabric scraps included bandanas from my beloved dogs’ grooming sessions, I opted for red, white, and blue hues to honor their playful spirit.
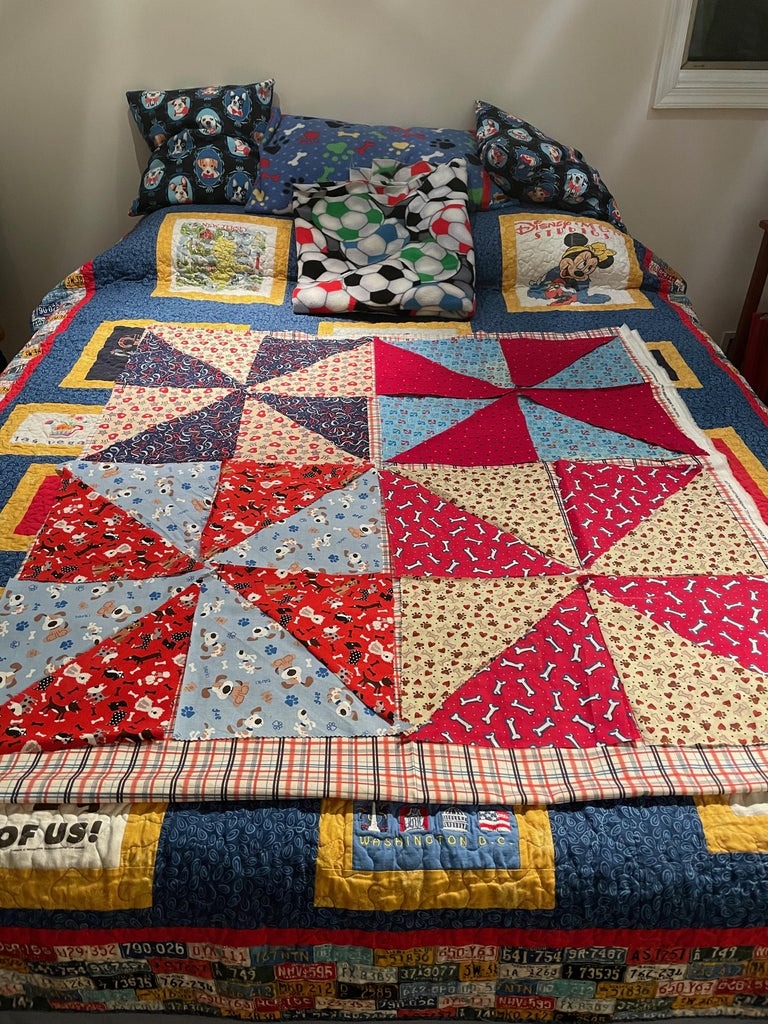
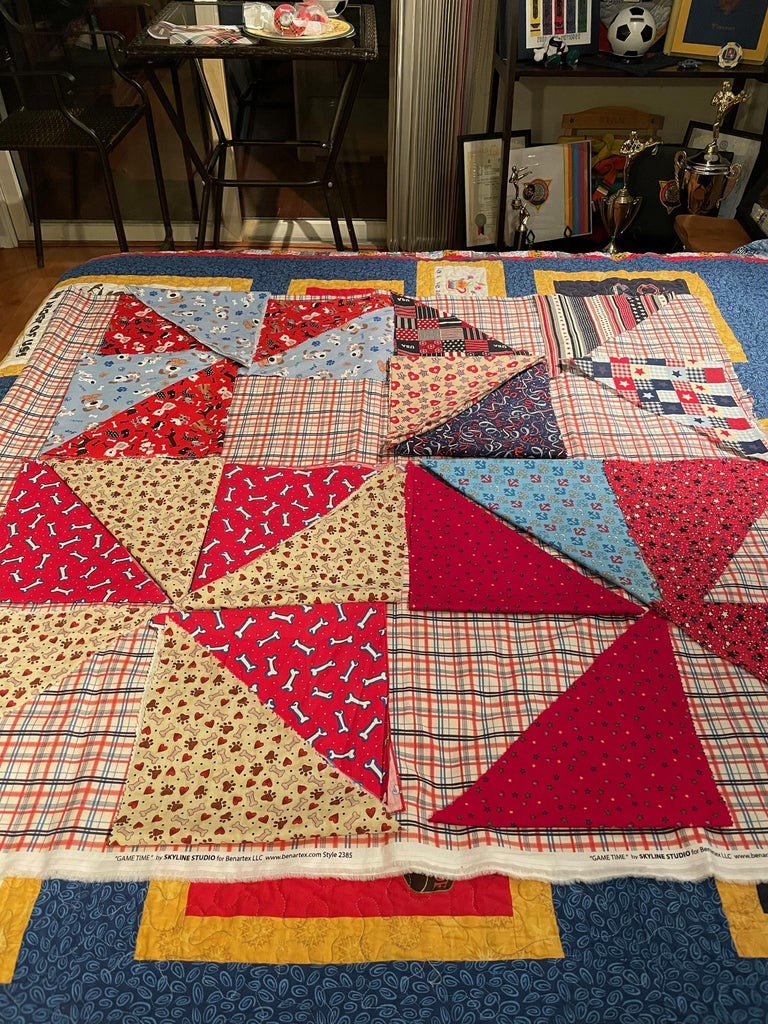
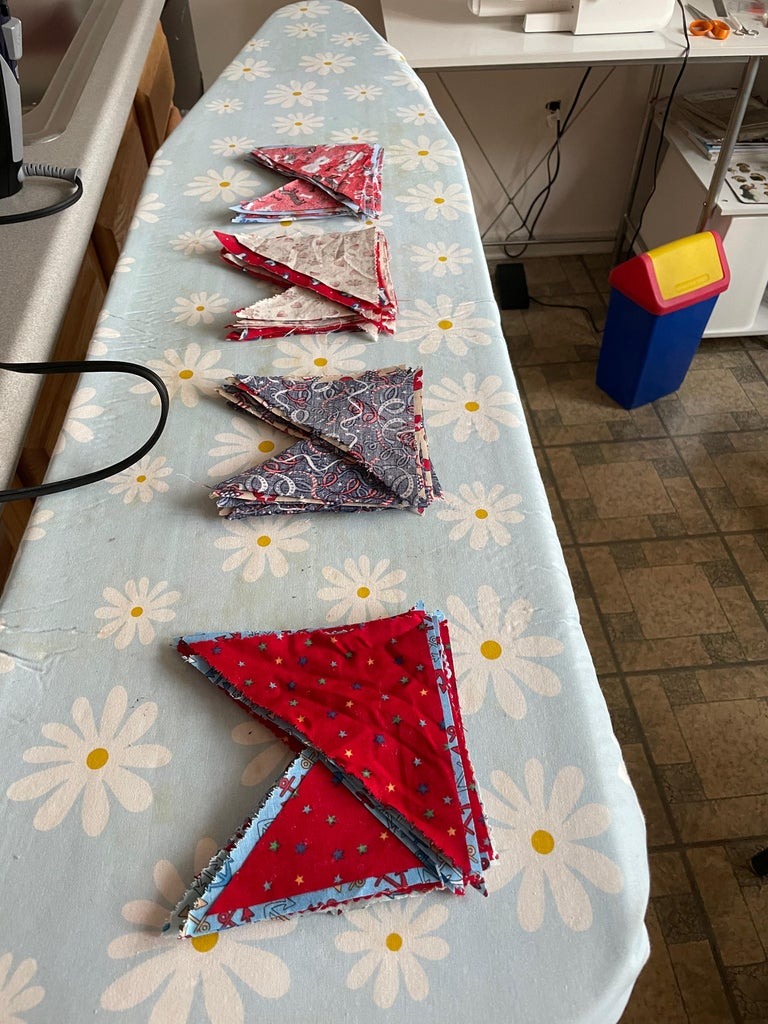
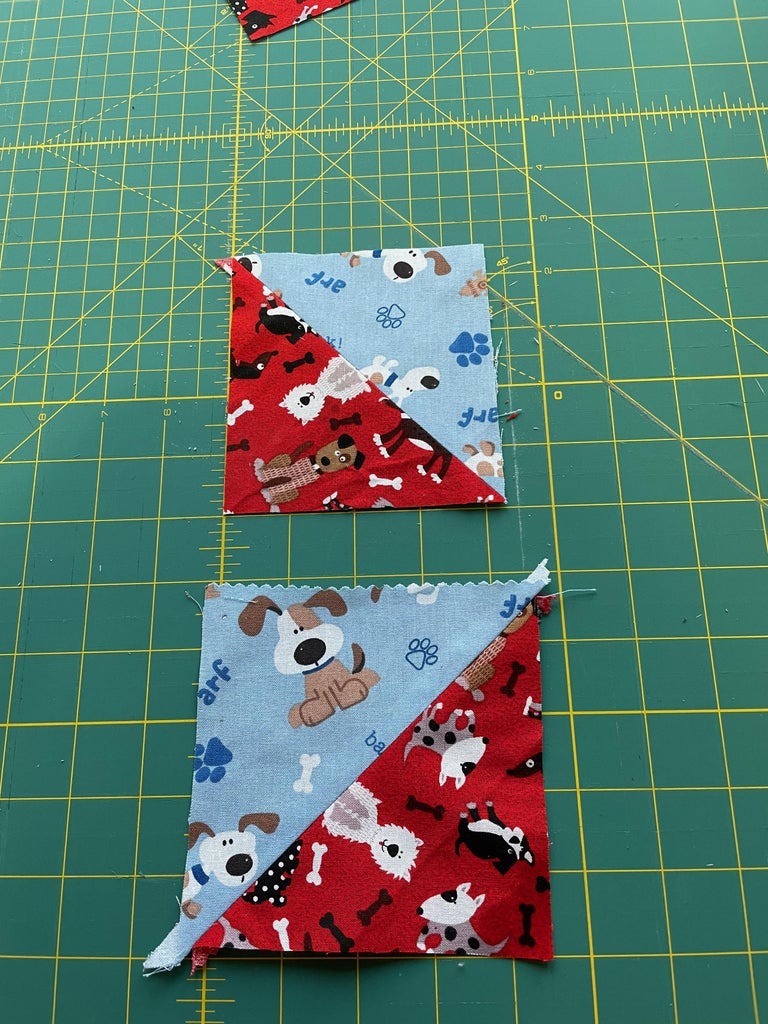
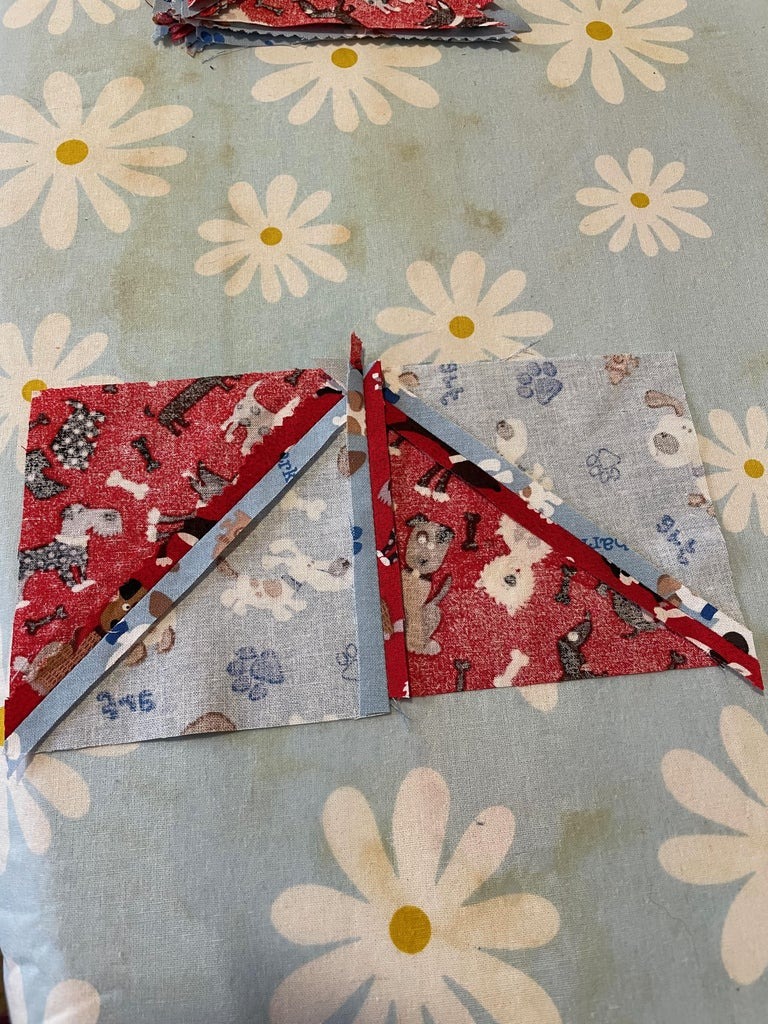
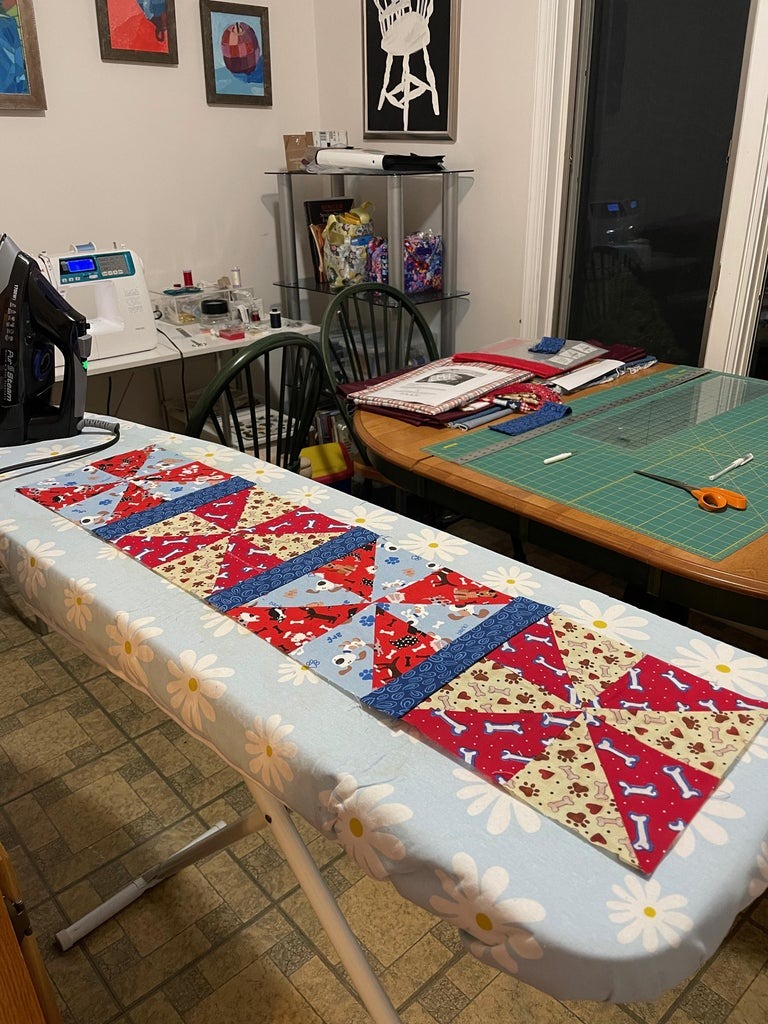
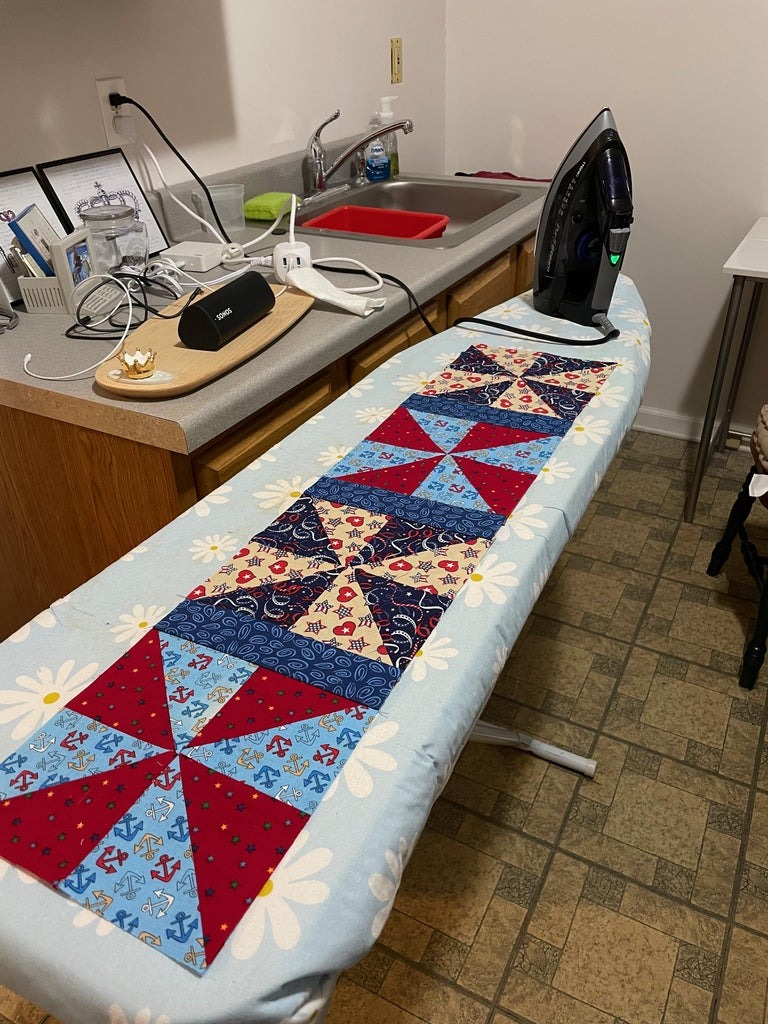
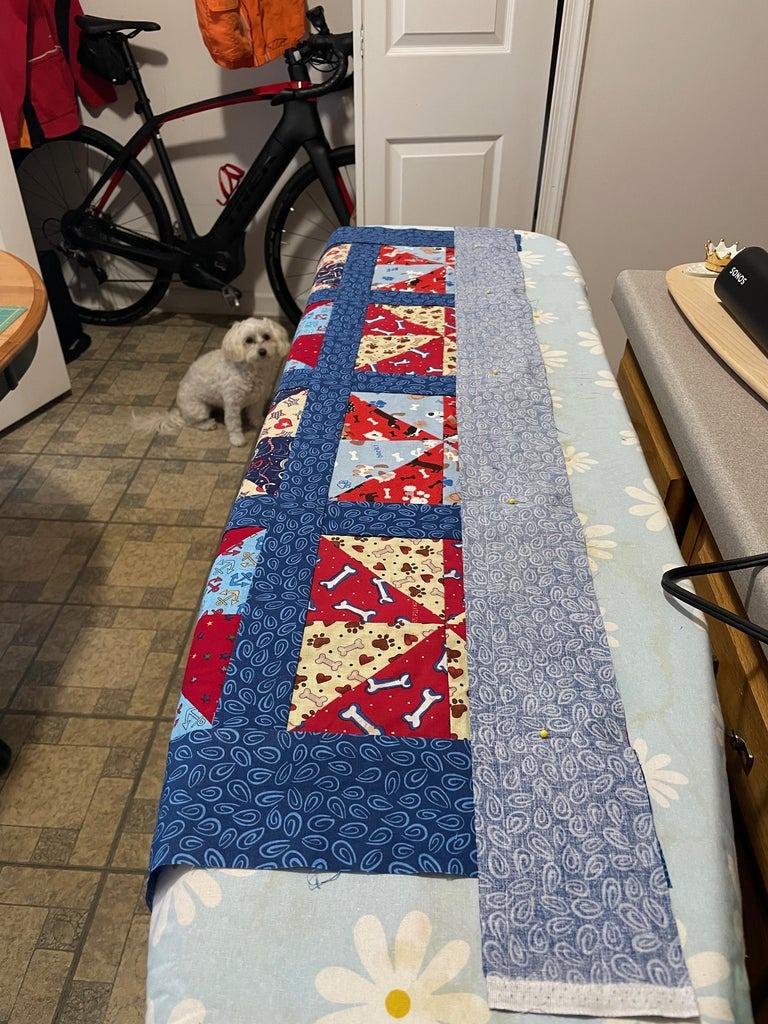
Step 3: Creating Pinwheel Squares With right sides together, stitch pairs of triangles along the diagonal to form pinwheel squares. Arrange these squares in a pinwheel design, stitching them together with precision and care. Embrace the process, knowing that each imperfection tells a story of perseverance and growth.
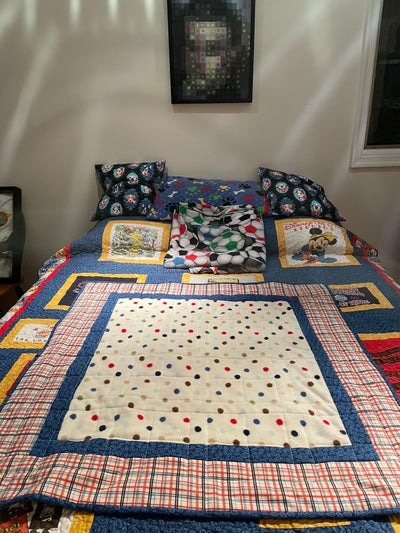
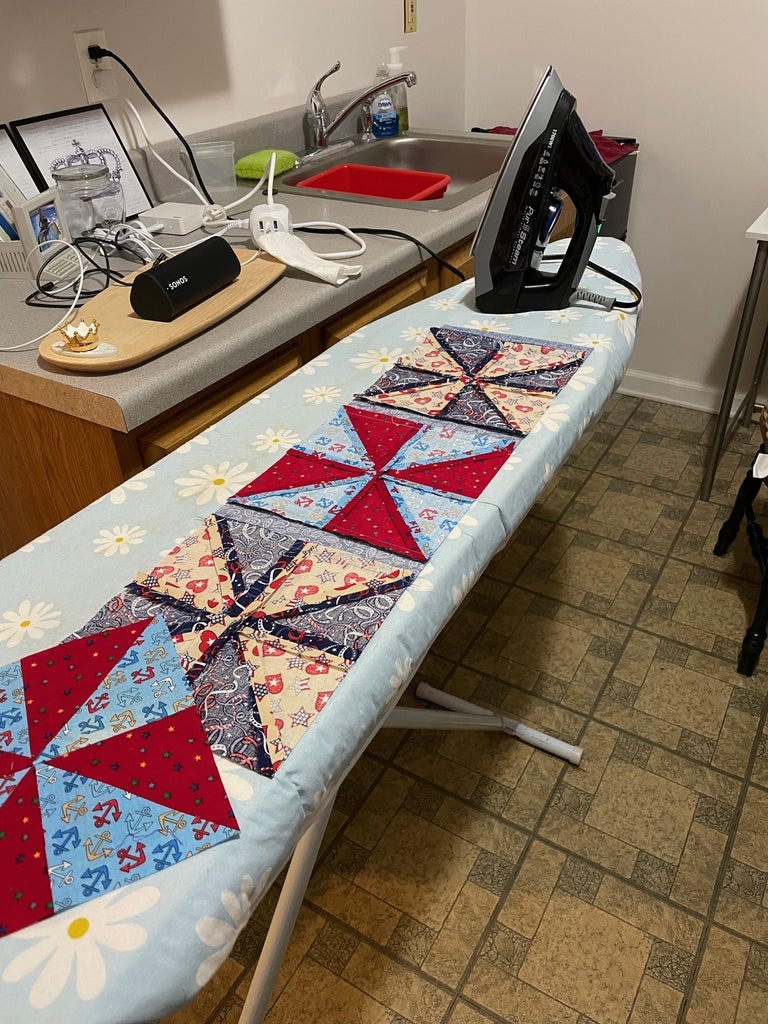
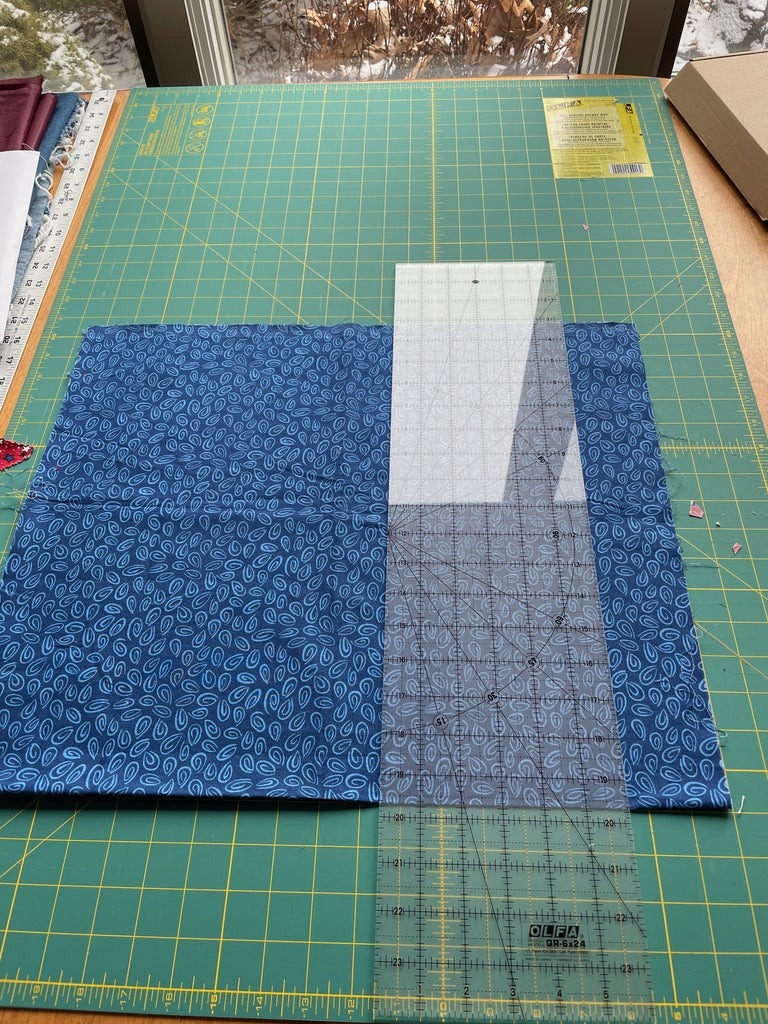
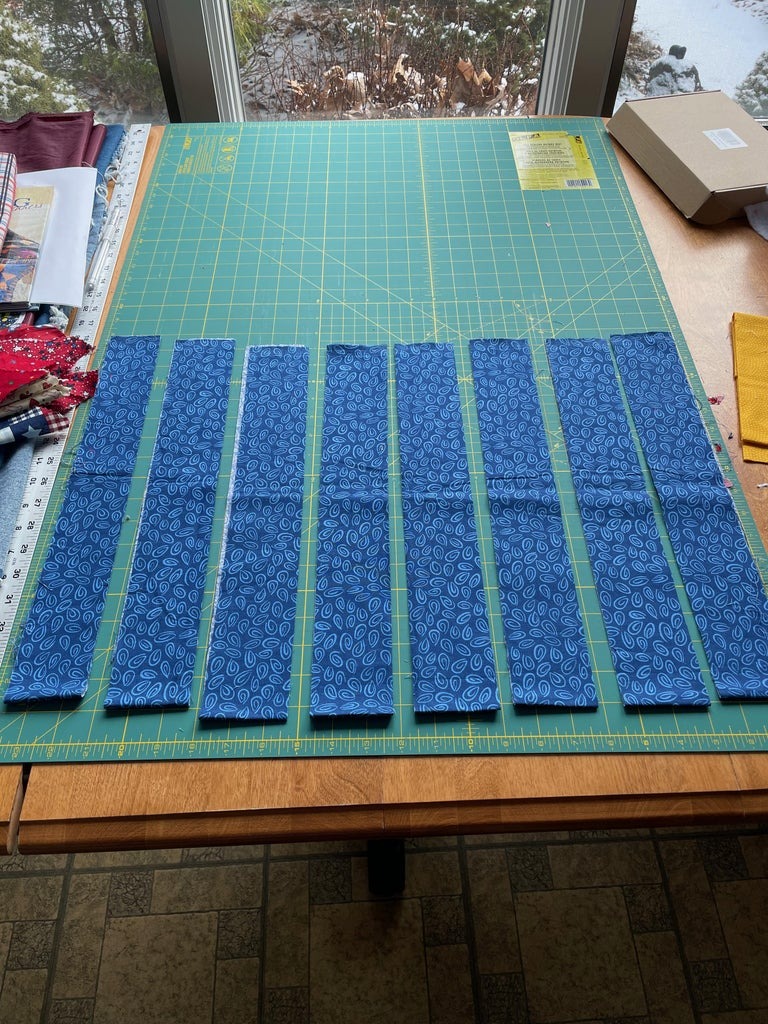
Step 4: Adding Sashing Enhance the visual appeal of your quilt by adding sashing strips between the pinwheel squares. Opt for a complementary color, such as blue, to frame the pinwheels and bring cohesion to the design. Take your time with this step, ensuring that each seam is straight and secure.
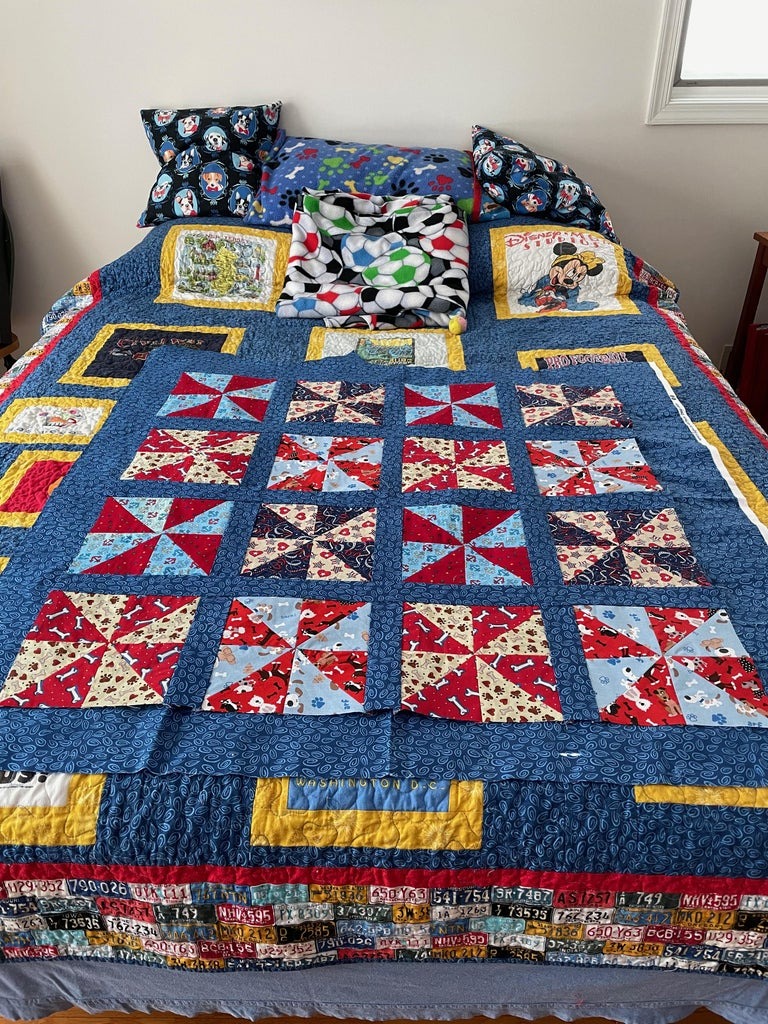
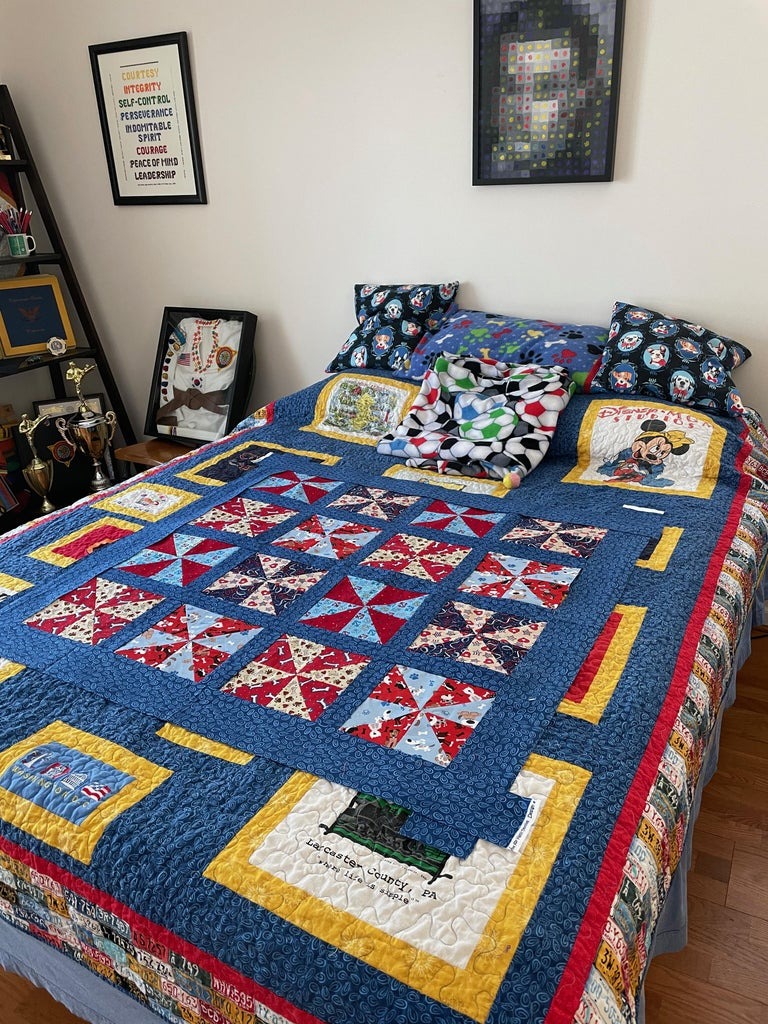
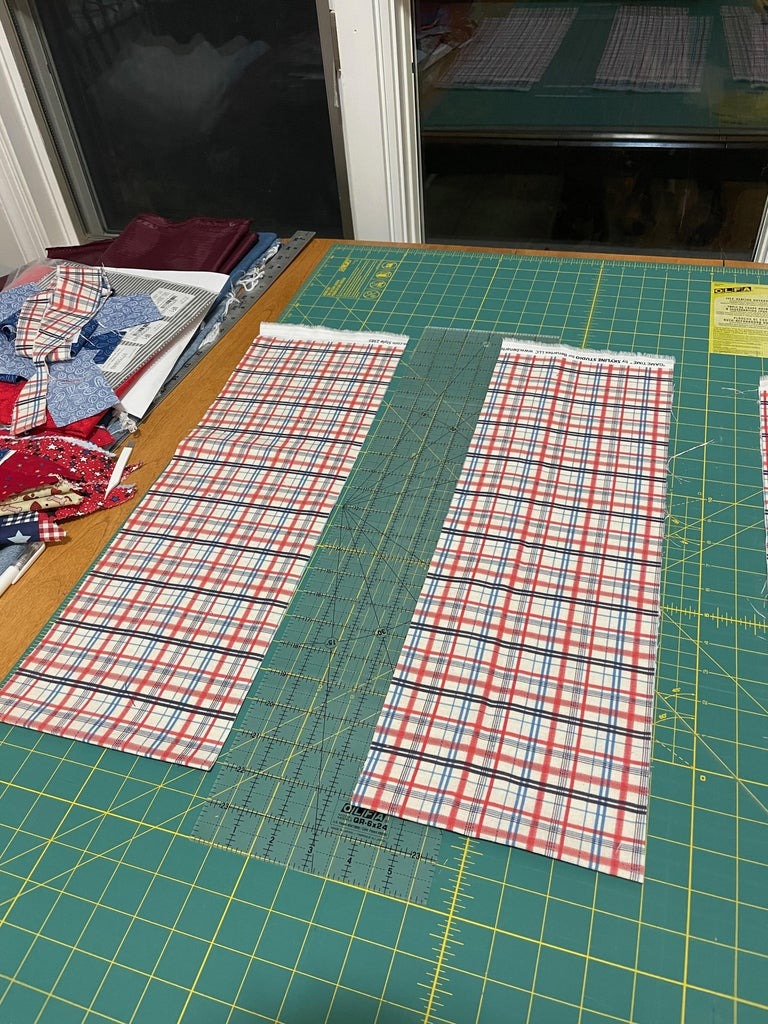
Step 5: Crafting the Border Elevate your quilt’s aesthetic with a border that ties the design together. While I initially considered using plaid fabric for the border, I ultimately chose blue fabric to highlight the pinwheels. Measure and cut the border strips with precision, then attach them to the quilt with care and attention to detail.
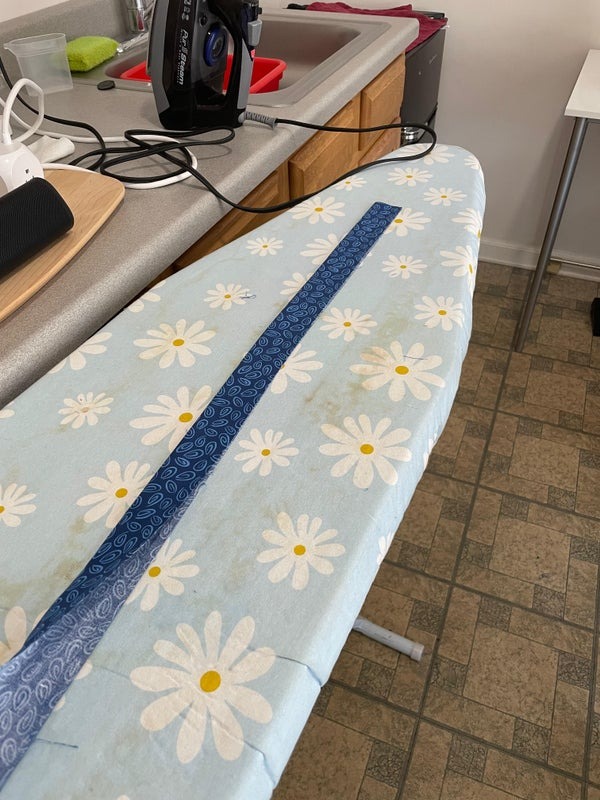
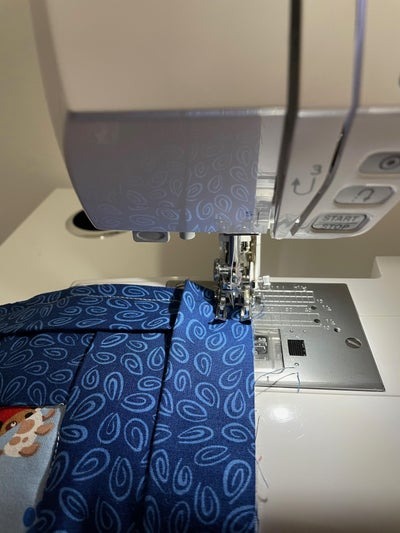
Step 6: Preparing the Binding Prepare the binding for your quilt by calculating the required length and sewing strips together to achieve the desired size. Experiment with different binding techniques until you find one that suits your style and preferences. Embrace the opportunity to add a personal touch to your quilt’s finishing touches.
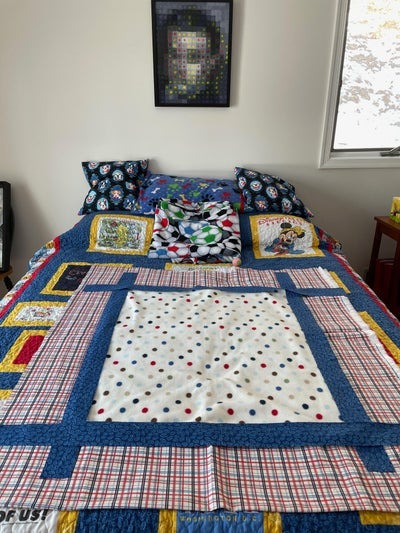
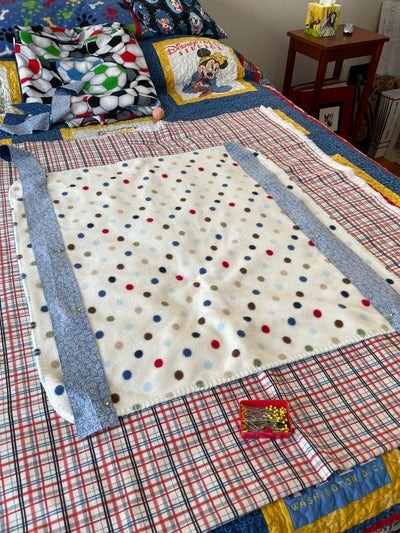
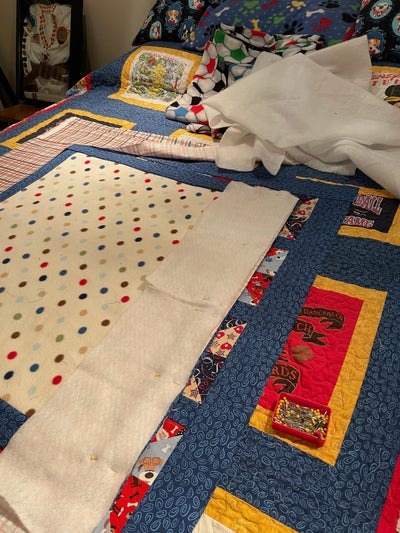
Step 7: Making the Backing Create a sturdy backing for your quilt using leftover fabric scraps and batting. Piece together fabric strips to cover the entire quilt back, ensuring durability and comfort. Take pride in repurposing materials and minimizing waste throughout the quilting process.
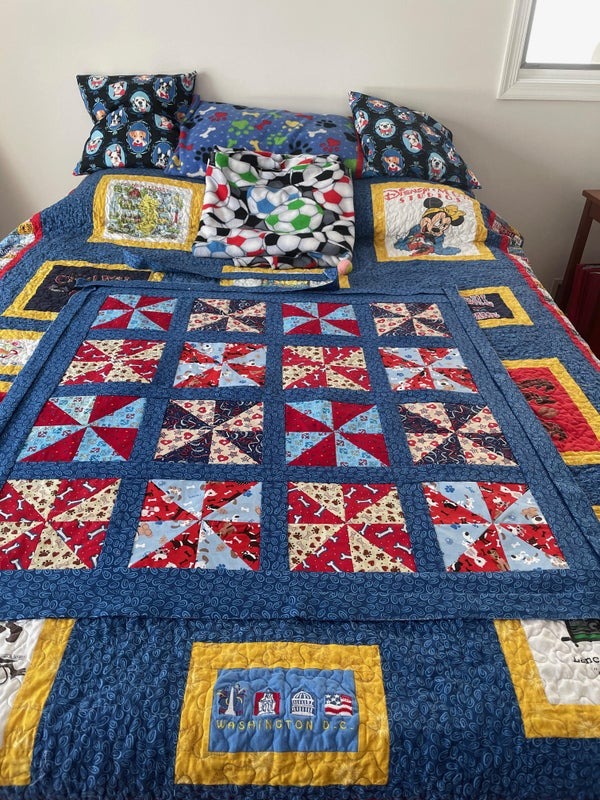
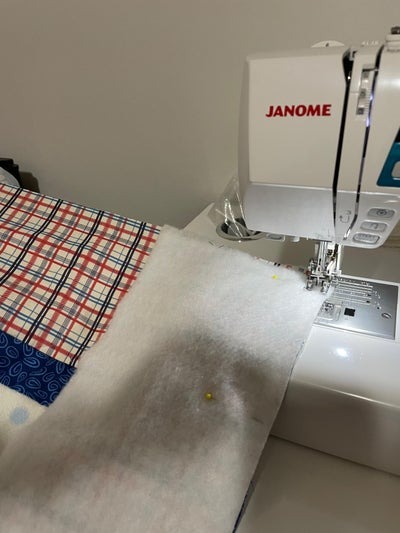
Step 8: Assembling the Quilt With all components in place, it’s time to assemble your quilt and bring your vision to life. Carefully layer the quilt top, batting, and backing, securing them with quilting pins. Utilize quilting techniques such as “stitch in the ditch” to create intricate patterns and textures that enhance the quilt’s overall appeal.
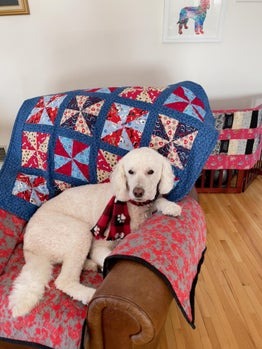
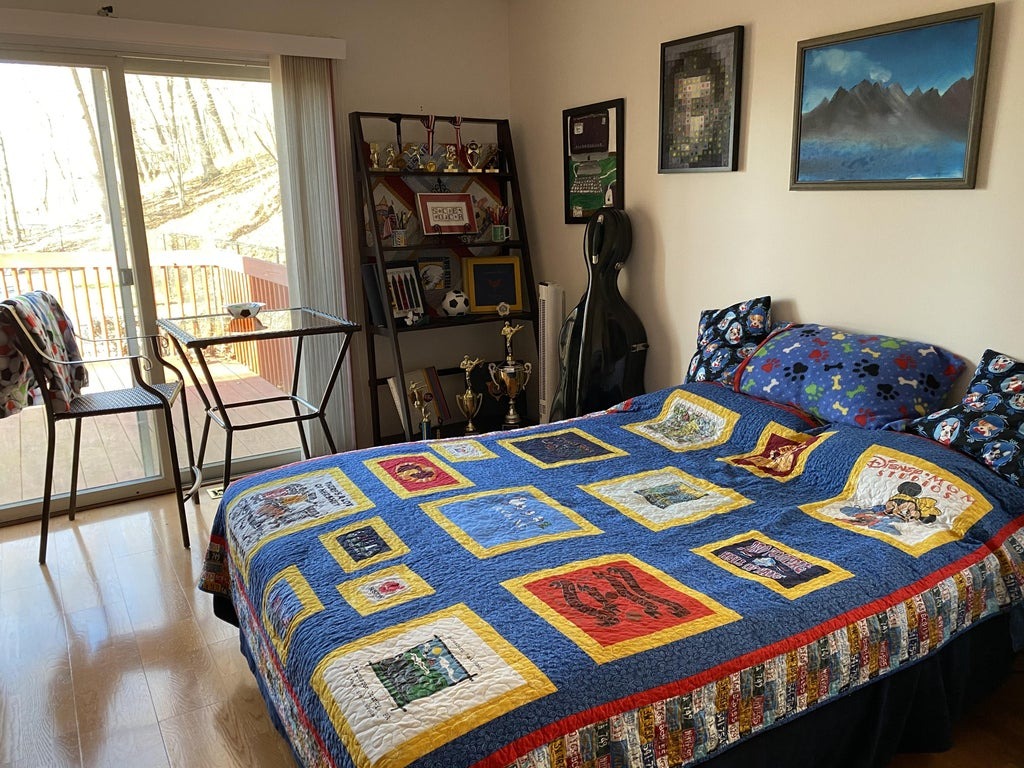
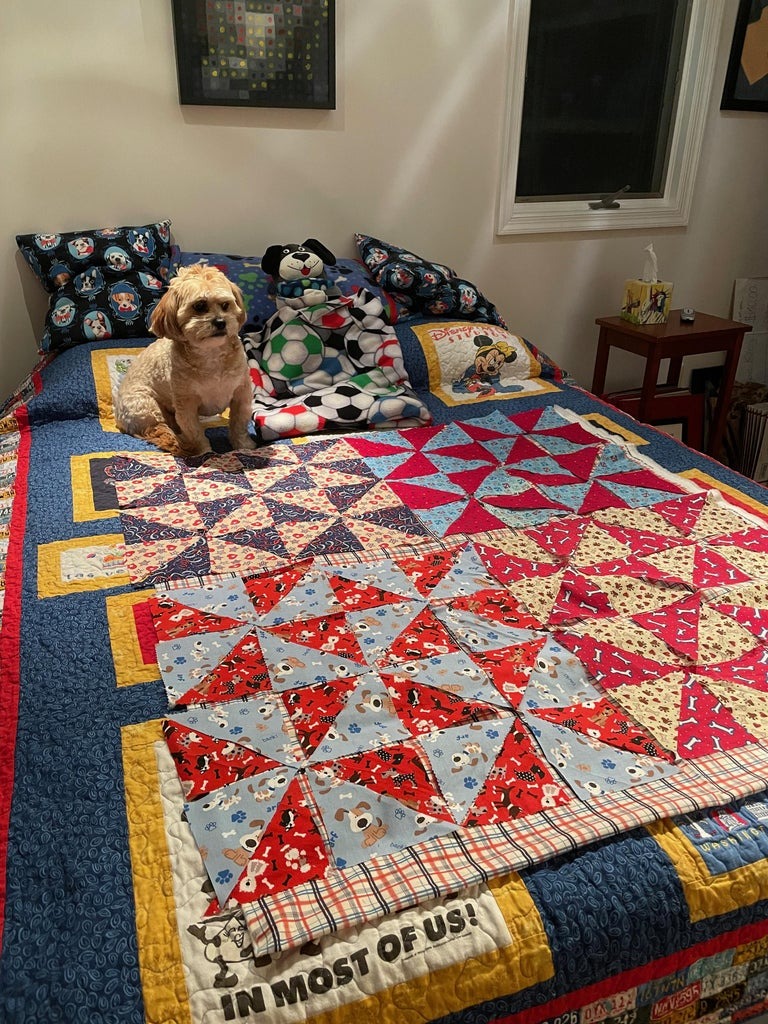
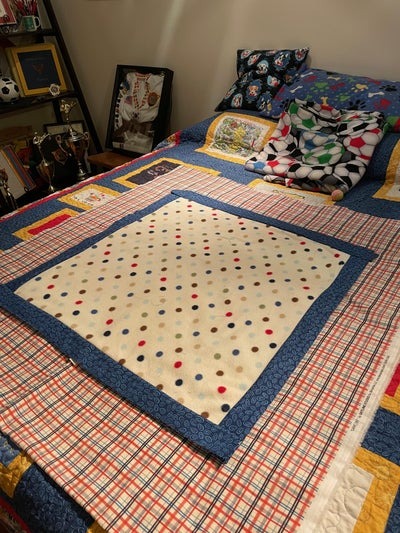
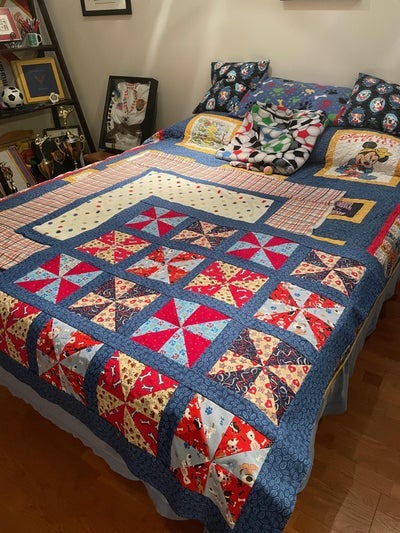
Step 9: Finishing Touches Trim any excess fabric and binding to achieve a clean, polished look. Take a moment to admire your handiwork and reflect on the memories woven into every stitch. Your Kaleidoscope Pinwheel Quilt is more than just a cozy blanket—it’s a testament to creativity, perseverance, and the enduring bond between you and your furry companions.
Conclusion As you wrap yourself in the warmth of your finished quilt, remember the journey that brought it to life. Each step of the quilting process—from selecting fabric scraps to stitching the final seam—represents a labor of love and a celebration of cherished memories. Whether displayed proudly on a wall or draped lovingly over a bed, your Kaleidoscope Pinwheel Quilt is sure to bring joy and comfort for years to come.