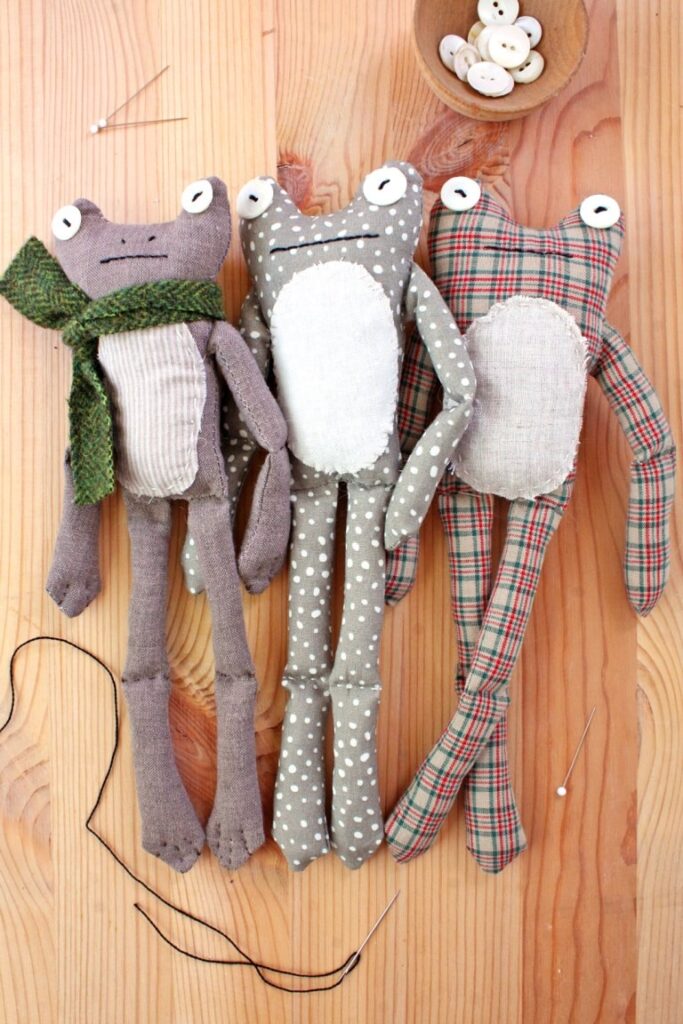
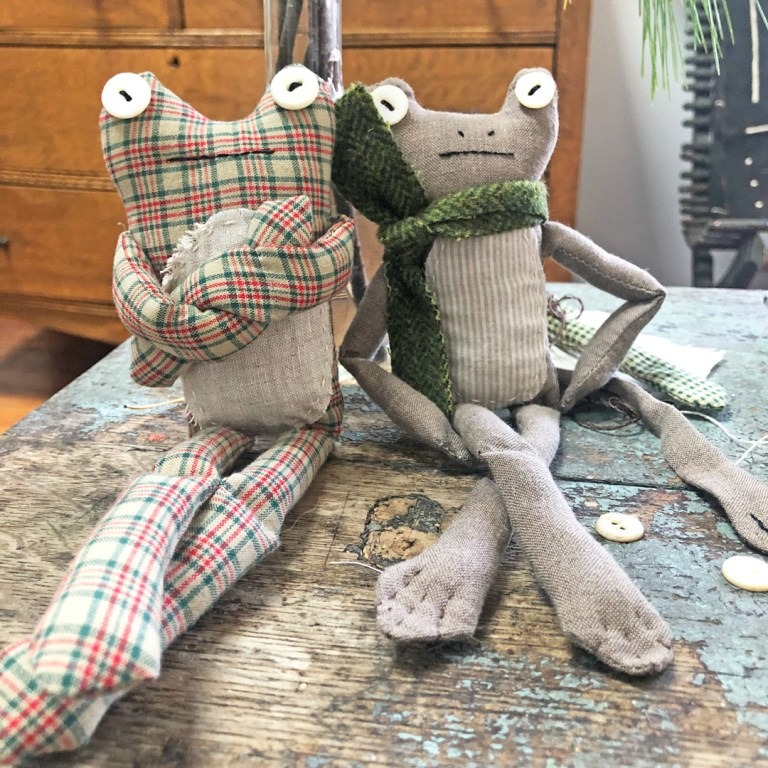
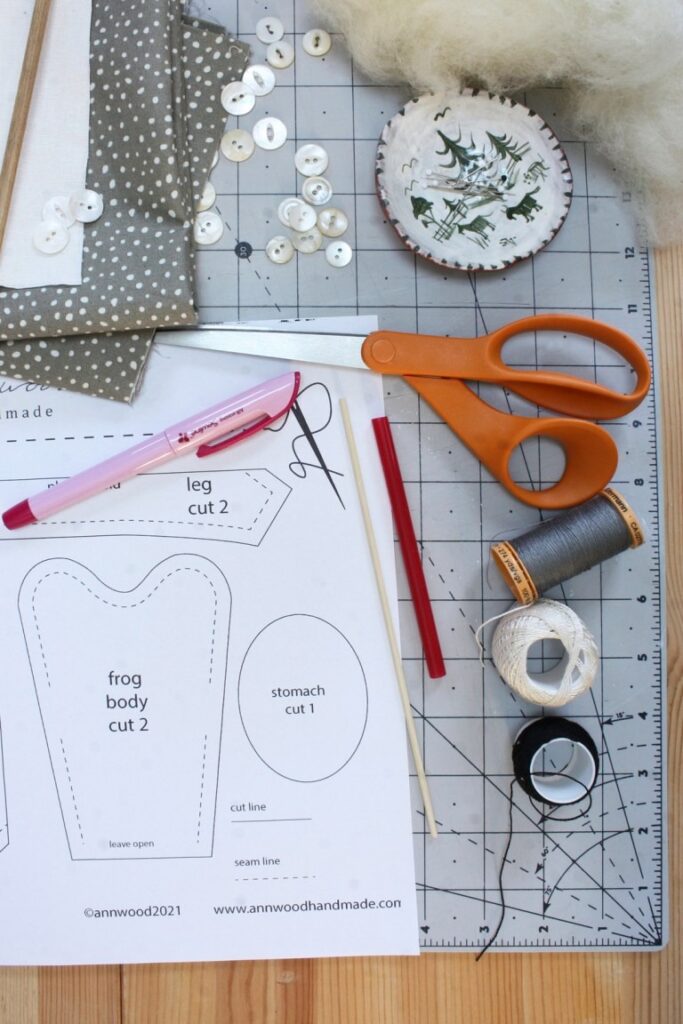
Frog Doll Pattern Sheet and Supplies
Download the pattern sheet
You will also need:
- Basic sewing kit
- This tip for turning small parts
- Cotton fabric (16 x 16 inches)
- Buttons
- Stuffing (I prefer wool)
- Chopstick or similar
- Embroidery thread
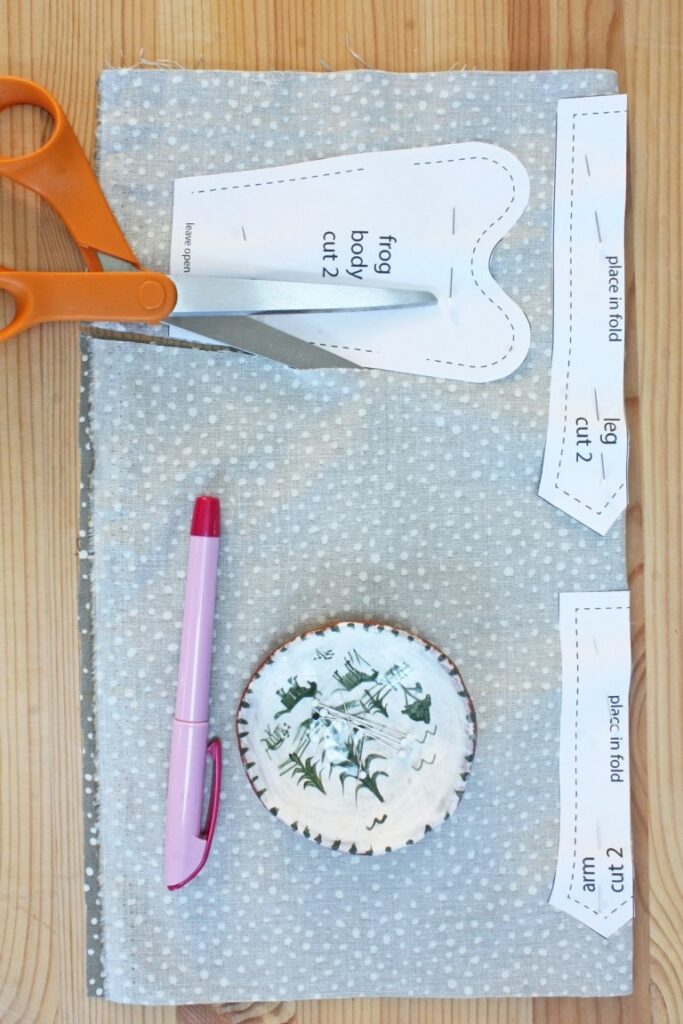
- Prepare the Fabric:
- Fold your fabric with the right sides together.
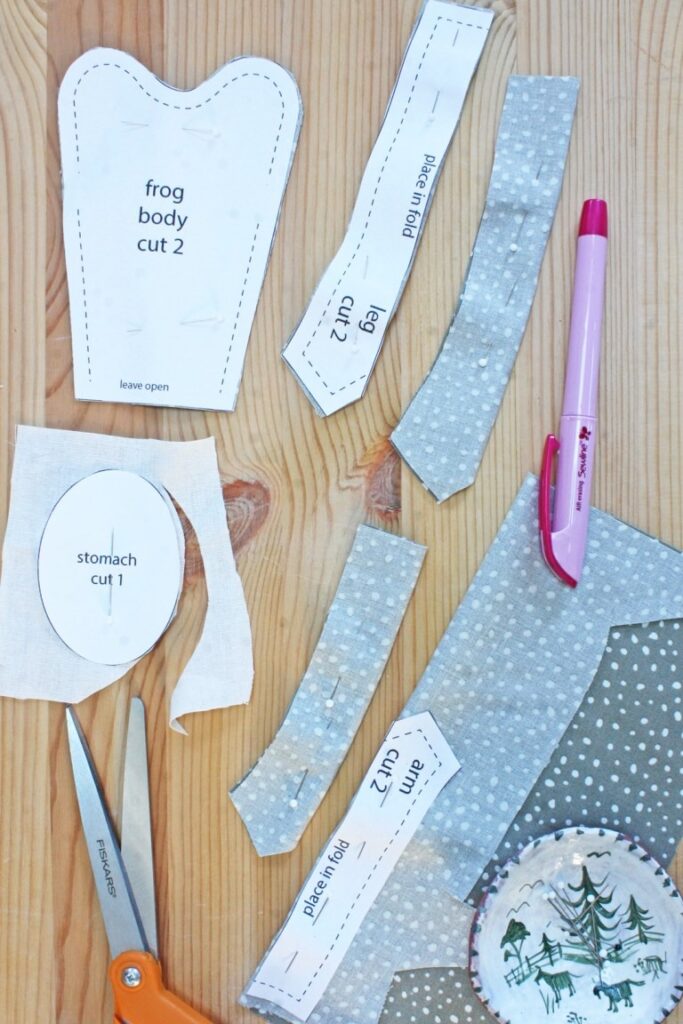
- Pin one leg and arm along the fold, then pin the body and cut out.
- Refold the remaining fabric, place the arm and leg on the fold, and cut out. Pin the oval to a scrap of contrasting fabric and cut out.
- Sewing the Body:
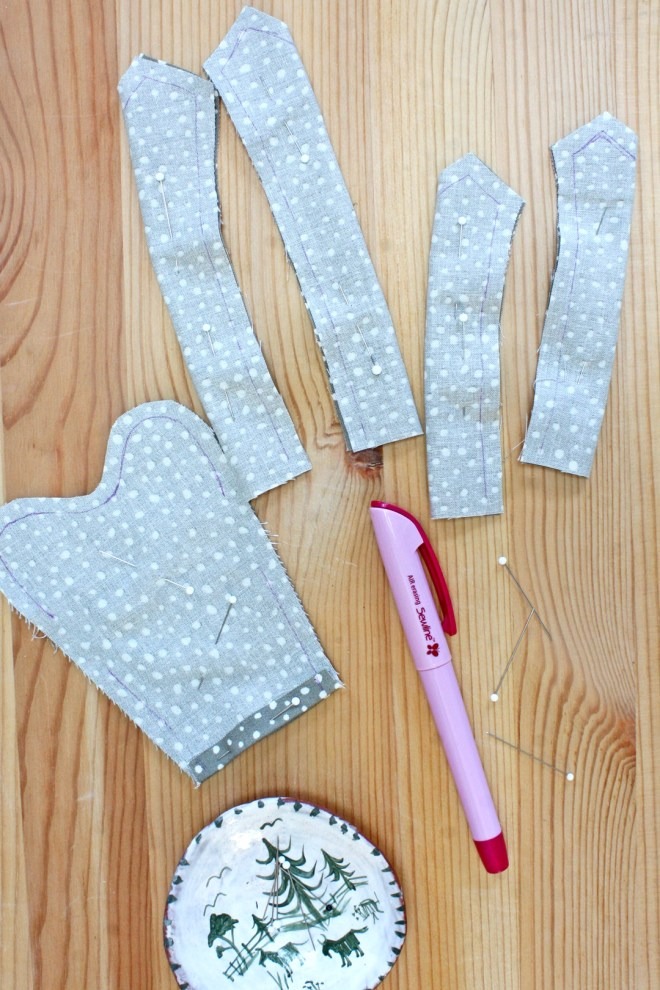
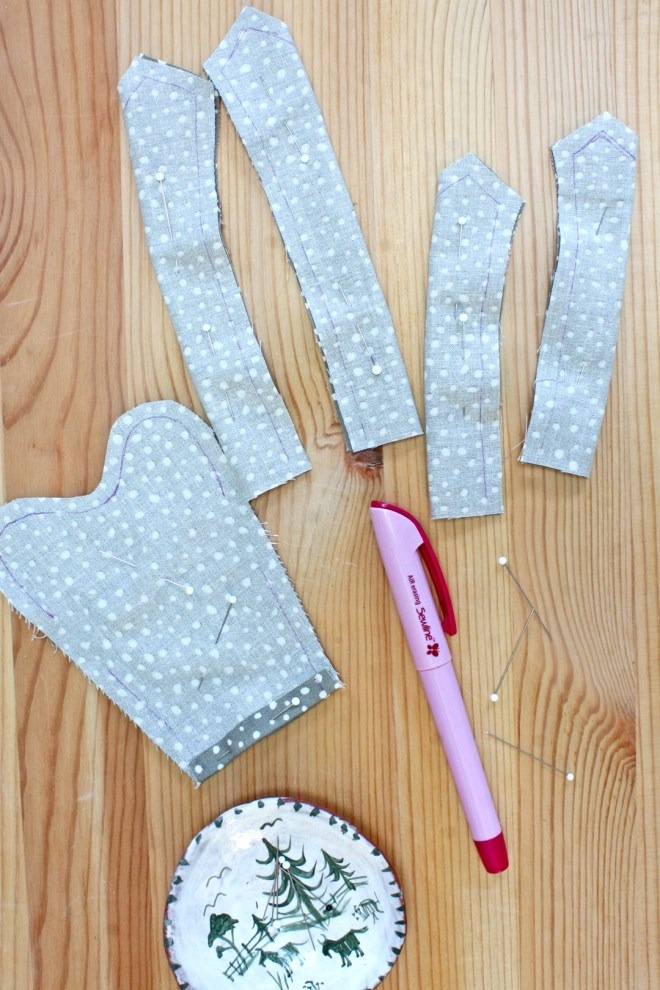
- Fold over each bottom edge of the frog body, wrong sides together, and press. Mark all your seam lines.
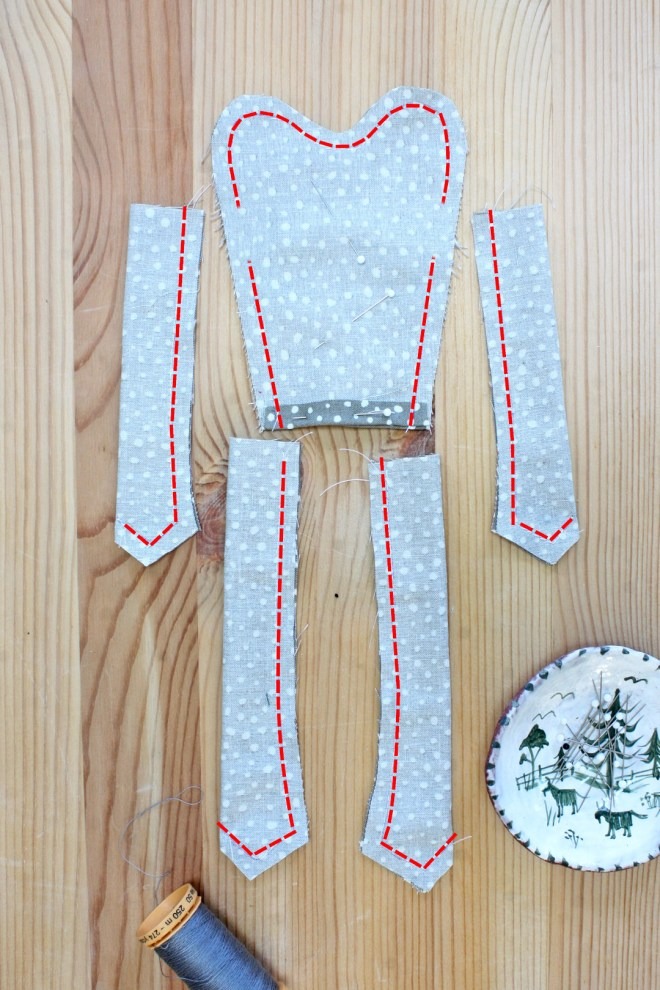
- Stitch all seams, leaving openings as indicated.
- Trimming and Turning:
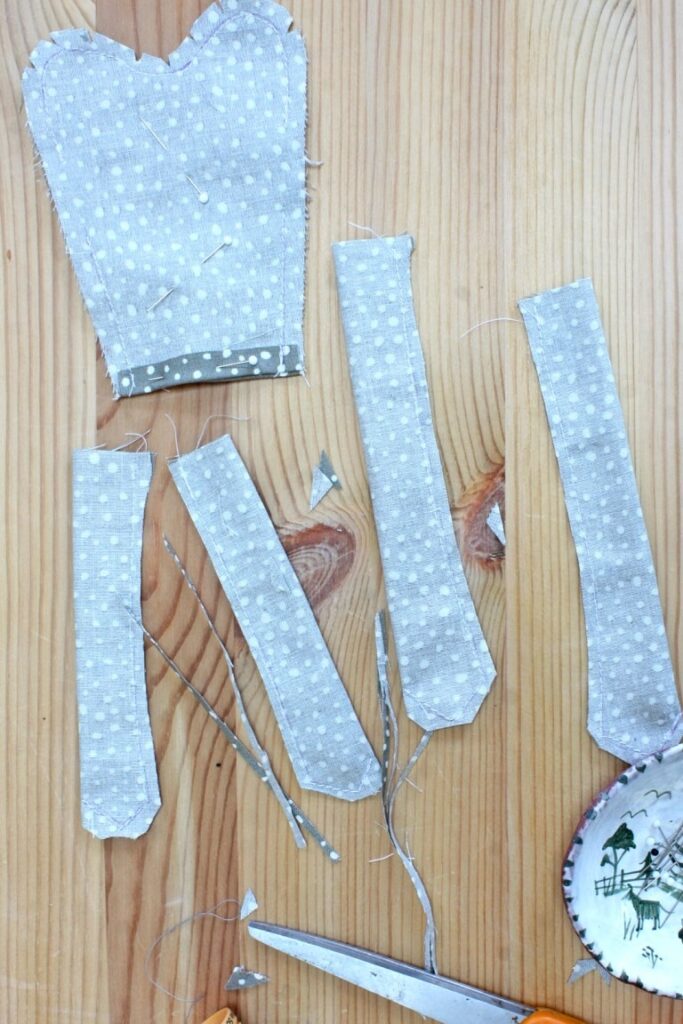
- Trim little triangle sections around the curves of the head, being careful not to snip the seams.
- Trim away about 1/2 of the seam allowance on the arms and legs.
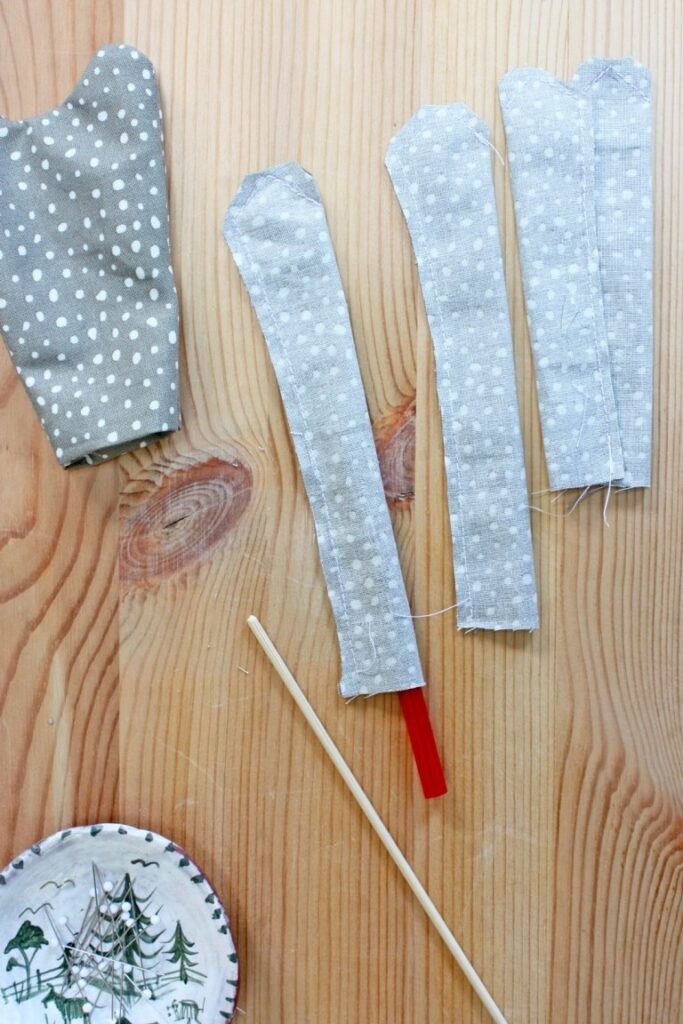
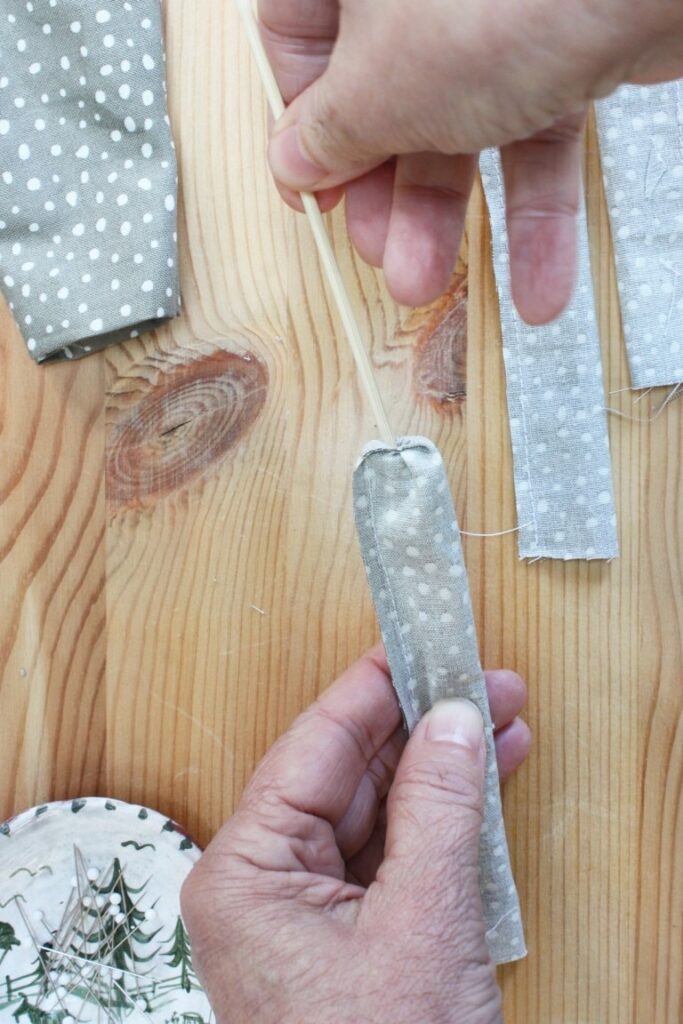
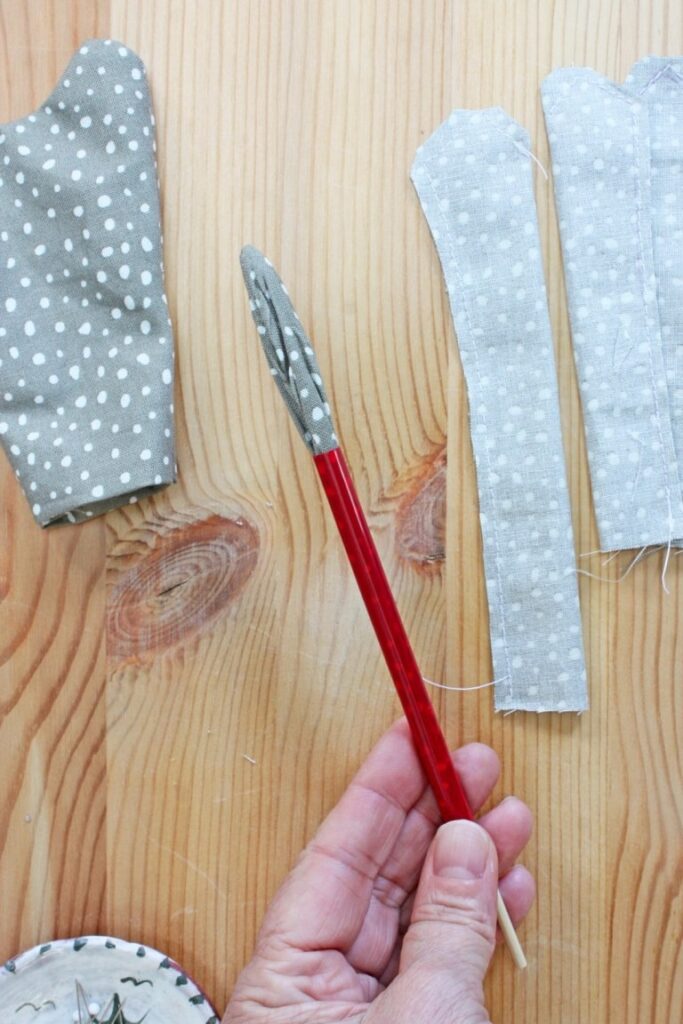
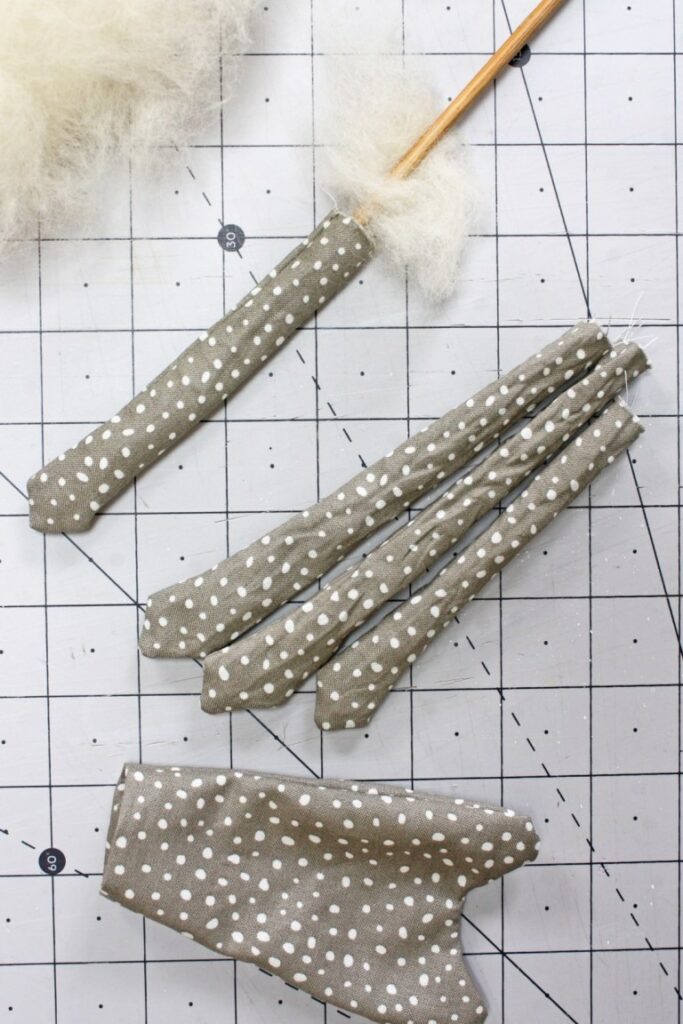
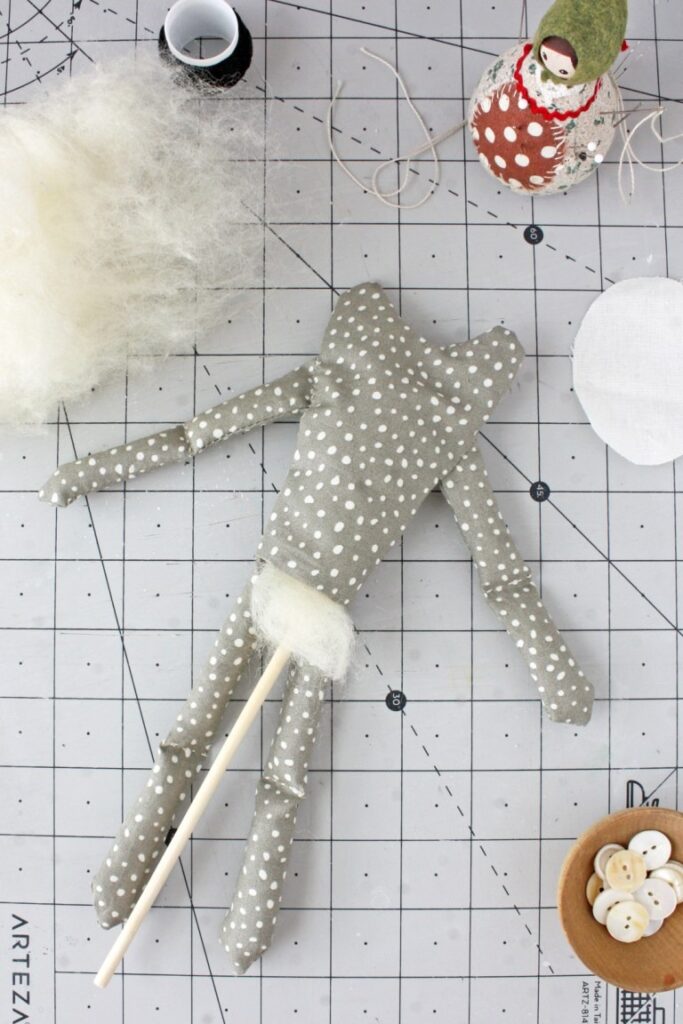
- Use a chopstick to turn the body and limbs right side out.
- Stuffing and Stitching:
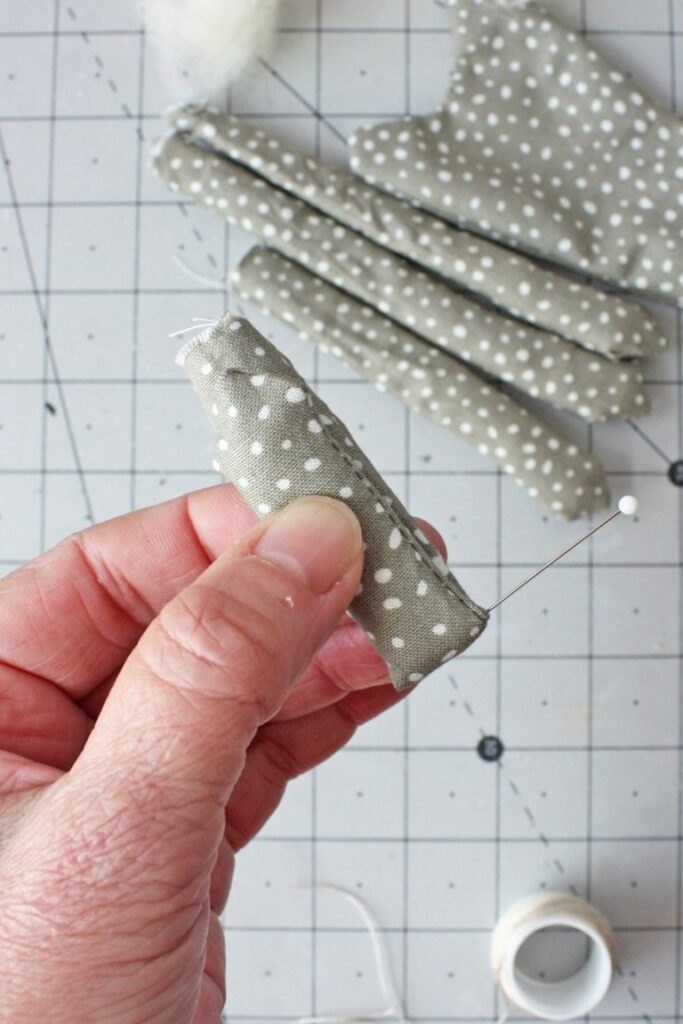
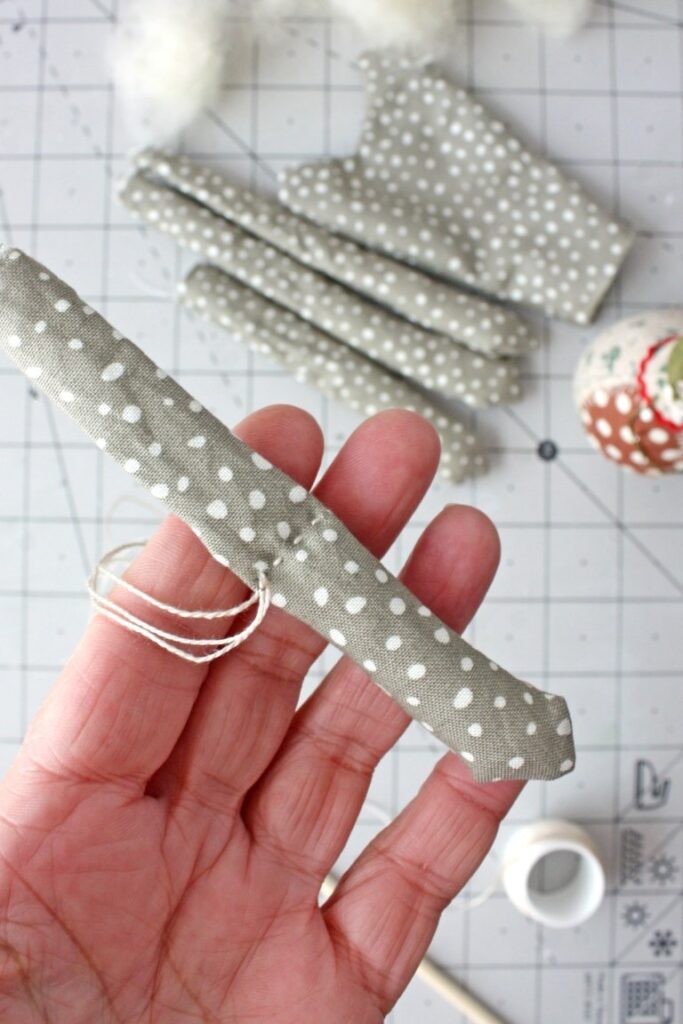
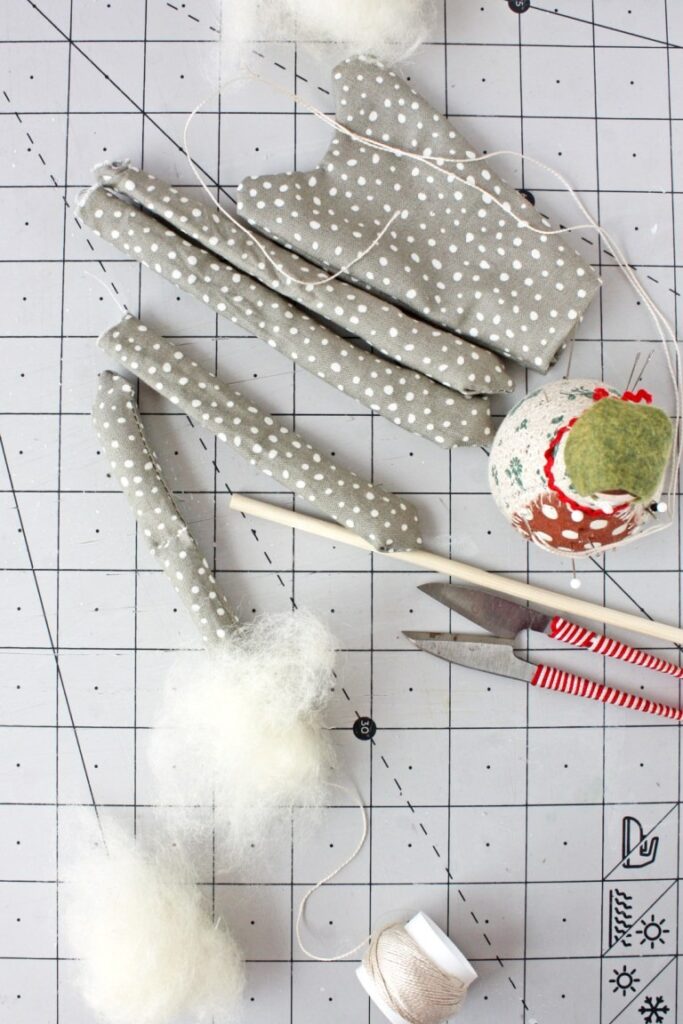
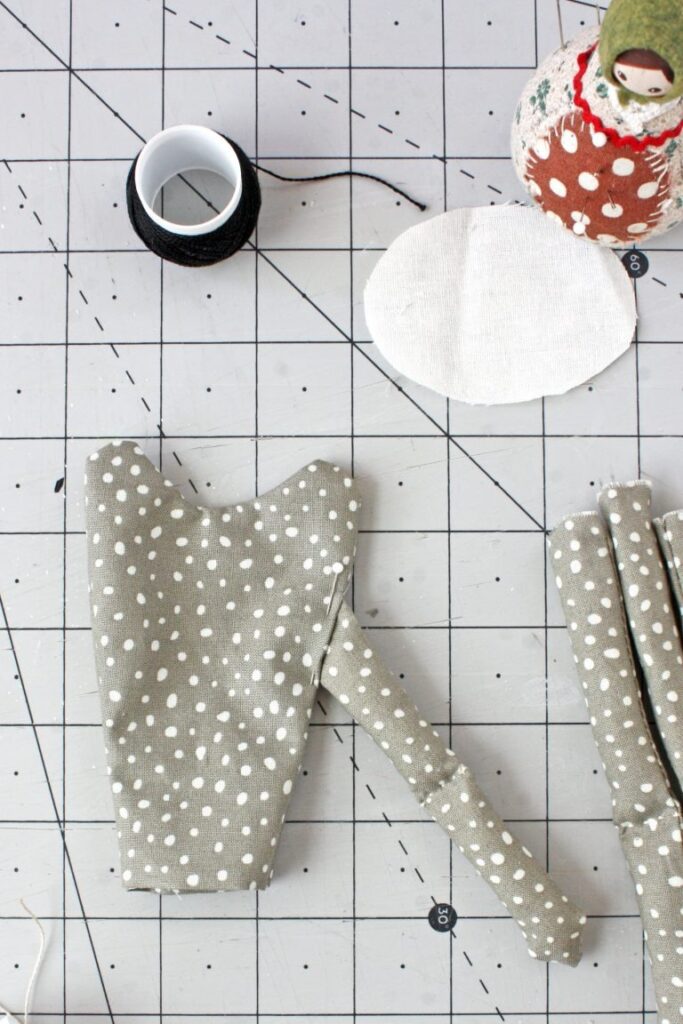
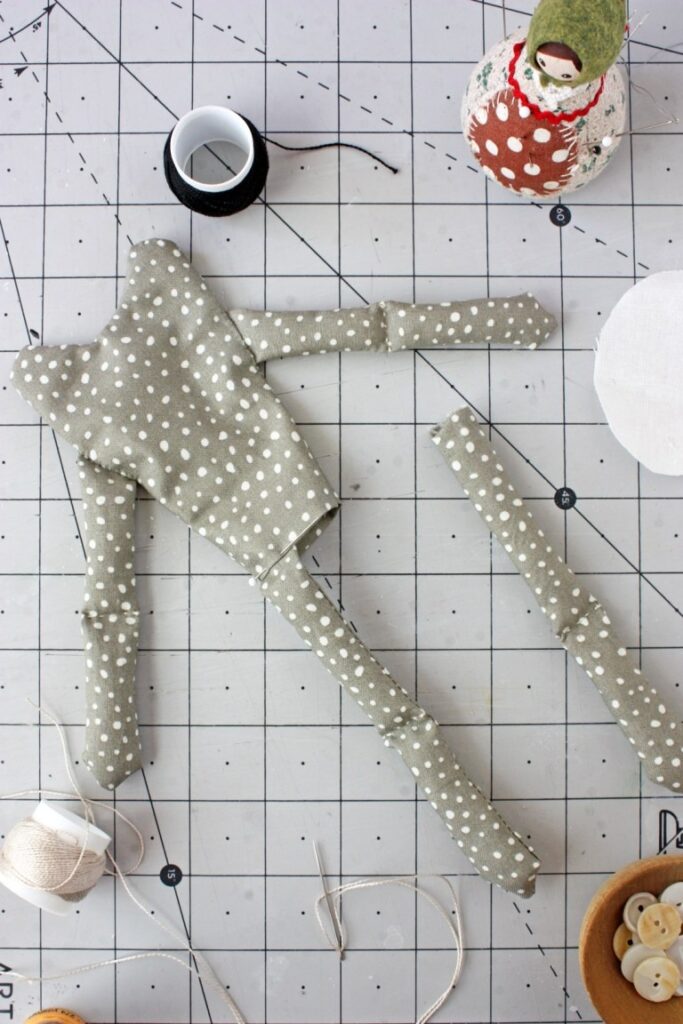
- Lightly stuff the bottom half of each limb, then fold them in half and stitch across with small even stitches.
- Lightly stuff the upper section of each limb, leaving about 1/2 inch at the top empty.
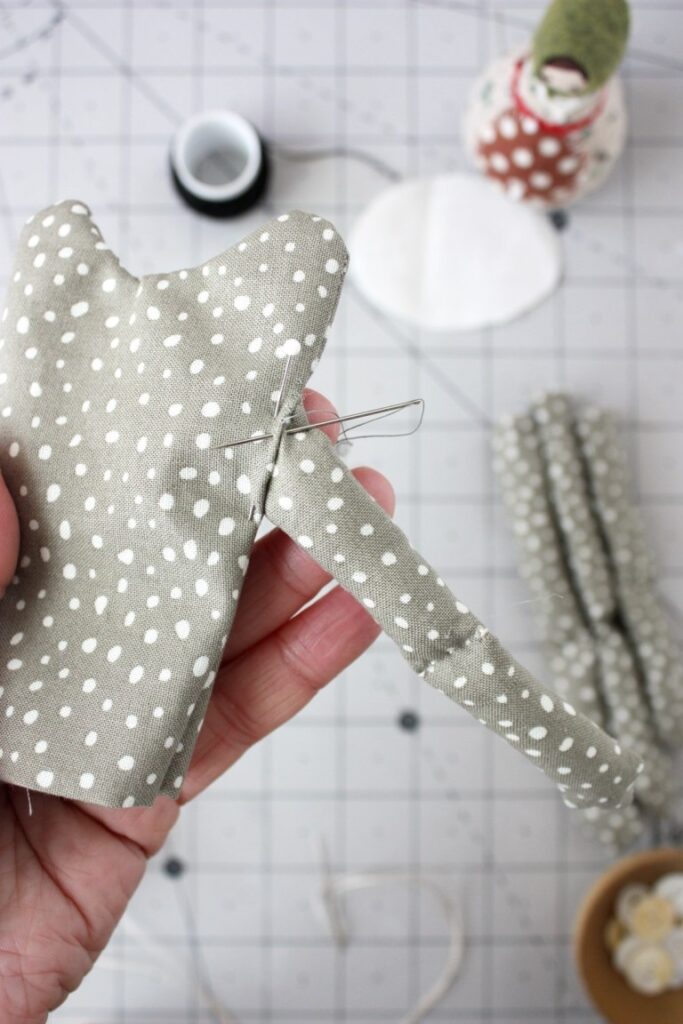
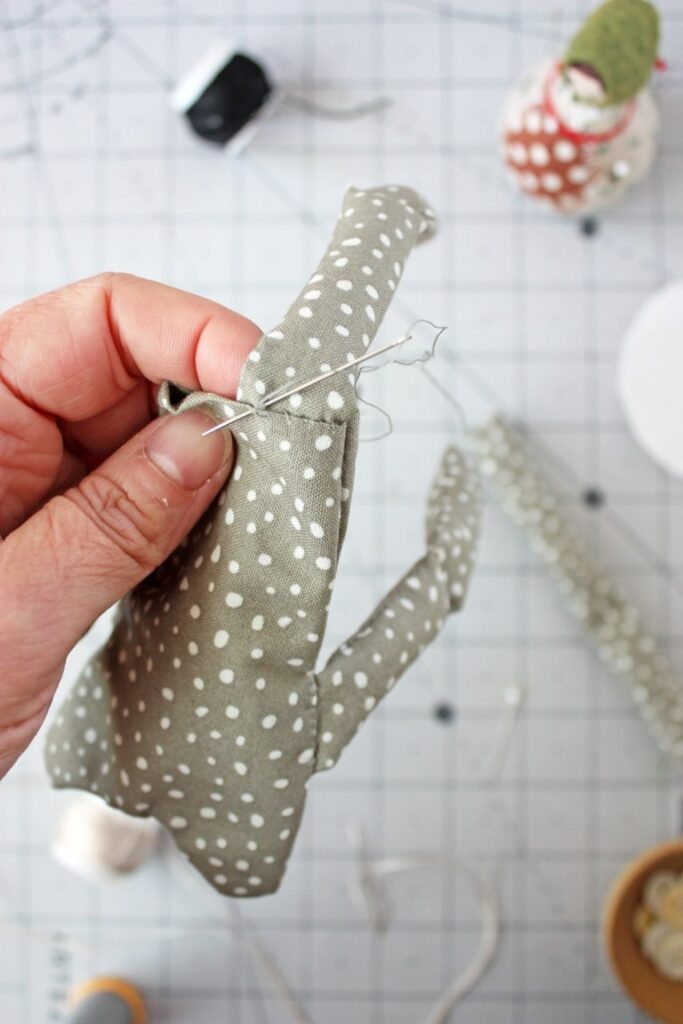
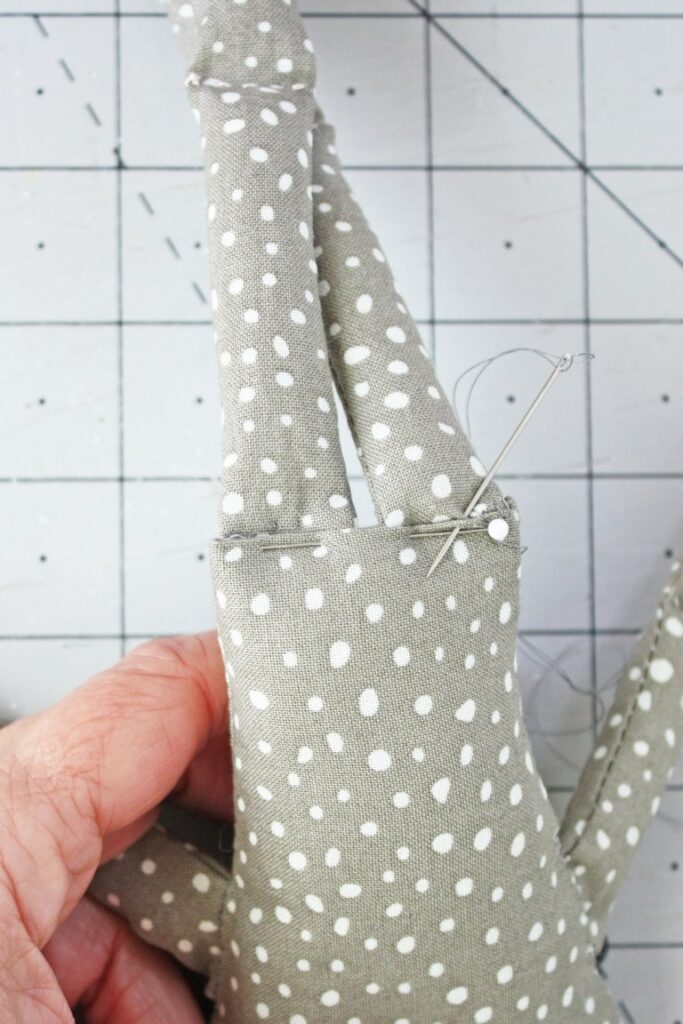
- Insert the arms and legs into the body and stitch them in place.
- Final Touches:
- Stuff the body, ensuring the head and eyes are fully filled out.
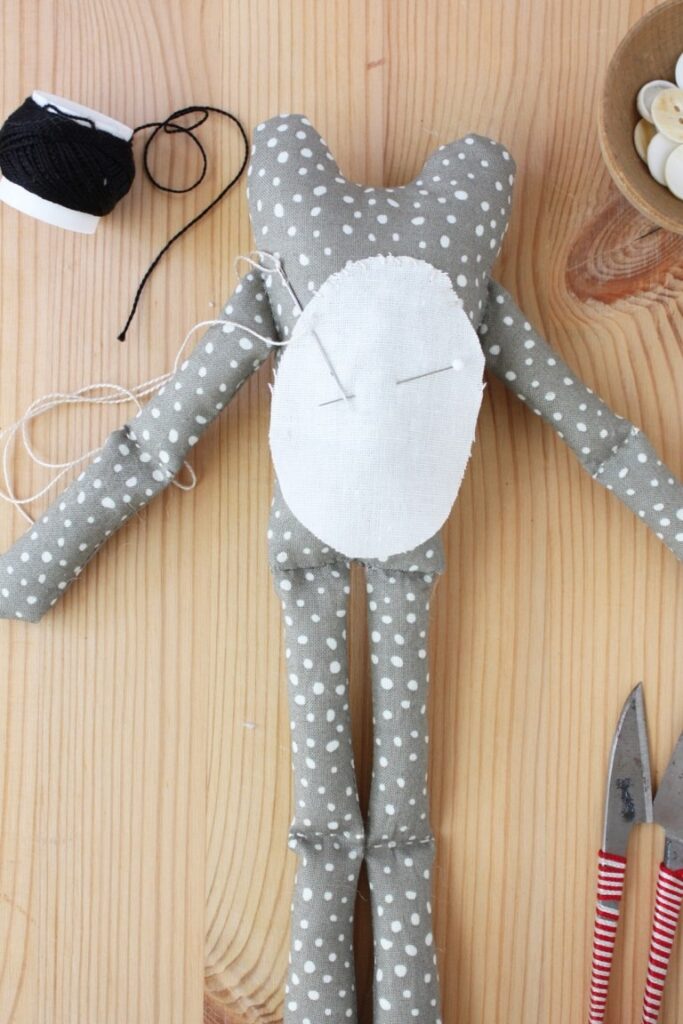
- Stitch the back edge closed, then attach the stomach with whip or straight stitches.
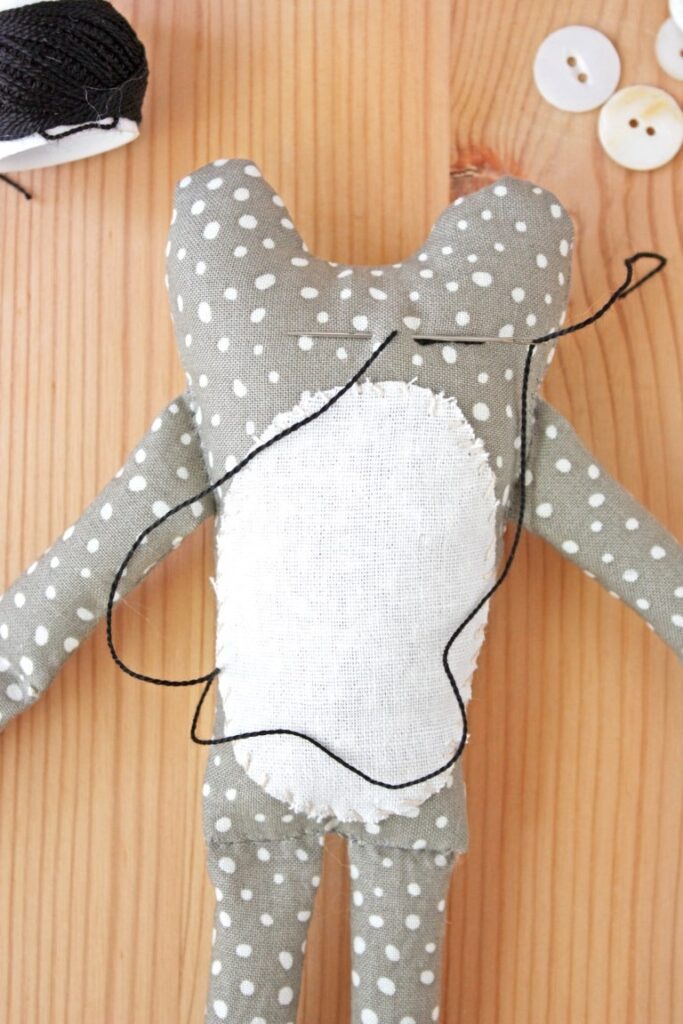
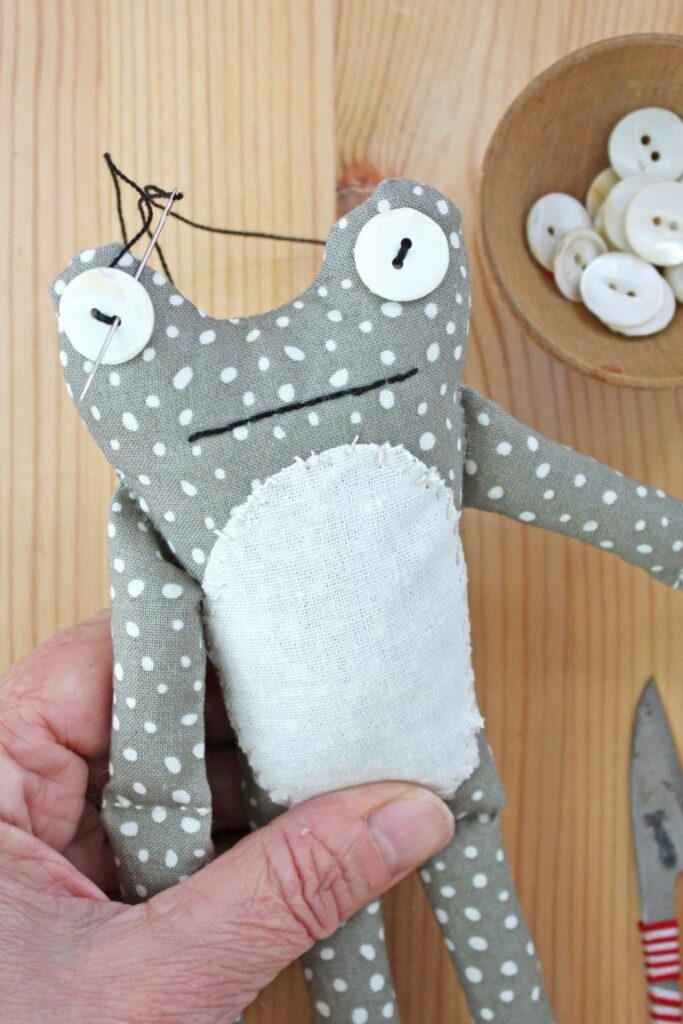
- Stitch a mouth using backstitch and add buttons for eyes.
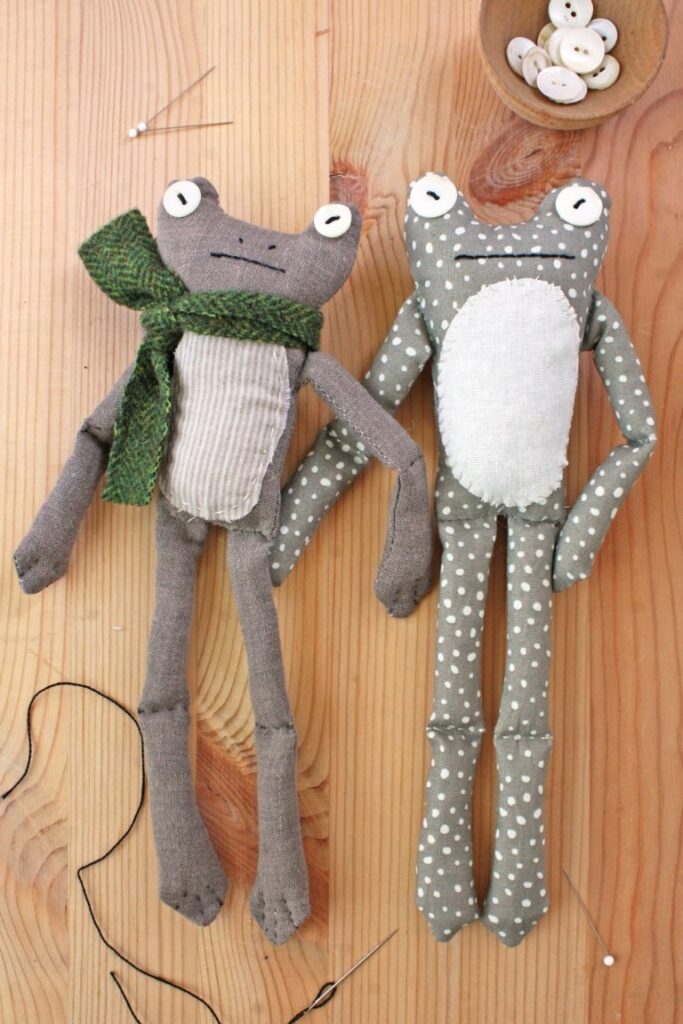
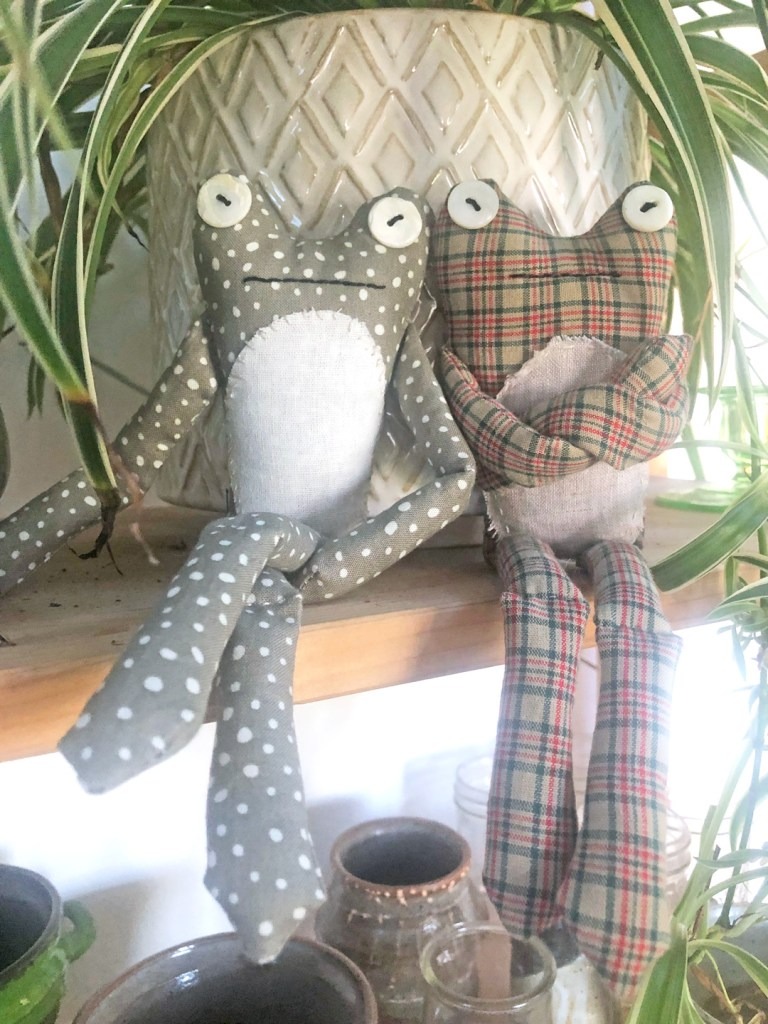
And voila! You have your very own frog or toad doll ready to join you on your adventures. Let the fun begin and don’t forget to share your creations using
