Introduction:
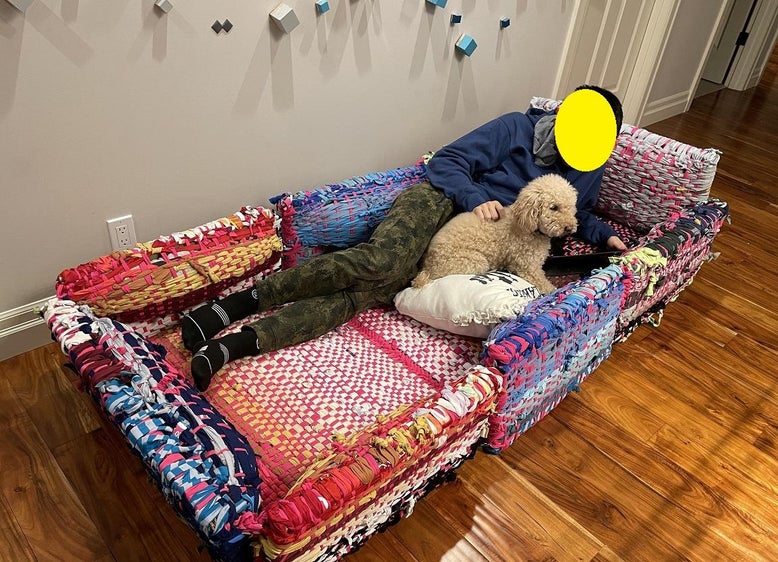
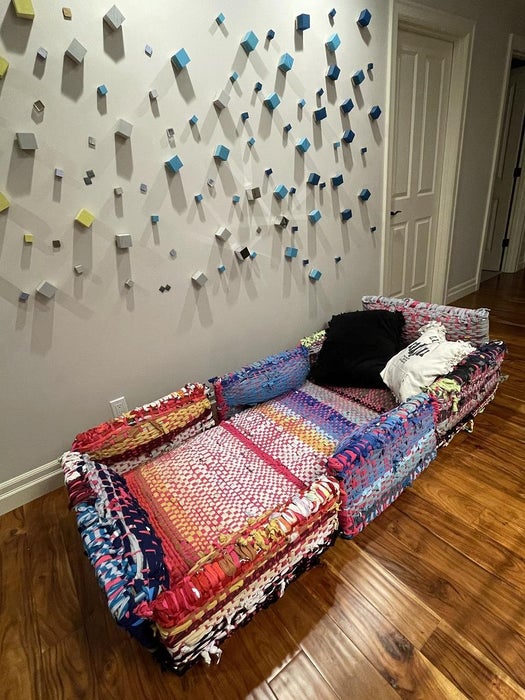
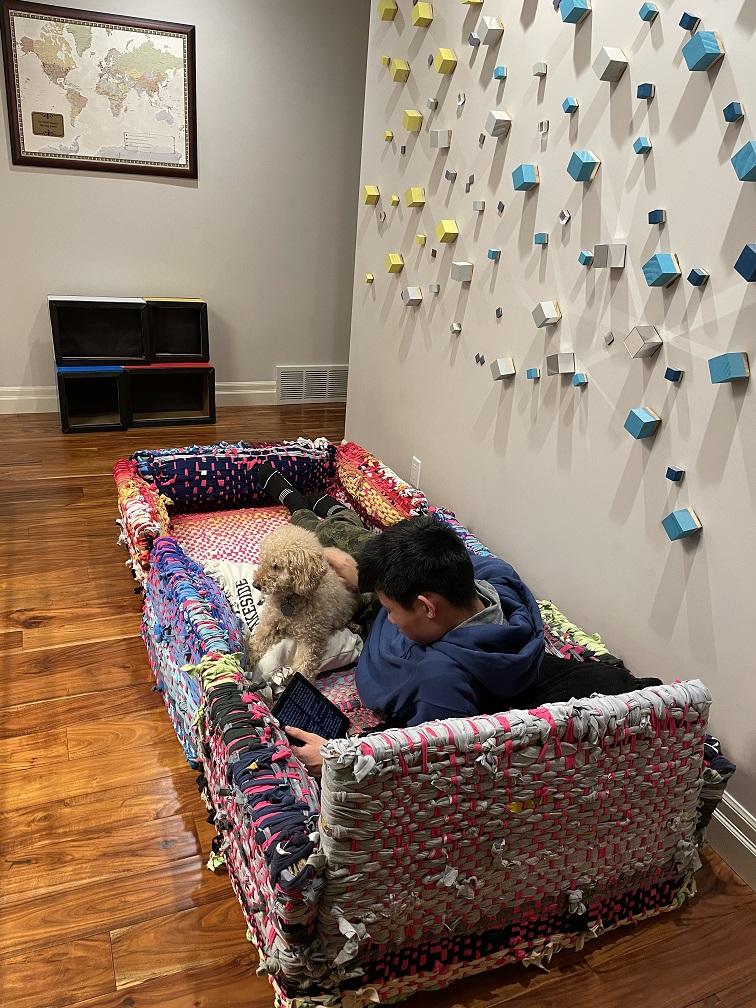
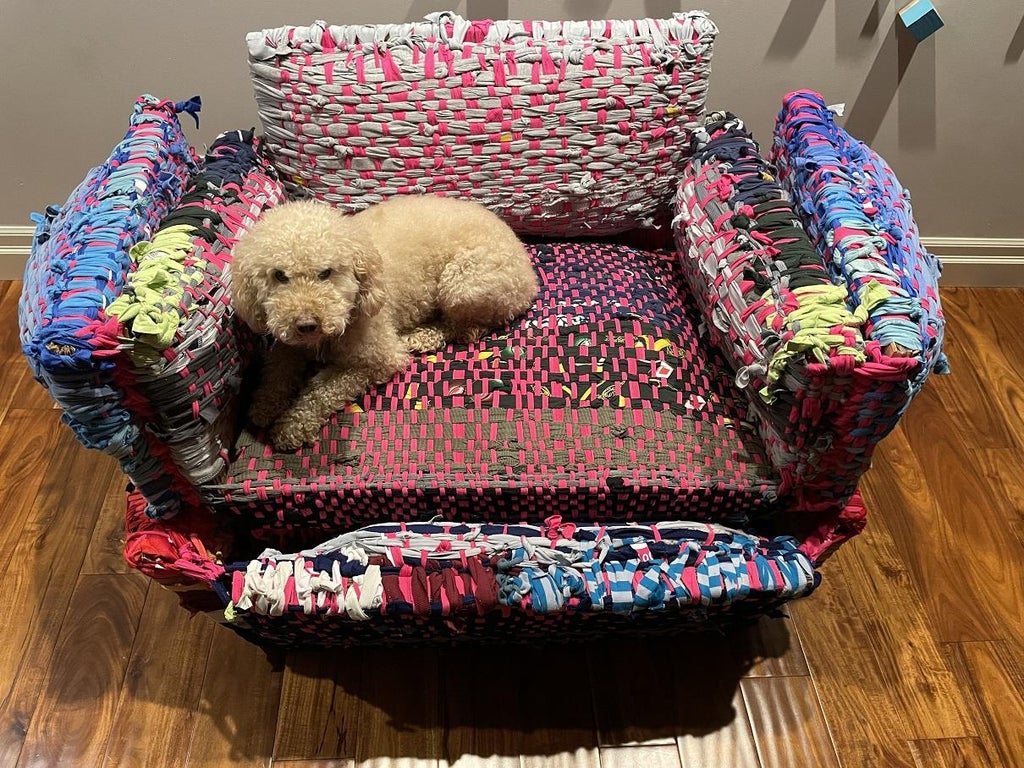
Recently, I stumbled upon this warm and cozy human dog bed. I can totally picture myself lounging in one of these beds with my pup! Even better, maybe I can make my own and sidestep the hefty price tag by repurposing old clothes!
No sewing required, and I can also breathe new life into some of my favorite garments in this human dog bed!
Materials Needed:
Lots of cardboard Plenty of old clothes (such as T-shirts, sweatshirts, hoodies, sweatpants, etc.). I used 3 huge bags of clothes! Packing foam, used pillows, and/or old blankets. Carabiners/clips for connection Step 1: Base Panel
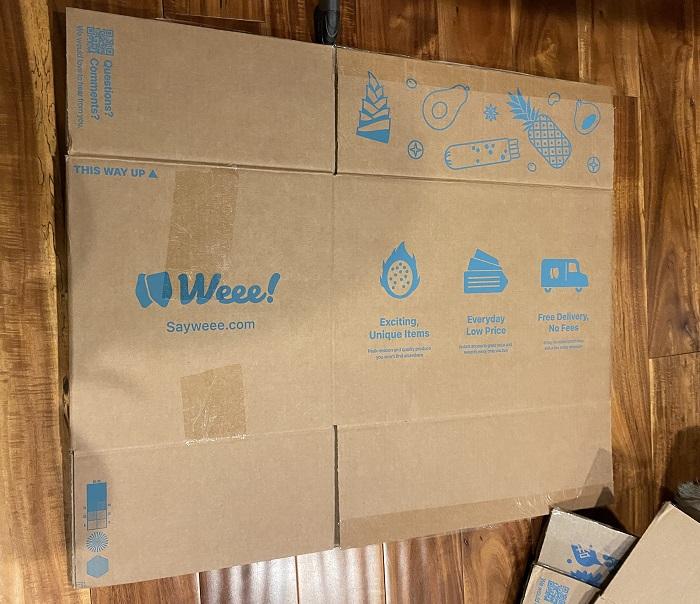
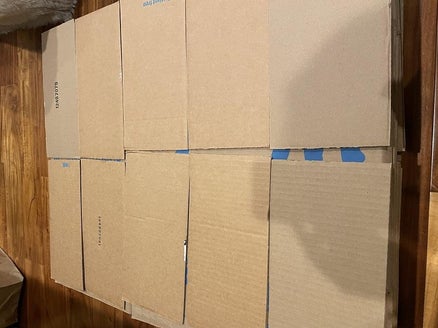
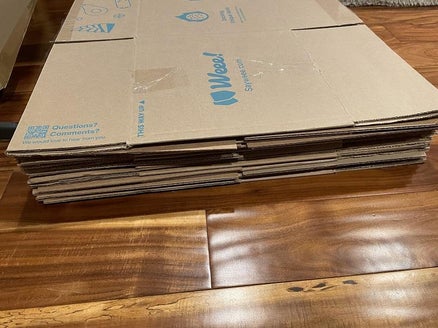
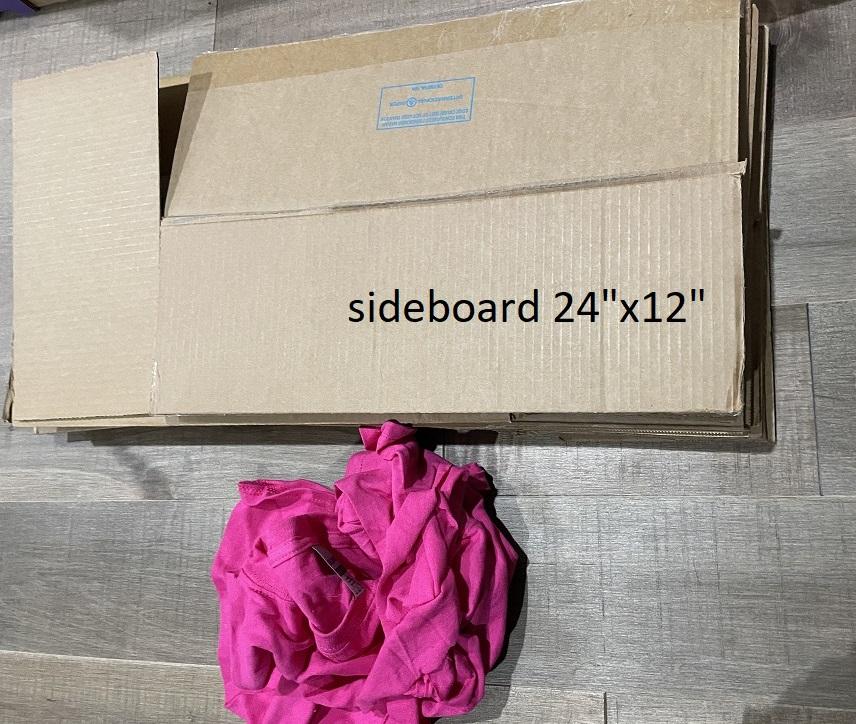
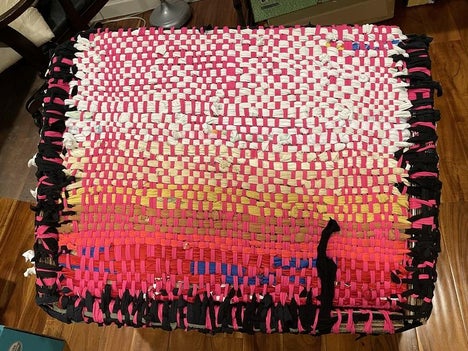
Start by flattening cardboard boxes into rectangles measuring 91 cm x 61 cm. Stack 25 to 30 layers on top of each other. (If a flattened box isn’t big enough, arrange multiple pieces to form a single layer. Tip: Just like working with Legos, you might want to arrange the pieces in different patterns to make the structure sturdier).
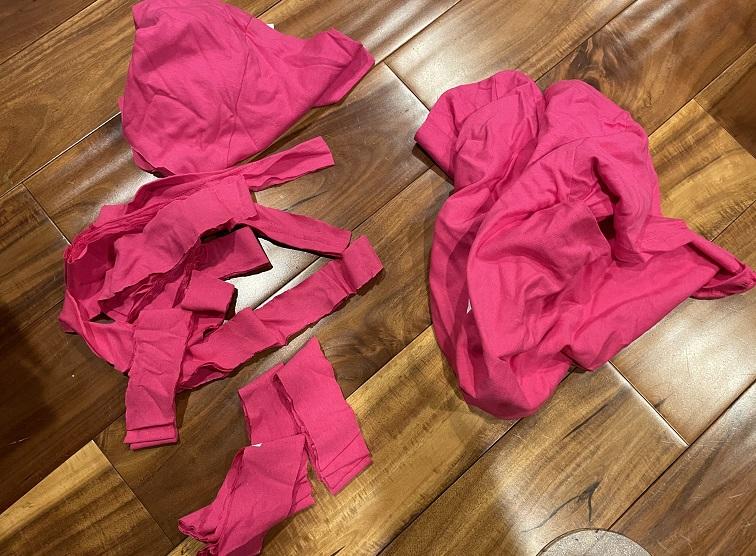
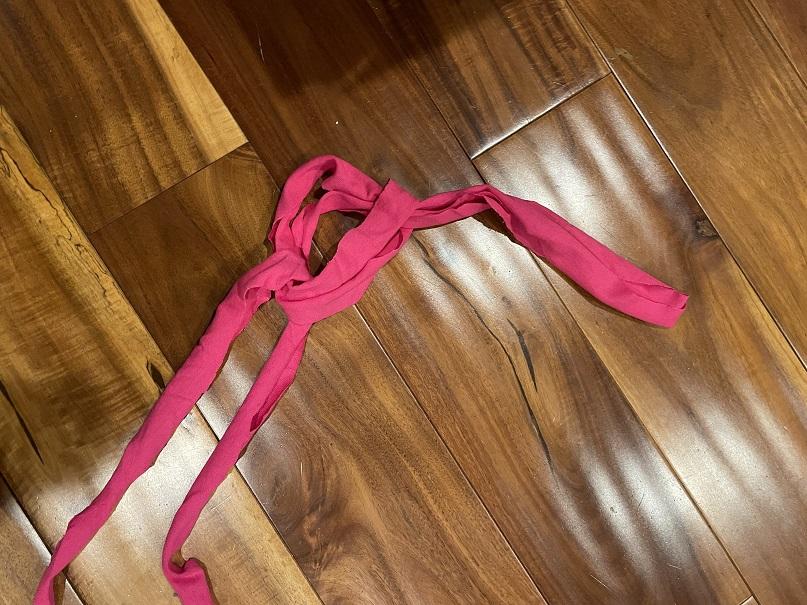
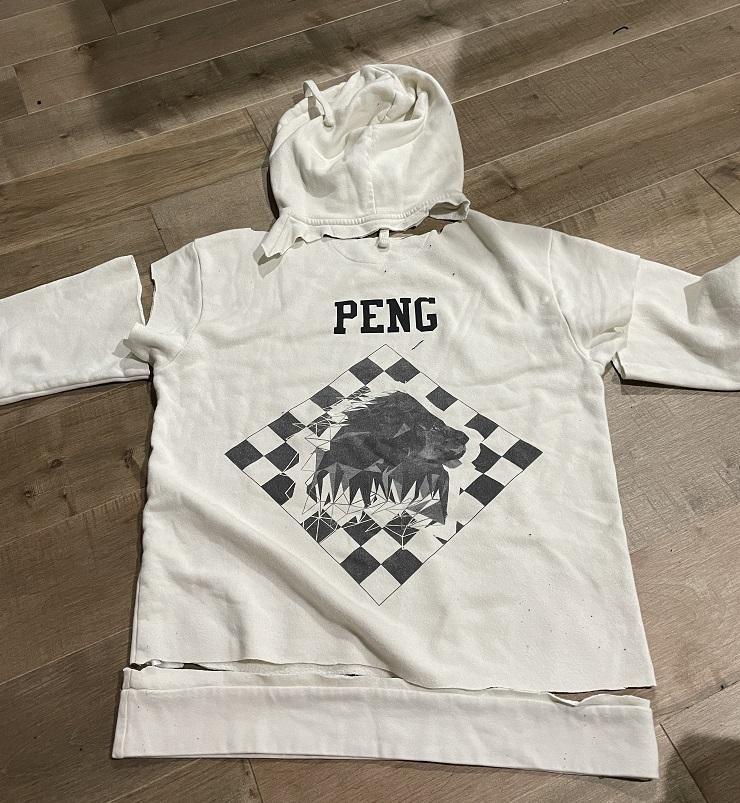
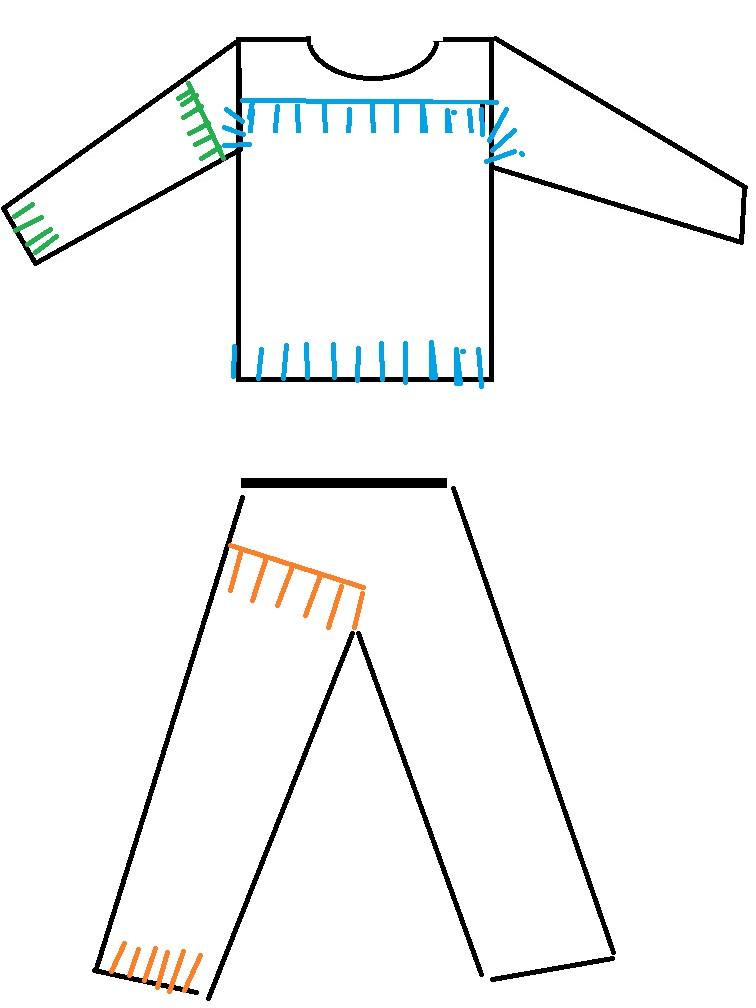
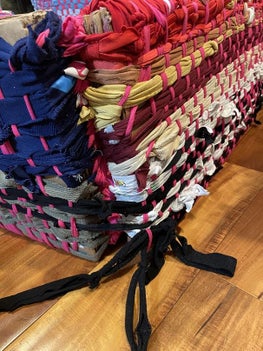
Then, cut the clothes into strips as instructed. Tie the strips into loops if they aren’t already. Connect several strips of clothes with flat knots. (You can and should connect them as you go rather than all at once).
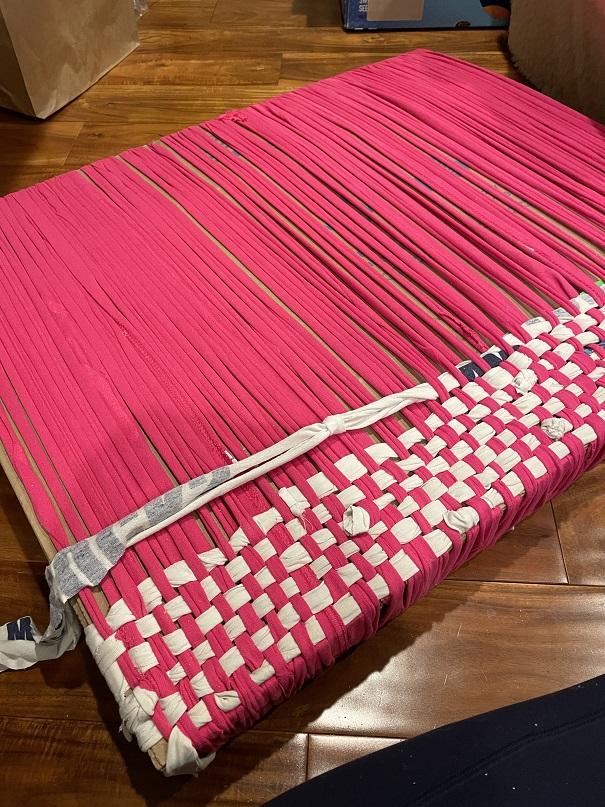
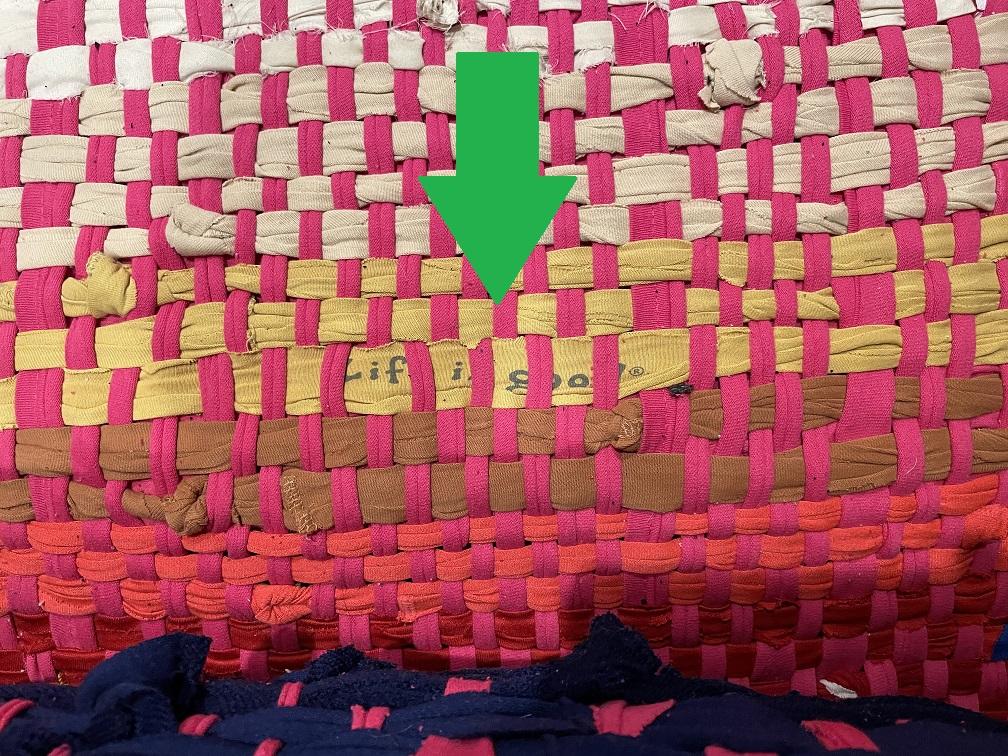
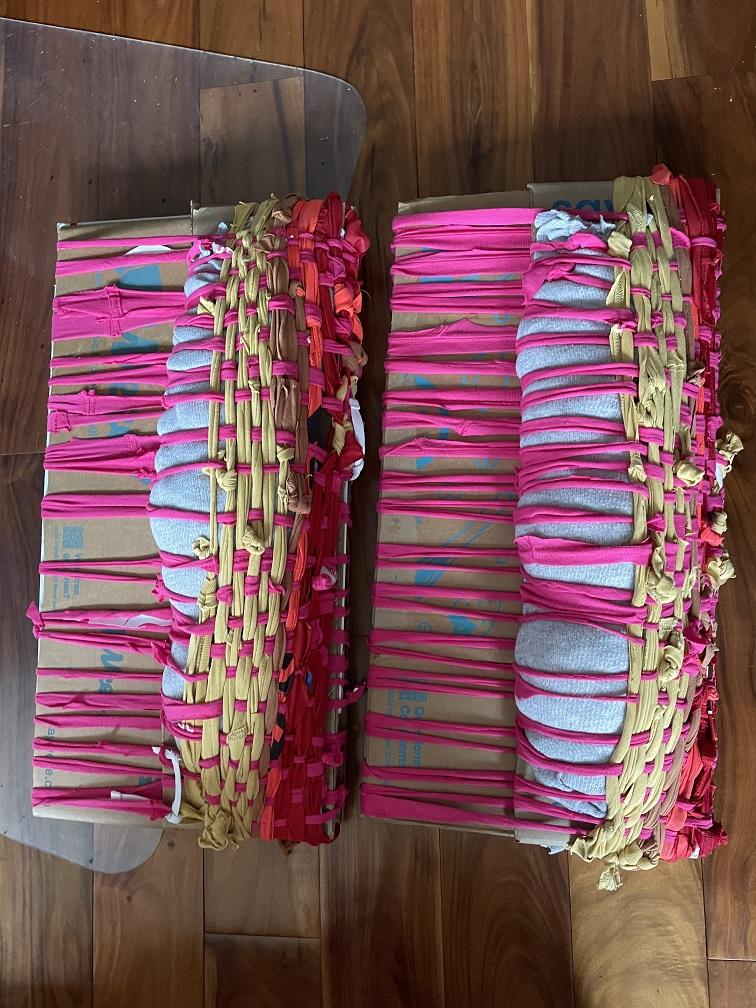
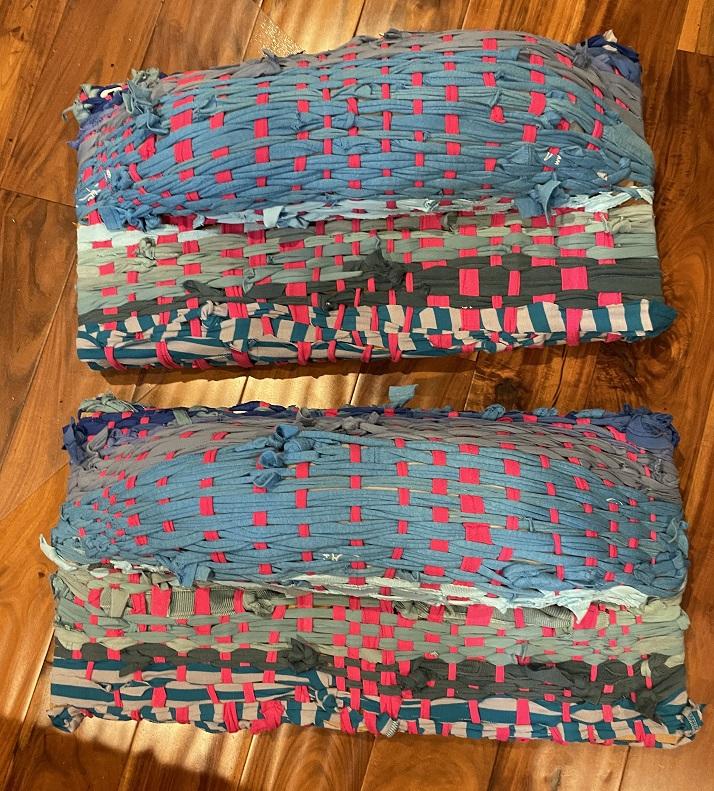
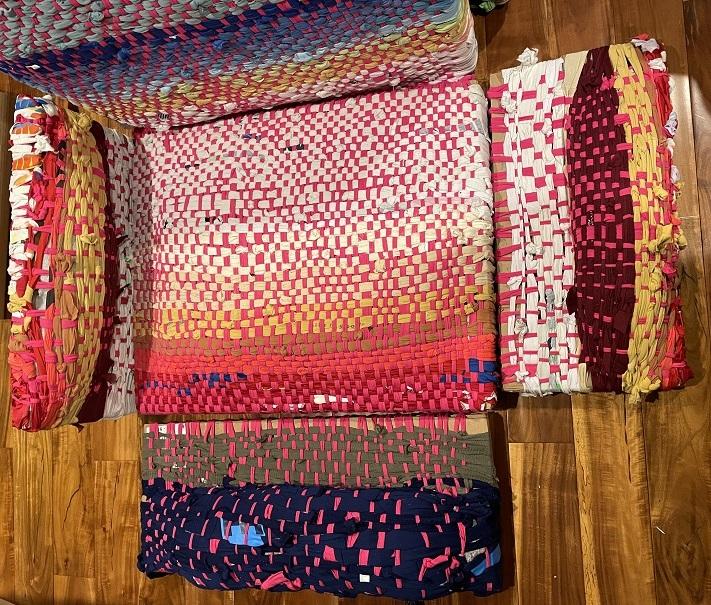
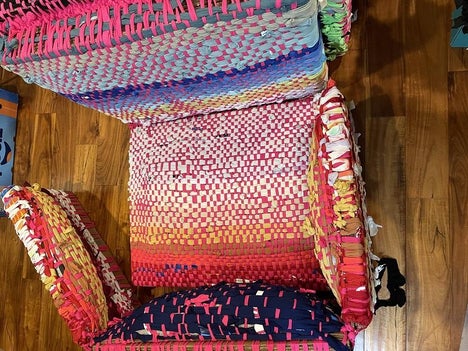
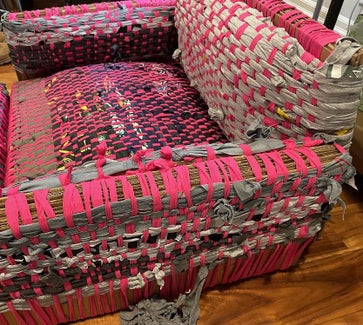
Wrap this first layer of clothes tightly around the stack of cardboard as instructed to create horizontal lines. Then weave the other strips (alternating over-under-over-under and under-over-under-over). You can weave different color patterns and highlight key features of your clothes. We chose to highlight the text “Life is Good” on one of the T-shirts because that’s exactly what you should feel on the human dog bed!
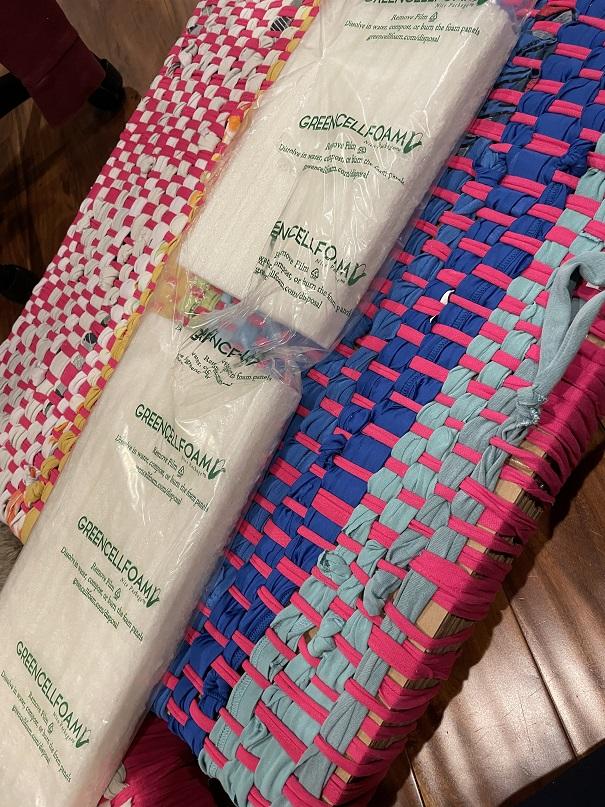
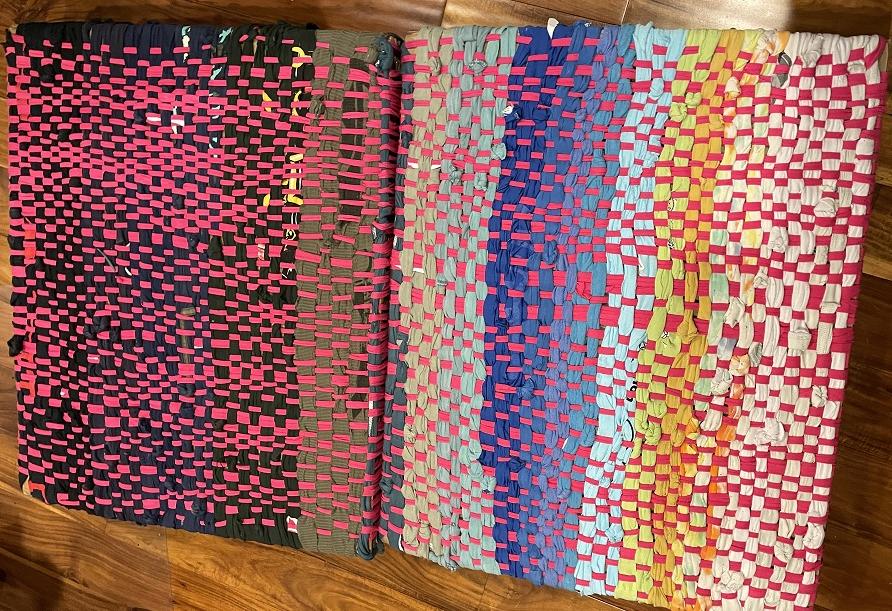
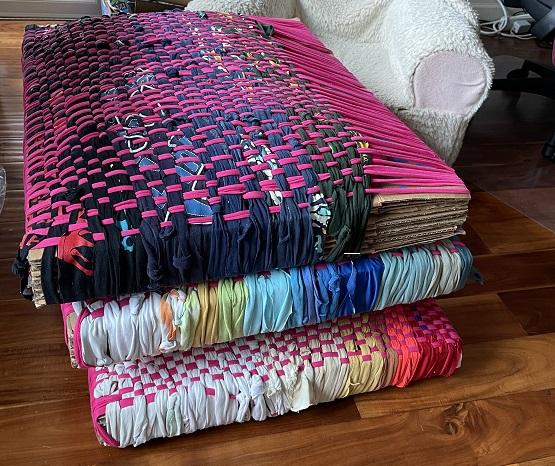
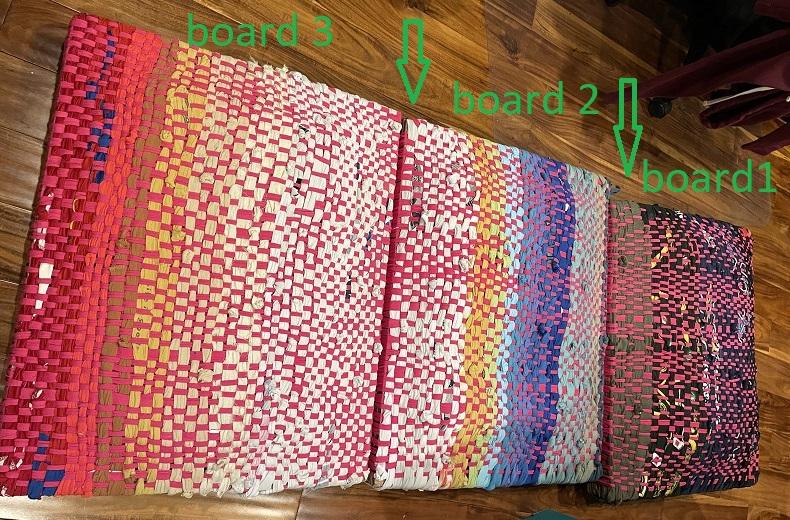
We planned to make 3 of these base panels. We used a used pillow to fill the first panel (Panel 1) and foam for the other two (Panel 2 and Panel 3). The flat foam filling allows us to fold these two panels together.
Step 2: Connecting the Base Panels
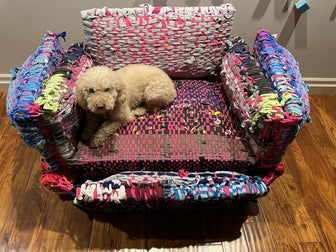
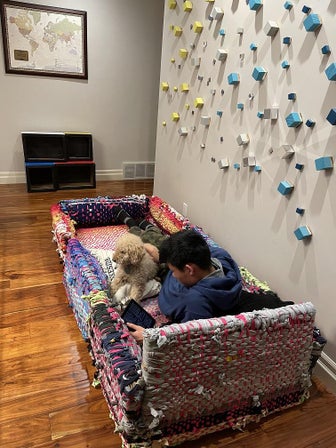
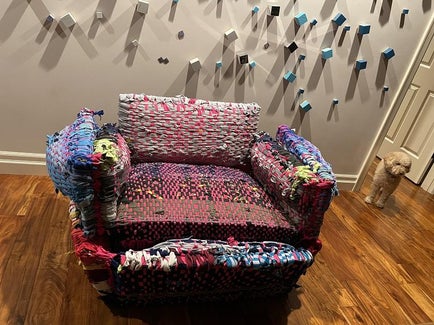
Now that we have three base panels, we can connect them to form a chair when folded and a bed when unfolded.
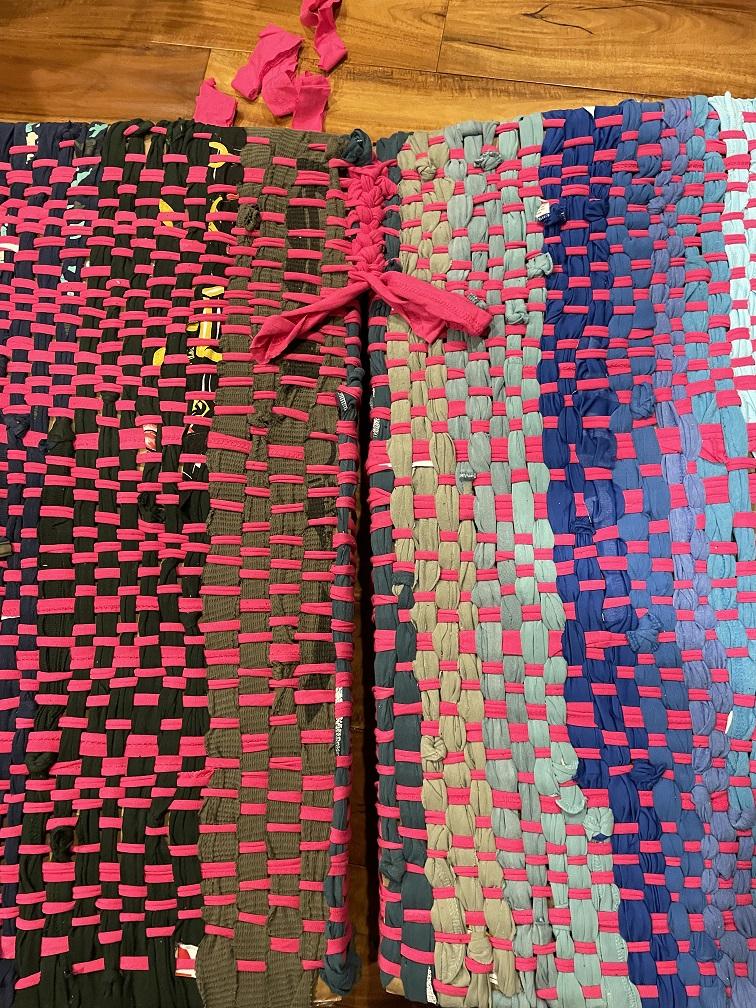
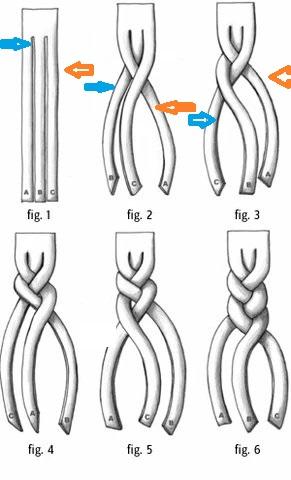
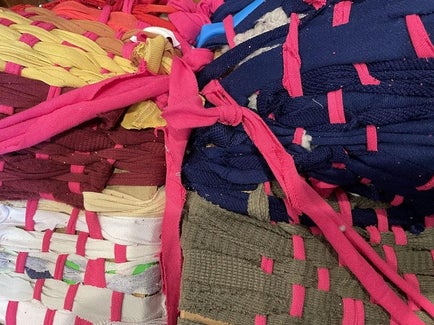
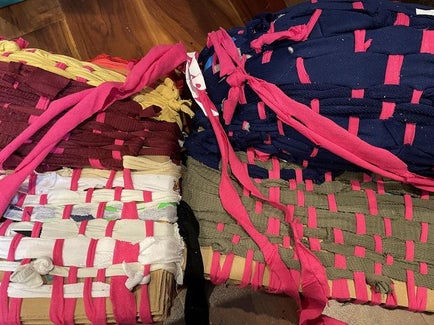
To connect two panels, take 3 strips. Lay two panels side by side. Tie one strip at the top of each of the two panels to secure the third by connecting the two panels. Connect the two panels by weaving the three strips as instructed, making sure to pass the strips through the neighboring loops of each panel to secure the connection.
Make sure to connect Panel 1 and Panel 2 at the bottom long edge and connect Panel 2 and Panel 3 at the top long edge. This will allow us to fold the base panels.
Step 3: Side Filling and Pillows
We used filling from old blankets, but it would probably have been easier to use used pillows directly, then we wouldn’t have had to make a cover for the filling.
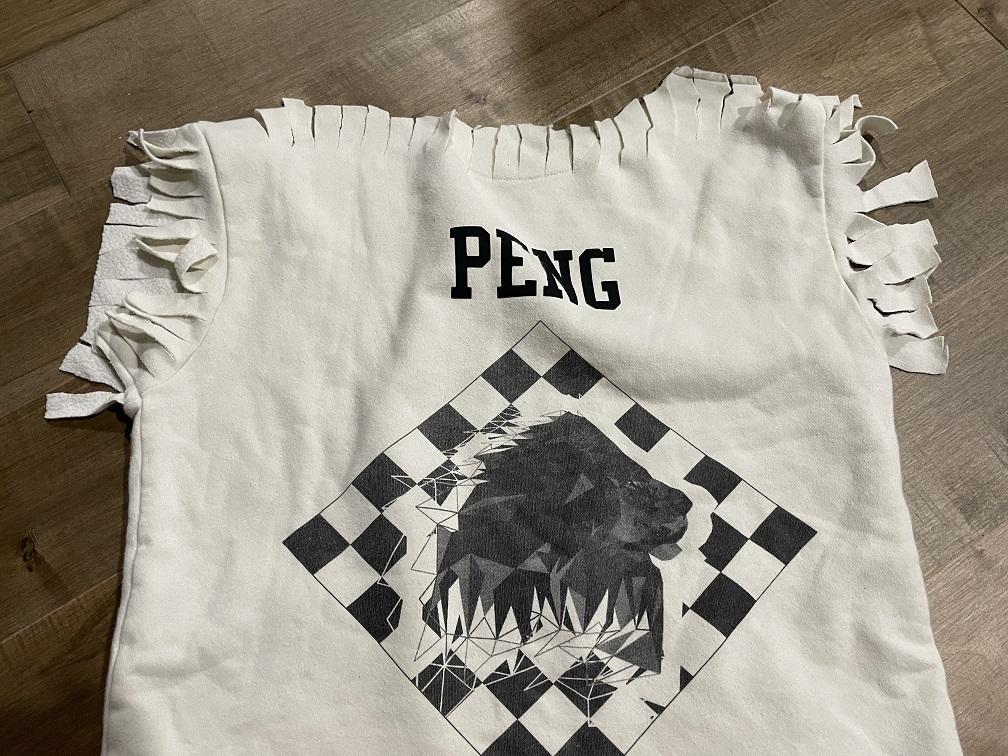
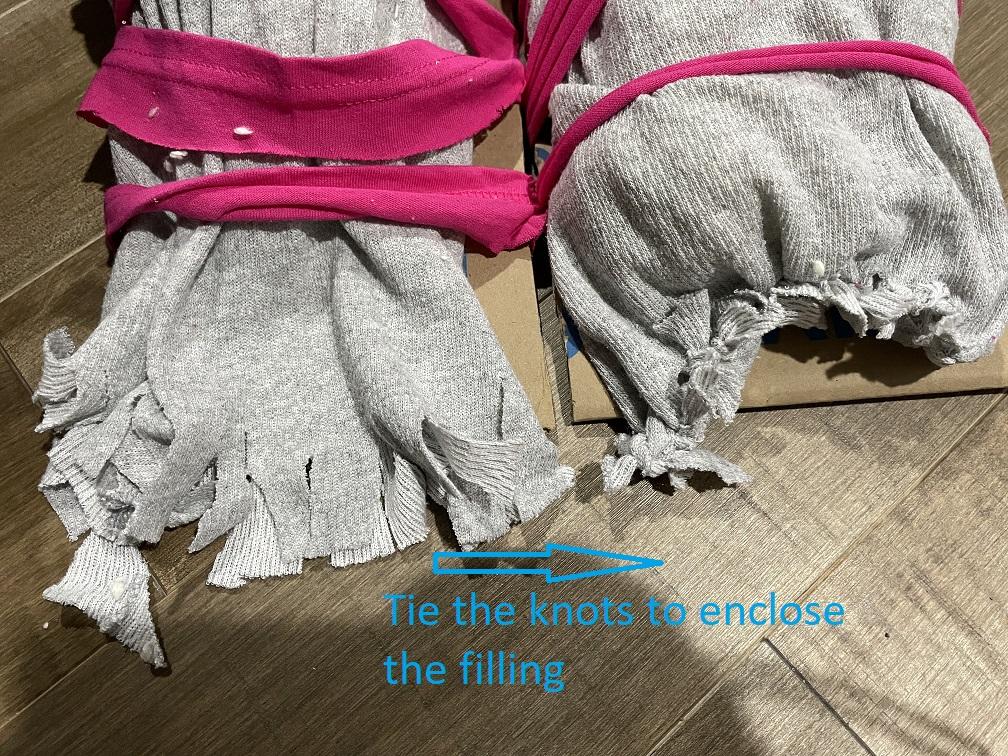
Cut the old clothes as instructed, with shallow parallel cuts at each opening. Tie the ends of the cut fabric to cover the holes but leave one hole open. Now we have a filling cover with one open side.
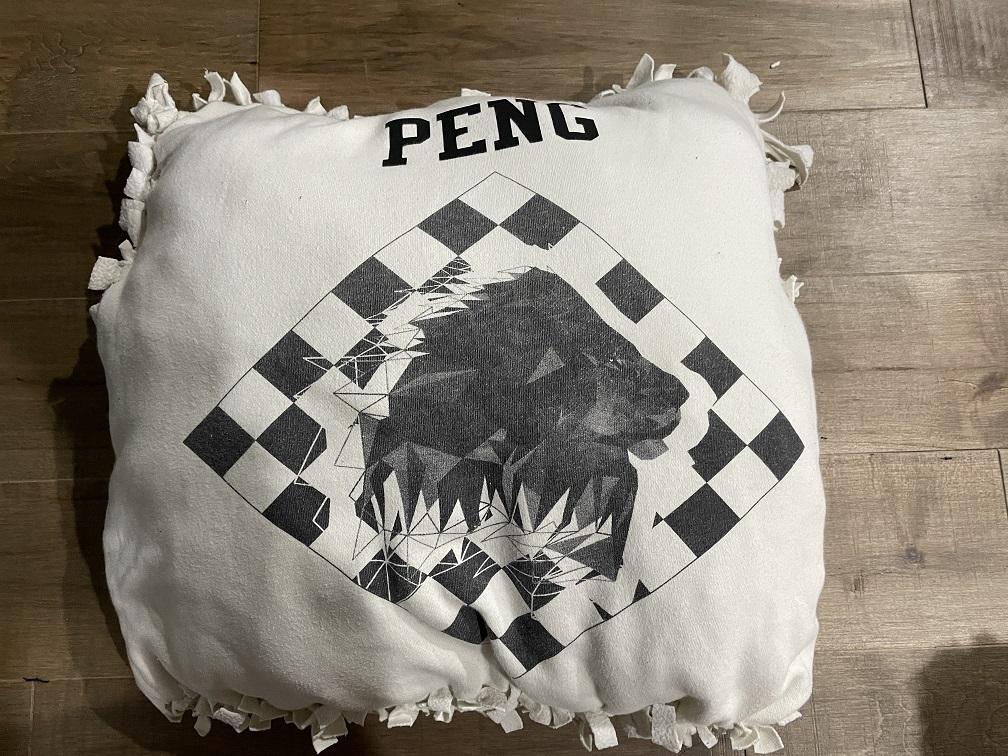
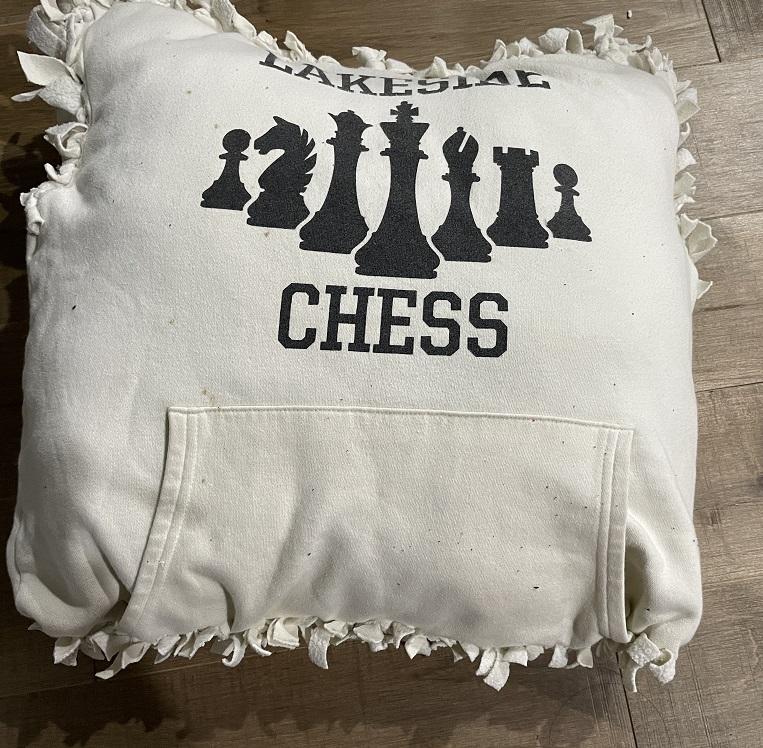
Fill the filling cover directly or fold an old pillow into the shape of the cover. Close the open side by tying the ends of the cut fabric.
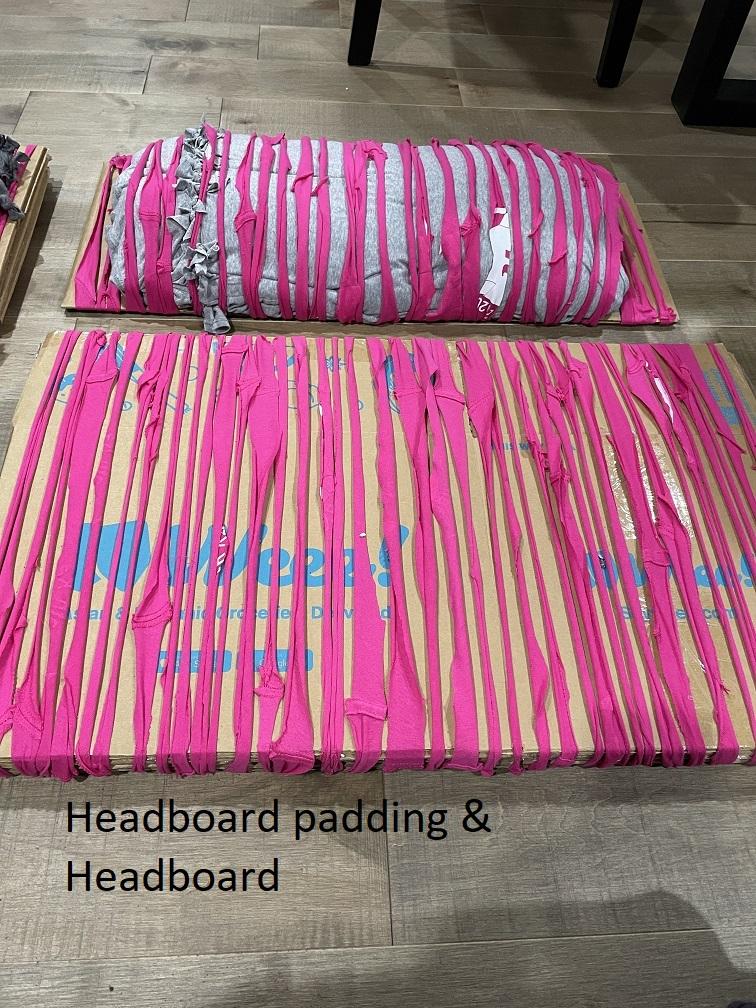
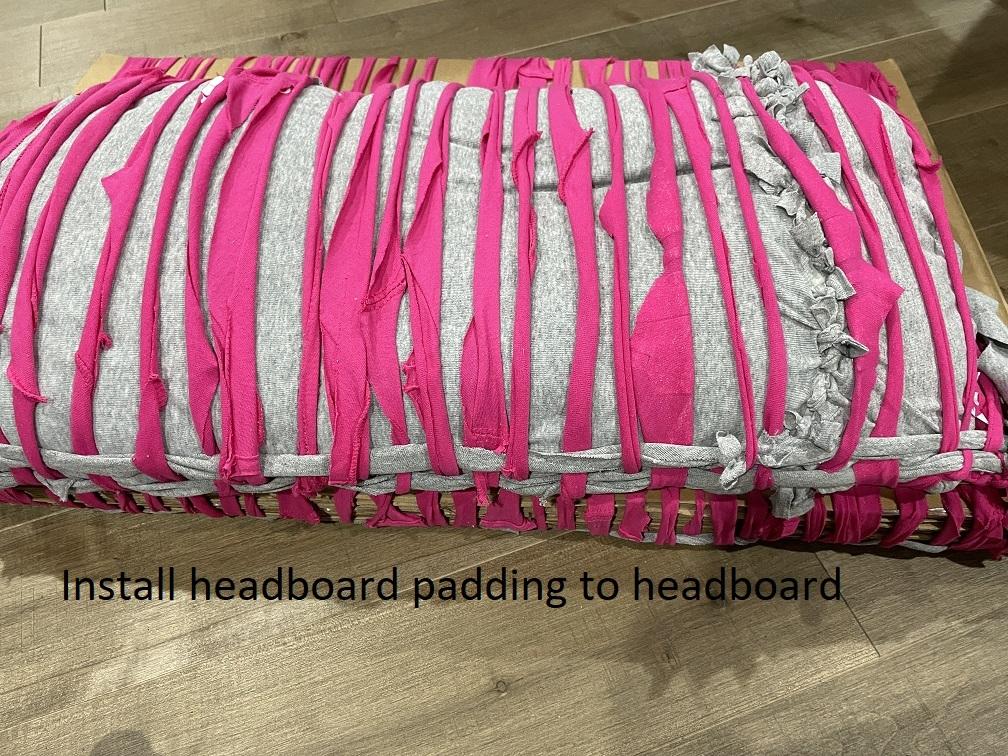
Currently, we don’t have so much a “human dog bed” but rather a few cushions. To finish the dog bed, we need a headboard, a footboard, and 2 sides for each base panel (6 in total). Each side will have a filling panel, as instructed. (The next step will go into detail).
Dimensions for each panel:
Headboard (1x): 91 cm x 46 cm, filling panel 91 cm x 30 cm Footboard (1x): 91 cm x 30 cm, filling panel 91 cm x 15 cm Bed side (6x): 61 cm x 30 cm, filling panel 61 cm x 15 cm This makes a total of 8 side filling panels. With the remaining material, make as many pillows as you like!
Step 4: Sides
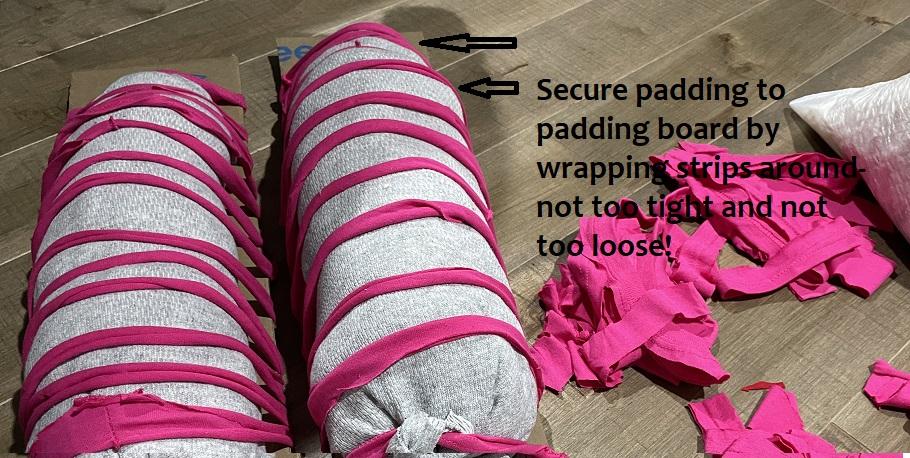
Prepare the filling panels with the dimensions specified in the previous step by layering the cardboard sheets. Tighten the filling and the filling panel together by laying strips around them in one direction as instructed, similar to the base panels.
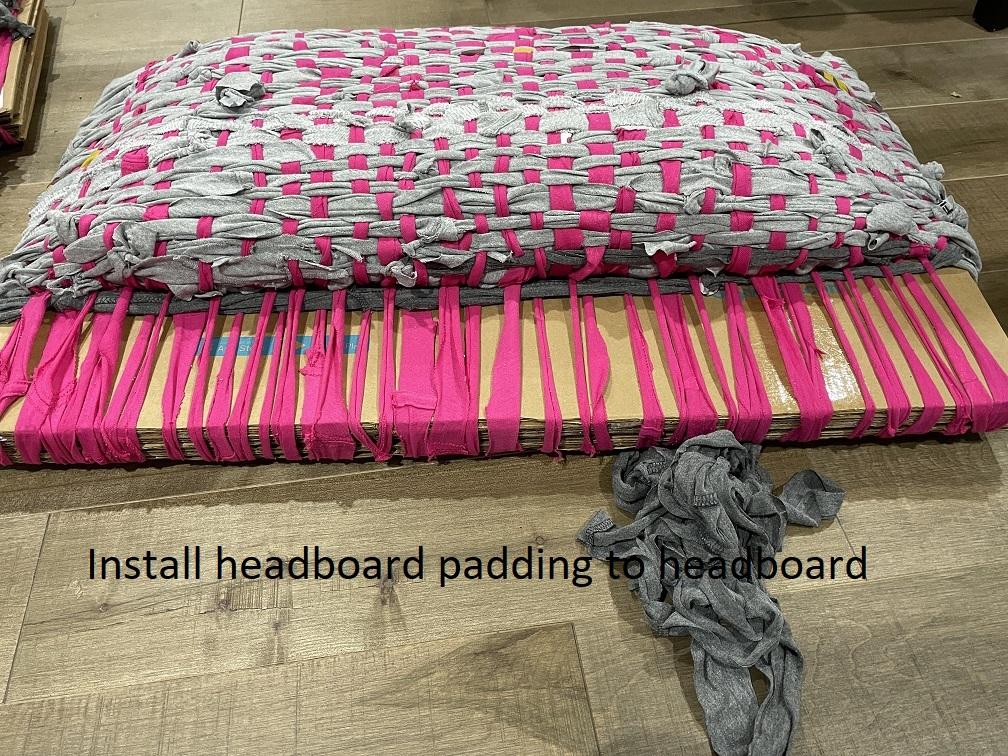
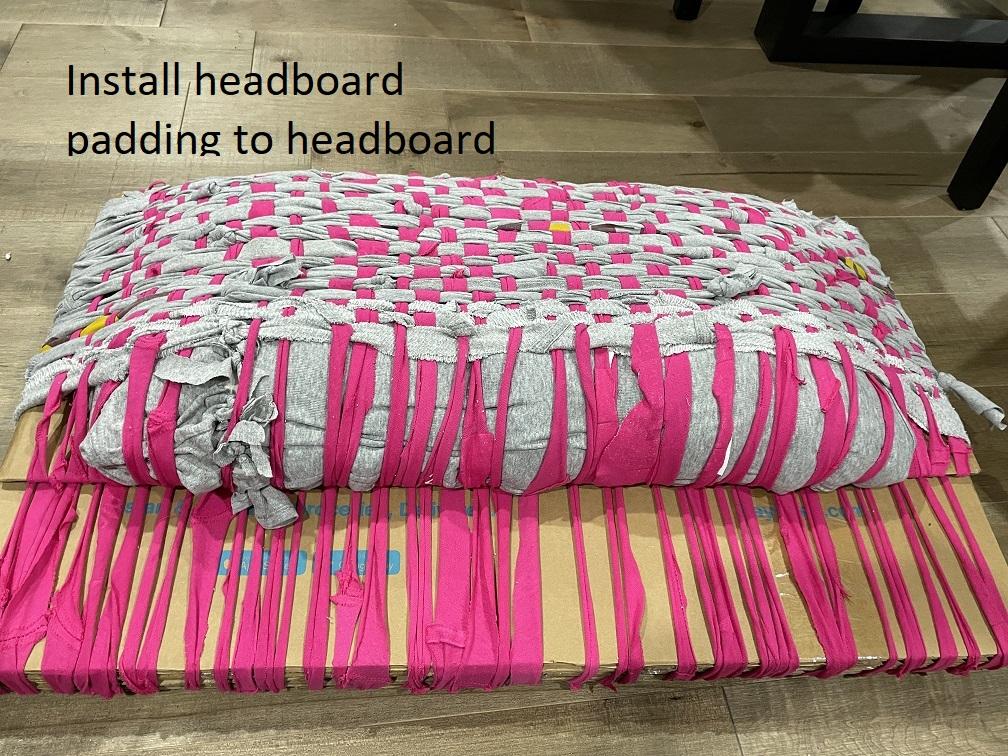
Then create the sides with the dimensions specified in the previous step using the same process.
Attach each filling panel (with filling) to its corresponding side by weaving strips perpendicular to the existing strips as instructed.
Step 5: Assembly
Connect one side, the footboard, and one side in this order using the braiding technique described in step 2.
Place the connected structure around Panel 3 as instructed. Begin connecting these elements together with fabric strips.
Flip the structure to secure the connection of the base panel, footboard, and sides as instructed to finish securing them together.
Repeat the process for Panel 1 with two sides and a headboard, and connect the remaining two sides to Panel 2.
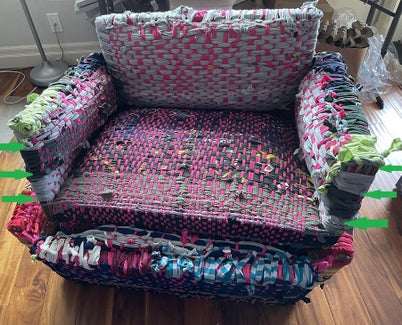
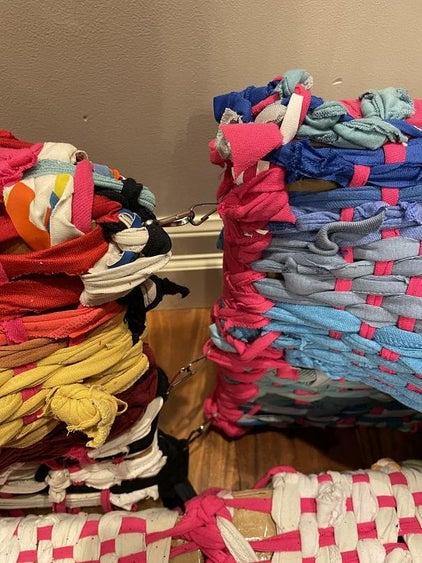
Install connection clips on the sides for Panel 2 and Panel 3 as instructed. This way, when the human dog bed is unfolded, we can connect these sides to reinforce the bed’s edge.
If necessary, reinforce the structure with additional strips at all particularly weak connections. Finish by covering any exposed cardboard with strips.
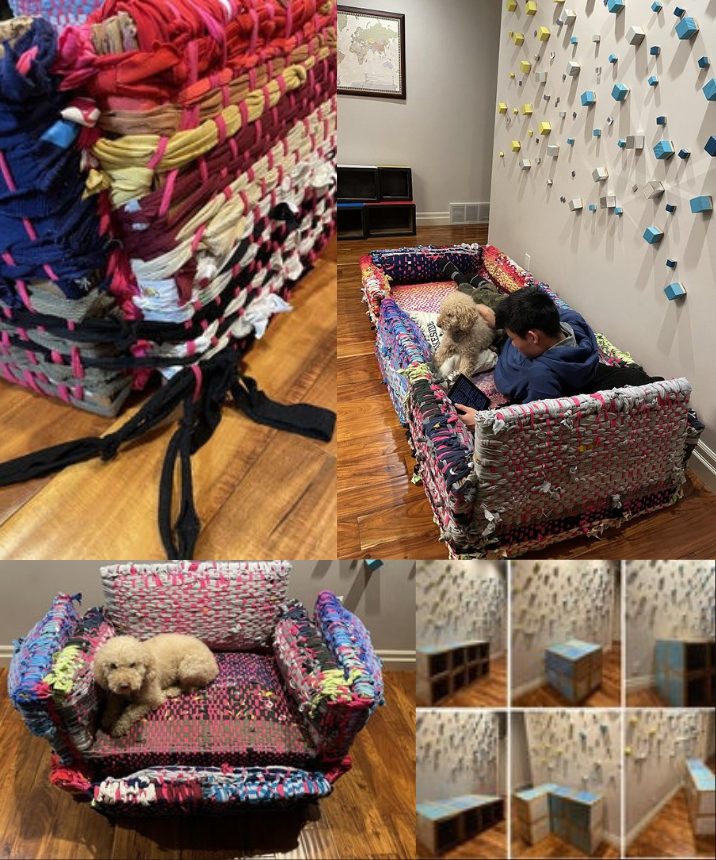
You’re done! It’s time to enjoy your new cozy human dog bed!
