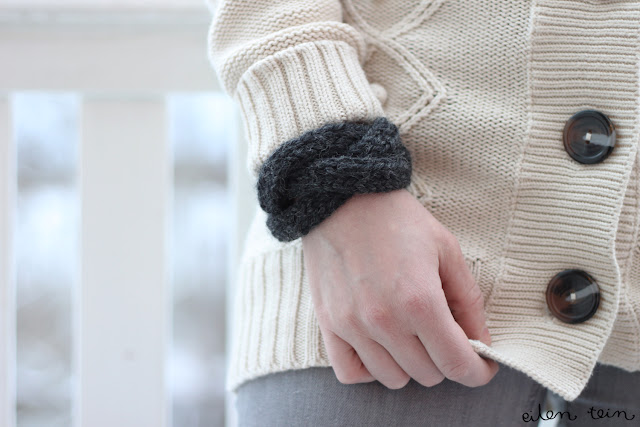
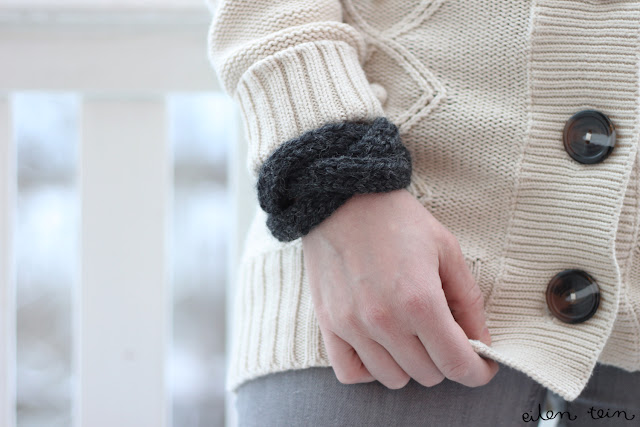
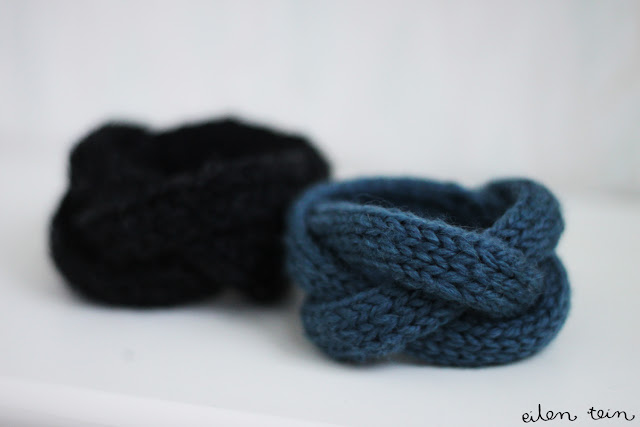
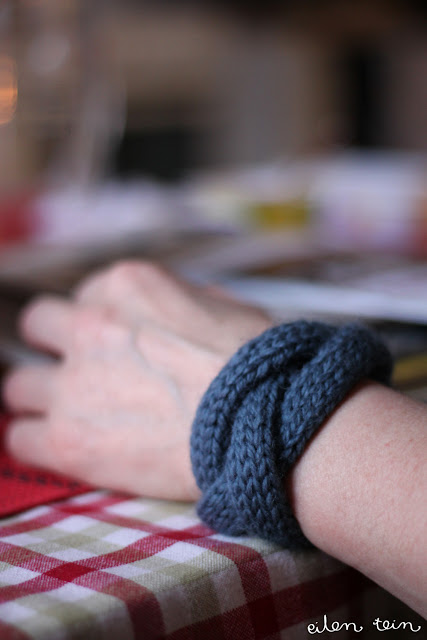
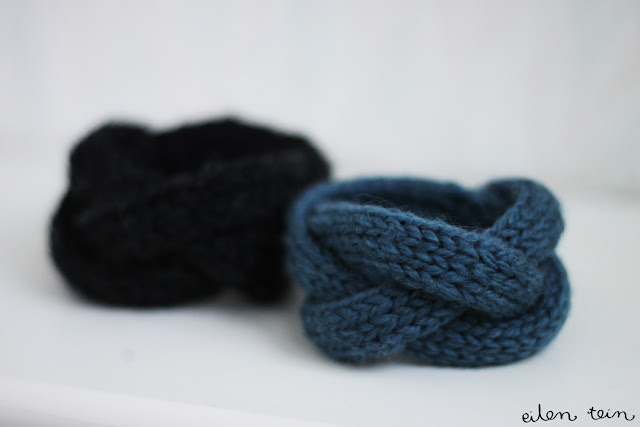
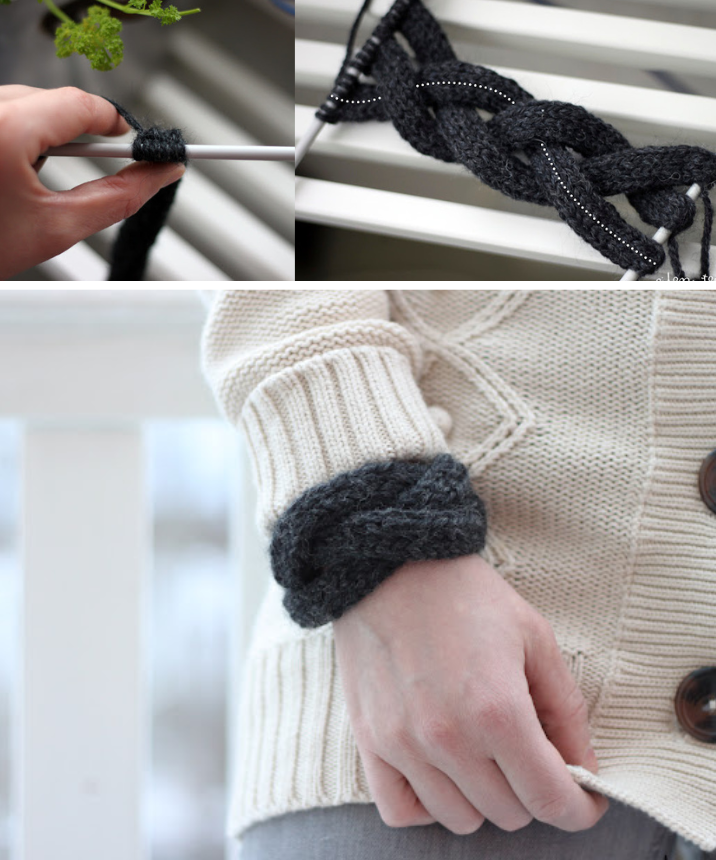
Introduction: Are you on the hunt for a personalized and unique gift? Discover how to create your own wrist braided bracelets, an original idea that will catch the attention of your loved ones and add a touch of style to their daily look!
Introduction:
Have you ever seen those charming wrist braided bracelets on Pinterest and wondered how to make them yourself? Look no further! In this tutorial, I’ll show you how to make these beautiful homemade accessories using simple and easy-to-understand steps.
Materials Needed:
- Tuva Yarn (Marks&Kattens)
- Size 5.5 Needles
- Size Instructions: for women
Step 1: Preparing the Knitting Tubes:
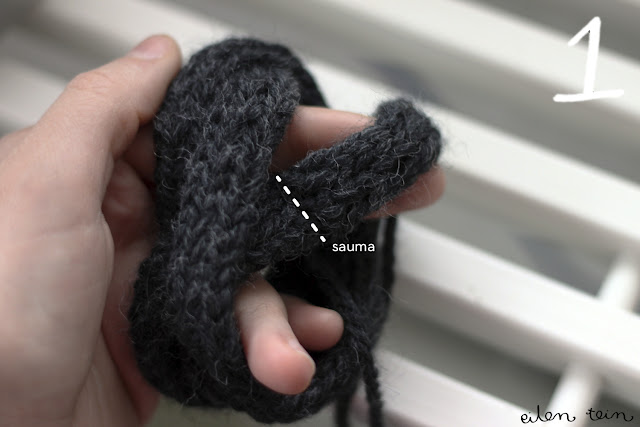
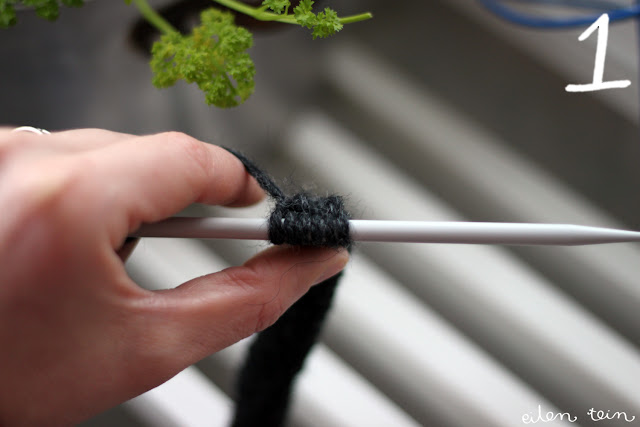
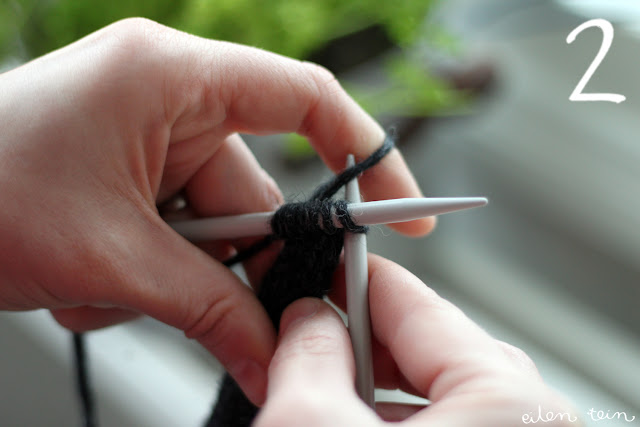
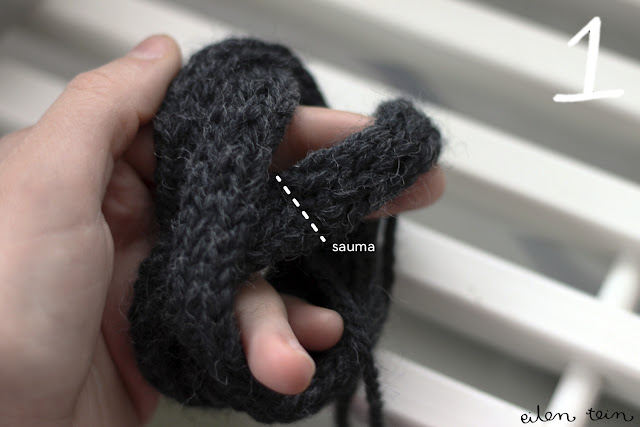
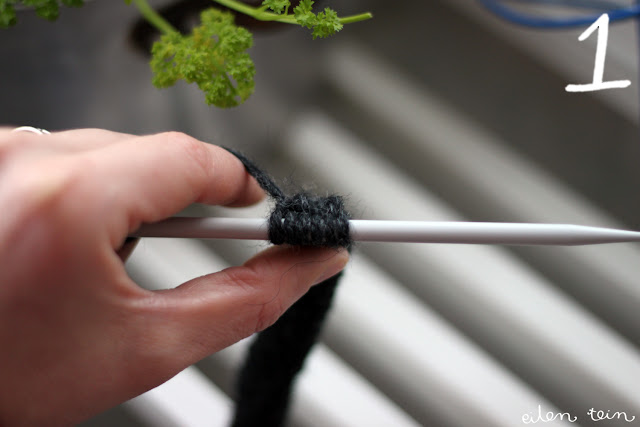
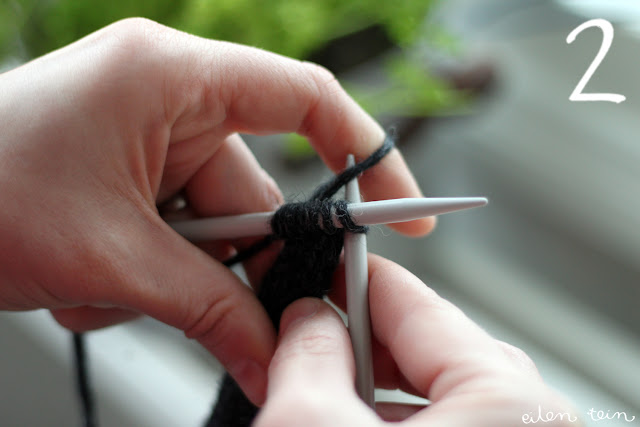
To start, knit three “knitting tubes” using the needles and Tuva yarn. Each tube is worked using two needles and six stitches. Make sure to create six loops at each end of the tube.
Step 2: Knitting the Tubes:
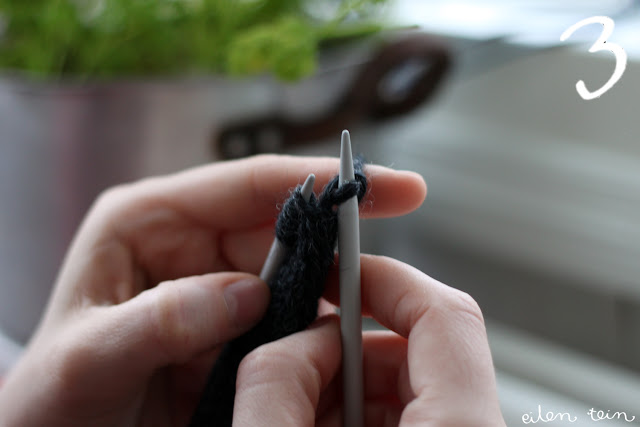
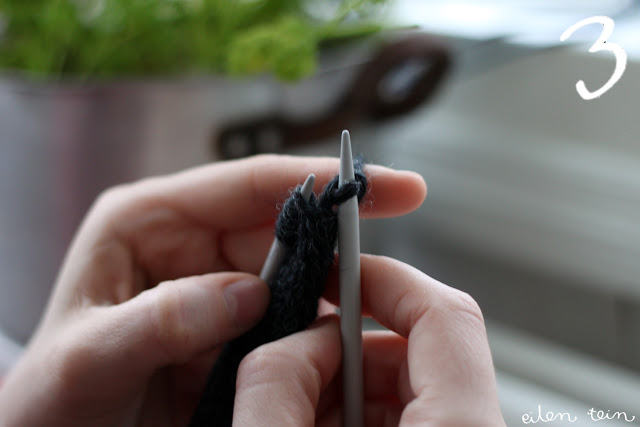
Knit each tube, making sure to tighten the yarn as much as possible to achieve a uniform look. Repeat this process until each tube measures approximately 21 cm in length or has 42 rows.
Step 3: Braiding the Bracelets:
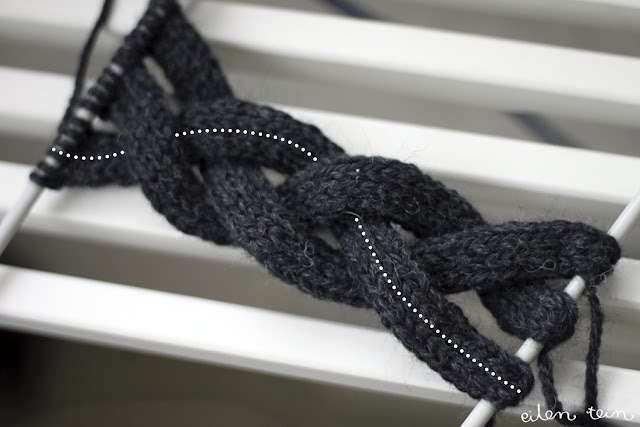
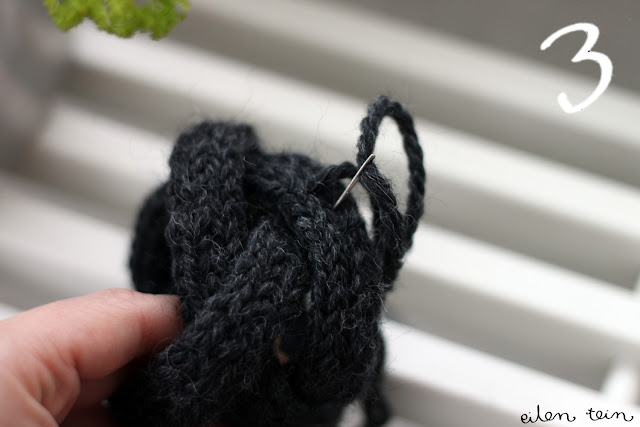
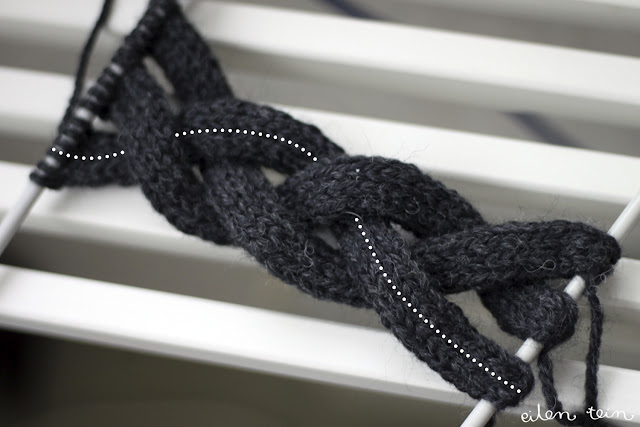
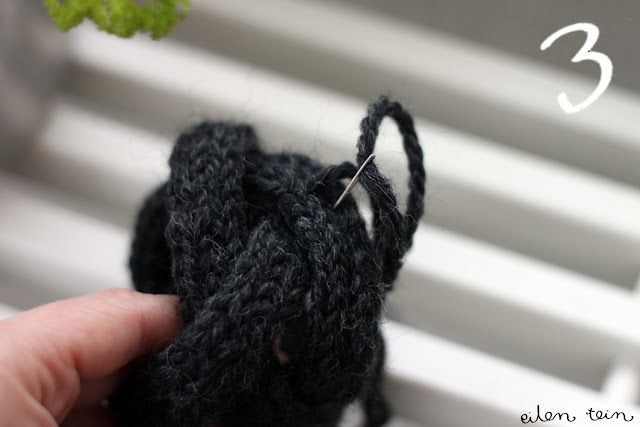
Once your three tubes are ready, begin braiding them together as shown in the image above. Make sure to always knit together the ends of the same tube to create three distinct rings.
Step 4: Final Assembly:
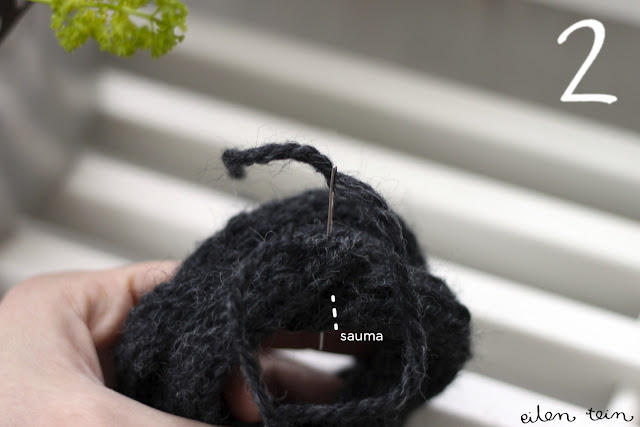
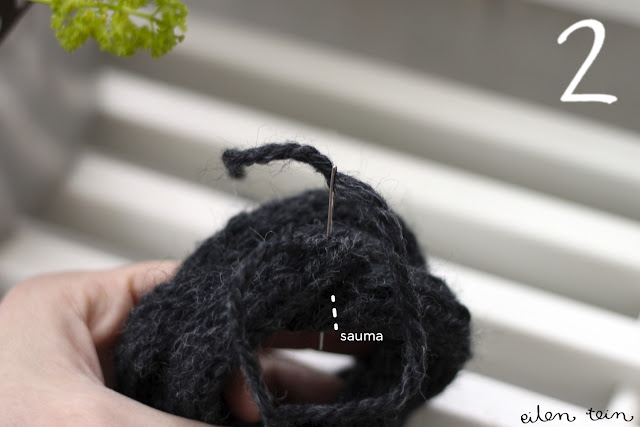
After braiding the bracelets, connect the ends of the tubes to form rings. To ensure a sturdy assembly, you can lightly glue the rings together to hide the seams.
Conclusion:
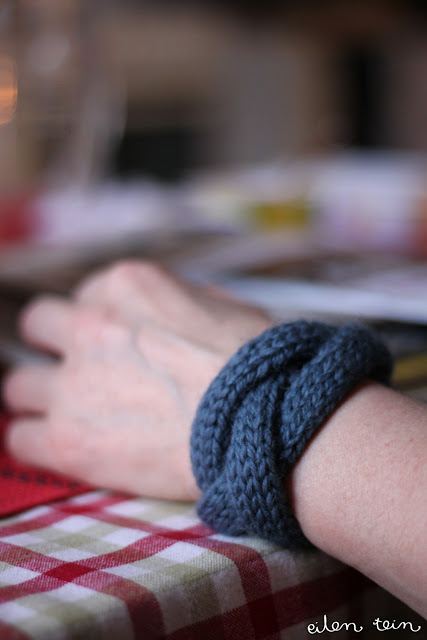
And there you have it! You’ve just created your own wrist braided bracelets, perfect for gifting or adding a stylish touch to your own look! Have fun experimenting with different yarn colors and braiding patterns to create unique bracelets to match your style.
Ready to add a touch of creativity to your wardrobe? Explore more crafting project ideas and knitting tutorials by browsing our other articles! Let your imagination run wild and dive into the world of creative knitting today!
