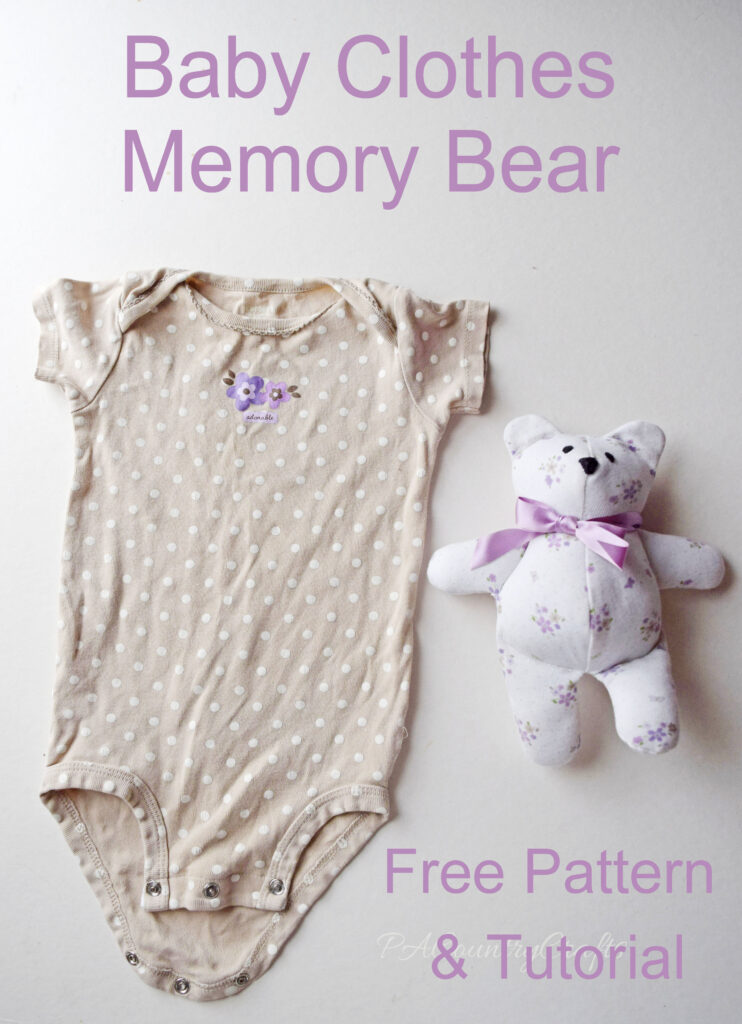
Ever wished you could hold onto those precious baby memories a little longer? Maybe you’ve seen those adorable stuffed bears made from old baby clothes on Pinterest and thought, “I’d love to make one of those!” Well, guess what? You can! And I’m here to guide you through the process step by step, so you can turn those tiny onesies and sleepers into a cherished keepsake that will warm your heart for years to come.
Capturing Memories, One Stitch at a Time
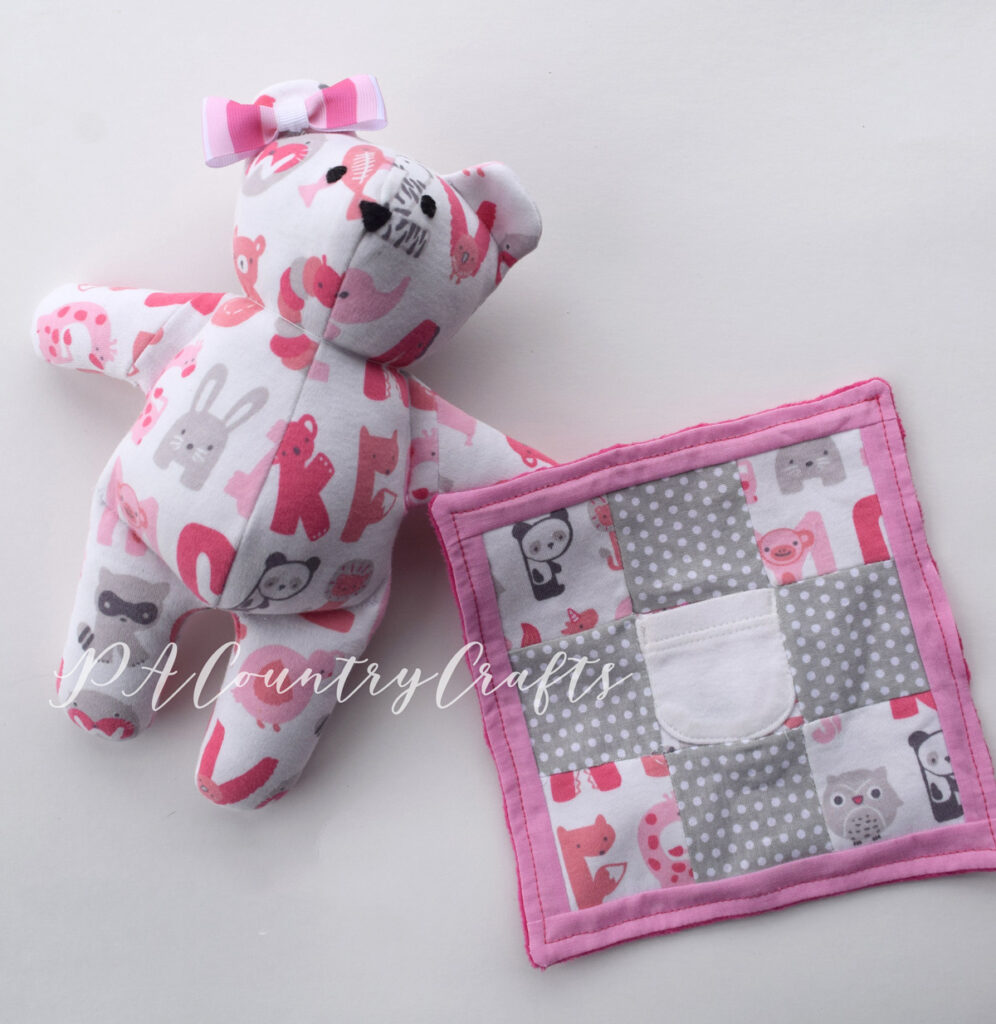
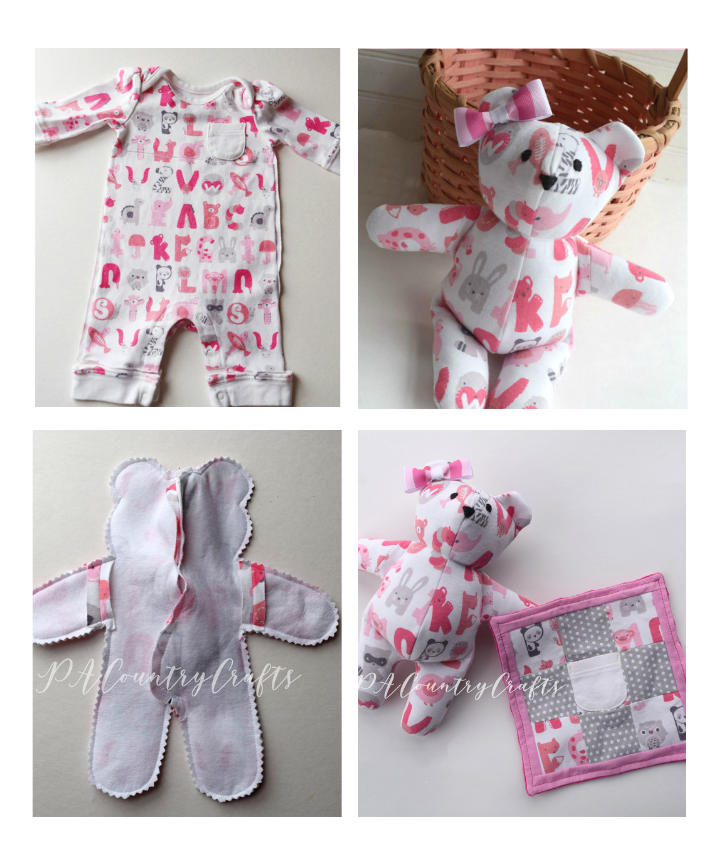
It all started with a simple request from a friend—a request that sparked a creative journey. She wanted a stuffed bear made from her baby’s going-home outfit, inspired by a Pinterest post that unfortunately led to a broken link. Determined to bring her vision to life, I embarked on the adventure of creating my own memory bear pattern. And let me tell you, the result was nothing short of heartwarming.
Crafting Your Own Memory Bear: A Labor of Love
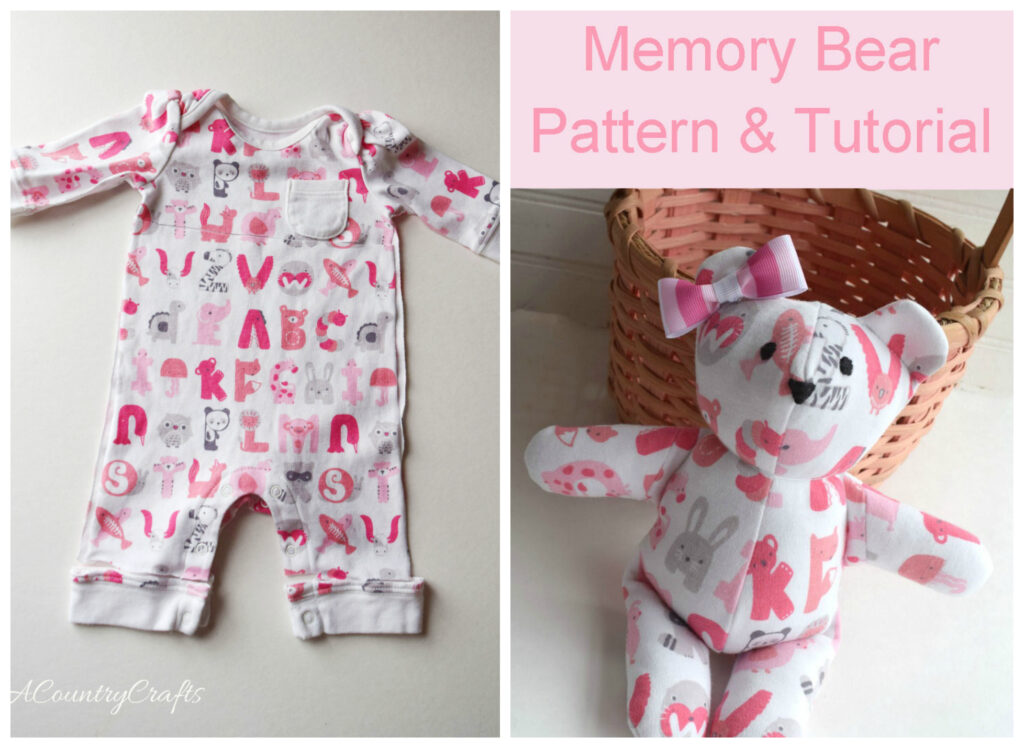
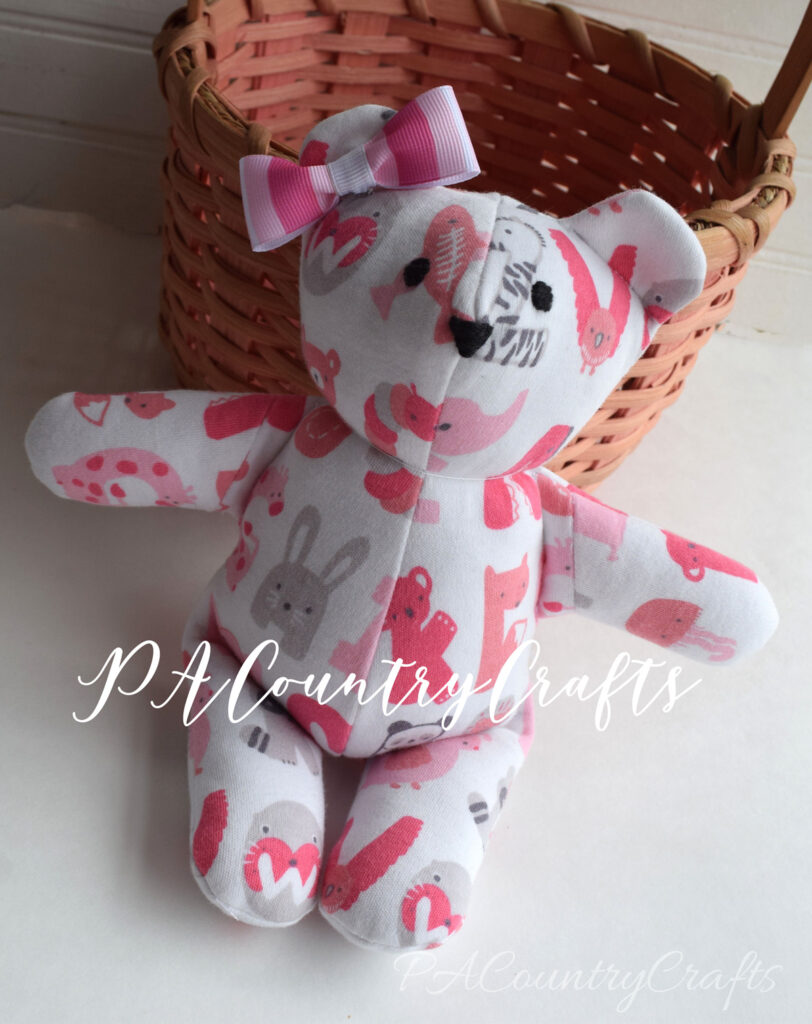
Before diving into the project, I knew I had to practice first. Cutting into those precious baby outfits was nerve-wracking, but with a bit of courage and a lot of love, I created not one, but two adorable memory bears. And let me tell you, seeing the joy on my friend’s face when she received her personalized keepsake made every stitch worth it.
Turning Old Clothes into New Treasures: The Step-by-Step Guide
- Gather Your Materials: Raid your stash of old baby clothes or buy fabric if you prefer. You’ll also need lightweight interfacing, scissors, thread, ribbon (optional), fiberfill, a sewing machine, a hand sewing needle, and, of course, the bear pattern.
- Prepare Your Fabric: Dismantle the clothing item and carefully plan how to fit the pattern pieces. Remember to interface the back of each piece to prevent stretching and ensure easier handling.
- Cut Out Your Pattern Pieces: Whether you’re using the main body piece or making separate arms, cut out your pattern pieces with precision and care.
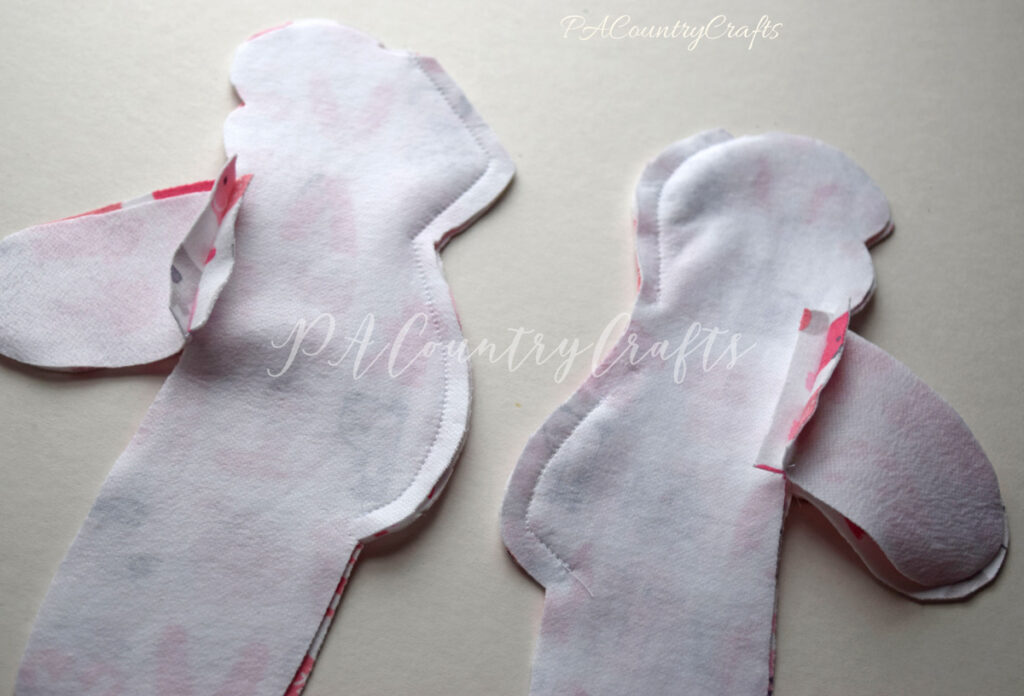
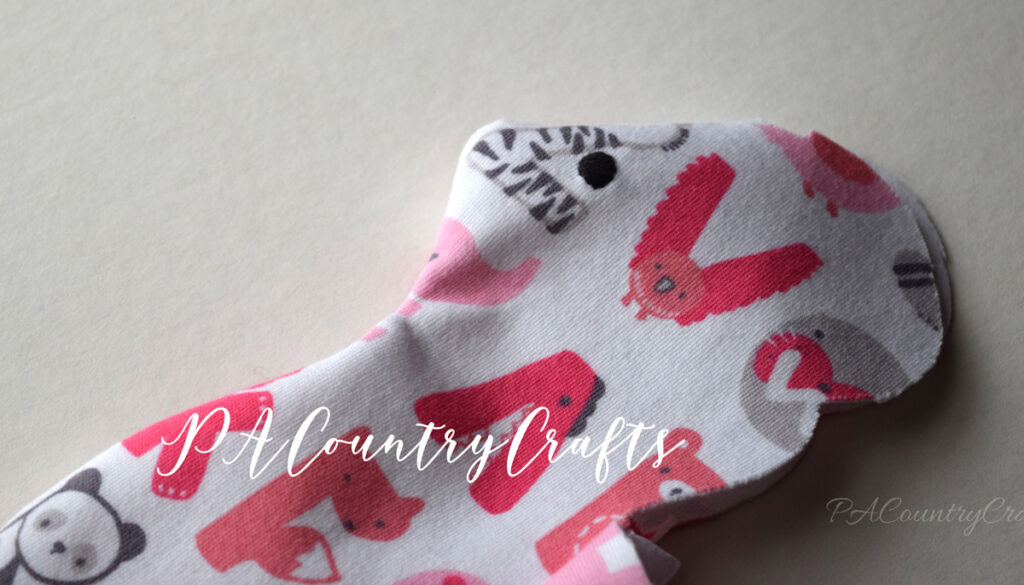
- Assemble Your Bear: Sew the front and back pieces together, leaving an opening in the back for stuffing. Don’t forget to embroider the eyes and nose before closing the seams.
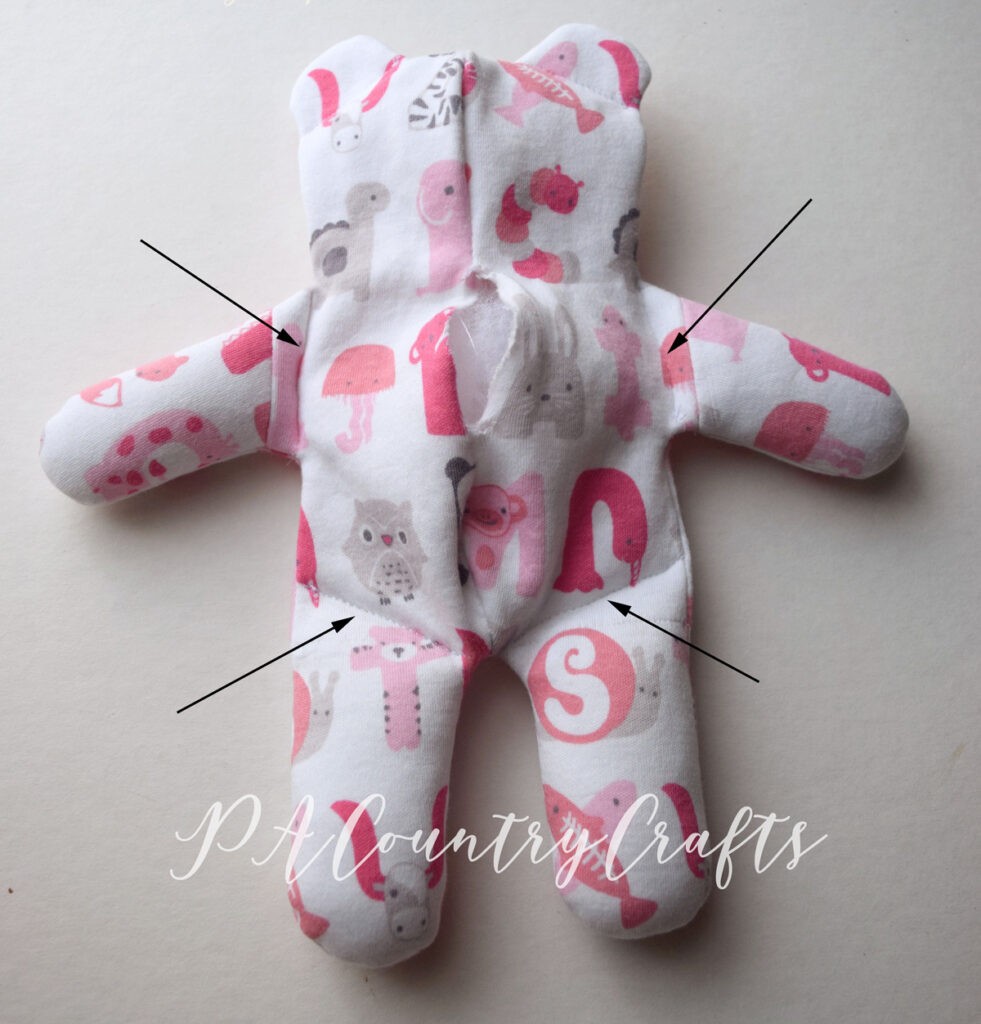
- Shape and Stuff: Stuff the arms, legs, and body of your bear, sewing lines to give it shape and personality. Then, stitch it closed with a ladder stitch for a seamless finish.
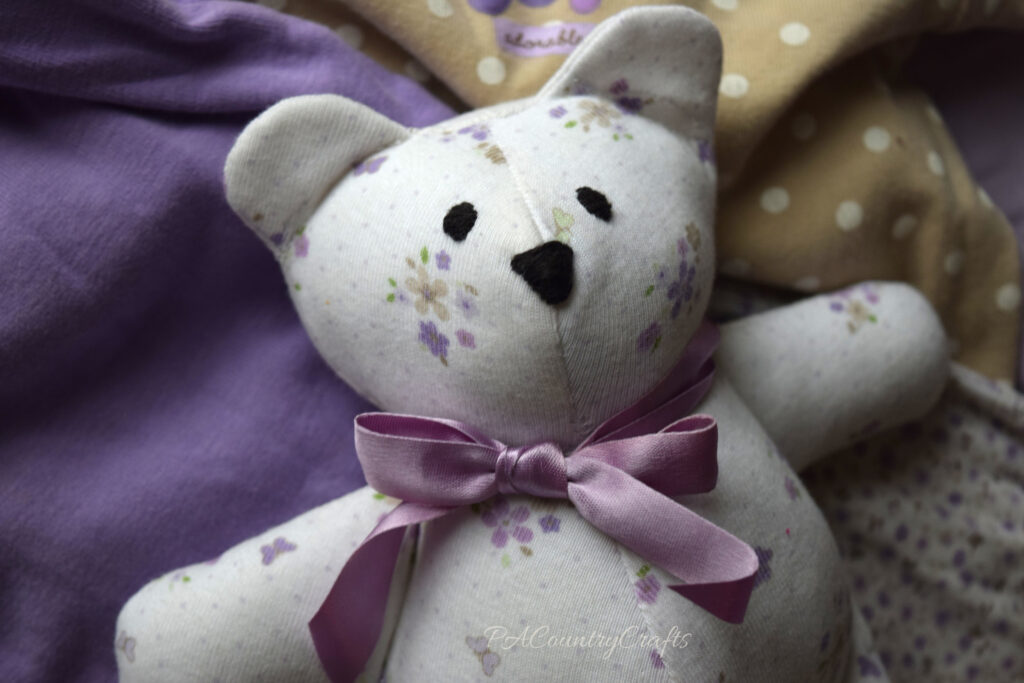
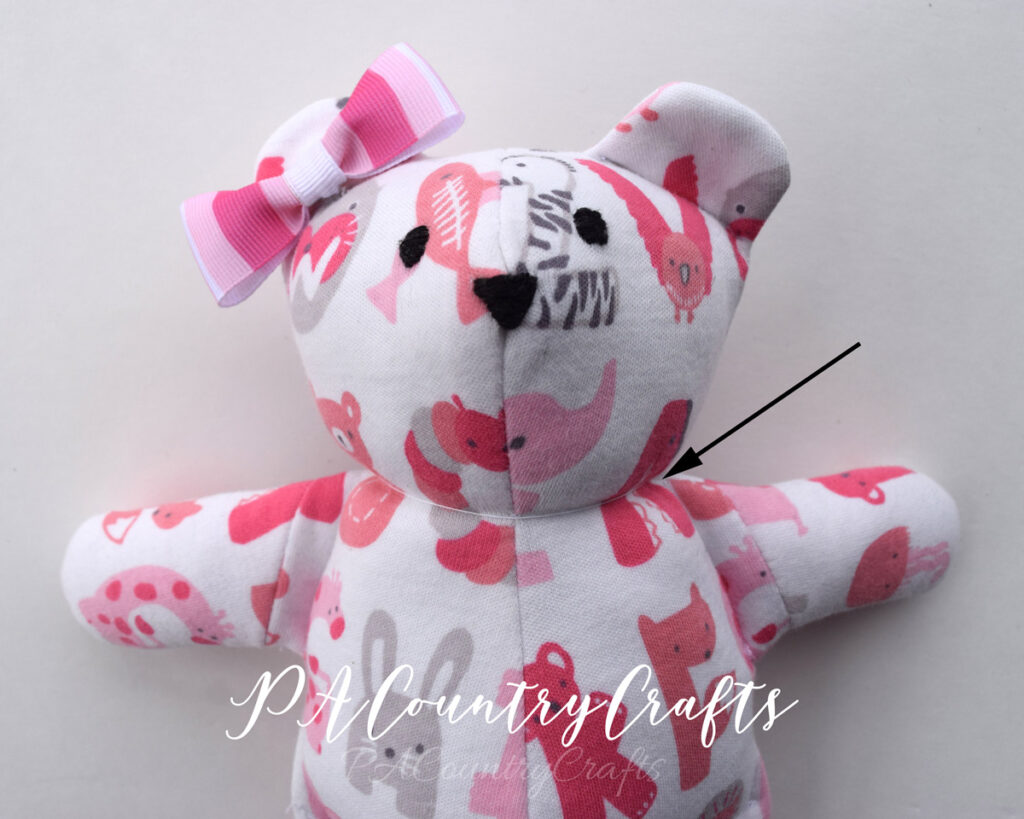
- Add the Finishing Touches: Wrap thread around the neck to shape it, embroider a nose, and add a ribbon bow if desired. Get creative and make it your own!
Preserving Precious Memories, One Stitch at a Time
As you embark on this journey of crafting your own memory bear, remember that each stitch holds a cherished memory. Whether you’re making it for yourself or as a gift for a loved one, know that you’re creating something truly special—a keepsake that will be treasured for generations to come.
Ready to Start Your Own Memory Bear Project?
Download the pattern, gather your materials, and let your creativity soar. And don’t forget to share your creations with me—I’d love to see how you bring your own memory bears to life!
Keep Exploring, Keep Creating
If you enjoyed this project, why stop here? Dive into more DIY adventures and creative inspirations on our blog. From handmade gifts to home decor ideas, there’s always something new to discover.
Join the Crafting Community
Connect with fellow crafters, share your projects, and be inspired by others. Follow us on social media and join the conversation using #CraftingMemories. Together, let’s keep the joy of crafting alive!
Your Memories, Your Masterpieces
As you embark on this journey of turning old clothes into new treasures, remember that each stitch holds a precious memory. Embrace the nostalgia, unleash your creativity, and let your memories come to life in the form of beautiful, handmade keepsakes.
Start Crafting Your Memories Today
Download the pattern, gather your materials, and let your creativity soar. Whether you’re making a memory bear for yourself or a loved one, know that you’re creating something truly special—a cherished reminder of love, joy, and precious moments. Happy crafting!

