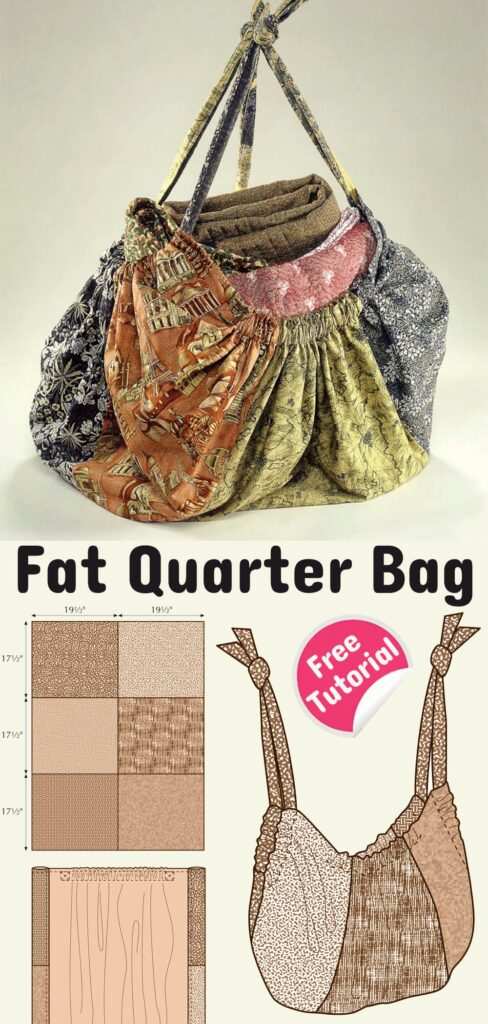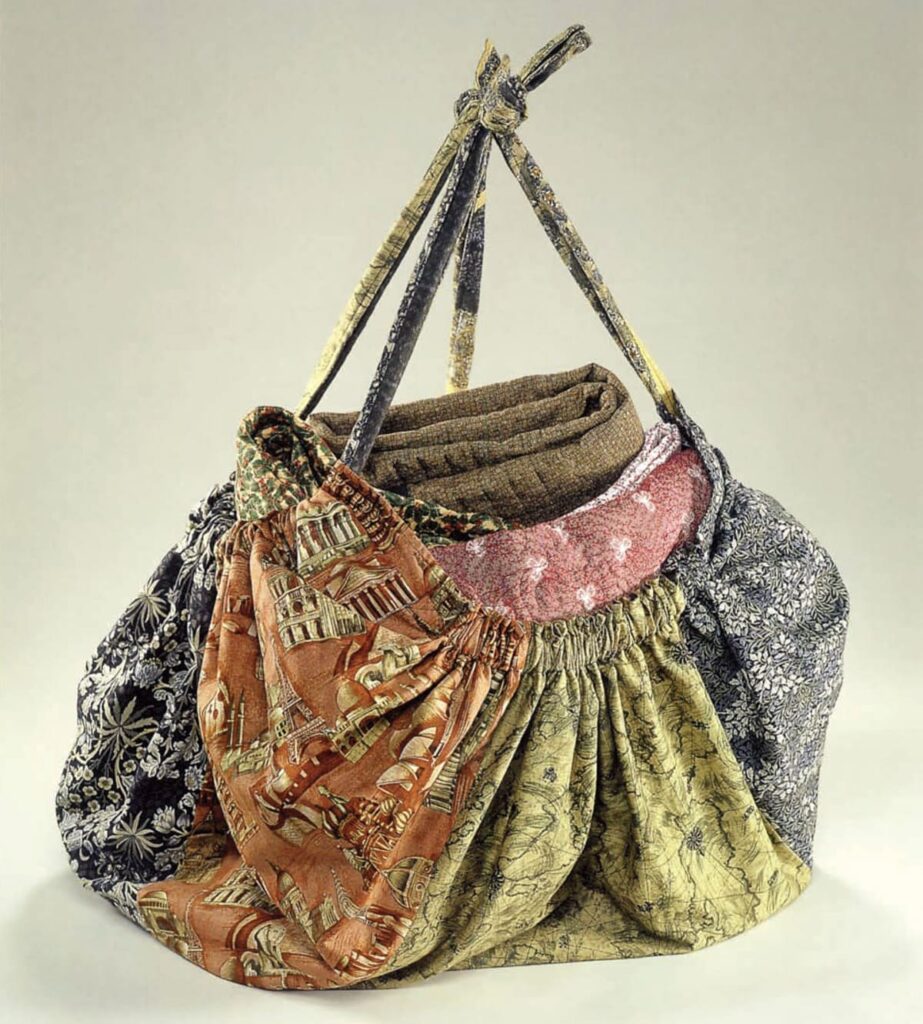
Looking for a quick and enjoyable sewing project? Look no further! This Fat Quarter Bag is both fast to assemble and fun to make. Plus, it’s so practical that you’ll want to create one for everyone on your gift list. Perfect for holding quilt projects or as a child’s overnighter, this bag is sure to become a favorite in your sewing repertoire.
Materials Needed:
- 6 fat quarters (packaged)
- 2 1/8 yards of fabric for lining and handles
- 1/4 yard of flannel for handles
- 22 inches of 1-inch-wide non-roll elastic
Cutting:
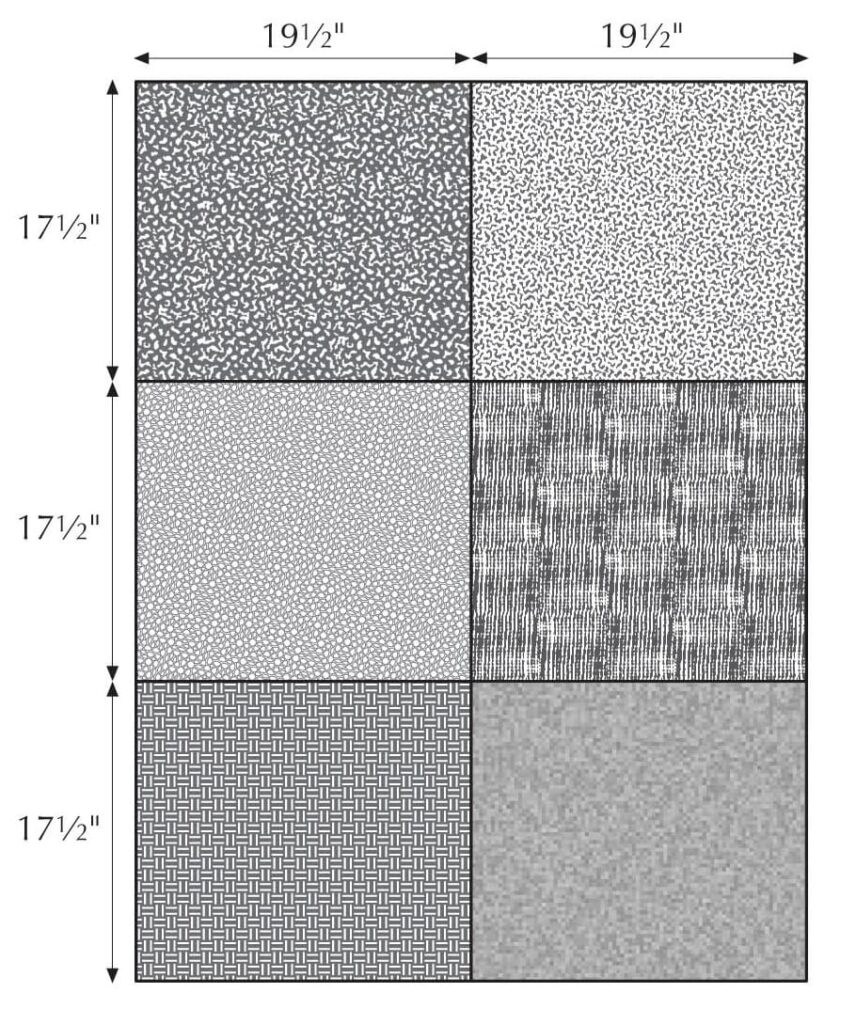
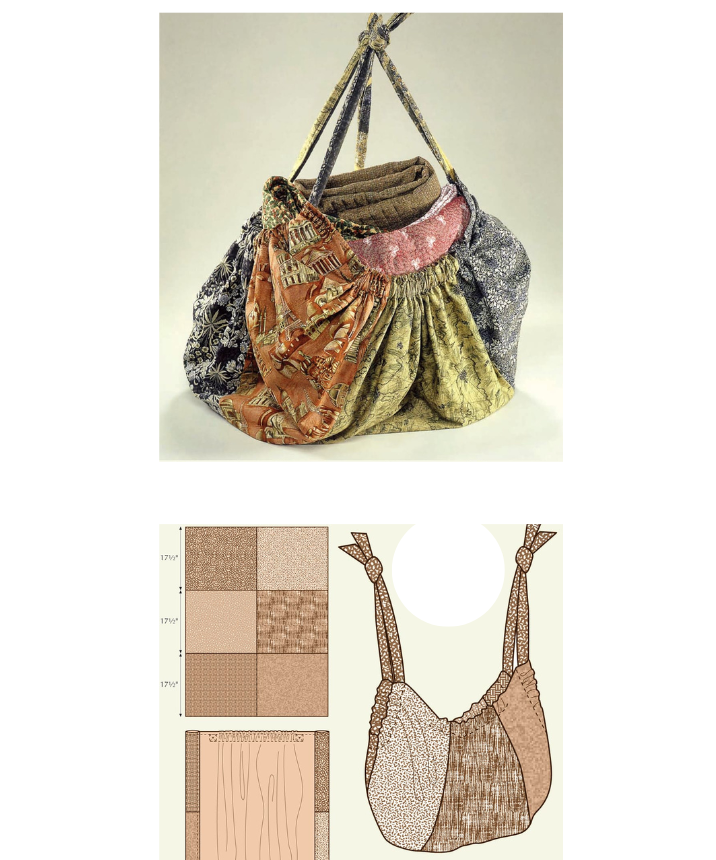
From each of the six fat quarters, cut:
- 1 rectangle, 17 1/2″ x 19 1/2″ (total of 6 rectangles)
From the lining fabric, cut:
- 1 rectangle, 38 1/2″ x 51 1/2″ for lining
- 4 strips, each 2 1/2″ x 40″ for handles *
From the flannel, cut:
- 2 strips, each 2 1/2″ x 40″ **
- For longer handles, cut 8 strips. ** For longer handles, cut 4 strips.
Instructions:
- Arrange the 6 fat-quarter pieces as desired and stitch or serge them together. Press the seams to one side.
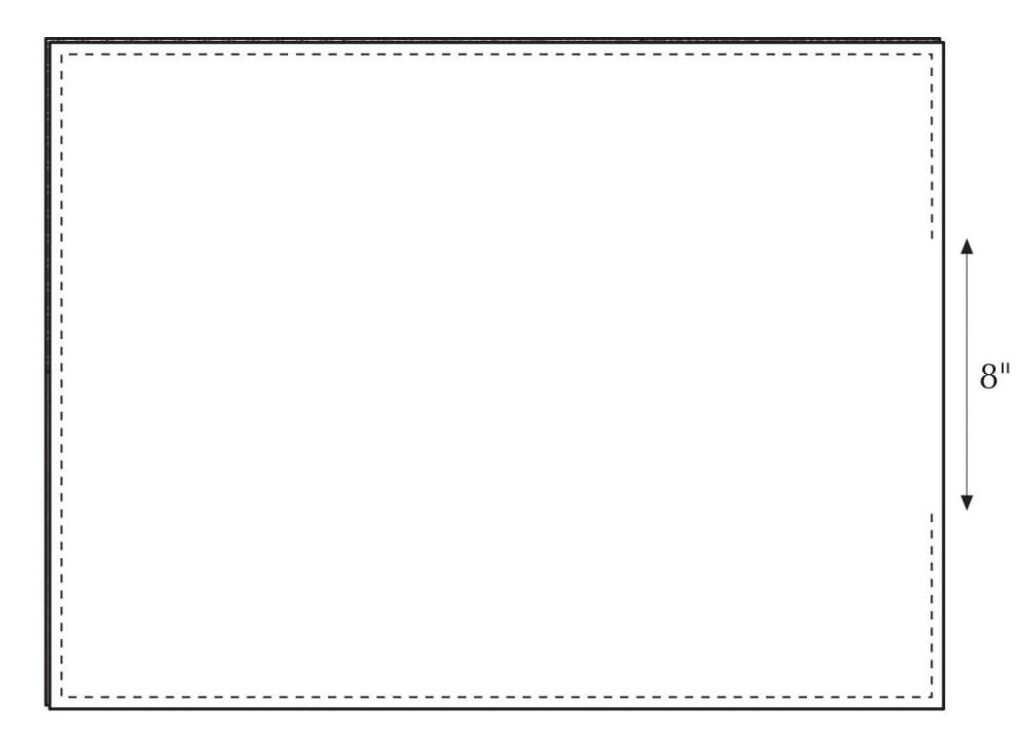
- Pin the lining and joined fat quarters right sides together. Use a 1/4″-wide seam allowance to stitch or serge around the edges, leaving an 8″ opening near the center of one short end. Turn the bag right side out.
- To make the handles, place 2 lining strips right sides together and lay a flannel strip on top. Stitch or serge around 3 sides, leaving one short end open for turning. Turn the handle right side out, slipstitch the end closed, and topstitch 1/4″ from the edge around both handles.
- Press around the edge of the bag and topstitch along the edge, beginning at the opening and ending at the other side of the opening. Do not stitch across the opening. Tip: Pin the pressed edges before topstitching to hold the layers in place.
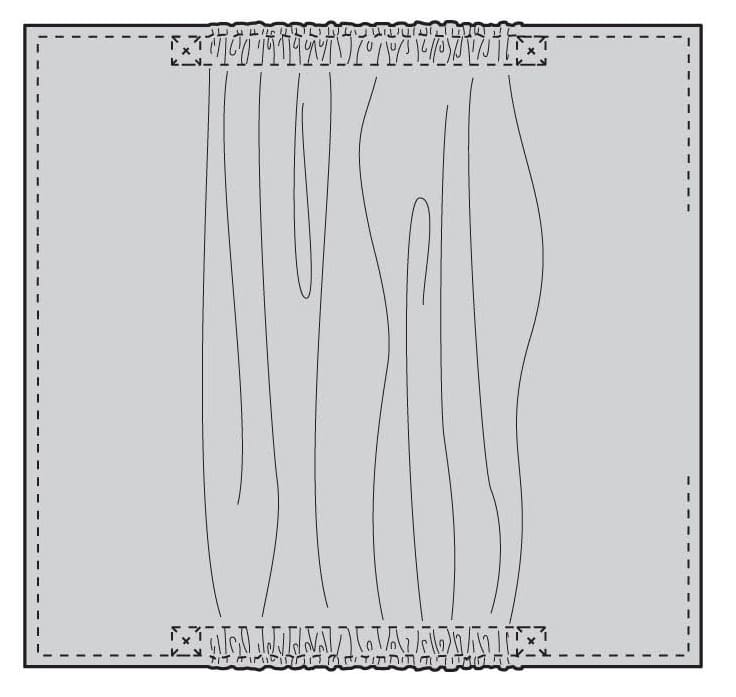
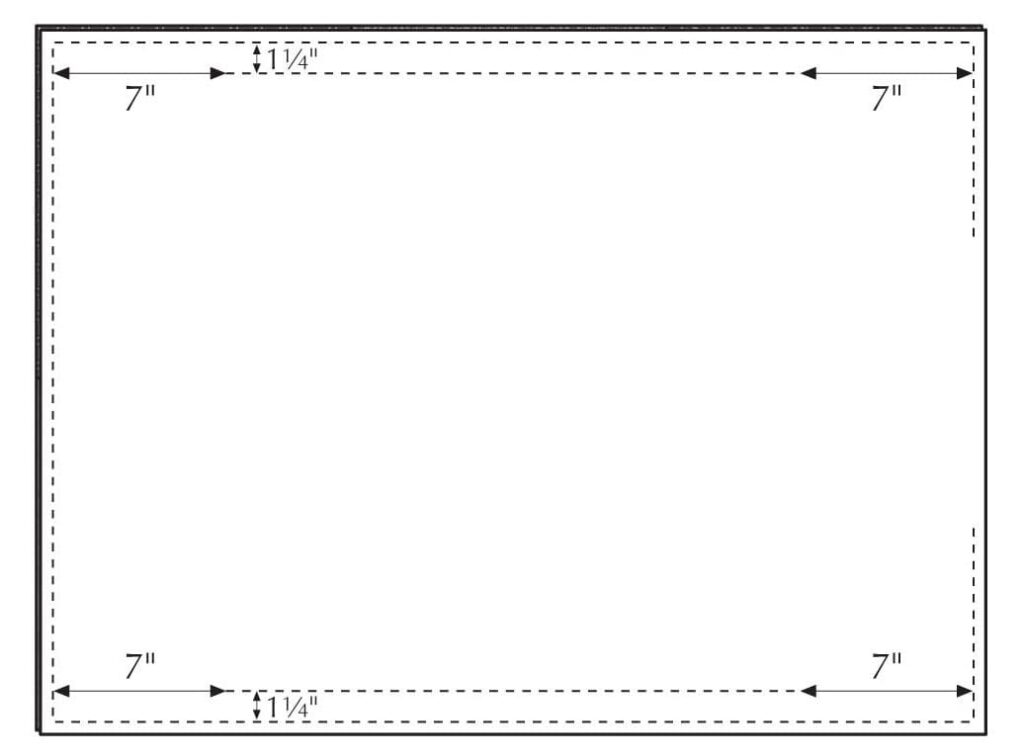
- Make casings for the elastic by measuring 7″ from the short ends of the bag on both long edges and marking. Stitch from point to point, 1 1/4″ from the topstitching.
- Cut the elastic in half to yield two 11″ pieces. Insert the elastic into both casings through the 8″ opening, pin securely at both ends, and secure the ends by stitching an X in a 1″ square.
- Slipstitch the open end of the bag closed and continue topstitching across the 8″ span.
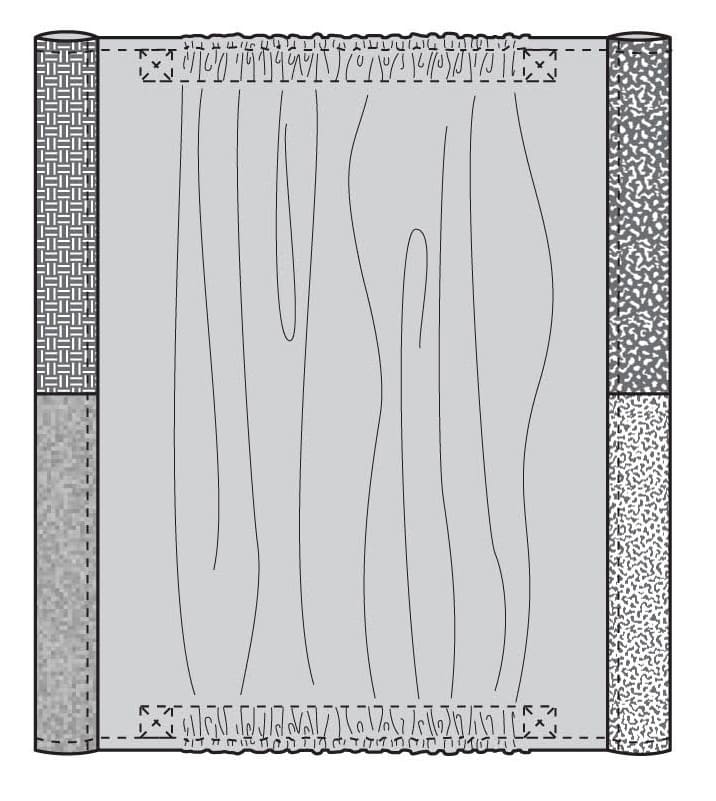
- Make casings for the handles by folding 2″ of both short ends toward the lining and topstitch along the existing topstitching and 1/4″ from the fold.
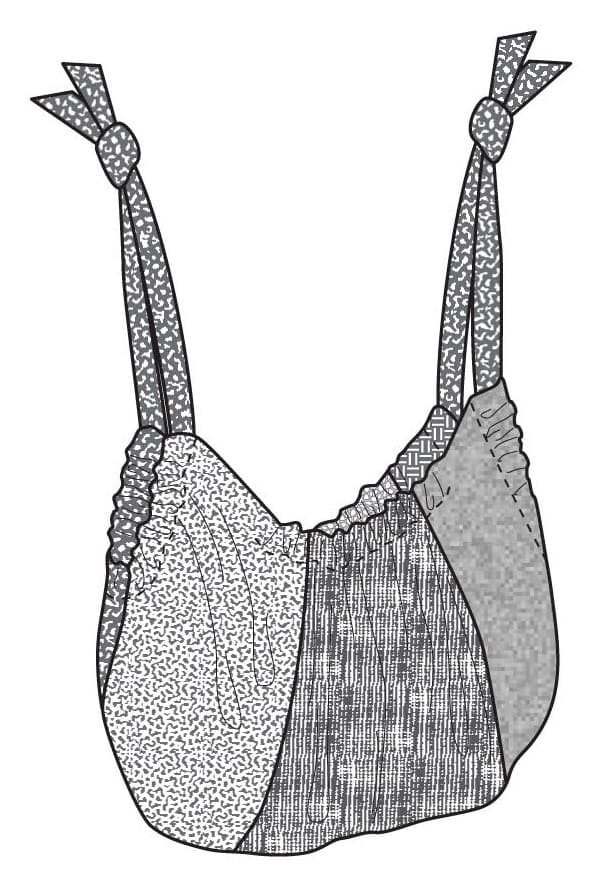
- Insert a handle into each casing, hold handle pairs together, and tie the ends in a knot.
With these simple steps, you’ll have your own Fat Quarter Bag ready to go in no time! Enjoy sewing and creating this versatile and practical project.