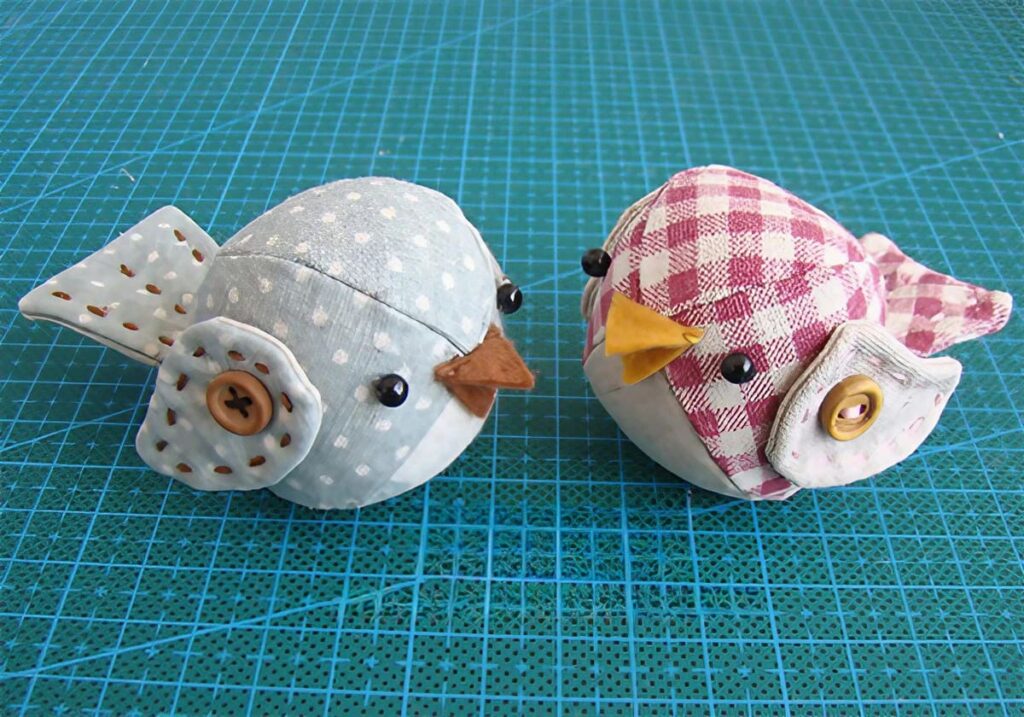
Ready to create a charming fabric bird? Follow these simple steps to craft your own adorable creation!
Materials Needed:
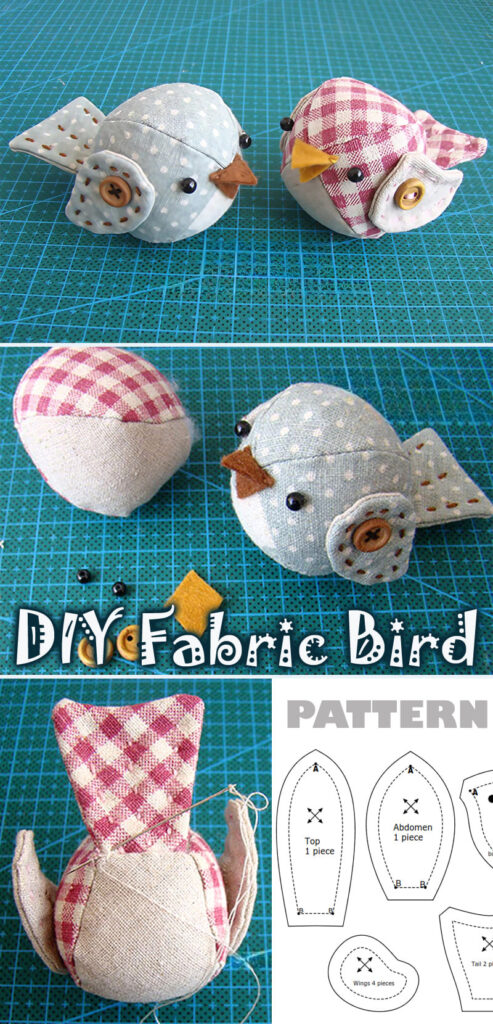
- Bird pattern (download)
- Fabric
- Scissors
- Stuffing
- Embroidery thread
- Needle
- Black marker (for eyes)
- Buttons (for wings)
Instructions:
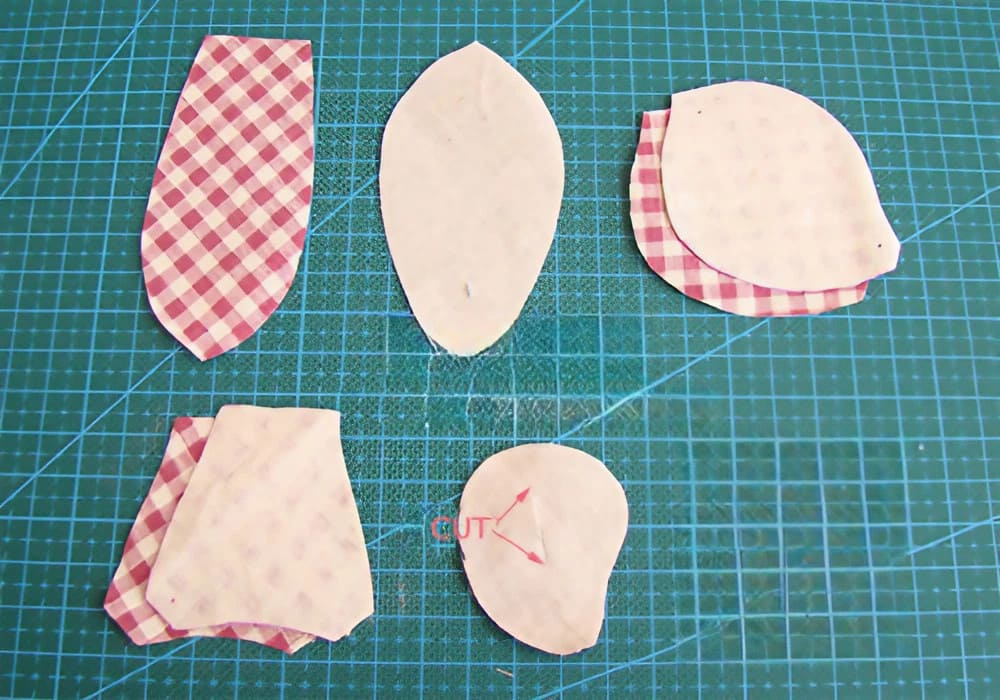
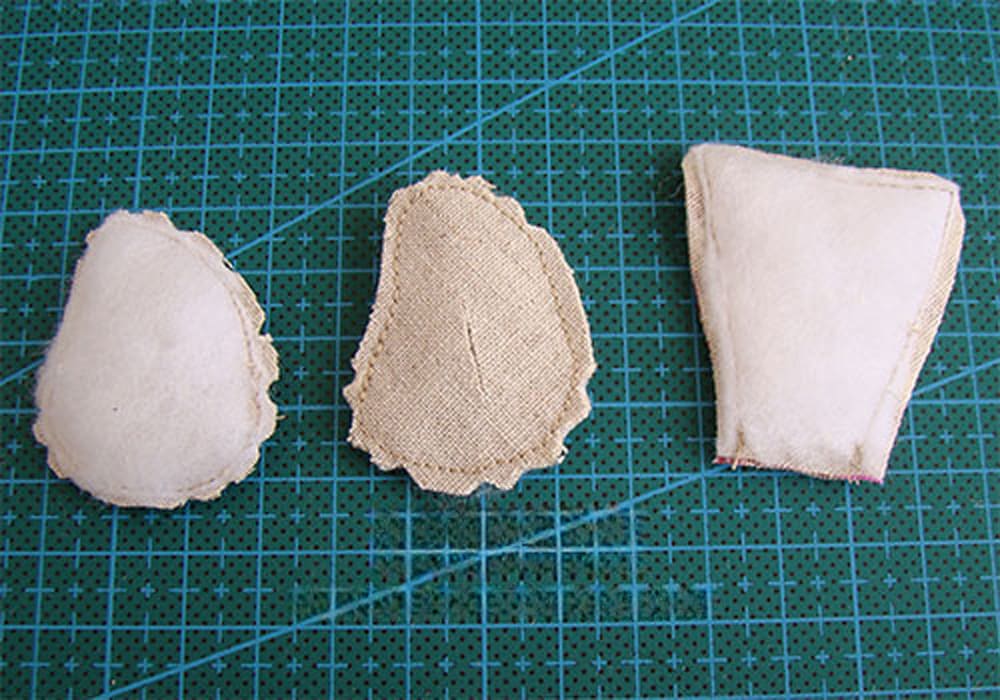
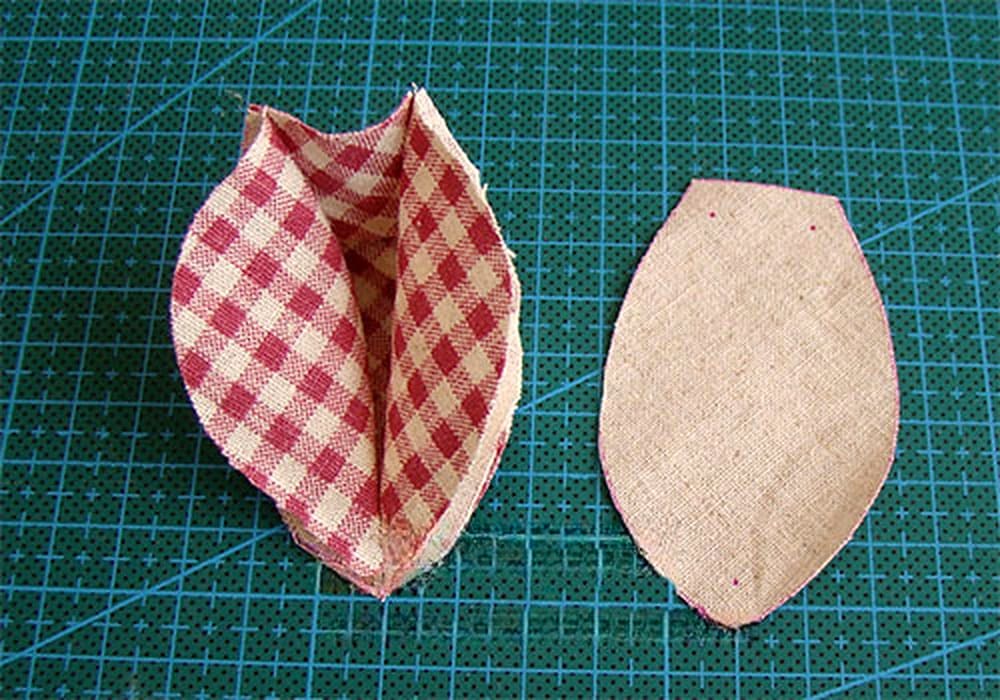
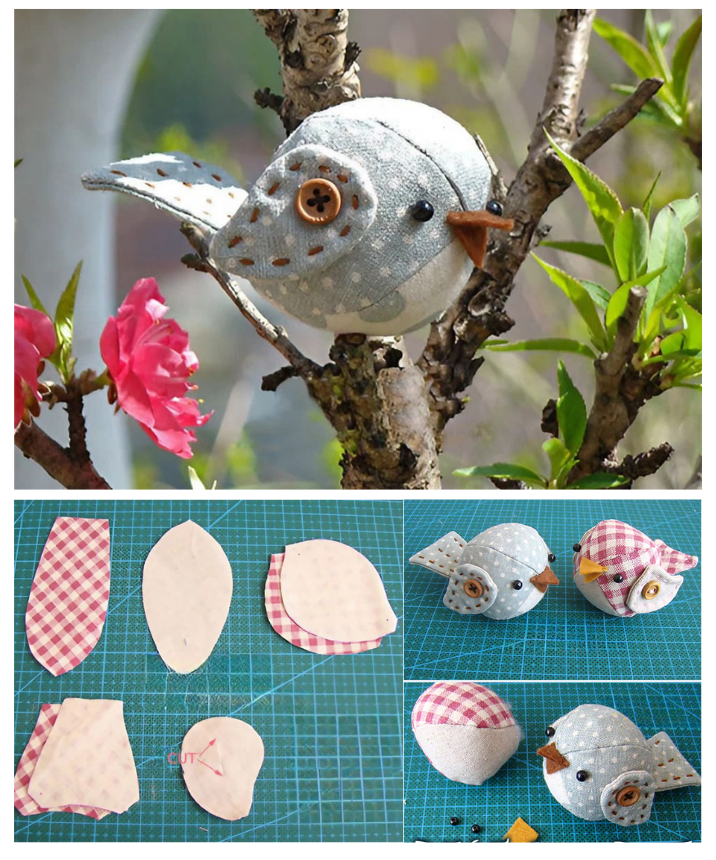
- Print the pattern on paper and cut out each piece along the outline lines. Then, cut the fabric according to the indicated quantity on the pattern. Ensure to cut the pieces at a 45-degree angle for better results.
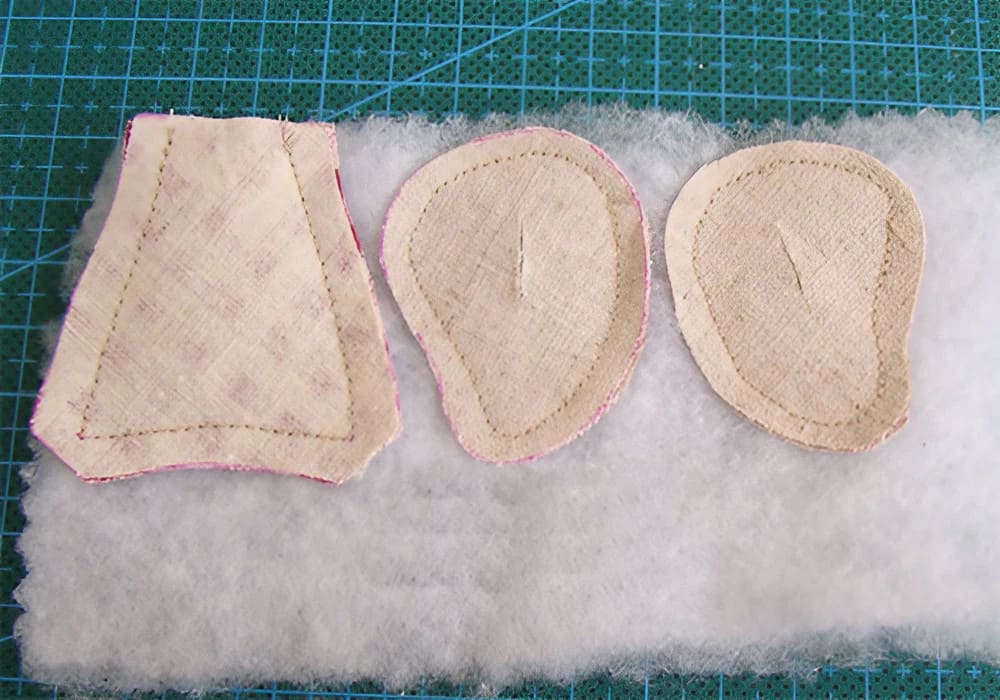
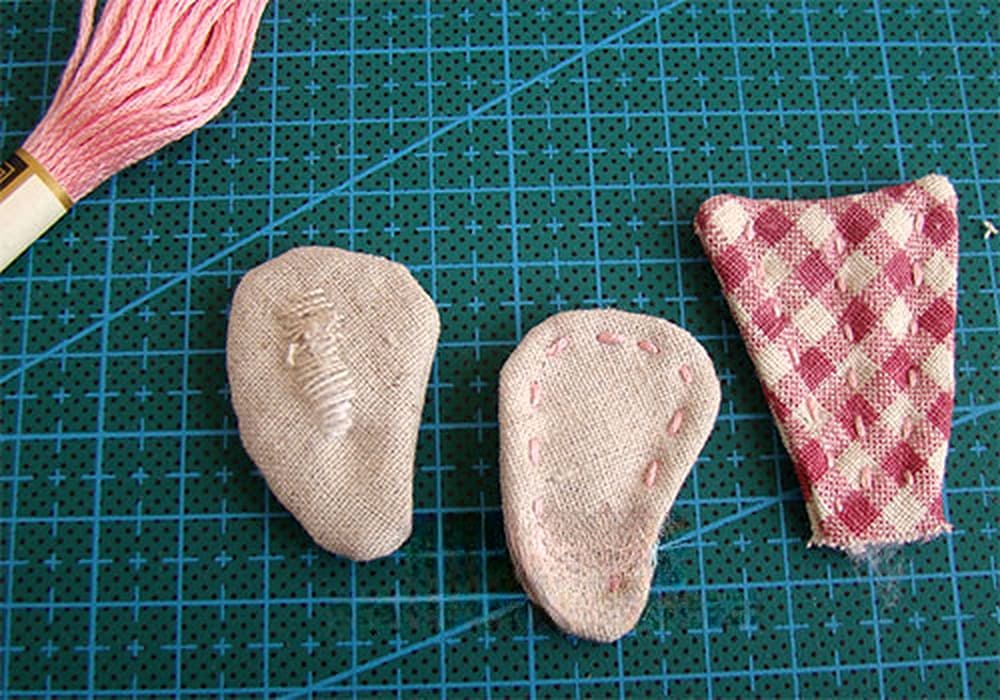
- Sew the bird’s tail and wings together by placing the pieces on top of each other and sewing them together with the stuffing inside. Then, turn them inside out and use embroidery thread to decorate them.
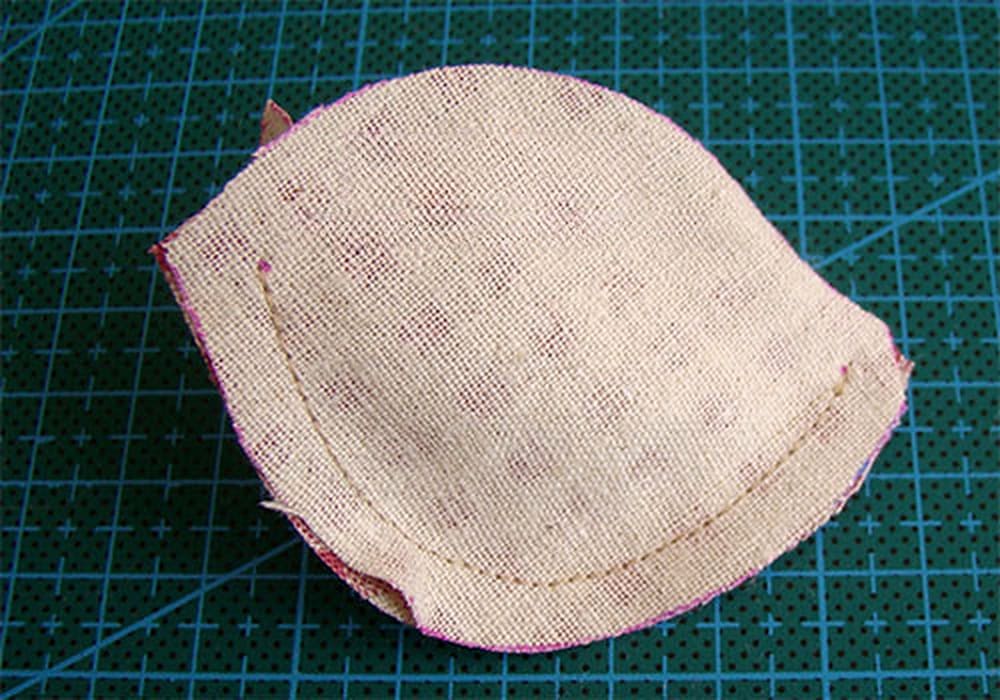
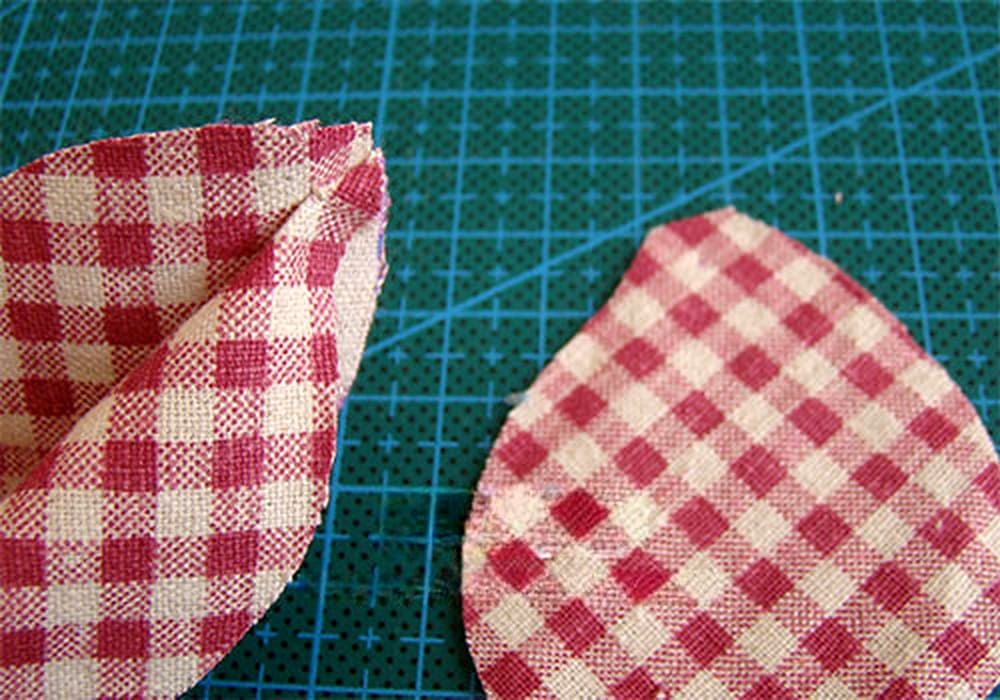
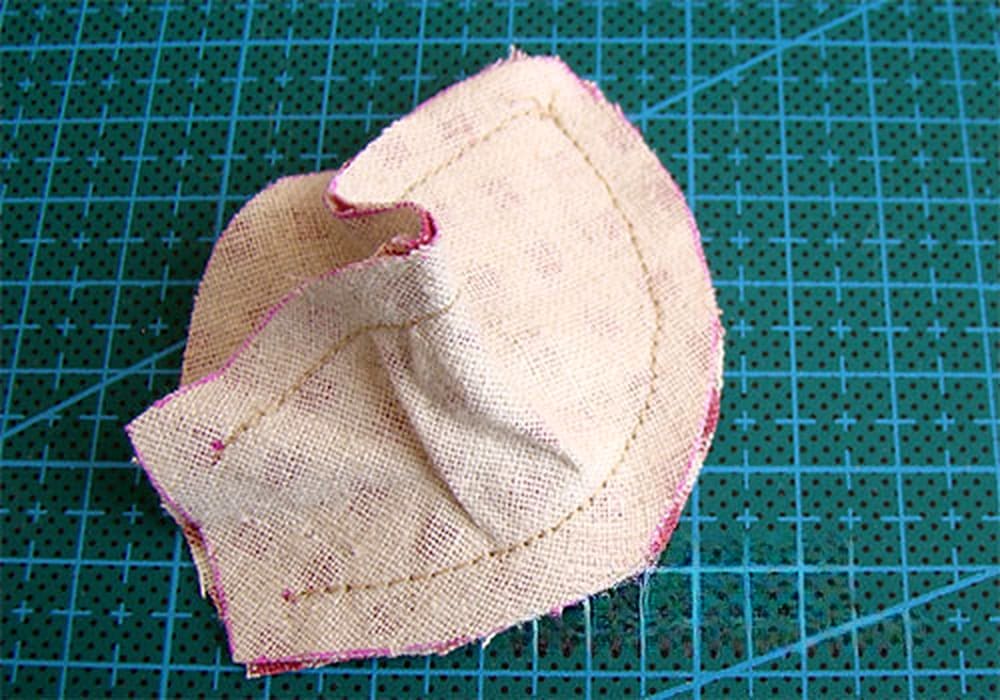
- Sew the various parts of the bird’s body together to form a sphere. Start by sewing the sides to the top and then adding the bottom. Make sure to place the pieces correctly to achieve a round shape.
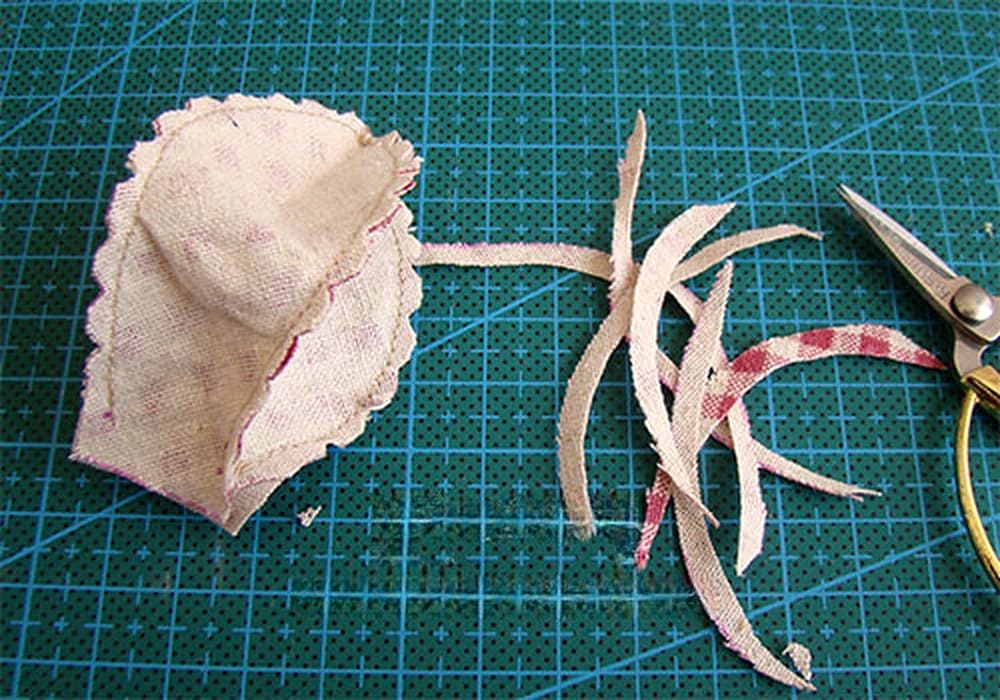
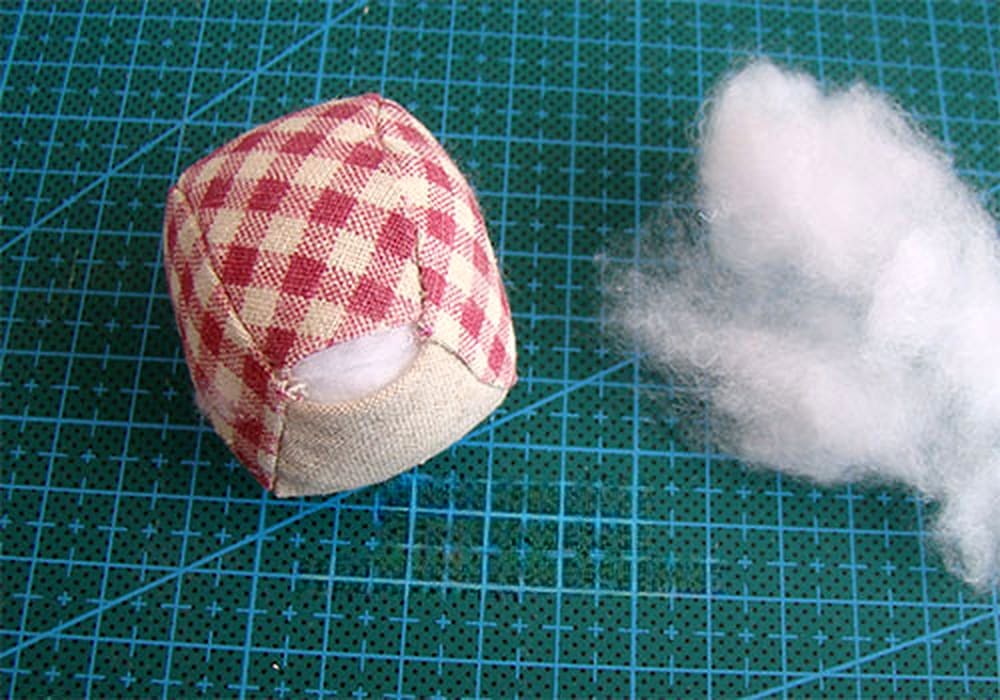
- Once the body is assembled, turn it inside out and fill it with stuffing. Then, close the opening with a few discreet stitches.
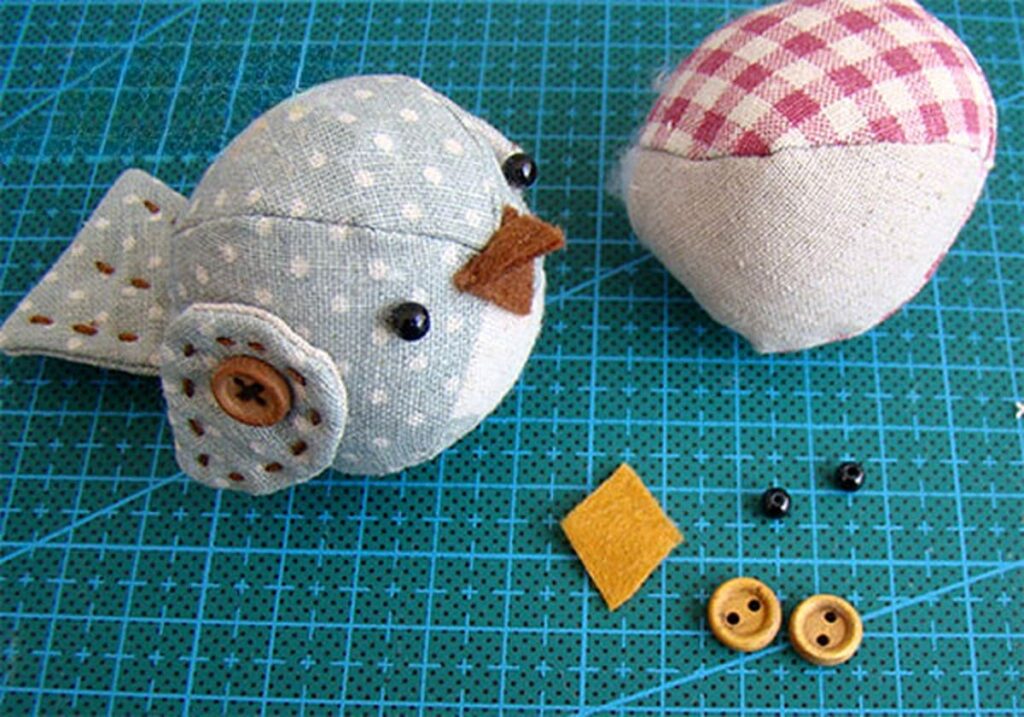
- For the beak, cut a small diamond-shaped piece of felt and sew it to the front of the bird’s body. Add two black beads for the eyes, then attach the wings to both sides with buttons.
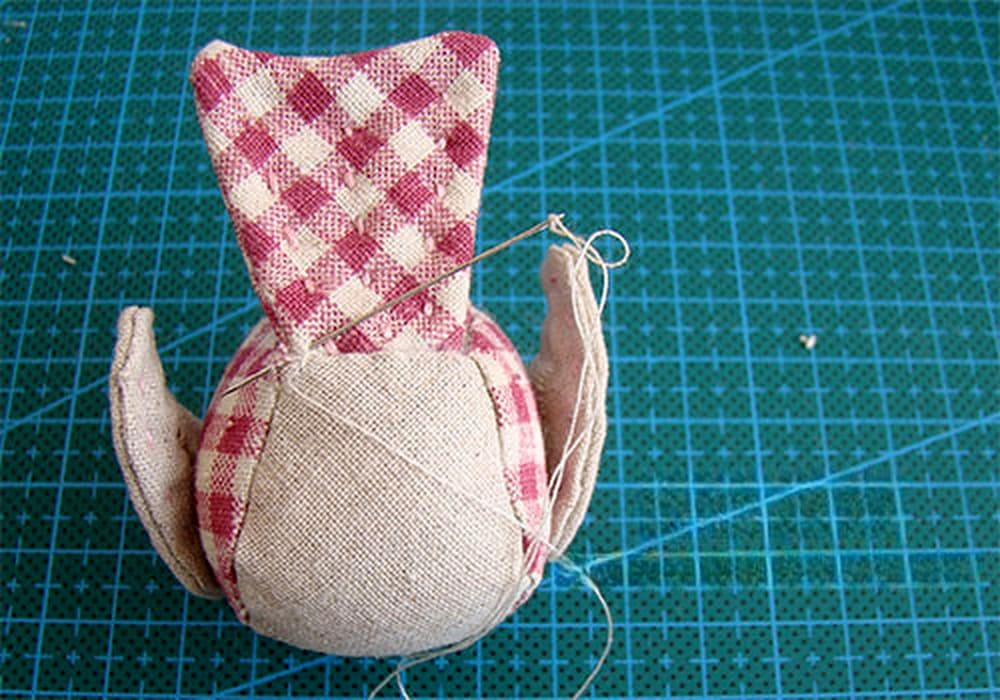
- Finally, tuck the tail into the end of the bird’s body and secure it with a few stitches.
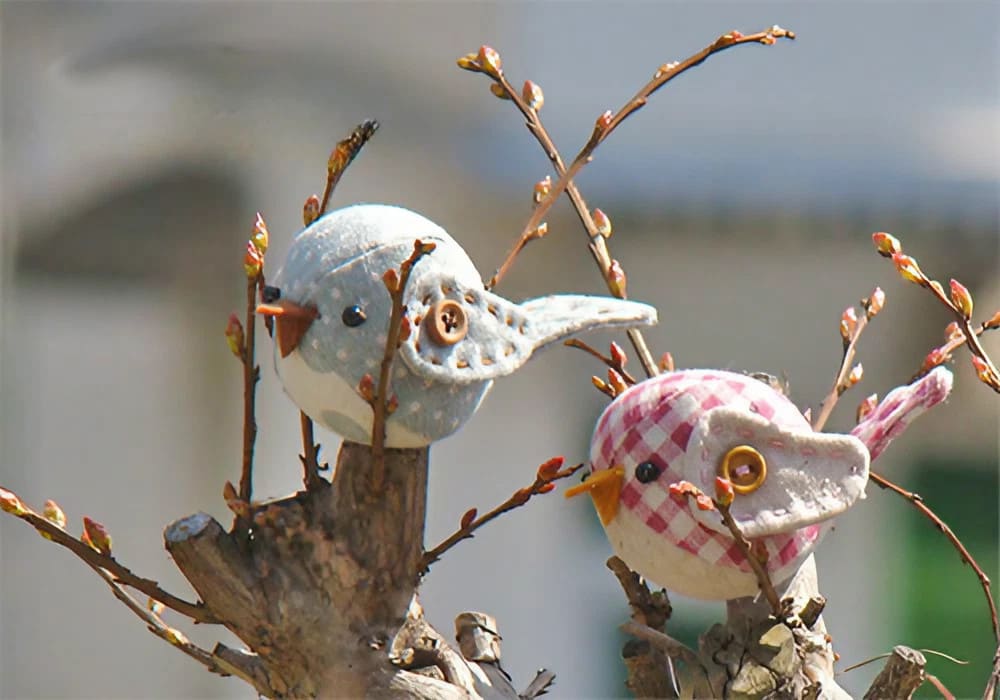
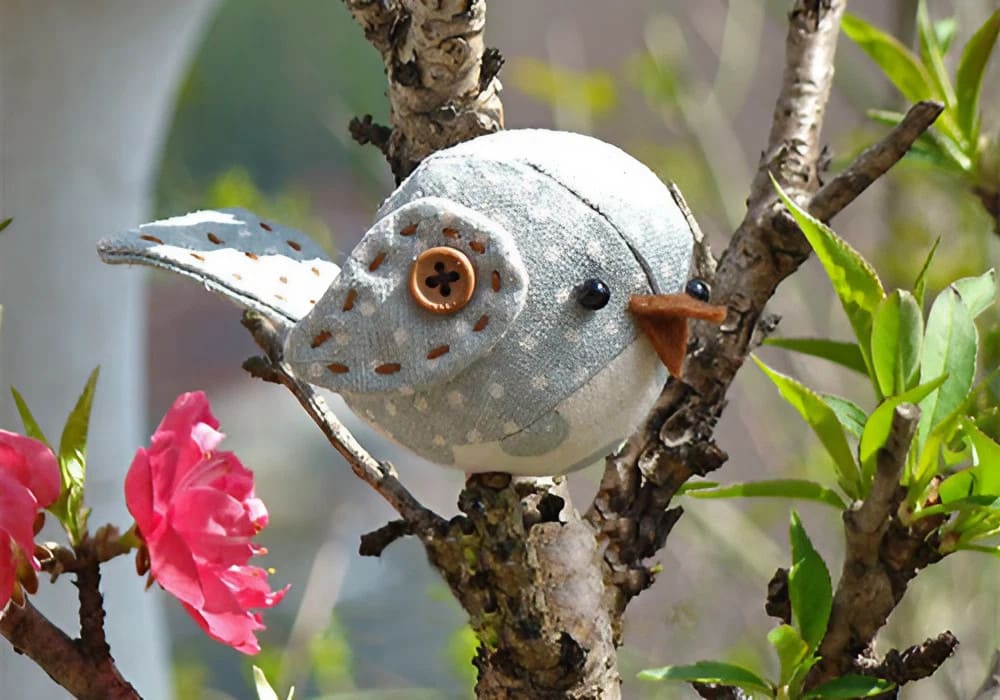
And there you have it! Your cute fabric bird is ready to be displayed or given as a gift. Enjoy crafting this delightful little creature!