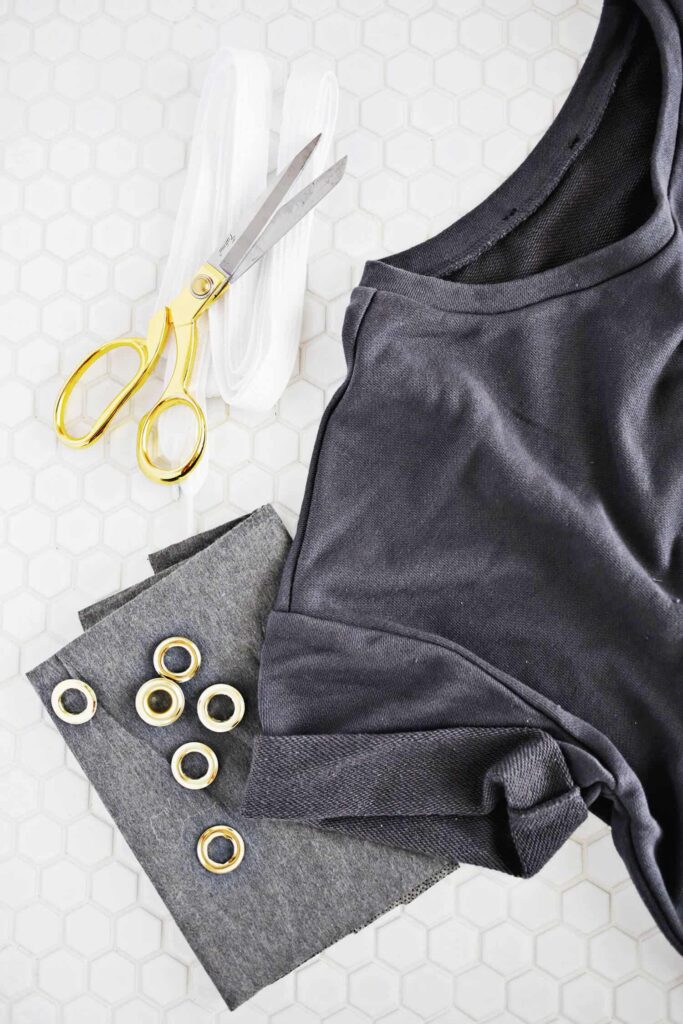
Materials Needed:
- Sweatshirt
- Fabric scissors
- Extra-large eyelet kit
- Hammer
- 3/4″ wide shoelaces
- Fabric marking pen
- Fray Check (fabric glue)
- Cutting mat, rotary cutter, and ruler (optional)
- Medium-weight iron-on interfacing (optional)
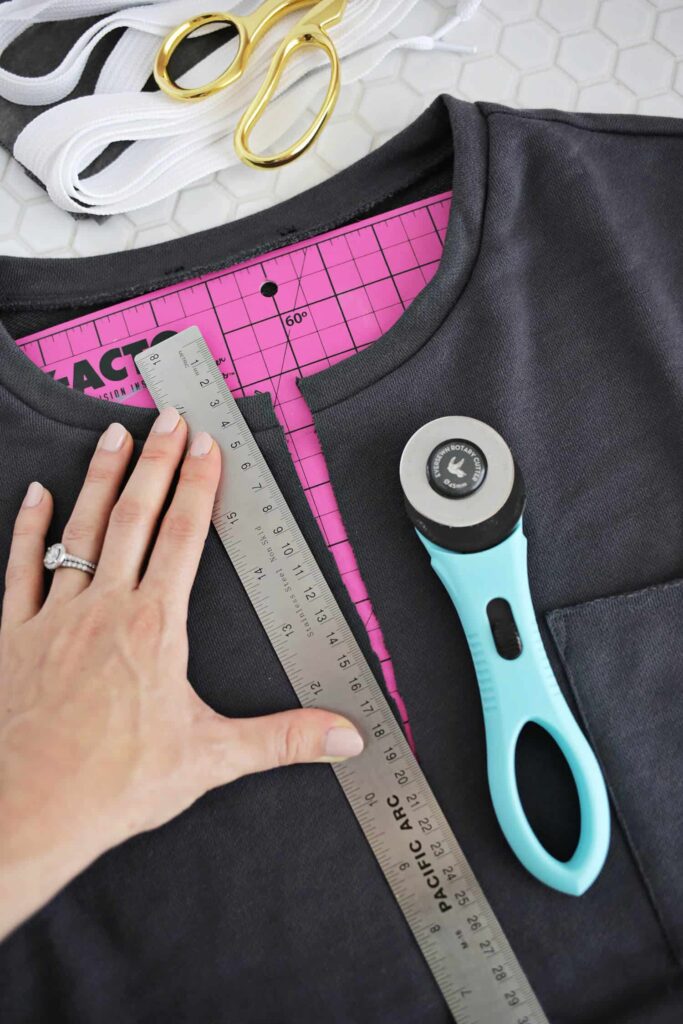
Step 1: Preparing the Sweatshirt
- Try on the sweatshirt and mark with a pin where you want the center cut to go.
- Use fabric scissors or a rotary cutter to cut a straight line down to your stopping point, then widen the cut into a “V” shape.
- If your fabric is thin, you can add medium-weight iron-on interfacing for extra support.
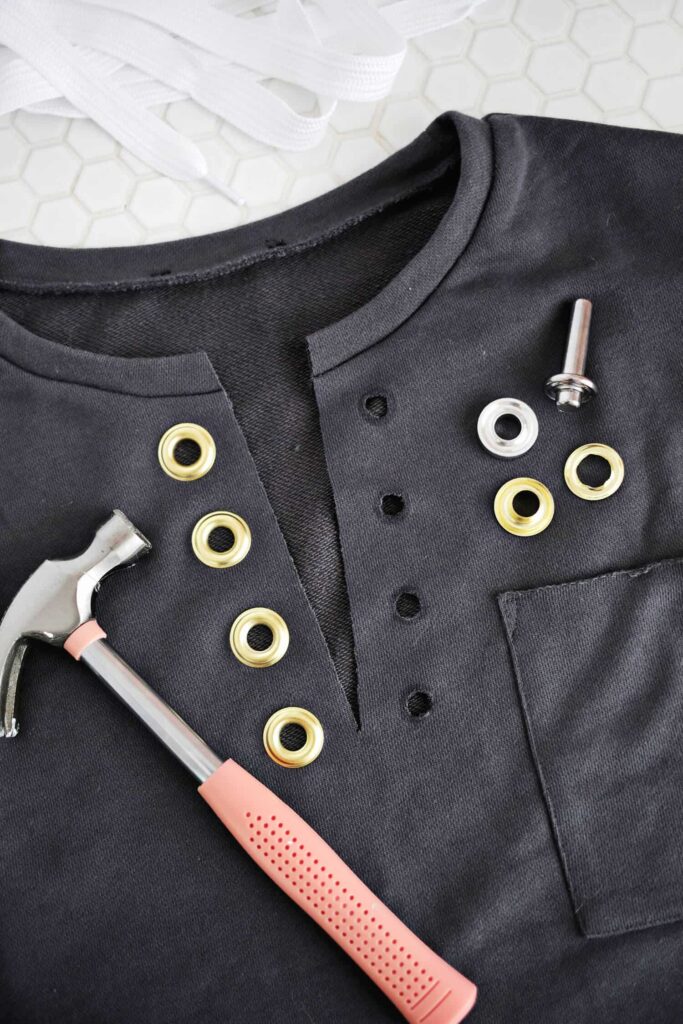
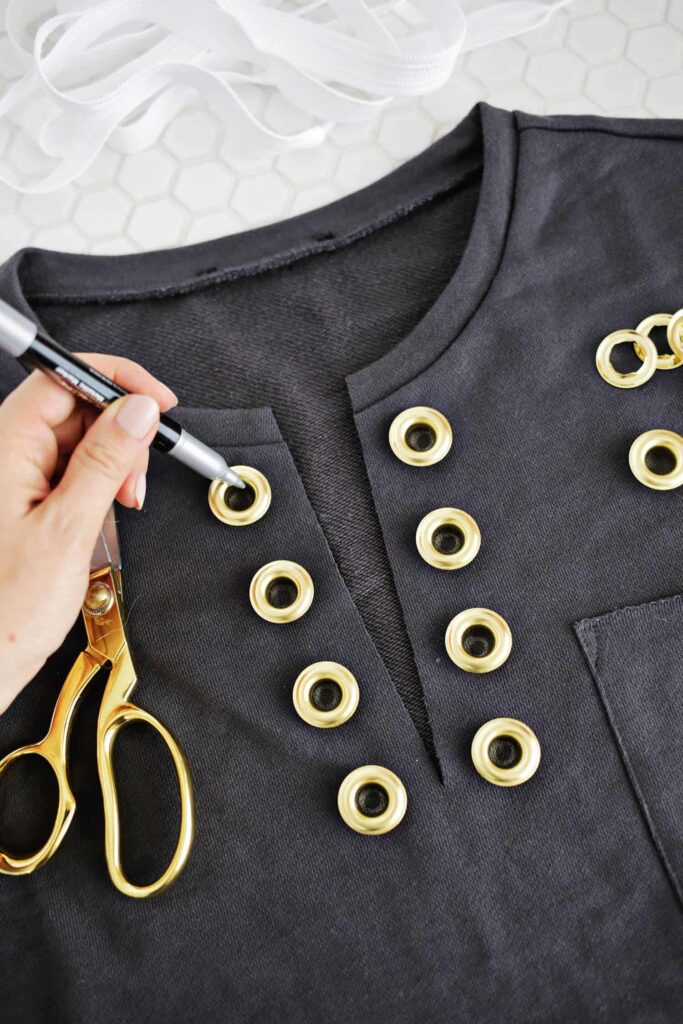
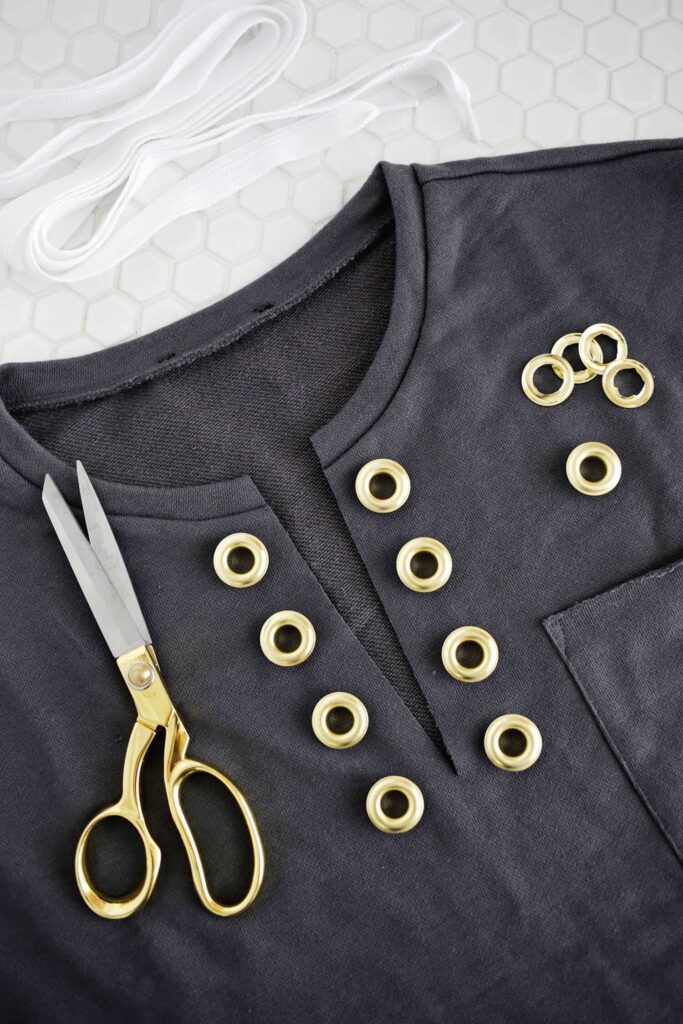
Step 2: Attaching the Eyelets
- Place the eyelets on each side of the opening to determine their placement.
- Use a fabric marking pen to mark the center of each eyelet.
- Cut out the middle circles for the eyelets and seal the edges with Fray Check.
- Insert each eyelet according to the instructions and hammer them together.
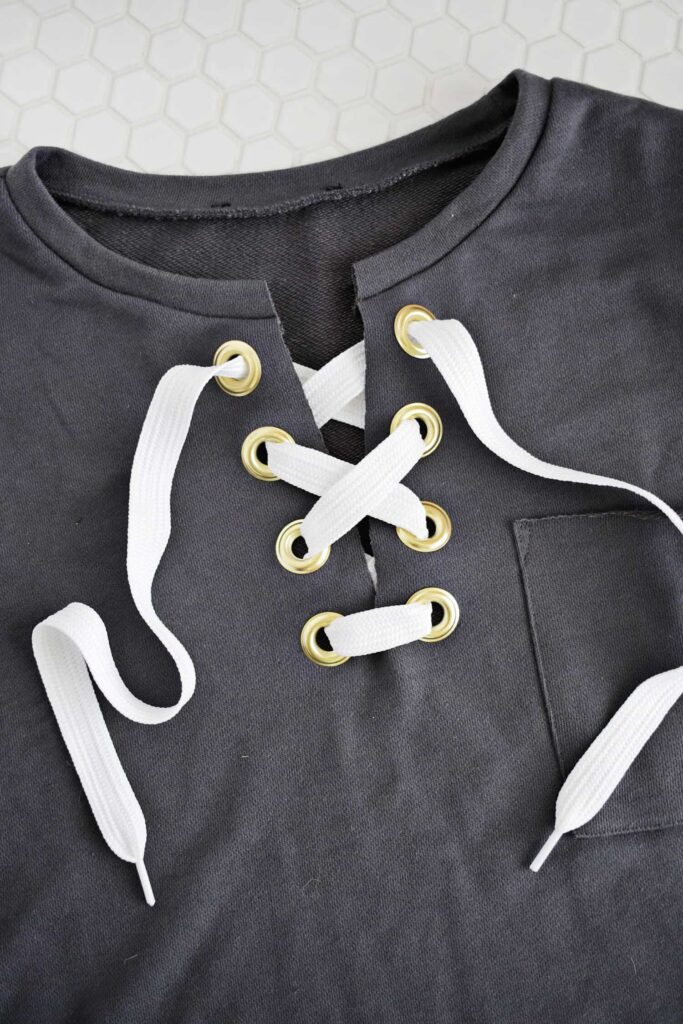
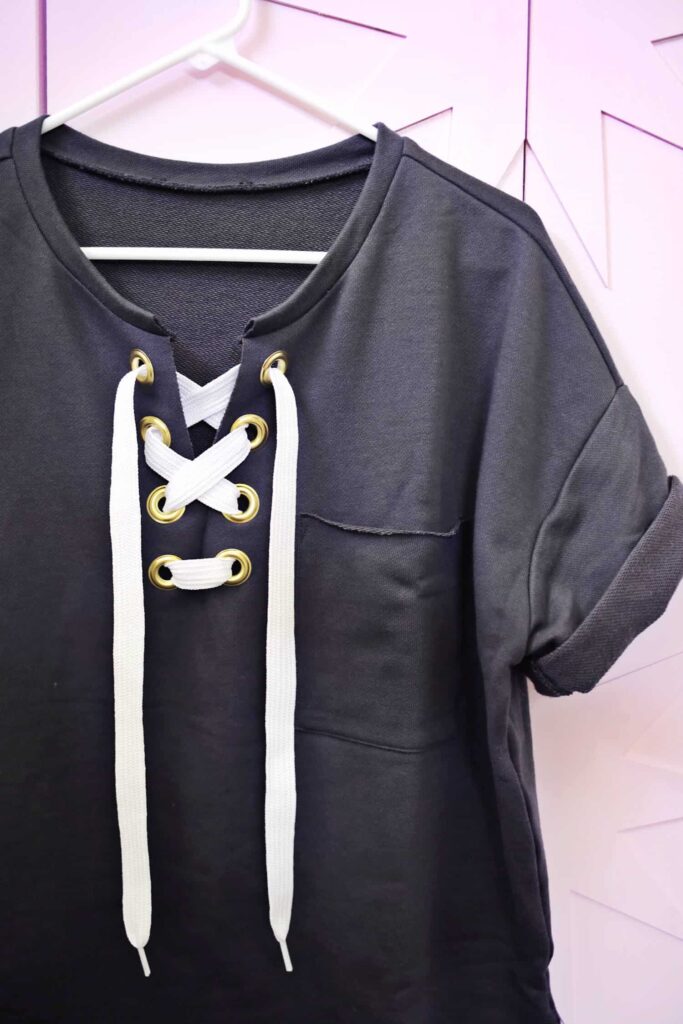
Step 3: Lacing Up
- Thread the shoelaces through the eyelets, alternating front and back on the sweatshirt.
- Adjust the laces as desired and tie them securely.
Step 4: Finishing Touches
- Ensure all laces are securely tied and the eyelets are firmly attached.
- Apply Fray Check to the ends of the shoelaces, if needed, to prevent fraying.
Additional Tips:
- For a more casual look, you can use shoelaces in contrasting colors to your sweatshirt.
- Experiment with different types of eyelets and shoelaces to create a unique style.
This simple guide will show you how to add a fashionable touch to your sweatshirt with just a few easy steps. Feel free to customize your creation to suit your preferences and share your results with us!