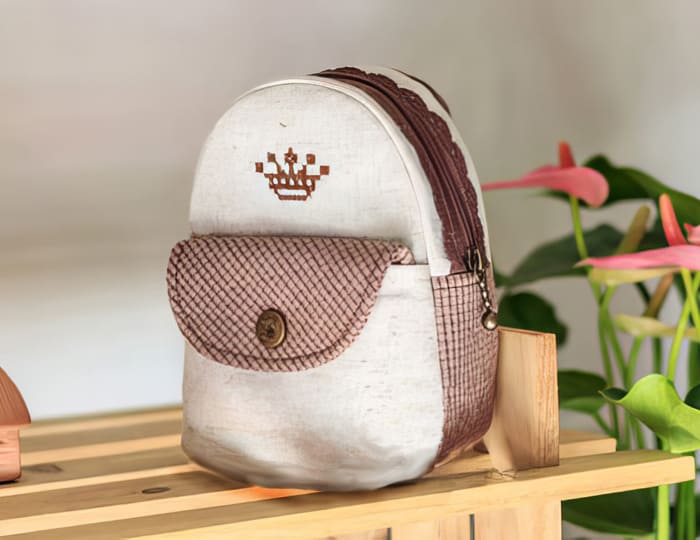
Are you looking for a fun and practical sewing project? Why not try making your own mini school bag? This adorable bag is perfect for carrying small essentials like your phone, keys, or coins, and it’s a great way to showcase your sewing skills.
In this step-by-step tutorial, I’ll guide you through the process of making your very own mini school bag from start to finish. Let’s get started!
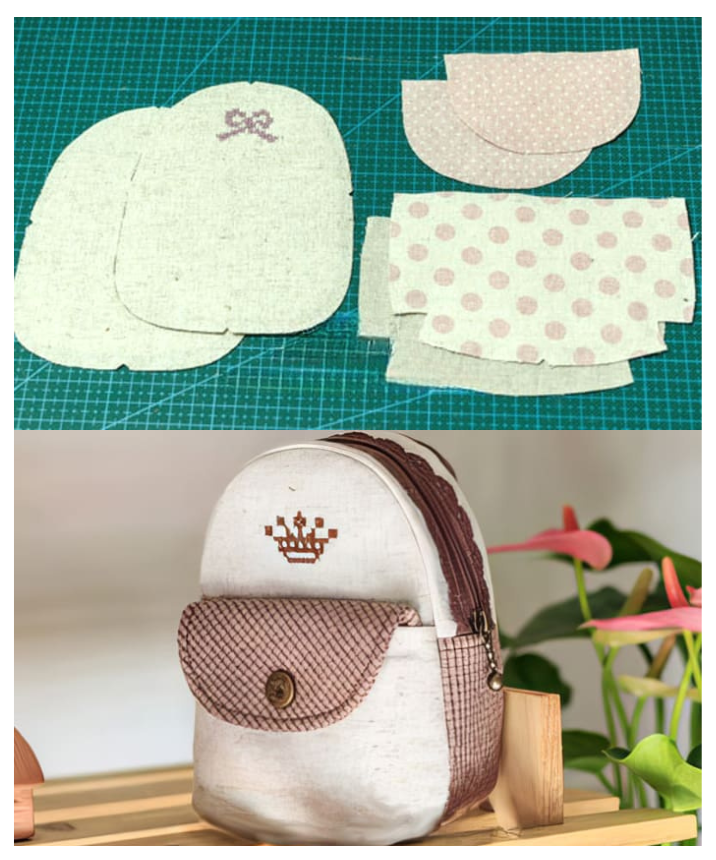
Materials Needed:
- Body fabric (2 pieces)
- Pocket fabric (1 piece)
- Lining fabric (1 piece)
- Bag cover fabric (2 pieces)
- Side fabric (1 piece for bag bottom, 2 pieces for zipper sides)
- Auxiliary cotton or adhesive foam
- Bag strap with lobster buckle and D buckle
- Sewing machine
- Iron
- Scissors
- Pins
- Zipper (lace zipper recommended)
- Measuring tape
- Paper pattern (downloadable)
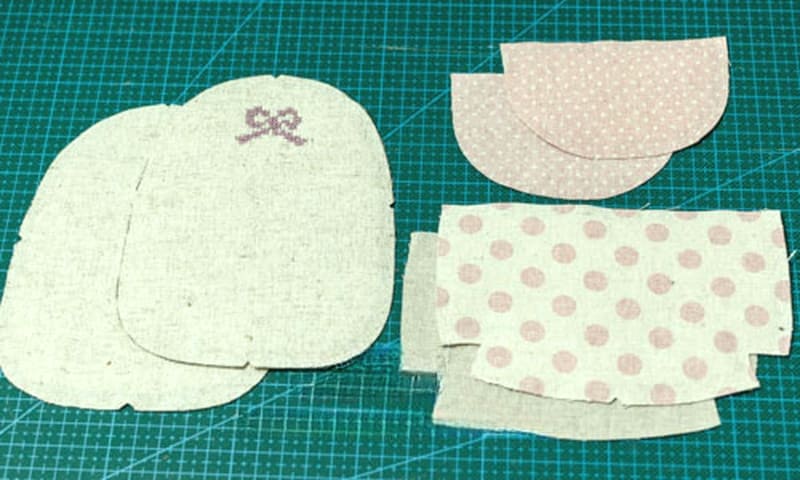
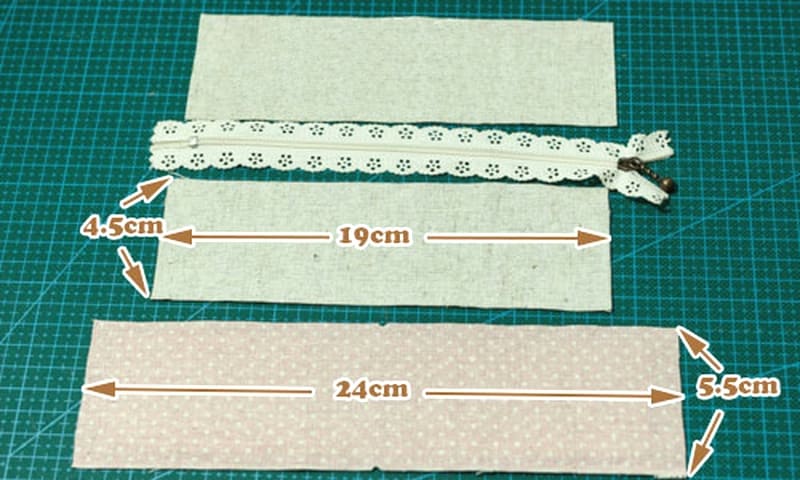
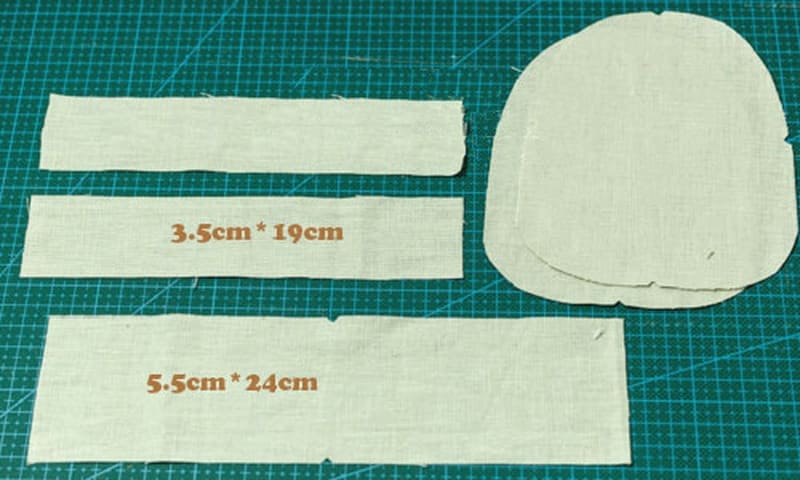
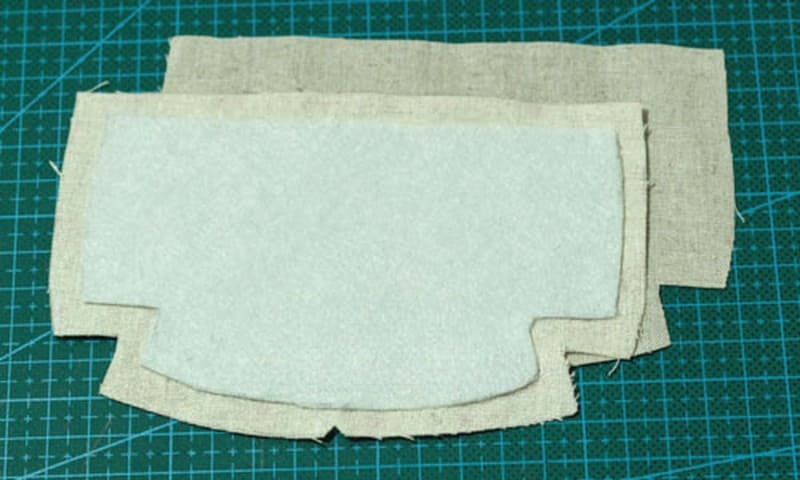
Step 1: Cutting the Fabric
- Using the provided paper pattern, cut out the required pieces of body fabric, pocket fabric, lining fabric, and bag cover fabric. Additionally, cut the side fabric according to the dimensions provided in the tutorial.
- Cut auxiliary cotton or adhesive foam according to the pattern pieces, if applicable.
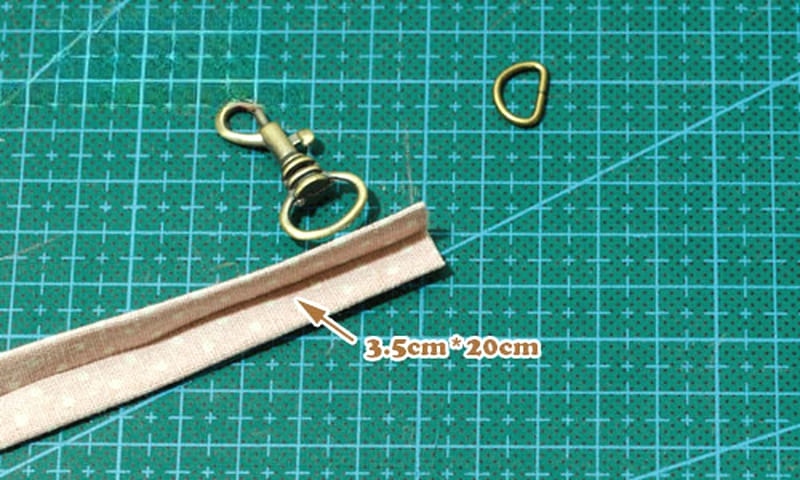
Step 2: Making the Bag Strap
- Cut the strap fabric to the desired width and length. Fold it inwards twice to create four layers and iron it flat.
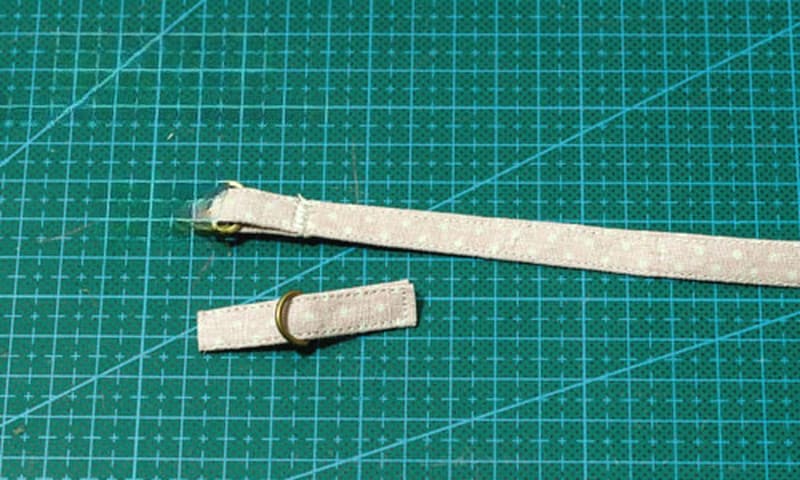
- Press lines on each side of the strap, then cut sections to cover the D buckle and lobster buckle. Sew them in place.
- Attach the strap to the top of the back of the bag, ensuring it is securely sewn in place.
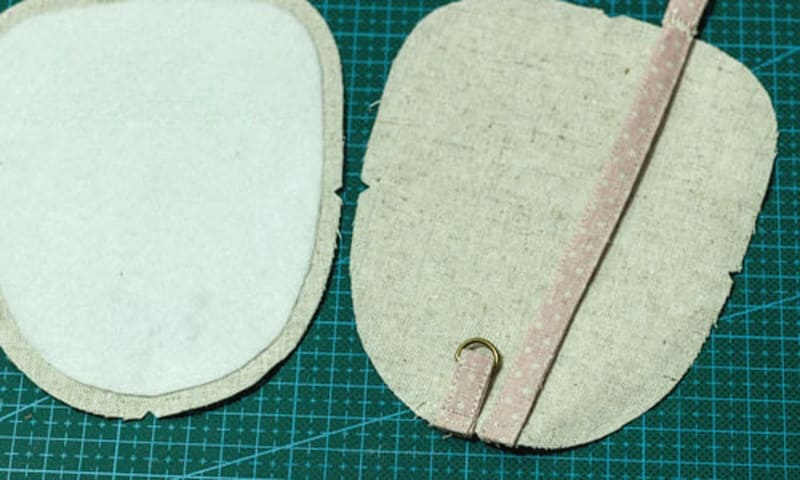
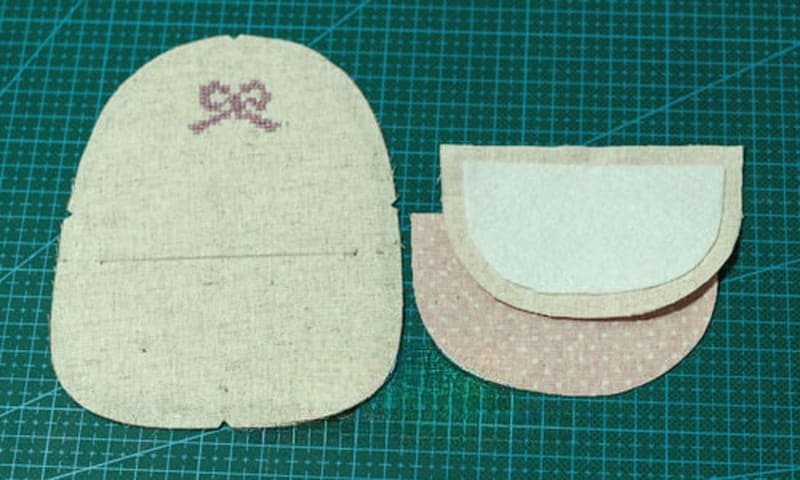
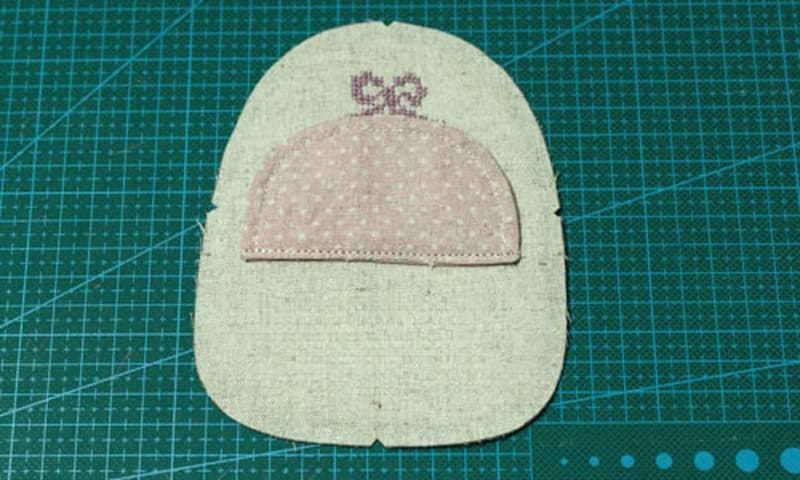
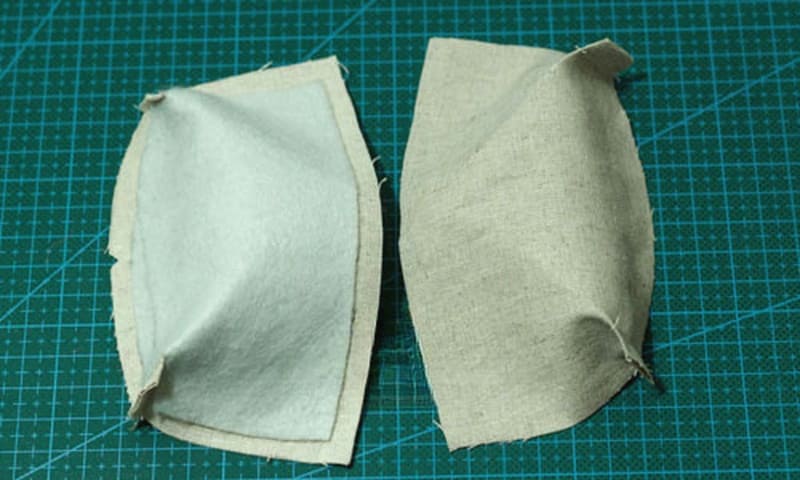
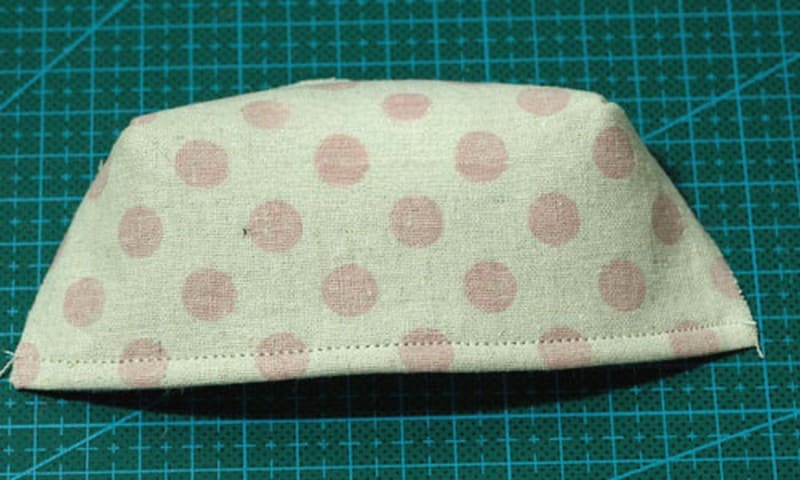
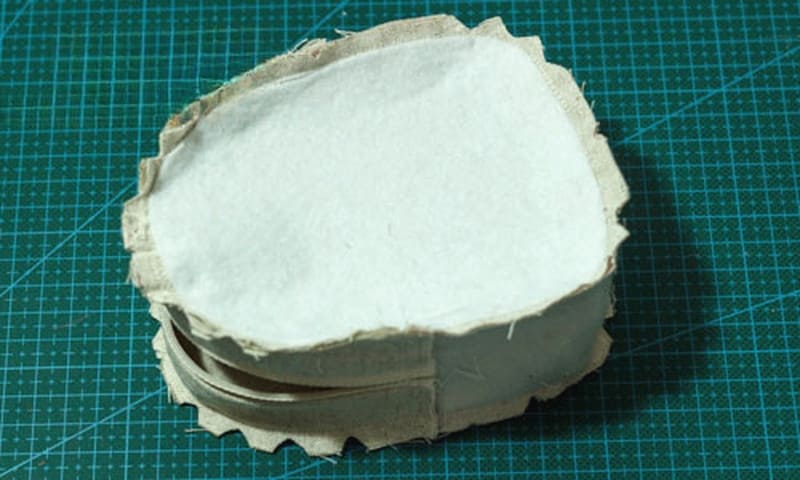
Step 3: Creating the Front of the Bag
- Mark the position of the flap on the front piece of the bag and iron auxiliary cotton on the back of one flap piece.
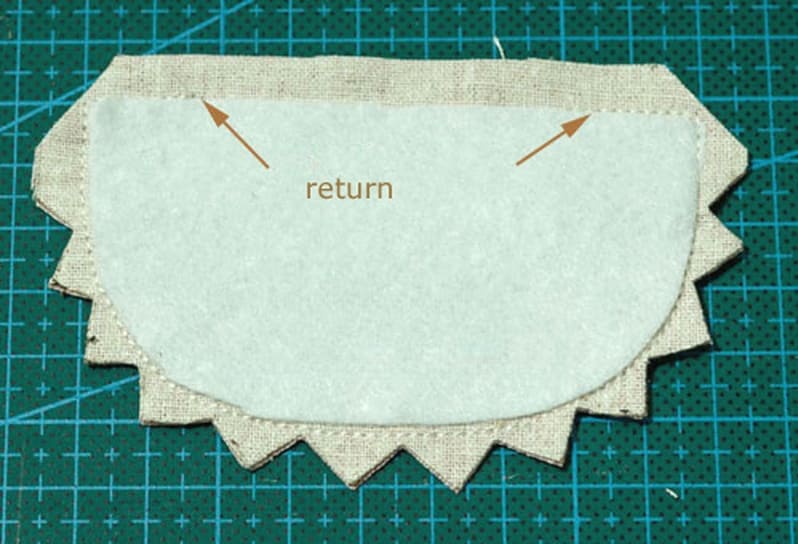
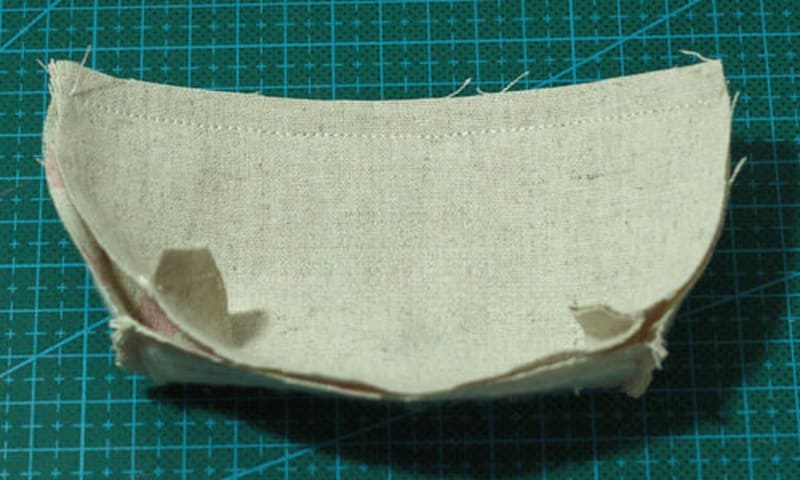
- Sew the two flap pieces together, leaving an opening at the top. Trim the seam allowance.
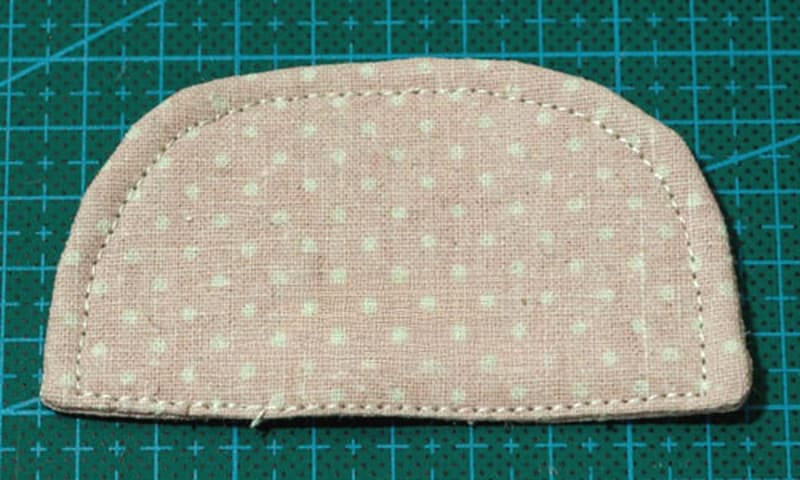
- Turn the flap out to the front and press the edges.
- Sew the flap to the front piece of the bag.
- Prepare the pocket fabric by ironing the back.
- Sew the bottom corners of the pocket fabric.
- Align the top edge of the pocket with the top fabric and lining fabric. Sew along the edge.
- Secure the edge of the bag opening with a sewing line.
- Position the pocket on the front piece of the bag and sew it in place.
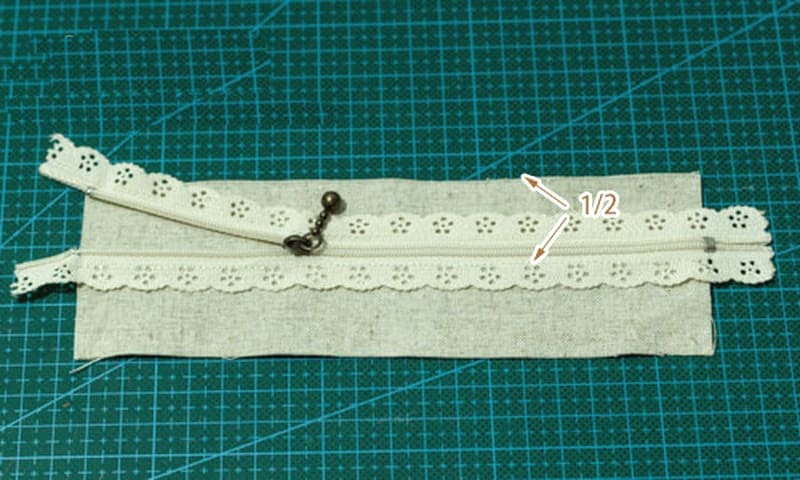
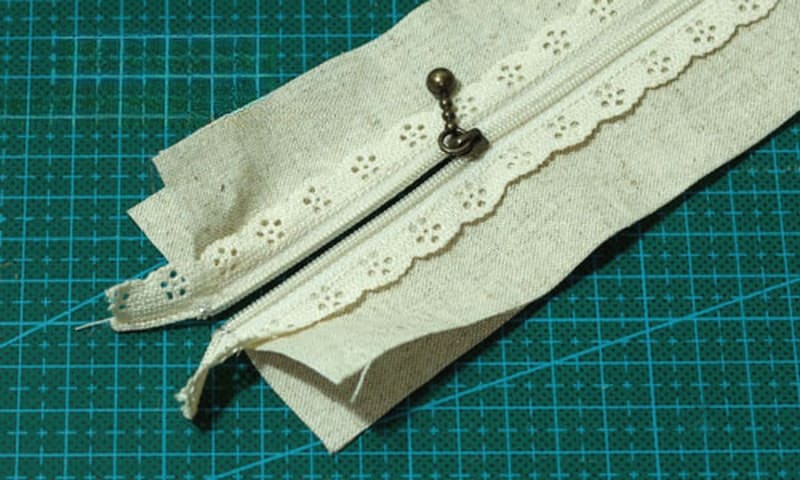
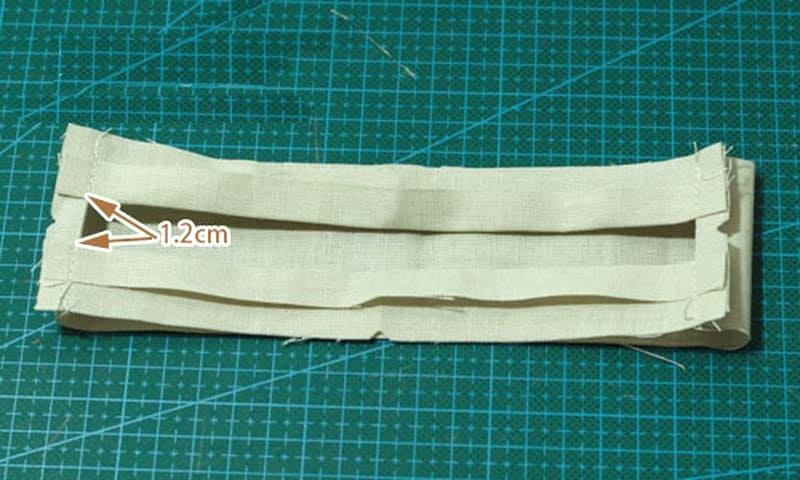
Step 4: Sewing the Zipper and Trim
- Fold one piece of zipper fabric widthwise to create a centerline. Sew the zipper along the centerline.
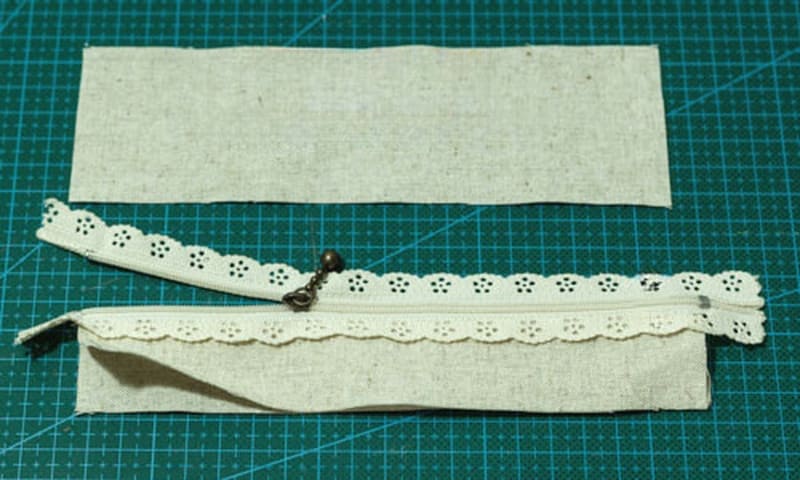
- Fold the fabric underneath to create a double layer and sew the other piece of zipper fabric in the same way.
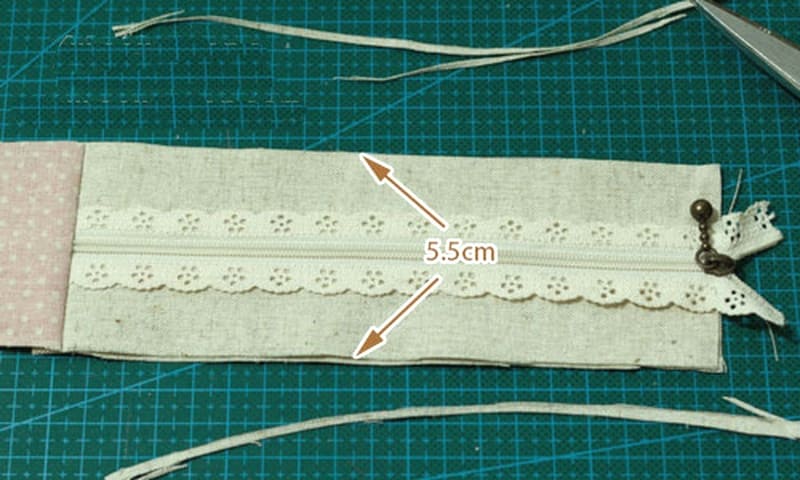
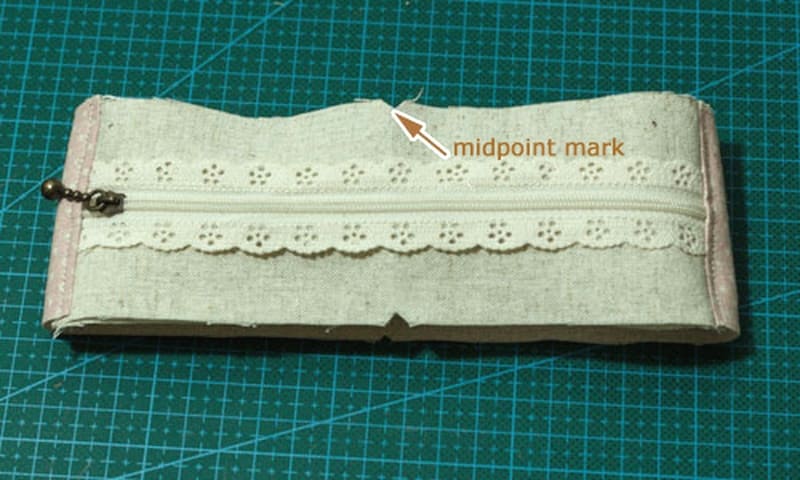
- Sew the zipper fabric to the bottom of the bag, aligning the center points.
- Trim the zipper fabric to match the width of the bag bottom.
- Sew the other end of the zipper fabric and press a line across the front.
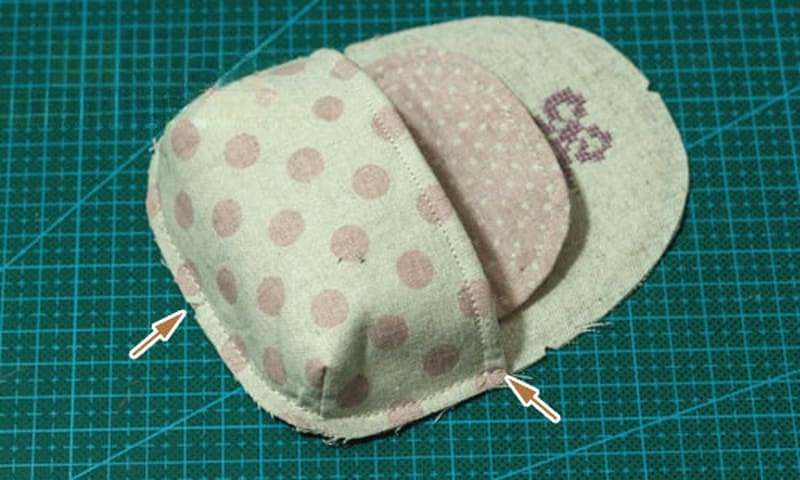
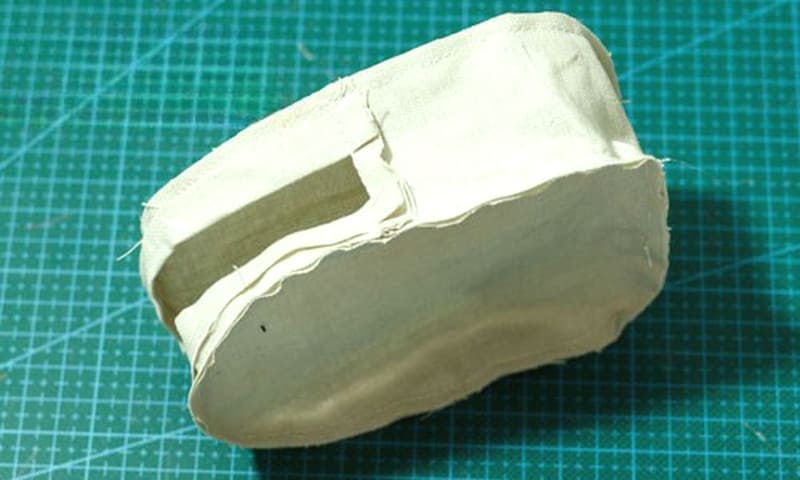
Step 5: Sewing the Hems and the Front of the Bag
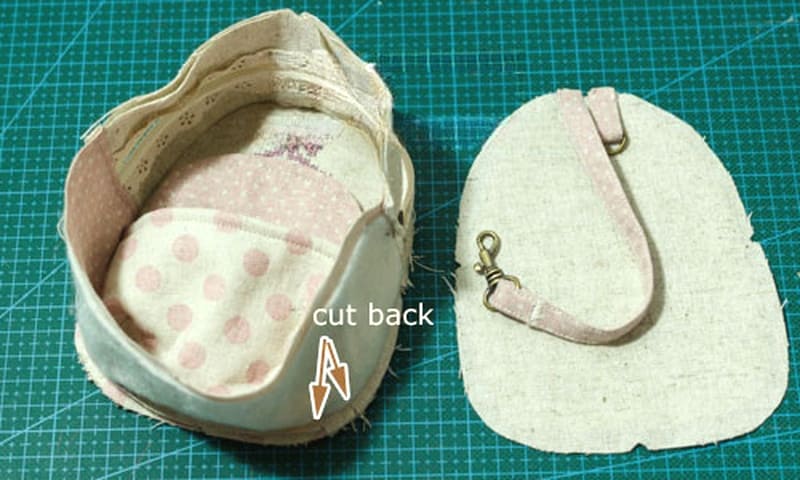
- Sew the sides and the bag surface with a 0.75cm seam allowance. Cut vertical cuts on the sides to ease sewing around corners.
- Trim the seam allowance triangles to round the seams.
- Align and pin the marked locations on the bag body pattern.
- Sew around the perimeter, sewing difficult corners with vertical cuts.
Step 6: Sewing the Lining
- Fold the zipper fabric into one seam allowance, leaving a gap between the two zipper fabrics.
- Turn the lining inside out and slip it over the outer bag. Stitch around the zipper with a hand sewing needle.
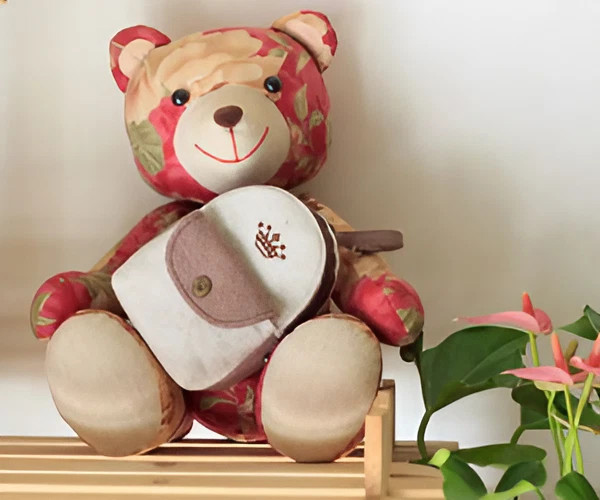
Step 7: Finishing Touches
- Install four-in-one clasps for the insert pockets.
- Your mini school bag is now ready to use!
With this simple tutorial, you can create your own mini school bag that’s perfect for carrying small essentials wherever you go. Have fun sewing!