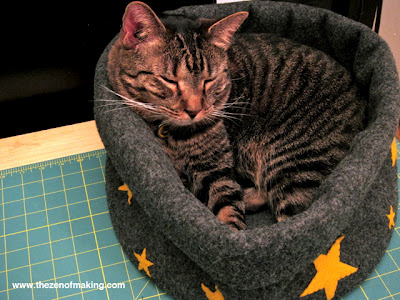
Simon and Pixel, my two lovely kitties, are convinced that my worktable is the best spot for napping. To provide them with a comfy place to rest while still being close to me and out of harm’s way, I came up with this simple yet versatile 3-in-1 cat bed design for my desk. Even my picky fur babies, who usually prefer cardboard boxes and freshly washed laundry over plush cushions, couldn’t wait to snuggle in. Several days later, they’re still loving their new bed, and I couldn’t be happier.
Since I know that finding a cat bed that discerning cats will actually use is no small feat, let’s dive right into the project. This tutorial will guide you through making a cat bed that can be used in three different ways, ensuring you’re always ready to accommodate even the most finicky feline. Check out step 12 to see all three options in action!
Supplies:
- 2 yards of 36” wide craft felt (I used charcoal gray craft felt from Jo-Ann Fabric)
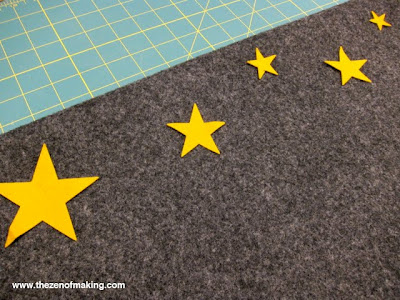
- 10 to 12 decorative wool felt shapes, 2-3” in height (I cut star shapes out of a large sheet of wool felt)
- 1 skein of embroidery floss in a color matching the wool felt
- Sewing thread matching the craft felt
- Fiberfill
- Fabric glue (optional)
Tools:
- Sewing machine
- Embroidery needle
- Fabric scissors
- Measuring tape or ruler
- Straight pins or fabric clips
- Compass or a 13” round cooking pot
- Paper
- Pen or pencil
- Tailor’s chalk (optional)
Step-by-Step Guide:
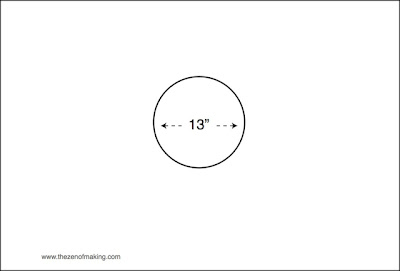
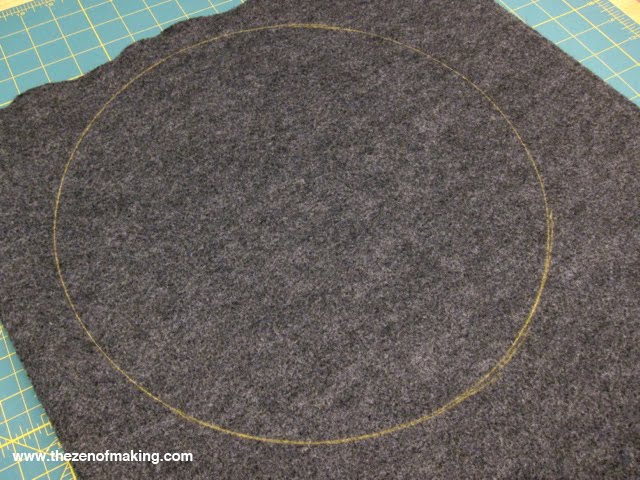
Step 1: Cut two 13” circles from the craft felt using fabric scissors for the bottom of the cat bed. You can create a circle pattern by using a compass and paper or by tracing a large stock pot directly onto the felt.
Step 2: With right sides facing out, stitch the two circles together with your sewing machine using a ¼” seam allowance, leaving an opening about 4” long to insert the padding.
Step 3: Stuff the cushion evenly with fiberfill, ensuring there’s still plenty of give when finished. Don’t overfill.
Step 4: Once the cushion is stuffed, stitch the opening closed with your sewing machine and set the bottom of the cat bed aside.
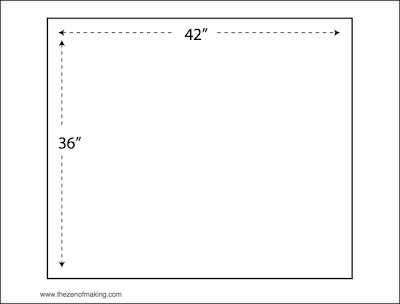
Step 5: Cut a large 42” x 36” craft felt rectangle for the sides of the cat bed.
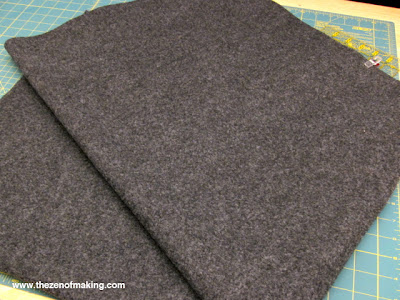
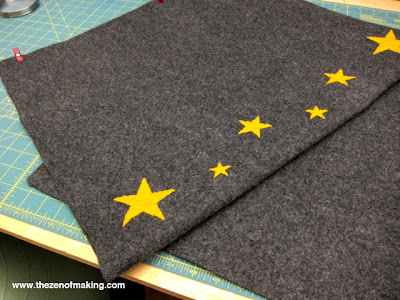
Step 6: Fold the felt rectangle in half width-wise and space the decorative felt shapes evenly below the fold on one side.
Step 7: Using straight pins or fabric glue, hold the felt shapes in place, then straight stitch around the edge of each shape with 3-ply embroidery floss to secure.
Step 8: Fold the rectangle in half length-wise with right sides facing, then stitch the edges together with a ½” seam allowance to create a long felt tube, with the felt shapes forming a ring around the middle.
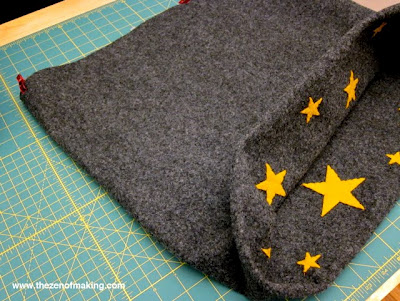
Step 9: Turn the felt tube right side out and fold half of the length down inside the tube, bringing the top and bottom edges to meet, hiding the seam between the layers of felt.
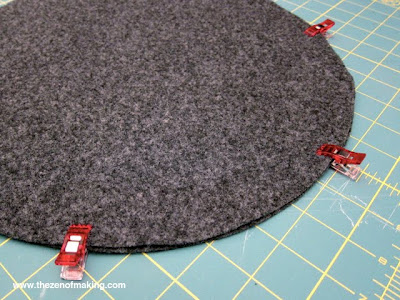
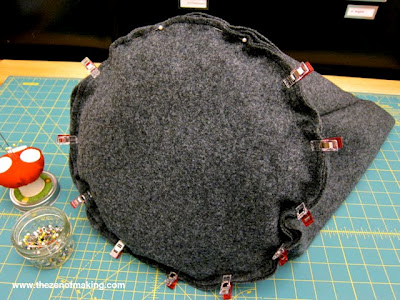
Step 10: Attach the bottom cushion to the unfinished edge of the folded tube using straight pins or fabric clips.
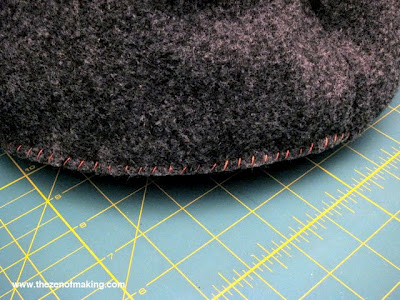
Step 11: Finish by whipstitching around the outside edge to connect the tube to the bottom cushion. For added security, you can also use your sewing machine to join the pieces, using the seam on the cushion as a guide.
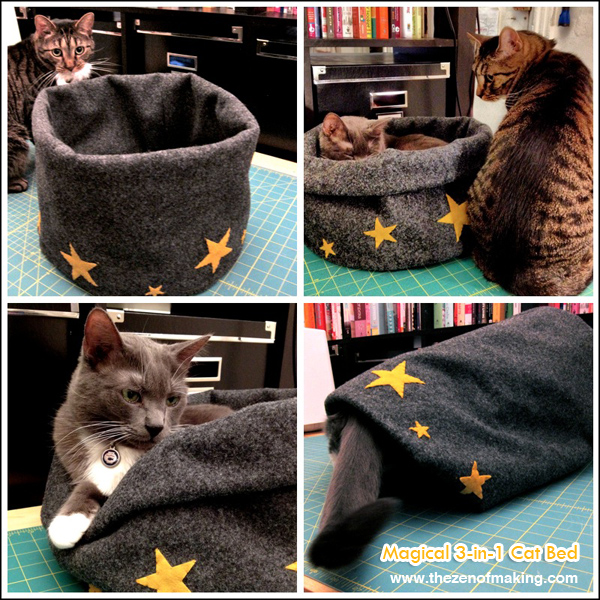
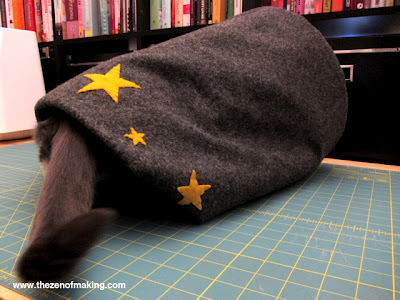
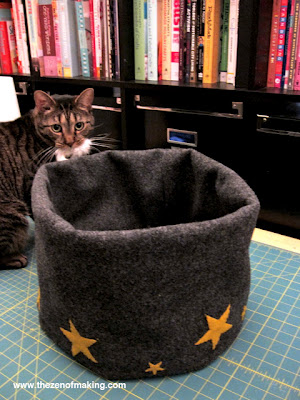
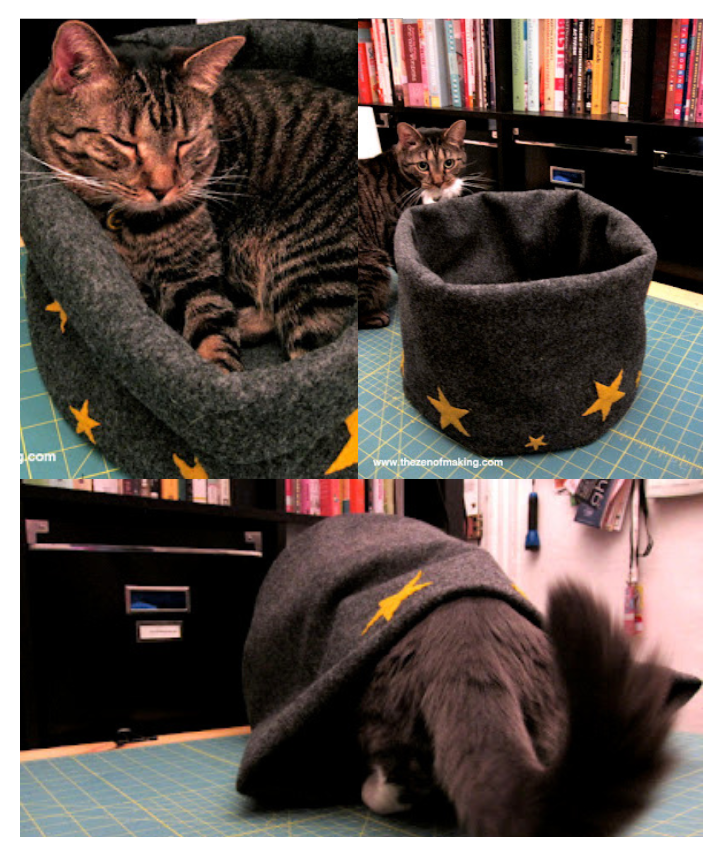
Step 12: Choose one of three options to set up the cat bed:
- The cave: Turn the bed inside out (with the decorative pattern on the outside) and place it on its side.
- The tall bed: Fold the sides over once, bringing the decorative edge down to meet the seam around the cushion.
- Short bed: Similar to the tall bed, but fold the top edge over one more time, so it falls just above the decorative shapes.
Congratulations, you’ve created an amazing cat bed! Your kitties will love it almost as much as they love their cat chow. (Almost.)