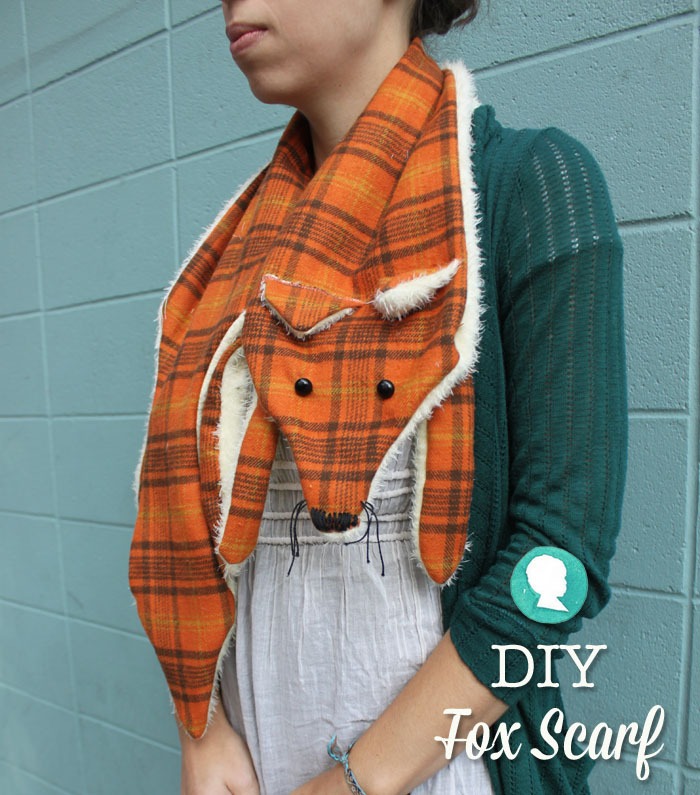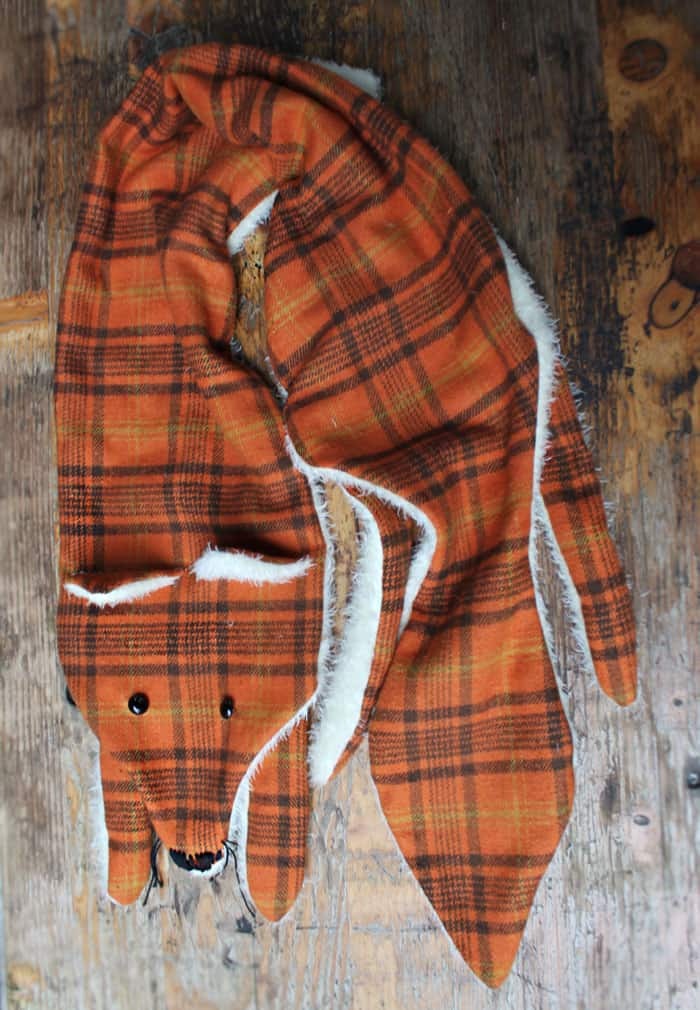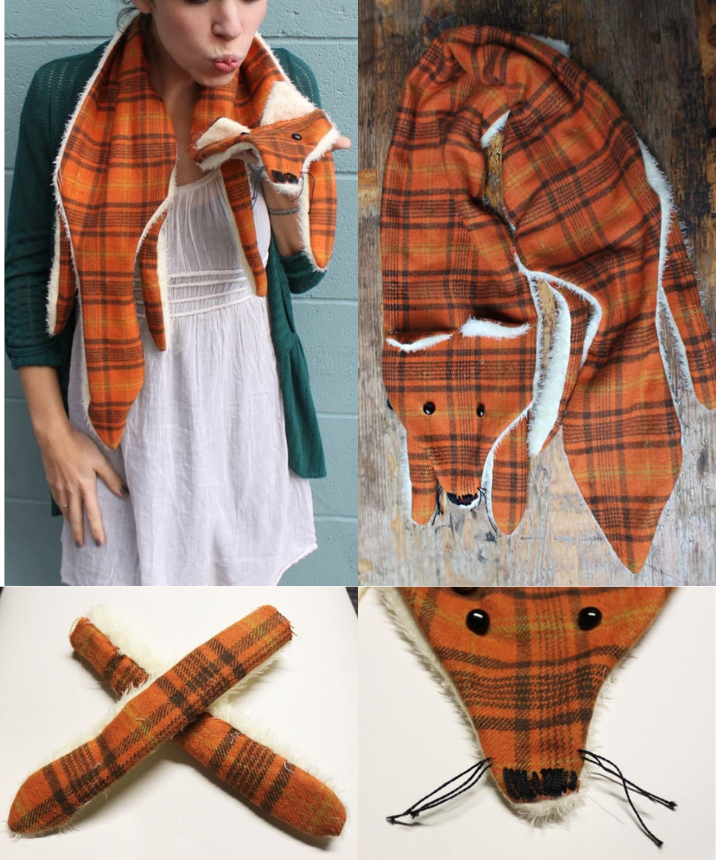
DIY Fox Scarf with Free Pattern
- Download the Pattern: Begin by downloading the free fox scarf pattern from Google Docs. Make sure you have a Google account to access it.
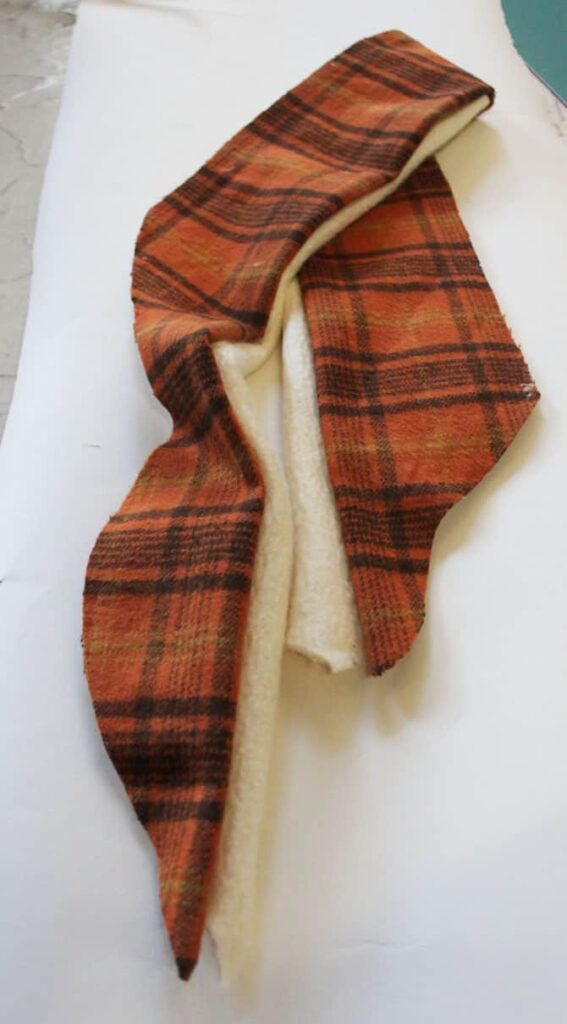
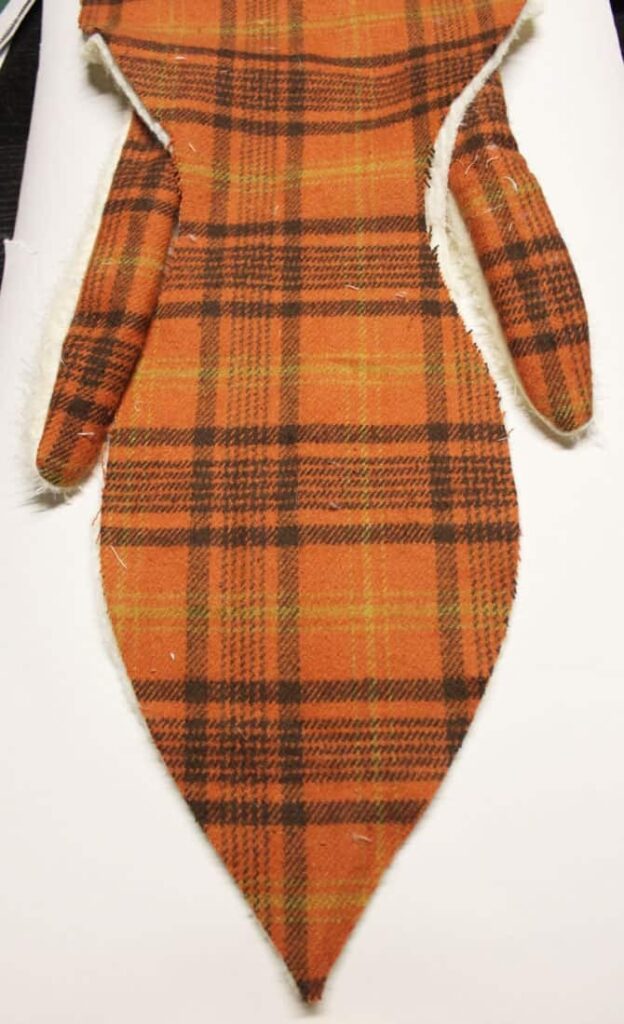
- Prepare Fabric: Cut out one body piece from flannel and one from minky fabric using the provided pattern. Feel free to adjust the length according to your preference.
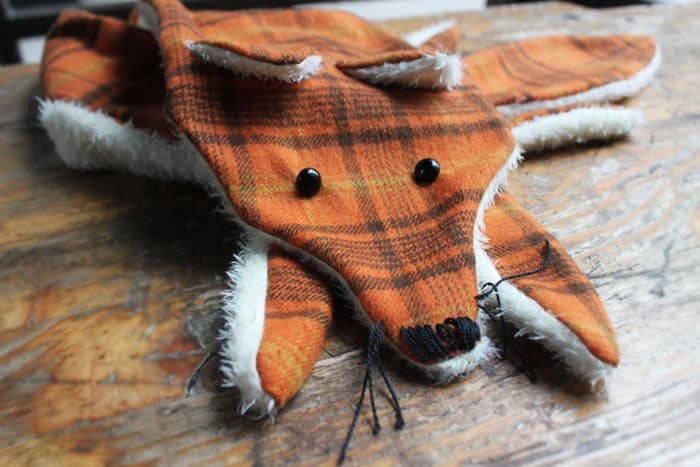
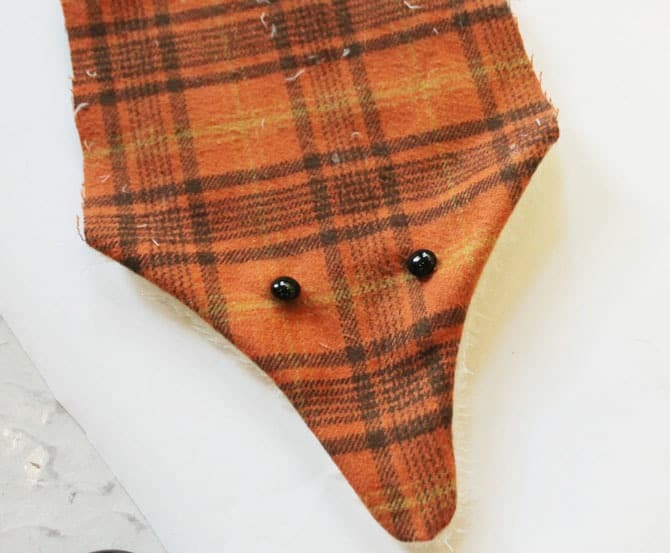
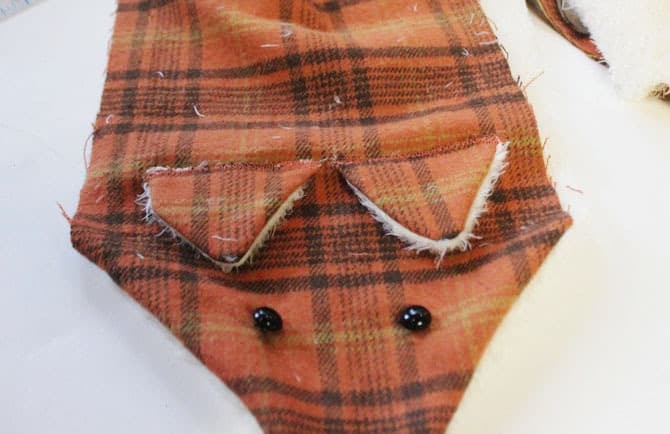
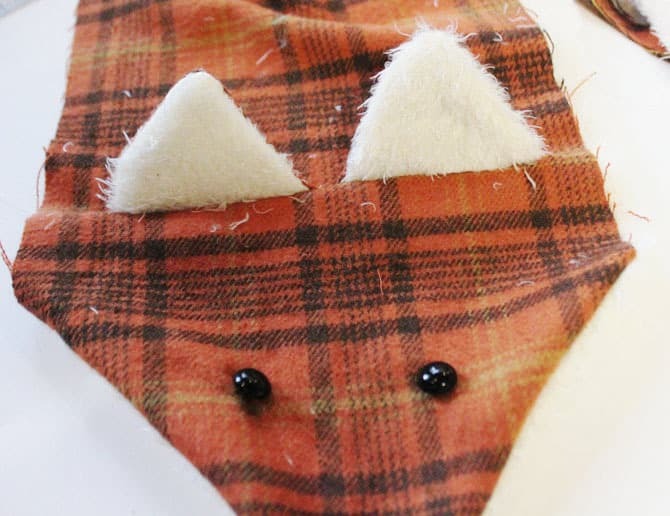
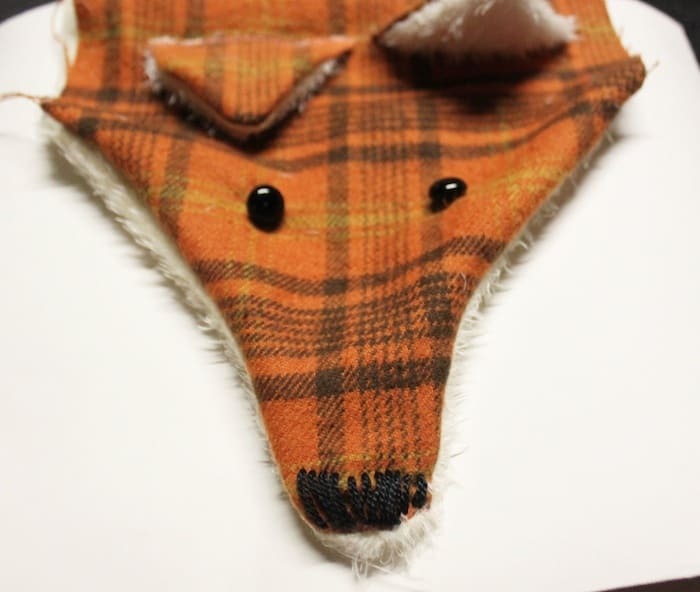
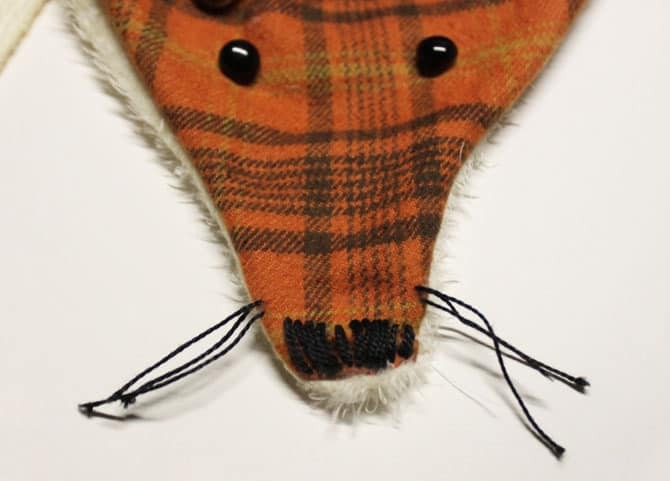
- Sew the Face: Stitch the face together on the inside, leaving the nose area open. Flip it right-side out and attach black buttons for eyes.
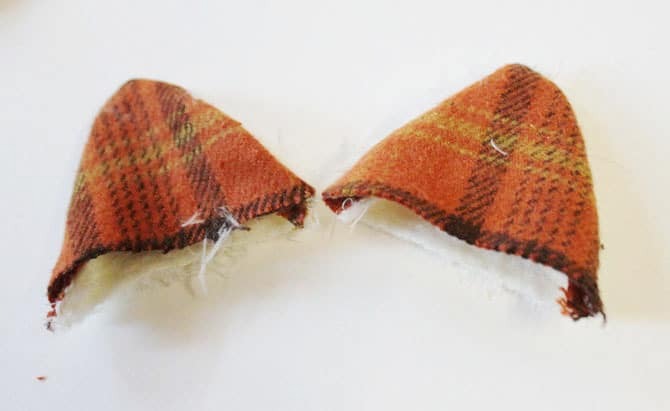
- Craft Ears: Create ears by cutting out the shape, sewing, and turning them right-side out. Zig-zag stitch them onto the flannel fabric.
- Detailing: Use black embroidery floss to hand stitch the nose, and add whiskers using embroidery thread.
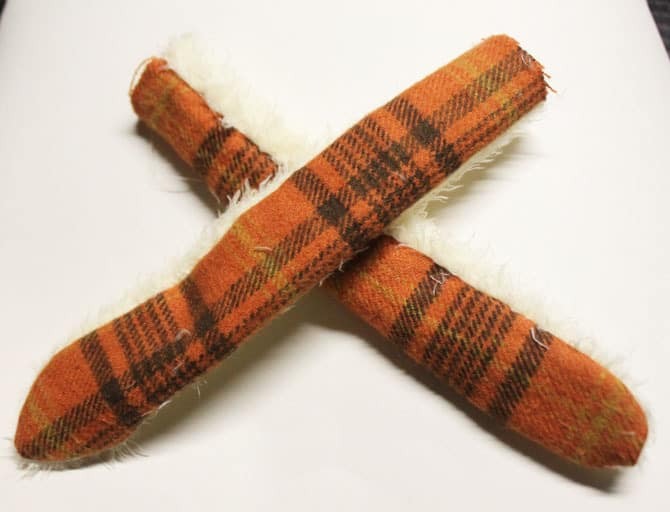
- Make Limbs: Cut out arm and leg pieces, sew them together, and turn them right-side out.
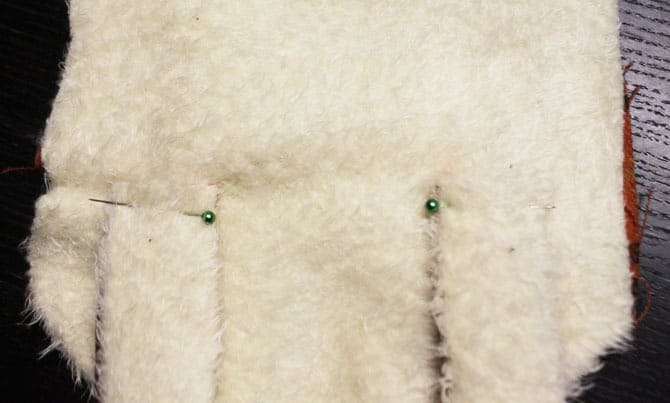
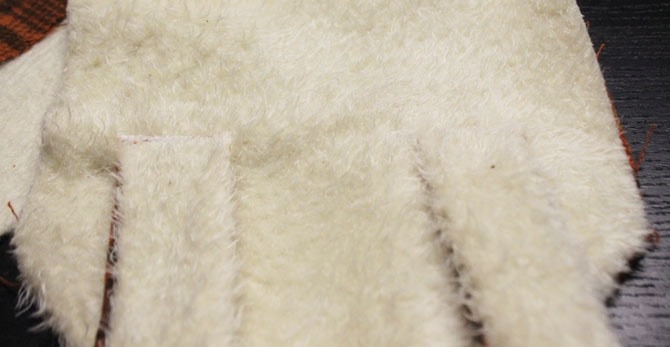
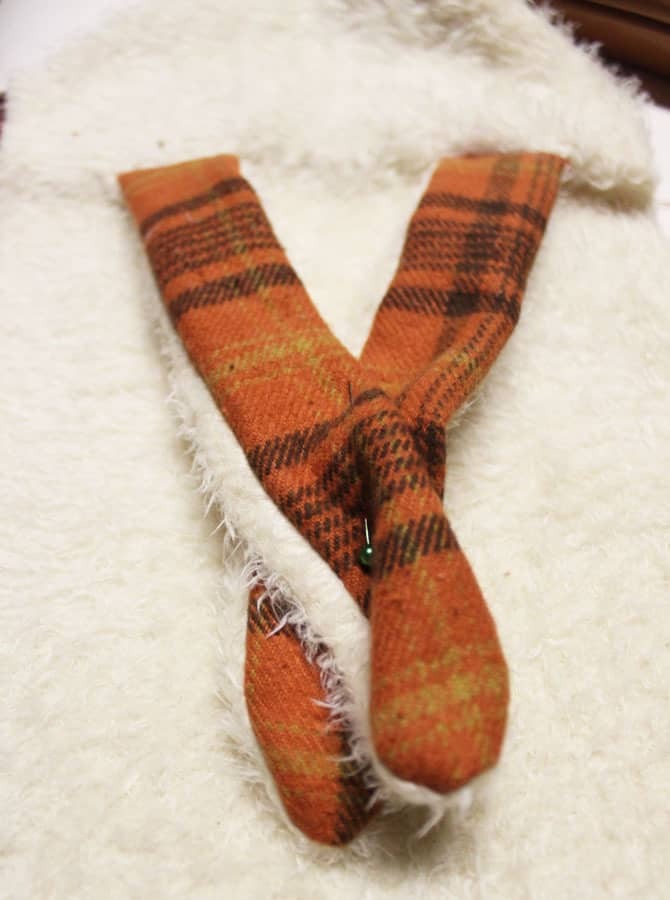
- Attach Limbs: Pin the arms and legs onto the minky fabric as indicated by the pattern. Zig-zag stitch them securely in place.
- Assemble Scarf: Pin the arms and legs together to avoid interference while sewing. Stitch around the body, leaving a small gap for turning.
- Flip and Close: Turn the scarf right-side-out through the gap. Use a machine to stitch the gap closed neatly.
- Final Touches: Your fox scarf is now complete and ready to keep you warm and stylish!