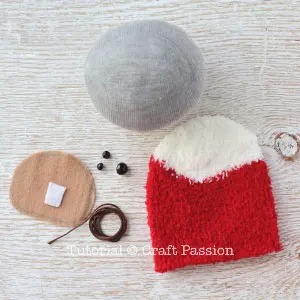
Step 1: Gathering Materials and Preparation
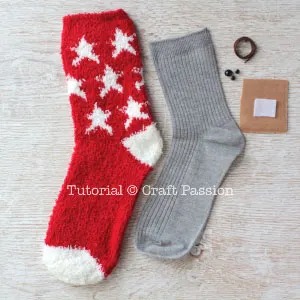
- Gather all the materials and tools listed.
- Print out the Sock Beaver Pattern Template on card stock and cut out the templates.
- Pre-wash the socks before sewing.
- Turn the socks right side in and iron them.
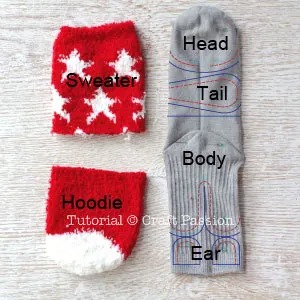
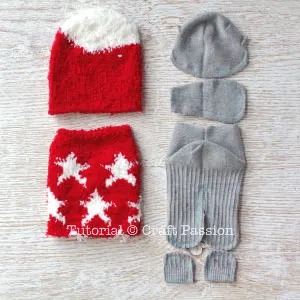
Step 2: Tracing and Cutting Sock Pieces
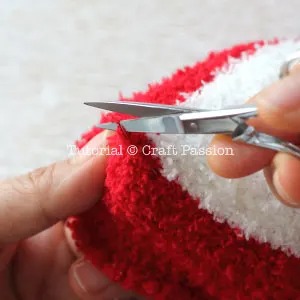
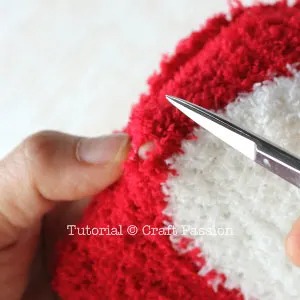
- Trace the pattern pieces onto the socks and cut them out.
- Make sure to adjust the template size if necessary to fit your socks.
- Turn all pieces right side out.
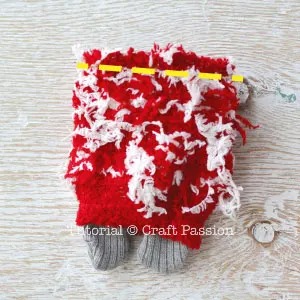
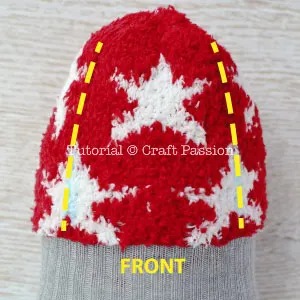
Step 3: Sewing the Sweater
- Turn the “sweater” piece of the chenille sock right-side in.
- Insert the body into the sweater, aligning the raw edges.
- Pin and sew around the designated line on the template.
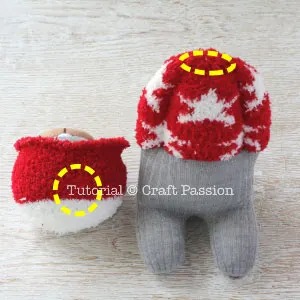
- Turn the sweater right-side out.
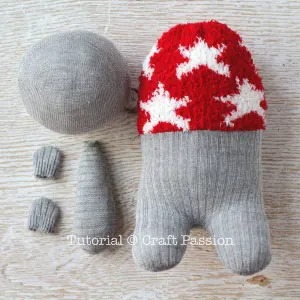
Step 4: Stuffing the Sock Pieces
- Stuff all parts with poly-fill stuffing material except for the ears.
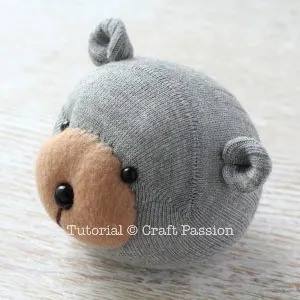
- Firmly stuff the head, feet, and tail while shaping them accordingly.
- Limit stuffing between the feet and bottom body to ensure the sock beaver can sit firmly.
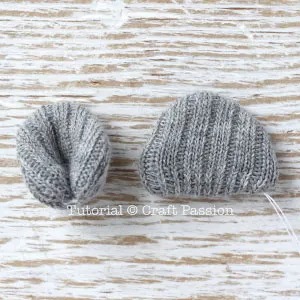
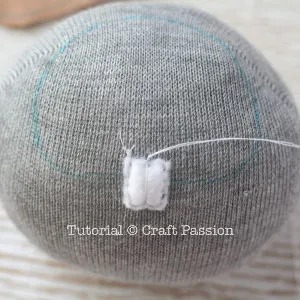
Step 5: Closing Openings and Sewing Details
- Sew to close all openings on the stuffed pieces.
- Fold the raw edges of the ears and sew to close them.
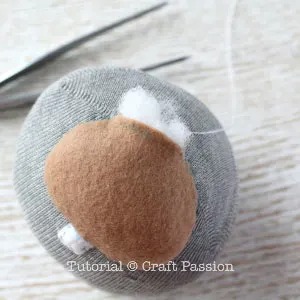
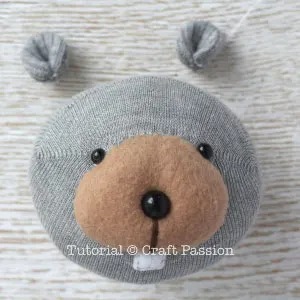
- Attach the muzzle and teeth to the head using embroidery floss.
- Sew the eyes and nose onto the head.
- Attach the ears to the head.
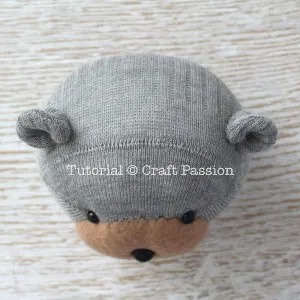
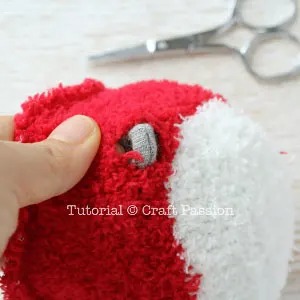
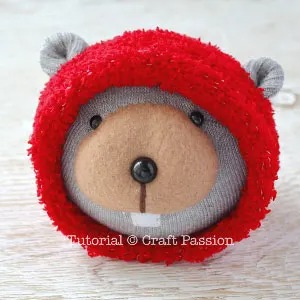
- Cover the head with the chenille sock hood, cutting holes for the ears if necessary.
Step 6: Sewing Arms and Tail
- Divide the body into four equal widths and mark the arm positions.
- Sew ladder stitches between the marked lines to create the arms.
- Sew the tail onto the body.
Step 7: Attaching Head to Body
- Position the head on the body as desired and mark the attachment points.
- Pin and sew the head securely to the body.
Step 8: Final Touches
- Spray the sock beaver with water to erase any fabric markings.
- Shape the sock beaver while wet if needed, and allow it to dry.
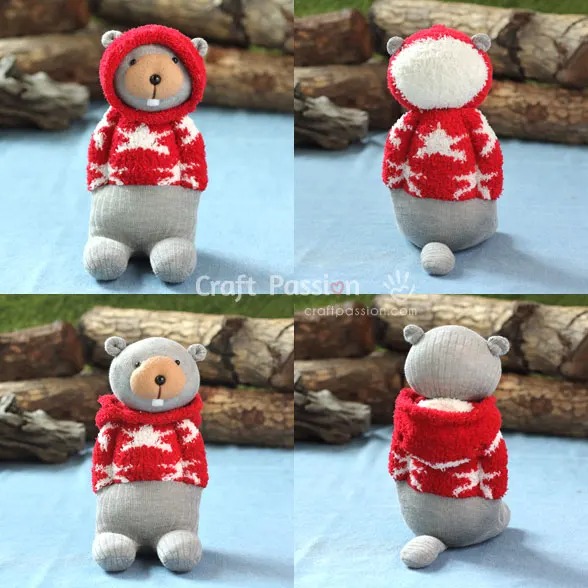
That’s it! You’ve completed making your sock beaver. Remember to take your time and enjoy the process!