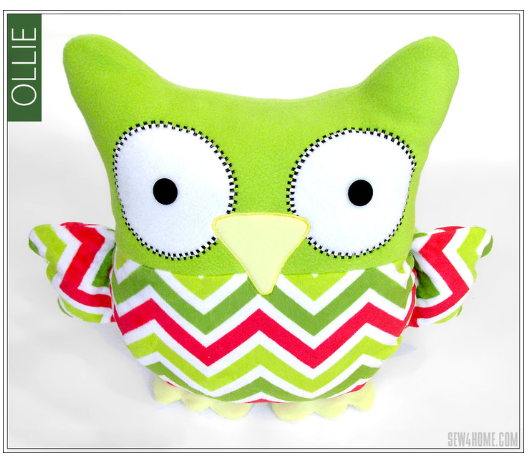
Introduction: Getting a good night’s sleep is essential for both children and adults alike, and having a comforting bedtime routine can make all the difference. In this guide, we’ll explore how to create adorable sleepy time stuffed owls that are not only cuddly companions but also help promote relaxation and peaceful sleep.
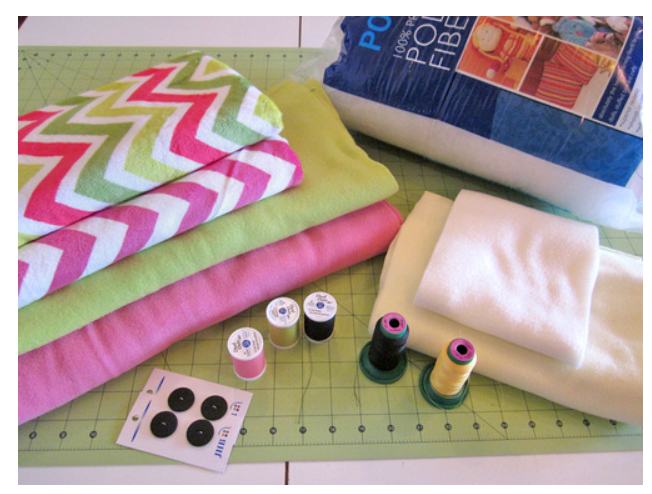
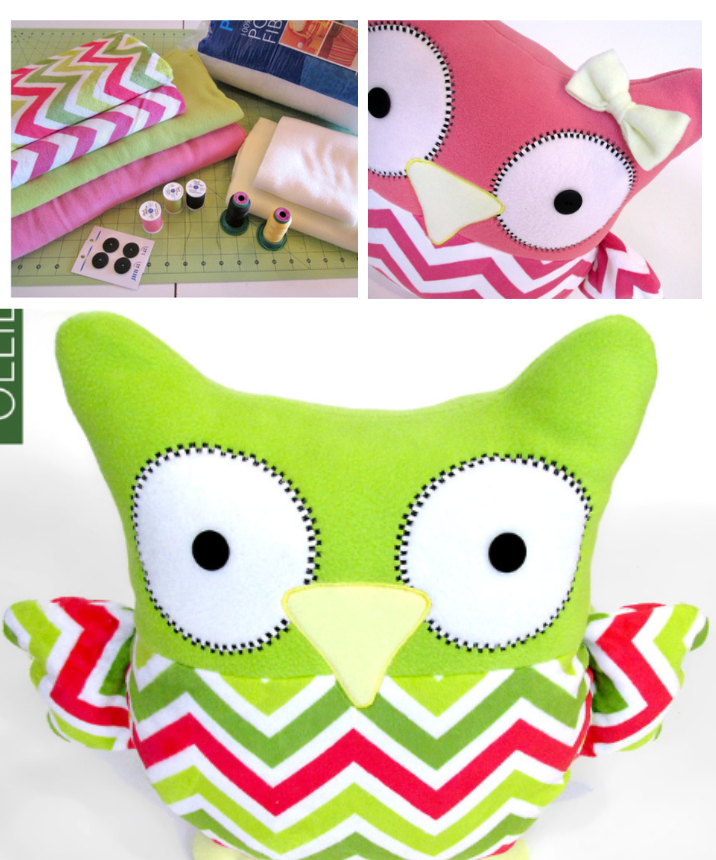
Step 1: Gathering Materials Before we begin, let’s gather all the materials we’ll need:
- Soft fabric in various colors and patterns
- Stuffing material (polyfill or cotton)
- Sewing needle and thread
- Scissors
- Fabric markers or embroidery thread for embellishments
- Optional: lavender sachets or essential oils for added relaxation
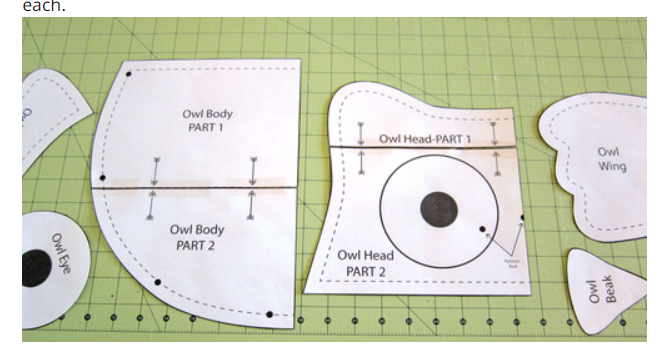
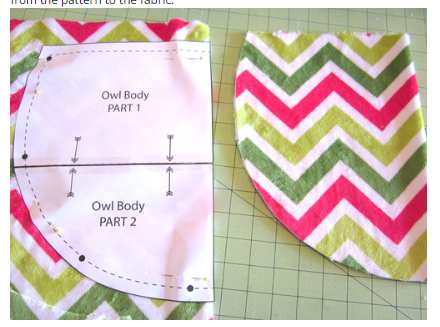
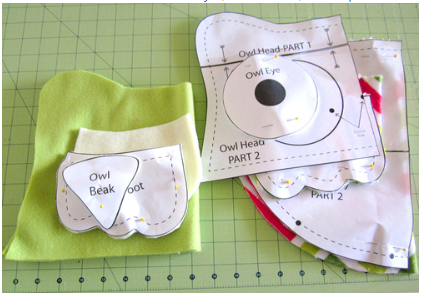
Step 2: Creating the Owl Pattern Start by sketching out the shape of your owl onto paper. You can make it as simple or as detailed as you like, but be sure to include a round body, wings, and a cute face with big eyes. Once you’re happy with your design, cut it out to use as a template.
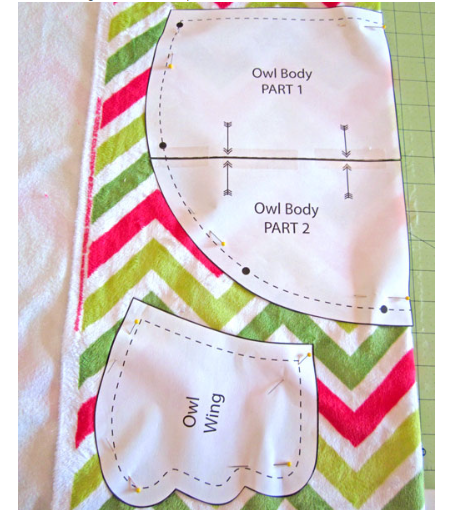
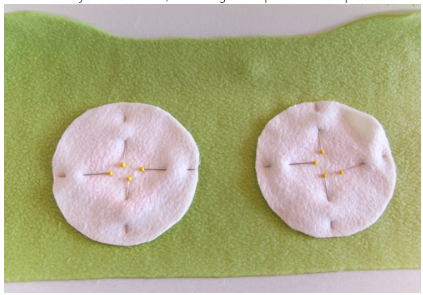
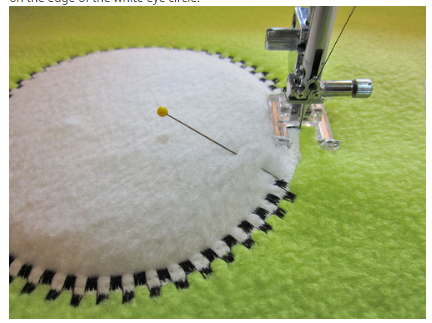
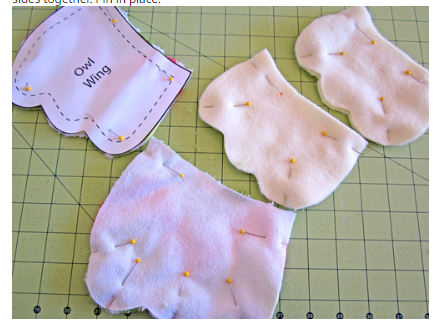
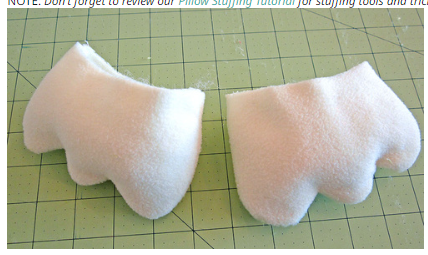
Step 3: Cutting and Sewing Place your owl template onto the fabric of your choice and trace around it with a fabric marker. Repeat this process to create two identical pieces for the front and back of your owl. Next, cut out the fabric pieces along the traced lines.
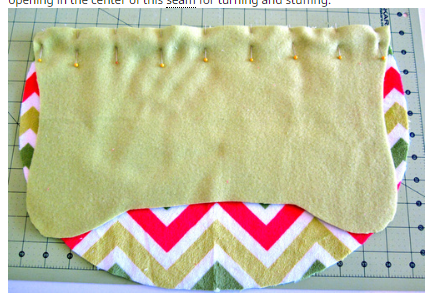
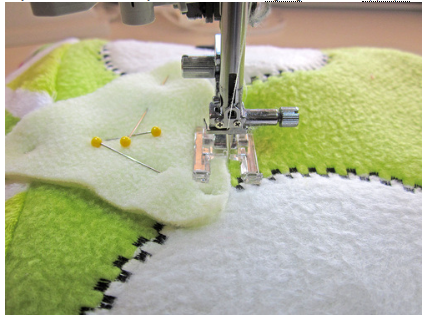
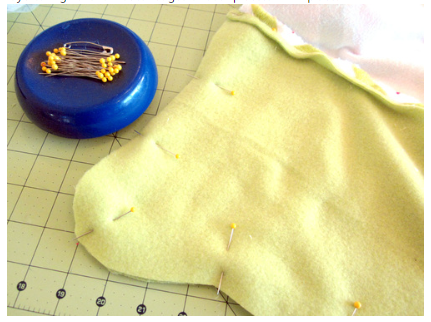
With right sides facing together, pin the front and back pieces of the owl together. Using a sewing needle and thread, stitch around the edges, leaving a small opening for stuffing. Be sure to reinforce the stitches at the beginning and end.
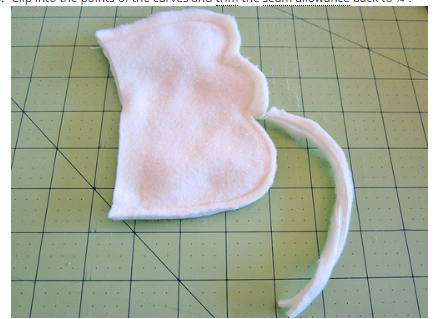
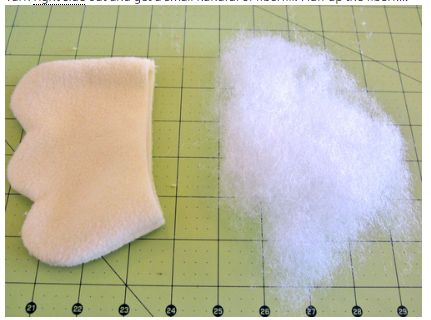
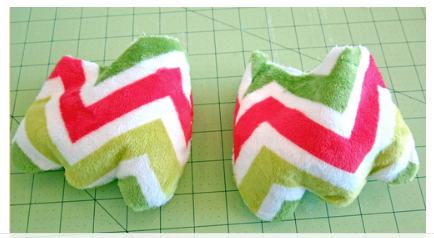
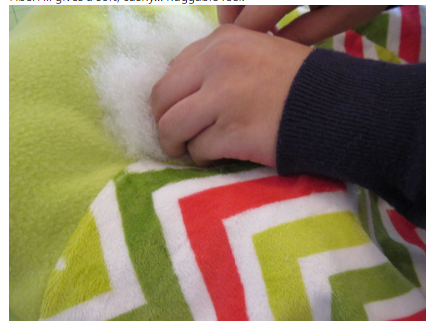
Step 4: Stuffing Carefully turn your owl right side out through the opening you left. Now it’s time to fill it with stuffing! Use small amounts at a time to ensure your owl stays nice and plump. If desired, you can also add a lavender sachet or a few drops of calming essential oils to promote relaxation.
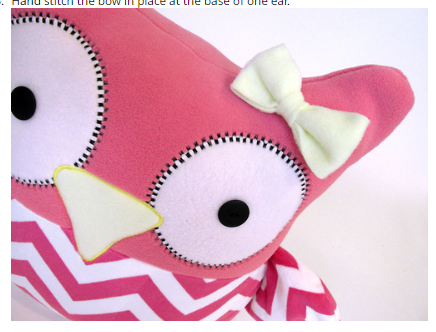
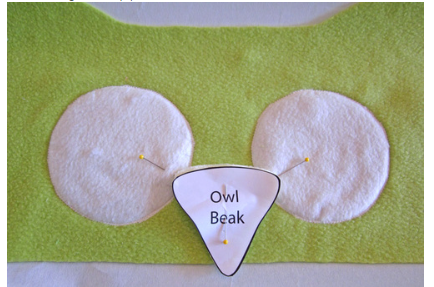
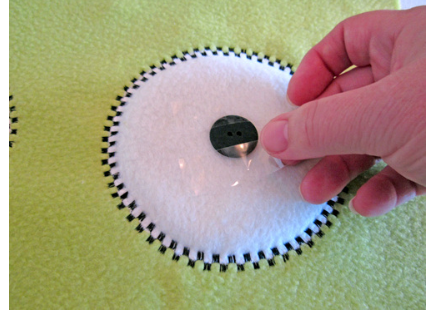
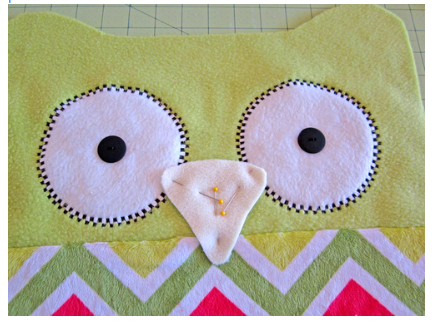
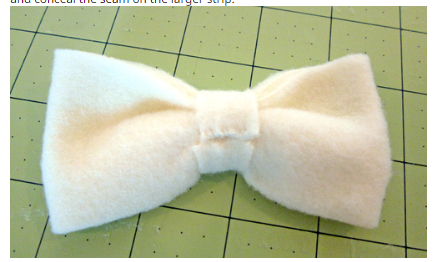
Step 5: Finishing Touches Once your owl is fully stuffed, neatly hand-stitch the opening closed. Now it’s time to add some personality! Use fabric markers or embroidery thread to create facial features like eyes, a beak, and feathers. Get creative with different colors and patterns to make each owl unique.
Step 6: Bedtime Ritual Your sleepy time stuffed owls are now ready to become part of your bedtime routine! Encourage your child to cuddle up with their owl each night before bed, creating a sense of comfort and security. You can even incorporate calming activities like reading a bedtime story or practicing deep breathing exercises together.
Conclusion: By crafting these adorable sleepy time stuffed owls, you’re not only creating a fun DIY project but also a valuable tool for promoting relaxation and peaceful sleep. Incorporate them into your bedtime routine to help your child (or yourself!) drift off to dreamland feeling safe, comforted, and ready for a restful night’s sleep. Sweet dreams!